If your floor jack isn’t working right, the problem might be the clip-on pump. Fixing it yourself can save you time and money, but only if you know exactly what to do.
This guide will walk you through how to replace the clip-on pump step by step, with clear instructions you can follow easily. By the end, your floor jack will be ready to lift heavy loads safely again. Keep reading to learn the simple fix that can get your equipment back in action fast.
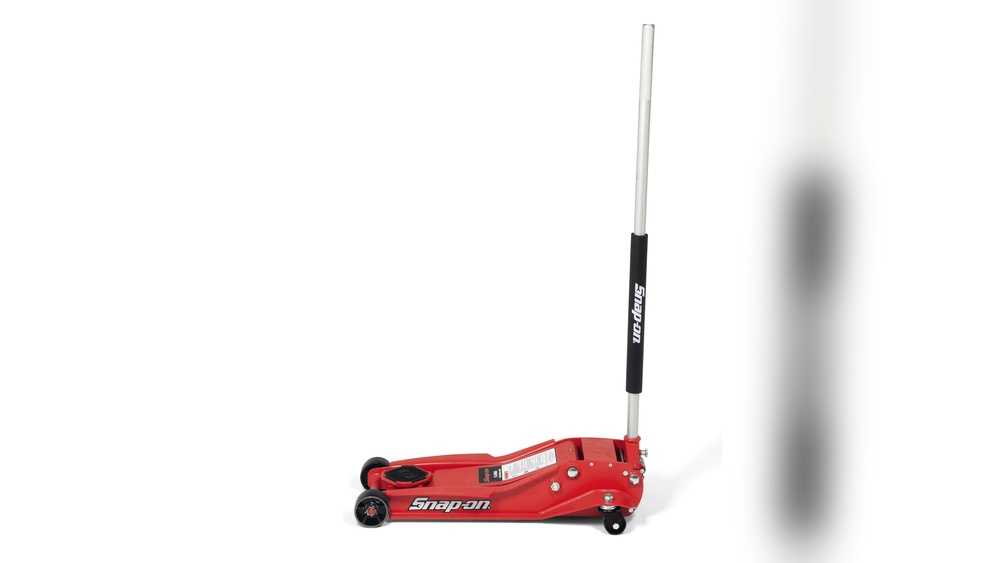
Credit: centrerest.com
Tools And Materials Needed
Replacing a clip on a floor jack pump requires a few simple tools and materials. Having everything ready makes the process smoother and faster. This section lists all essentials to complete the task efficiently.
Basic Hand Tools
You need a set of wrenches or a socket set. These help loosen and tighten bolts. A flathead screwdriver is useful for prying off clips carefully. Pliers help hold or bend small parts during removal and installation.
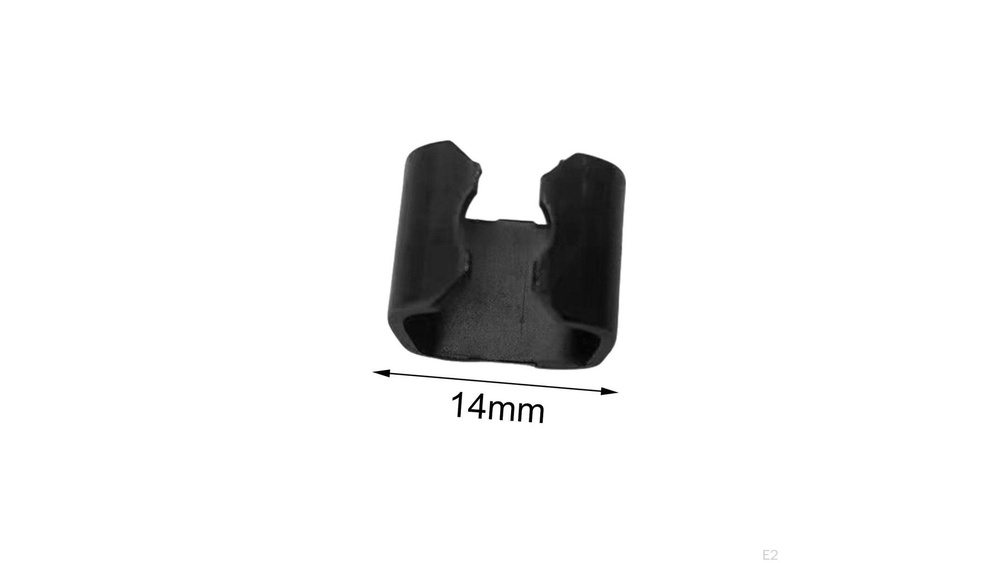
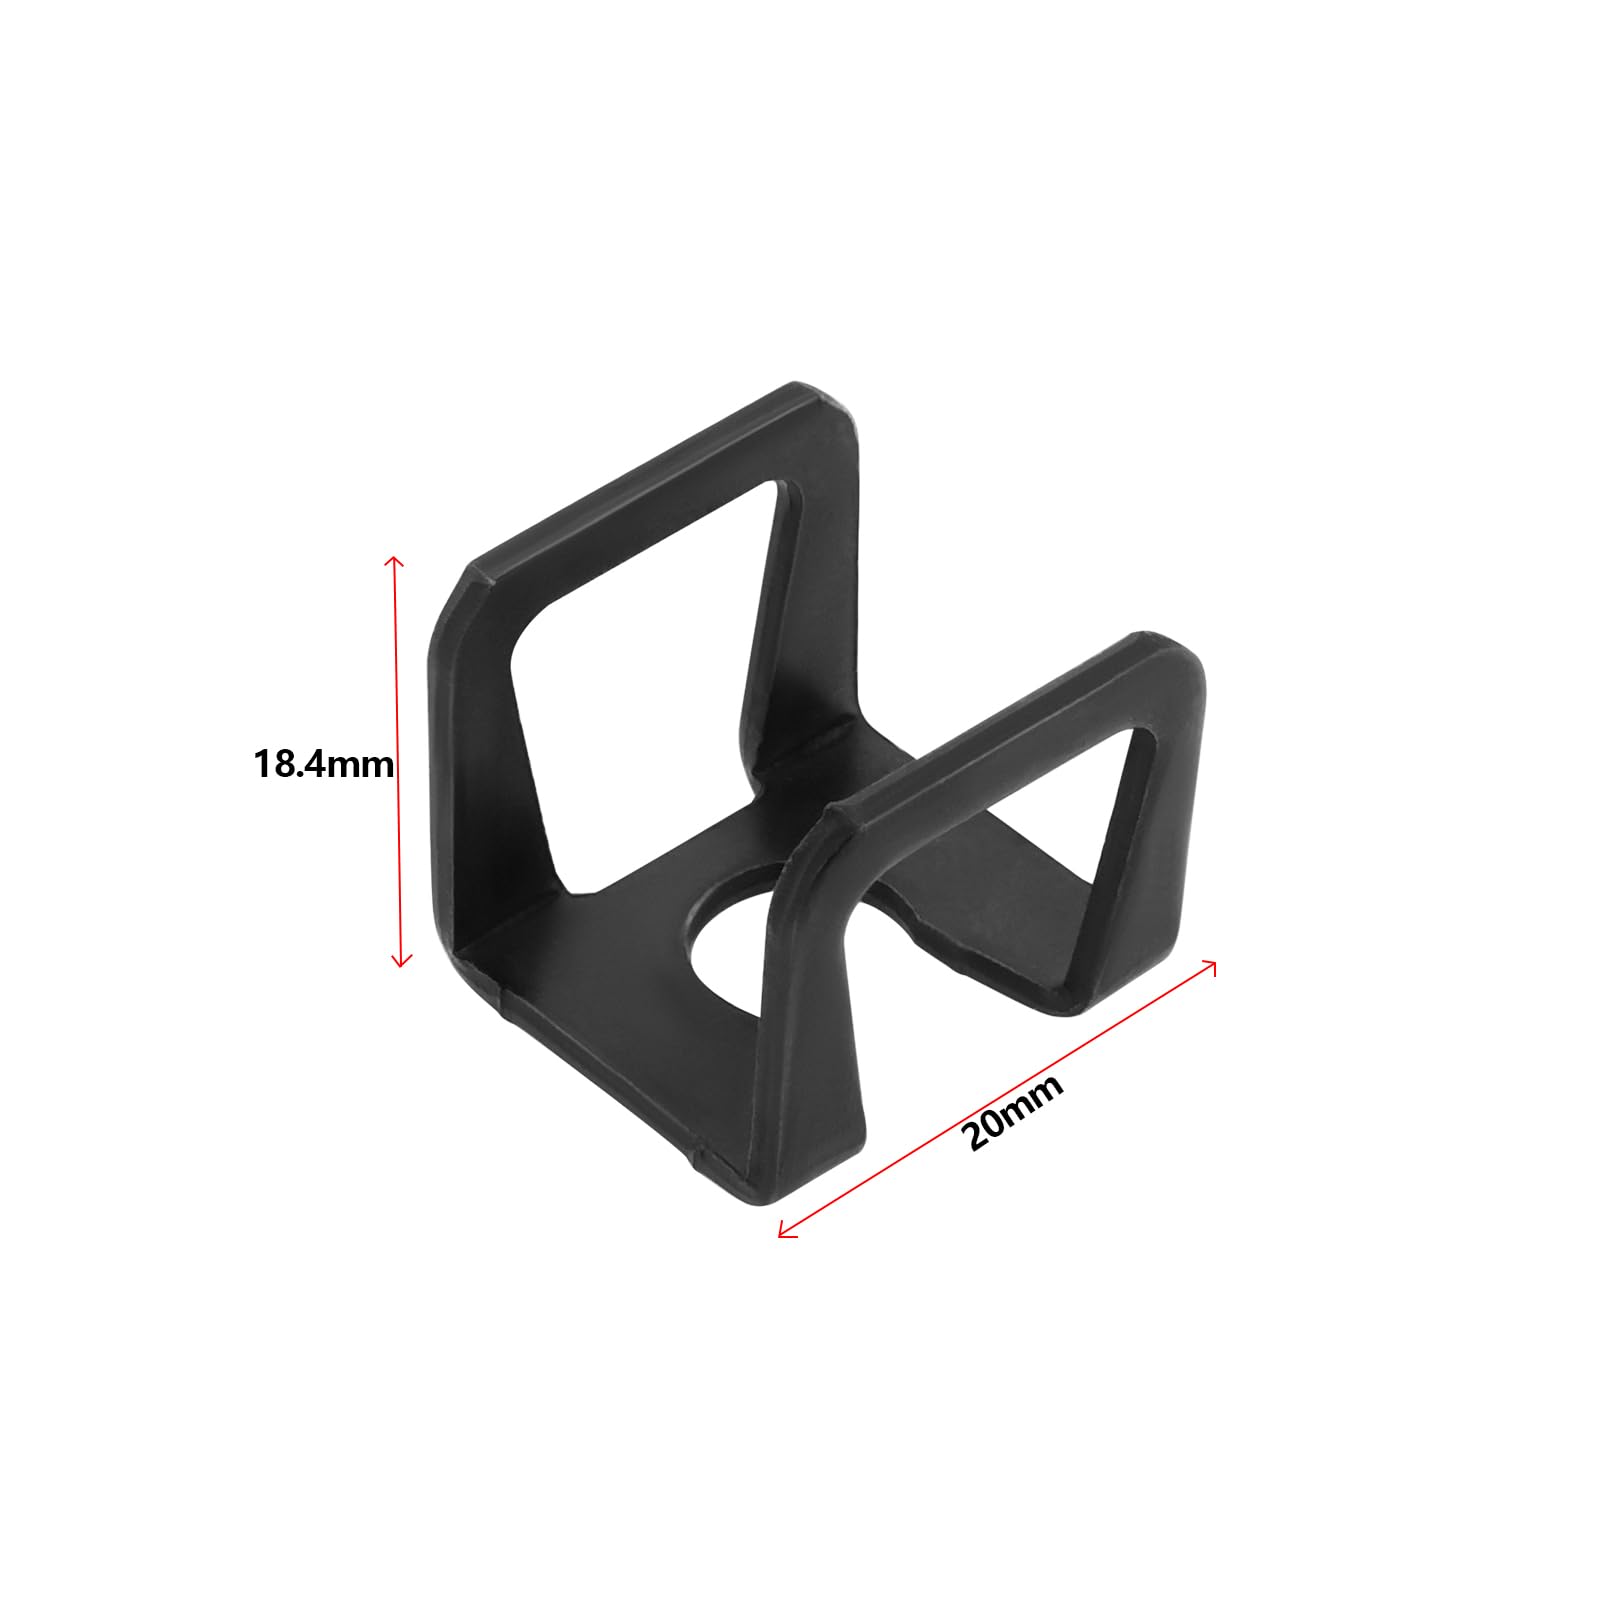
Replacement Clip
Use the exact clip designed for your floor jack model. This ensures proper fit and safe operation. Check the manual or product label for the correct part number.
Cleaning Supplies
Keep a clean cloth or rag handy. It removes dirt and grease from the pump area. A small brush can clear debris from tight spots before fitting the new clip.
Lubricant
A light machine oil or grease helps parts move smoothly. Apply a small amount to the clip and pump surfaces. This reduces wear and makes installation easier.
Safety Gear
Wear gloves to protect your hands from sharp edges. Safety glasses keep debris out of your eyes. These simple items increase comfort and safety during the repair.
Preparing The Floor Jack
Preparing the floor jack properly makes the clip-on pump replacement easier. It helps avoid damage and keeps you safe. Start by placing the jack on a flat, solid surface. This prevents the jack from moving or tipping during the work.
Next, clean the jack carefully. Remove dirt, grease, and dust from the pump area. A clean surface helps you see parts clearly and keeps dirt out of the mechanism.
Check The Jack’s Condition
Inspect the floor jack for any visible damage. Look for cracks, leaks, or rust on the body and pump. Check the hydraulic fluid level and top it up if needed. Avoid working on a jack with serious damage.
Secure The Jack
Use wheel chocks or blocks to stop the jack from rolling. This keeps it stable and safe. Make sure the jack handle is in the lowered position. This releases pressure and prepares the pump for removal.
Gather Necessary Tools
Collect all tools before starting. Common tools include wrenches, pliers, and screwdrivers. Having tools ready saves time and avoids interruptions during the replacement.
Removing The Old Clip On Pump
Removing the old clip on pump from your floor jack is the first step in the replacement process. It helps prepare the jack for the new pump. The task is simple if you follow the right steps carefully. Safety is important to avoid damage or injury.
Take your time and focus on each step. Use the correct tools to make the process smooth and quick.
Gather Necessary Tools
Prepare tools such as pliers, screwdrivers, and a wrench. These help loosen and remove clips and screws. Keep a clean workspace to avoid losing small parts.
Release Pressure From The Jack
Lower the jack to its resting position. This releases any pressure inside the pump. It makes removing the clip easier and safer. Never try to remove parts under pressure.
Locate The Clip On Pump
Find the clip that holds the pump in place. It is usually near the base or side of the jack. Clear any dirt or grease to see the clip clearly.
Remove The Clip Carefully
Use pliers or a screwdriver to gently pry off the clip. Avoid bending or breaking it. Work slowly to prevent damage to the pump or jack body.
Detach The Old Pump
Once the clip is off, pull the old pump straight out. If it sticks, wiggle it gently to loosen. Check for any remaining parts attached to the pump.

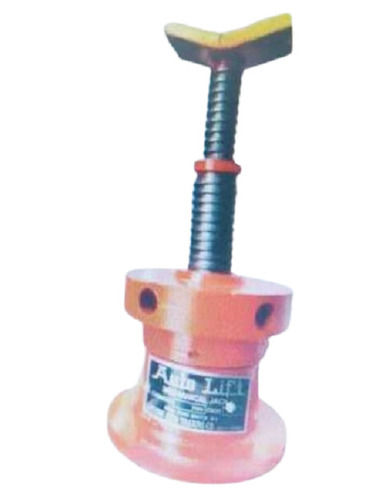
Credit: stonedesignbysantos.com
Installing The New Clip On Pump
Installing the new clip on pump is a key step in fixing your floor jack. This part helps the jack lift heavy loads safely. Follow the steps carefully for a smooth installation.
Prepare The Floor Jack For Installation
Place the floor jack on a flat surface. Remove any dirt or grease from the area around the pump. Make sure the jack is lowered completely. This makes the work safer and easier.
Attach The New Clip On Pump
Align the new pump with the floor jack’s mounting point. Press the pump into place firmly. The clip should snap on without forcing it. Check if the pump holds tightly.
Secure The Pump With Fasteners
Use the screws or bolts removed earlier. Tighten them with a wrench or screwdriver. Do not over-tighten, as this may damage parts. The pump must be fixed firmly without movement.
Test The Floor Jack
Slowly pump the handle to lift the jack. Watch for smooth movement and no leaks. Lower the jack to its resting position. Confirm the pump works correctly and safely.
Testing The Floor Jack Pump
Testing the floor jack pump is a key step after replacing the clip-on pump. It confirms the pump works properly and the jack lifts safely. This check helps avoid problems during use and ensures the jack performs as expected.
Start with a simple visual inspection. Look for leaks, loose parts, or damaged seals. Fix any issues before testing the pump function.
Checking Hydraulic Fluid Levels
Low fluid affects the jack’s lifting power. Remove the fill plug and check the fluid level. Top up with the recommended hydraulic oil if the level is low. Avoid overfilling, as it may cause damage.
Operating The Pump Handle
Move the handle up and down slowly. Notice the resistance and smoothness. The jack should lift steadily without jerks or slips. If it feels weak, the pump might need adjustment or repair.
Testing The Release Valve
Turn the release valve slowly to lower the jack. The descent should be controlled and smooth. A sudden drop signals a faulty valve or seal. Tighten or replace parts as needed.
Load Test With A Vehicle
Place the jack under a stable point on the vehicle. Pump the handle to lift the vehicle slightly off the ground. Hold the load for a few minutes to check stability. Never exceed the jack’s rated capacity.
Troubleshooting Common Issues
Troubleshooting common issues with a clip on pump for a floor jack helps keep it working well. Problems may stop the jack from lifting properly. Knowing what causes these issues saves time and effort.
Check the pump carefully before replacing it. Some problems are easy to fix without a new pump. This section covers common issues and how to spot them quickly.
Identifying Leaks Around The Clip On Pump
Leaks cause loss of pressure and poor pump performance. Look for oil or fluid around the pump area. Worn seals or loose fittings often cause leaks. Tighten fittings or replace seals to fix leaks fast.
Recognizing Air In The Hydraulic System
Air bubbles make the jack feel soft or spongy. Pumping several times may help remove trapped air. Bleed the system if the problem persists. This restores smooth lifting action.
Detecting A Faulty Pump Handle
A broken or loose handle stops proper pumping. Check handle joints for damage or wear. Replace or tighten the handle to restore full control. A secure handle makes pumping easier.
Checking For Blockages In The Pump
Dirt or debris can block the pump mechanism. This reduces lifting power or stops the pump. Clean the pump parts carefully using a soft brush. Clear blockages before installing a new pump.
Maintenance Tips For Floor Jack
Keeping a floor jack in good shape helps it work safely and last longer. Regular care stops problems before they start. Simple checks and cleaning keep the jack ready for use. A well-maintained floor jack saves money and effort over time.
Check The Hydraulic Fluid
Hydraulic fluid is key for smooth lifting. Check the fluid level often. Use the right type of oil for your jack. Low fluid causes weak lifting and damage. Refill or replace the fluid as needed.
Inspect For Leaks
Look under the jack for oil spots. Leaks reduce pressure and harm parts. Tighten loose fittings and seals. Replace damaged seals to stop leaks. Early leak fixes keep the jack working well.
Clean The Jack Regularly
Dirt and dust can block moving parts. Wipe the jack after each use. Use a damp cloth for best results. Keep wheels and pump free from grime. Clean parts last longer and work better.
Lubricate Moving Parts
Oil joints and wheels to reduce friction. Use light machine oil on hinges and pins. Lubrication prevents rust and wear. Smooth movement means easier lifting. Apply oil regularly for best results.
Test The Pump And Release Valve
Check the pump for smooth action. The release valve must open and close easily. Stiff or slow parts need cleaning or repair. Fixing these parts keeps control safe. Test the jack before each use.
Credit: lepaystchad.com
Frequently Asked Questions
How Do I Remove The Old Clip On Pump?
To remove the old clip on pump, first release all hydraulic pressure. Then, detach the retaining clip carefully. Finally, pull the pump assembly straight out without forcing it.
What Tools Are Needed To Replace The Pump?
You need pliers, a flathead screwdriver, and gloves. These tools help remove clips and safely handle hydraulic parts.
How To Install A New Clip On Pump Correctly?
Align the new pump with the jack’s housing. Insert it firmly until it clicks. Secure it using the retaining clip.
How Long Does The Pump Replacement Take?
Replacing the clip on pump typically takes 15-30 minutes. Time varies depending on experience and jack condition.
Conclusion
Replacing a clip-on pump for your floor jack is simple and quick. Follow the steps carefully for a safe fix. Keep your tools ready and work in a clean space. Check the pump after replacement to ensure it works well.
Regular care helps your floor jack last longer. Now, you can handle this repair with confidence. No need to call a professional every time. Save money and time by doing it yourself. A small effort keeps your jack in good shape.
Try it today and see the difference.