If you’ve noticed your Allied floor jack isn’t holding pressure or lifting like it used to, the seals might be the problem. Replacing these seals can seem tricky, but with the right steps, you can fix it yourself and save money.
In this guide, you’ll learn exactly how to replace seals on your Allied floor jack quickly and easily. Keep reading, and you’ll get your jack working smoothly again in no time.

Credit: www.ebay.com
Tools And Materials Needed
Replacing seals on an Allied floor jack requires specific tools and materials. Having the right items ready makes the job easier and safer. This section covers all the essentials needed before starting the repair.
Essential Tools
You need a set of basic hand tools. A wrench set helps to loosen and tighten bolts. A screwdriver set is useful for removing covers. A pair of pliers comes handy for gripping parts. A clean cloth helps to wipe grease and dirt. A small hammer can assist in removing stuck parts.
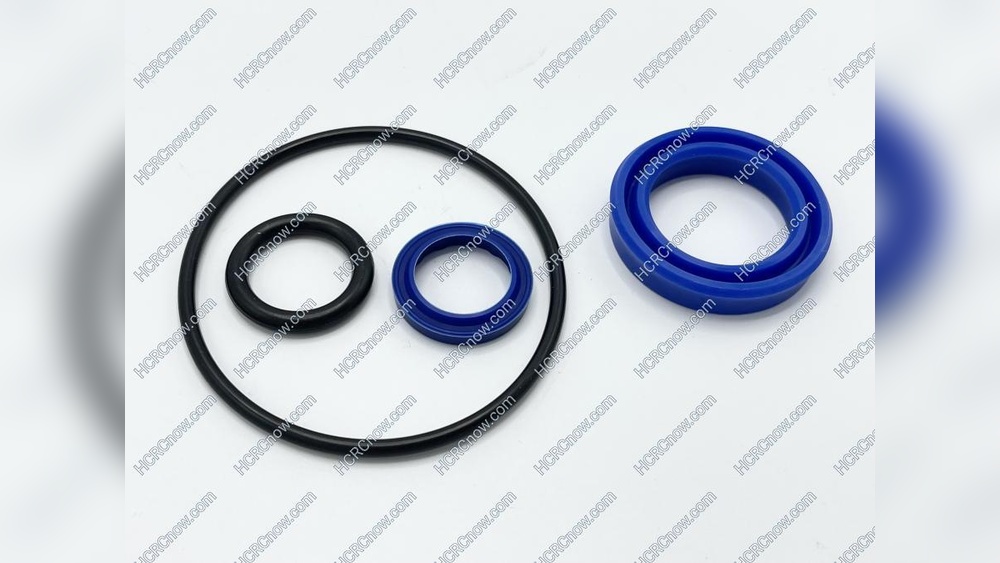
Seal Replacement Kit
Buy a seal replacement kit made for Allied floor jacks. These kits include new seals and O-rings. They often come with instructions for installation. Using the correct kit ensures a proper fit and seal. Avoid using generic seals that might cause leaks.
Safety Gear
Protect yourself with proper safety gear. Wear safety glasses to shield your eyes from debris. Use gloves to protect your hands from oil and sharp edges. Work in a well-ventilated area to avoid breathing harmful fumes. Keep a clean workspace to prevent accidents and injuries.
Preparing The Floor Jack
Preparing the floor jack is the first step in replacing seals on your Allied floor jack. Proper preparation ensures a smooth repair and prevents damage to the jack. Take your time to get everything ready before starting the repair process.
Cleaning The Jack
Start by cleaning the floor jack thoroughly. Remove dirt, grease, and debris from all surfaces. Use a rag and a mild cleaner to wipe down the jack. Pay close attention to the areas around the seals. Clean surfaces help you spot damage and work more efficiently.
Positioning For Repair
Place the floor jack on a flat, stable surface. This keeps it steady during the repair. Lower the jack completely to release pressure. Secure the jack to prevent any movement. Proper positioning makes the seal replacement safer and easier.
Draining Hydraulic Fluid
Draining the hydraulic fluid is a key step in replacing seals on an Allied floor jack. Removing old fluid prevents contamination and ensures smooth jack operation. Take care to drain all the fluid before starting seal replacement. This keeps the system clean and ready for new parts.
Locating The Drain Valve
Find the drain valve at the base of the jack’s hydraulic reservoir. It usually looks like a small screw or plug. Use a wrench or screwdriver to open it carefully. Place a container under the valve to catch the fluid. Open the valve slowly to avoid spills. Let all the fluid drain out completely for best results.
Proper Fluid Disposal
Collect the used hydraulic fluid in a sealed container. Do not pour it down drains or on the ground. Take the fluid to a recycling center or hazardous waste facility. Proper disposal helps protect the environment. Follow local laws and regulations for fluid disposal. Clean up any spills immediately using absorbent materials.
Removing Old Seals
Removing old seals from an Allied floor jack is a key step in its repair. Seals keep the jack working smoothly and prevent leaks. Over time, these seals wear out and must be replaced to keep the jack safe and functional.
This section guides you through the process of removing old seals carefully. Follow each step to avoid damage to the jack and prepare it for new seals.
Disassembling The Jack
Start by placing the jack on a flat surface. Make sure it is fully lowered. Use a wrench to remove the bolts holding the jack’s cover. Keep the bolts safe for reassembly.
Lift the cover gently to expose the inside parts. Note the position of each part as you remove it. This will help during reassembly. Remove the pump assembly carefully. Avoid forcing any parts.
Extracting Worn Seals
Locate the seals around the pump and cylinder. Use a small flat screwdriver or seal puller. Gently pry out the old seals without scratching metal surfaces. Clean the area around the seals with a cloth.
Inspect the seals for cracks, tears, or hardening. Remove all debris and old seal material. This ensures the new seals fit properly and work well.
Installing New Seals
Installing new seals on your Allied floor jack is key to keep it working well. Worn seals cause leaks and reduce jack power. Replacing seals restores smooth operation and safety.
Careful installation ensures the seals fit tightly and last long. Follow clear steps to avoid damage and leaks after the job.
Selecting Correct Seals
Choose seals made for Allied floor jacks. Check the model number on your jack. Match seals by size and material. Use durable rubber or synthetic seals. Avoid cheap or generic seals that may fail quickly.
Buy from trusted suppliers or authorized dealers. Proper seals prevent fluid leaks and keep pressure steady. Using the right seals saves time and effort later.
Seal Placement Tips
Clean the seal area thoroughly before placing new seals. Dirt or old grease can cause leaks. Use a soft cloth and mild cleaner. Dry the area completely.
Place seals gently without forcing them. Align seals with grooves or slots made for them. Press seals evenly to avoid twisting or bending. Use a seal driver or a smooth tool for even pressure.
Double-check seals sit flat and tight. Misplaced seals reduce jack performance and cause leaks. Take your time. Correct placement means longer seal life and better jack function.
Credit: hotelroyaldamgrete.com
Reassembling The Jack
Reassembling the Allied floor jack is a key step after replacing seals. Careful assembly ensures the jack works safely and efficiently. Taking time during this process helps avoid leaks and malfunctions. Follow the steps closely for best results.
Aligning Components
Start by placing each part in its proper spot. Check that seals fit snugly without gaps. Align the piston and cylinder carefully to avoid damage. Use gentle pressure to slide parts together smoothly. Proper alignment prevents wear and extends jack life.
Tightening And Securing
Secure bolts and screws evenly to hold parts firmly. Use the correct tools to avoid stripping threads. Tighten fasteners gradually, alternating sides for balance. Ensure no parts shift during tightening. This step keeps the jack safe and stable during use.
Refilling Hydraulic Fluid
Refilling the hydraulic fluid is a key step after replacing seals on your Allied floor jack. This fluid helps the jack lift heavy loads smoothly. Without the right fluid level, the jack cannot work properly. Too little fluid causes poor lifting, and too much can cause leaks. Properly refilling the fluid ensures your jack stays safe and effective.
Choosing The Right Fluid
Select a hydraulic fluid that matches the jack’s specifications. Use only high-quality jack oil or hydraulic fluid. Avoid using motor oil or brake fluid. These can damage the seals and the pump. Check the owner’s manual for the recommended type. Using the correct fluid helps prevent wear and tear.
Filling Procedure
Start by placing the jack on a flat surface. Remove the fill plug or cap carefully. Slowly pour the hydraulic fluid into the reservoir. Fill until the fluid level reaches just below the fill hole. Avoid overfilling to prevent spills and pressure issues. Replace the fill plug tightly after filling. Pump the jack a few times to remove air bubbles. Check the fluid level again and add more if needed.

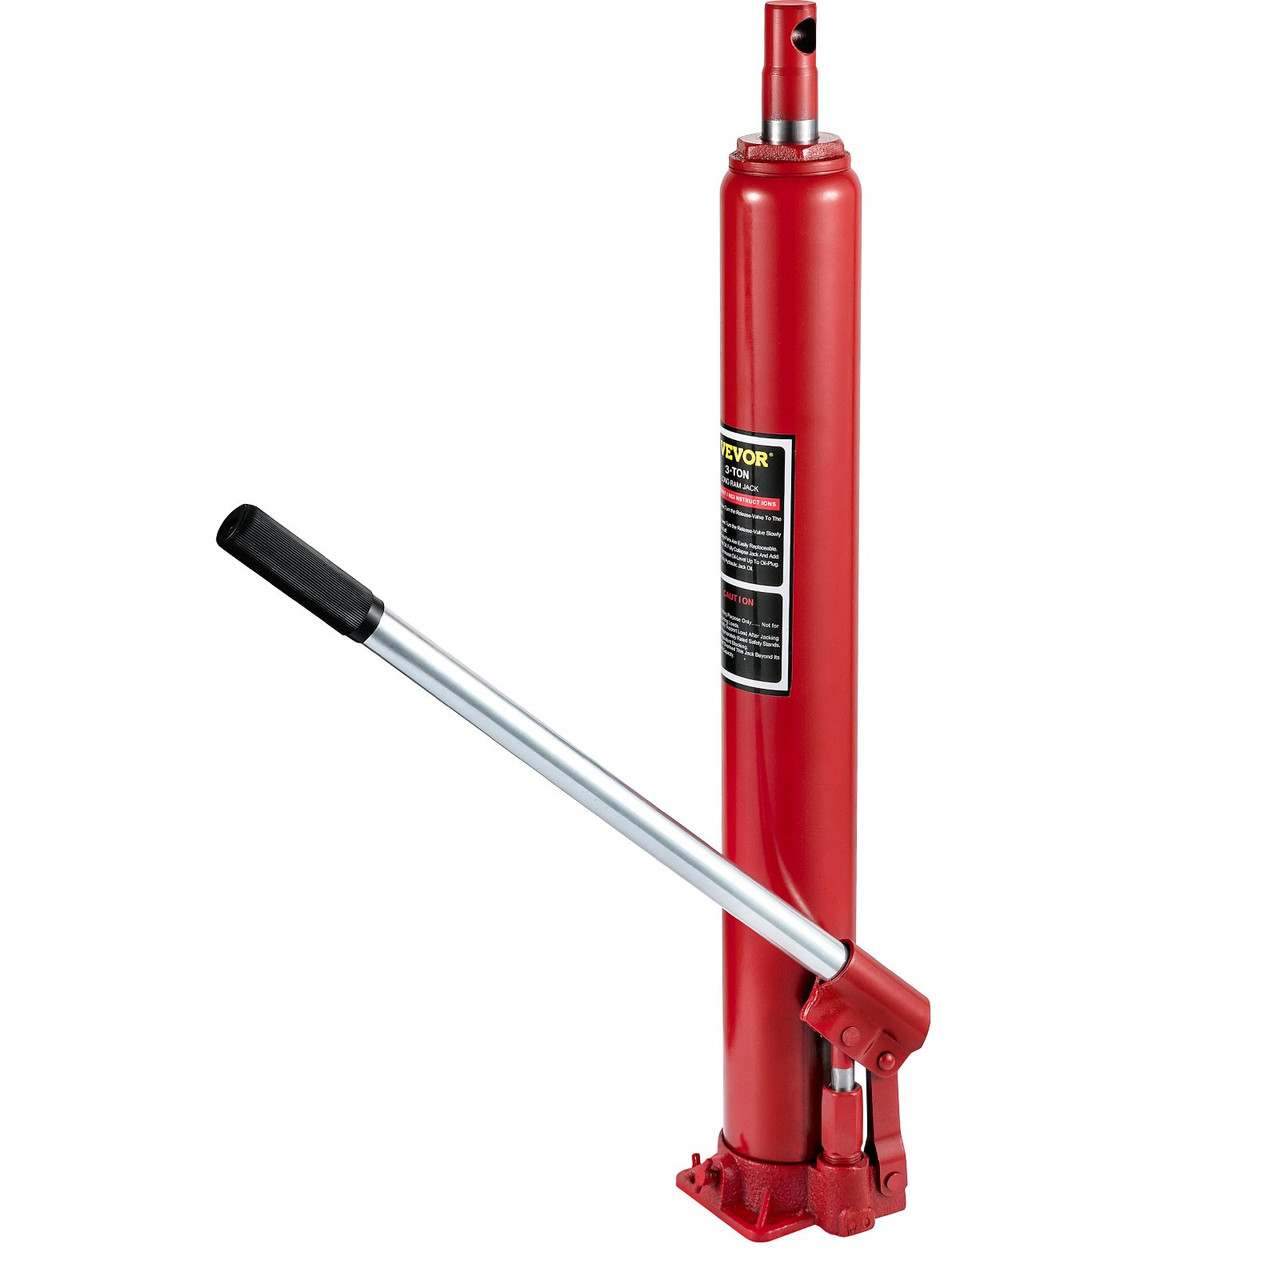
Credit: www.hcrcnow.com
Testing The Floor Jack
Testing the floor jack is an important step after replacing the seals on your Allied floor jack. It helps you confirm that the jack works safely and correctly. This process also shows if the seals are properly installed and if the jack holds pressure as it should.
Checking For Leaks
Start by cleaning the jack to see any oil or fluid clearly. Pump the handle slowly and watch the seals closely. Look around the seal area for oil drops or wet spots. If you see leaks, the seal might not fit well or need adjustment.
Check the hydraulic fluid level too. Low fluid can cause leaks or poor lifting power. Fill the fluid to the recommended level before testing again.
Ensuring Proper Operation
Next, test the jack’s lifting ability. Place it under a sturdy surface and pump the handle. The jack should lift smoothly without strange noises or jerks. Hold the lifted position for a minute to see if it stays stable.
Lower the jack slowly. It should descend evenly without sudden drops. If the jack works well, the seal replacement is successful. If not, inspect the seals and parts again before use.
Maintenance Tips
Maintaining your Allied floor jack is crucial for safety and performance. Proper care helps prevent leaks and damage to seals. Small checks can save time and money over time.
Regular Seal Inspection
Check seals every month for cracks or wear. Look for oil leaks around the jack’s base. Clean the area before inspection to spot issues easily. Replace damaged seals immediately to avoid bigger problems. Use the right tools to avoid damaging the seals during checks.
Extending Floor Jack Life
Keep the jack clean and free from dirt and debris. Store it in a dry place to prevent rust and seal damage. Use hydraulic oil recommended by the manufacturer. Avoid overloading the jack beyond its weight limit. Regular maintenance ensures smooth operation and longer life.
Frequently Asked Questions
How Do I Identify Worn Seals On An Allied Floor Jack?
Worn seals often cause hydraulic fluid leaks and reduced lifting power. Check for visible cracks, deformations, or oil seepage around the seal area. If the jack loses pressure or lifts slowly, the seals likely need replacement to restore proper function.
What Tools Are Needed To Replace Allied Floor Jack Seals?
You will need basic tools like wrenches, screwdrivers, pliers, and a seal pick. Also, have replacement seals specific to your jack model. Clean rags and hydraulic fluid are helpful for maintenance during the seal replacement process.
How Long Does It Take To Replace Seals On The Floor Jack?
Replacing seals usually takes 30 to 60 minutes depending on your experience. Proper cleaning and careful assembly are key to avoid leaks. Taking your time ensures the jack operates safely and efficiently after the repair.
Can I Replace Seals Without Disassembling The Entire Jack?
Partial disassembly may work for some seal replacements, but full disassembly ensures thorough cleaning and inspection. Removing the pump and cylinder helps access all seals properly. This approach prevents future leaks and extends jack life.
Conclusion
Replacing seals on your Allied floor jack keeps it working well. Take your time and follow each step carefully. Clean parts before putting in new seals. Tighten everything just enough to avoid leaks. Test the jack after the repair to ensure safety.
Regular maintenance helps your jack last longer. A well-maintained jack makes lifting easier and safer. Keep tools and seals ready for future fixes. Small efforts save money and prevent bigger problems later. Your jack will thank you with smooth, reliable use.