Is your floor jack leaking and losing pressure? A leaking seal can make your jack unreliable and unsafe to use.
But don’t worry—you can fix it yourself without spending a fortune on a new one. In this guide, you’ll learn exactly how to rebuild the seal on your floor jack step by step. Imagine saving money and getting your jack working like new again.
Keep reading, and by the end, you’ll have the confidence to tackle this repair with ease.
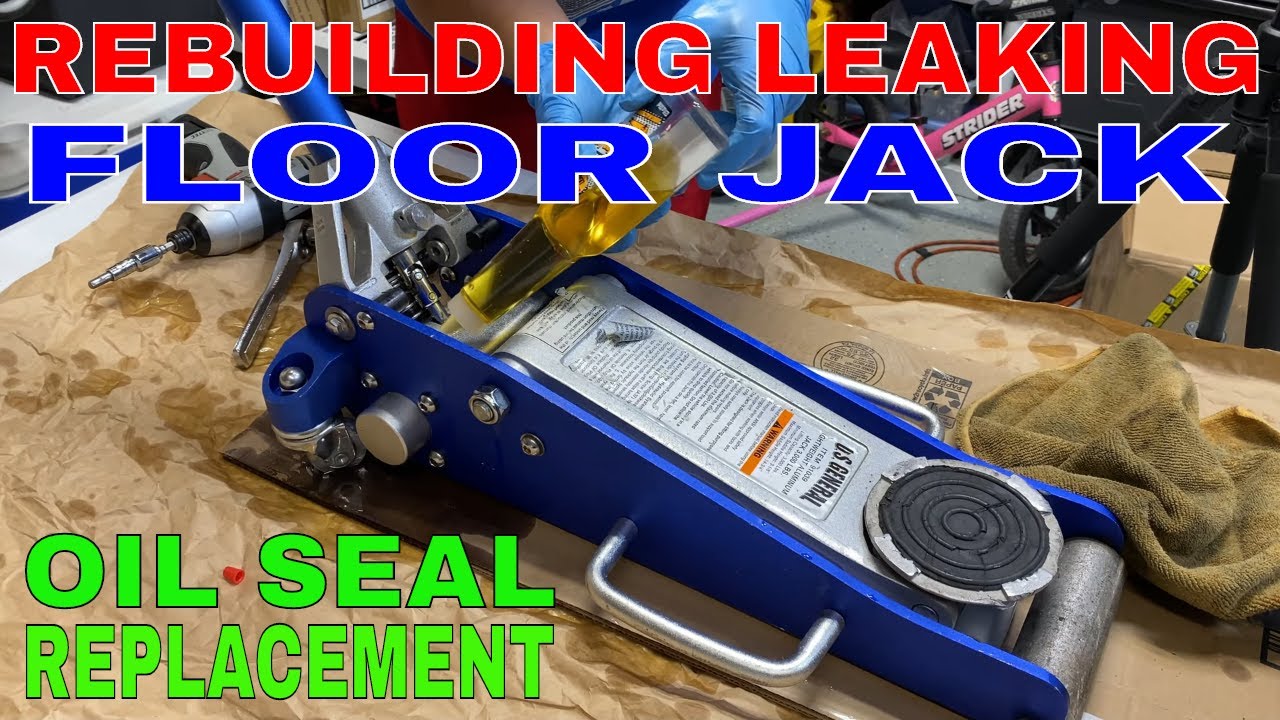
Credit: www.youtube.com
Identify The Leak
Identifying the leak in your floor jack is the first step to fixing it. Without knowing exactly where the oil escapes, repairs will not last. This section helps you find the leak quickly and clearly. Follow these simple steps to spot the problem.
Check For Oil Loss
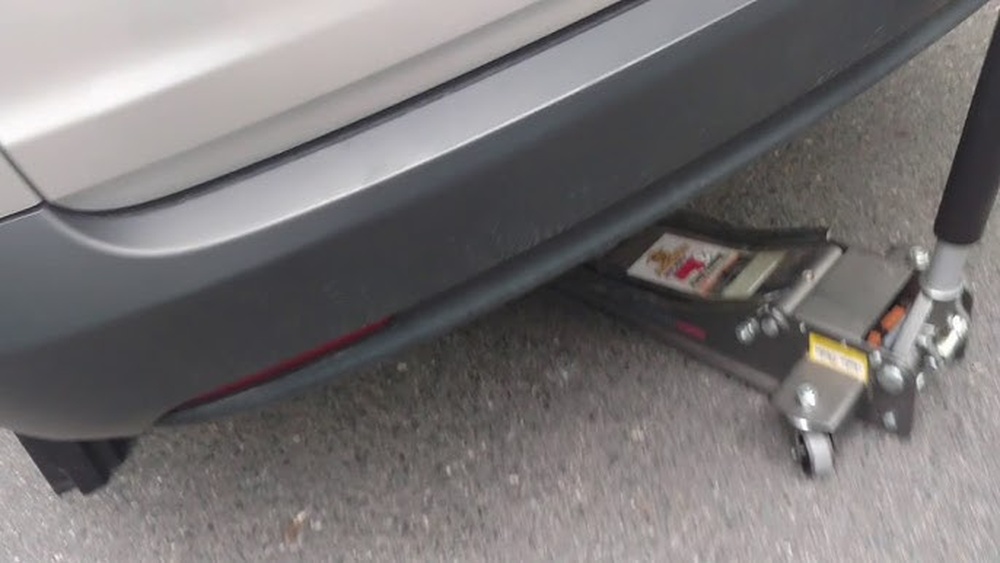
Start by checking the oil level in your floor jack. Low oil means there is a leak somewhere. Look under the jack for any puddles or wet spots. Oil stains on the floor show the leak’s location. Note how much oil is lost to understand the leak’s size.
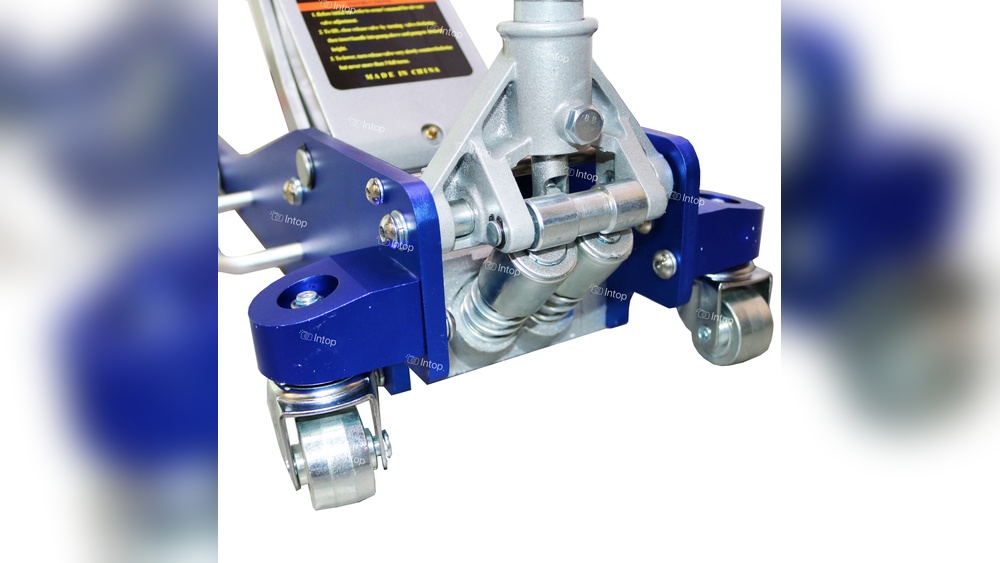
Locate The Seal Area
Focus on the seals around the hydraulic cylinder and pump. These seals keep the oil inside. Clean the jack to remove dirt and grime. This makes it easier to see fresh oil on the seals. Run the jack up and down slowly. Watch for any oil seeping out near the seals. Mark the exact spots to prepare for repair.
Gather Required Tools
Gathering the right tools is the first step to rebuild a leaking floor jack seal. Having all tools ready makes the repair easier and faster. You avoid interruptions and save time by preparing everything in advance. This guide lists the essential tools and recommended parts for the job.
Essential Tools List
- Adjustable wrench
- Flathead screwdriver
- Needle-nose pliers
- Socket set
- Rubber mallet
- Clean rags
- Hydraulic fluid
- Seal pick or small hook tool
- Safety gloves
- Drain pan
Recommended Replacement Parts
- Floor jack seal kit
- New O-rings
- Replacement piston seal
- Hydraulic cylinder seal
- Backup washers
Prepare The Floor Jack
Preparing the floor jack is the first step to fix a leaking seal. This step helps avoid mess and keeps the work area safe. You must remove old hydraulic fluid and clean the jack surface. This makes it easier to find leaks and repair the seal.
Taking time to prepare the jack properly saves effort later. It also helps the new seal work better and last longer. Follow the steps below to prepare your floor jack before rebuilding the seal.
Drain Hydraulic Fluid
Place a container under the jack to catch the fluid. Open the drain plug or release valve carefully. Let all the hydraulic fluid flow out. Use gloves to protect your hands from the fluid. Dispose of the old fluid according to local rules. This step prevents spills and keeps the work clean.
Clean The Jack Surface
Wipe the outside of the jack with a clean rag. Remove dirt, grease, and oil from the surface. Use a mild cleaner if needed, but avoid harsh chemicals. Clean surfaces help you see damage and leaks clearly. A clean jack also prevents dirt from entering the hydraulic system during repair.

Credit: stonedesignbysantos.com
Remove The Old Seal
Removing the old seal is the first step to fix a leaking floor jack. This step ensures the new seal fits well and stops leaks. Careful removal avoids damage to other parts. Follow the right process to make your floor jack work like new.
Disassemble Jack Components
Start by placing the jack on a flat surface. Use tools to open the jack carefully. Remove the handle and any covers blocking the seal. Keep all parts organized for easy reassembly. Take your time to avoid breaking anything.
Extract The Damaged Seal
Look for the seal around the jack’s cylinder. Use a small flat tool or pick to pry it out gently. Avoid scratching the metal surface. If the seal is stuck, apply a little oil to loosen it. Remove all pieces of the old seal before installing the new one.
Install The New Seal
Installing the new seal is a key step to stop your floor jack from leaking. It needs careful handling to ensure a tight fit. A proper installation helps the jack work smoothly and safely. Follow these steps to place and secure the seal correctly.
Position The Seal Correctly
Start by cleaning the groove where the seal will sit. Dirt or old oil can cause leaks. Gently place the new seal into the groove. Make sure it fits evenly all around. Avoid twisting or stretching the seal. The seal should lay flat without gaps or folds.
Secure Components Back
After positioning the seal, put all parts back carefully. Align the piston and other components in their exact spots. Tighten screws or bolts by hand first. Use a wrench to secure them firmly but do not over-tighten. Over-tightening can damage the seal. Check that the seal stays in place as you reassemble.
Refill Hydraulic Fluid
Refilling the hydraulic fluid is a key step in rebuilding a leaking floor jack seal. Without enough fluid, the jack cannot lift properly. The fluid also helps keep the seals tight and the system working smoothly. Proper refilling prevents future leaks and extends the jack’s life.
Choose The Right Fluid
Select the correct hydraulic fluid for your floor jack. Check the user manual or the label on the jack. Most jacks use standard hydraulic oil. Avoid using engine oil or brake fluid. These can damage the seals and the system. Using the right fluid ensures smooth operation and longer seal life.
Fill And Bleed The System
Open the fluid reservoir carefully. Slowly pour the hydraulic fluid until it reaches the recommended level. Do not overfill, as this can cause pressure problems. After filling, bleed the system to remove trapped air. Pump the jack handle several times to release air bubbles. Check the fluid level again and top off if needed. This process helps the jack lift evenly and prevents seal leaks.
Test The Floor Jack
Testing the floor jack after rebuilding the leaking seal is crucial. It ensures the jack works safely and holds pressure well. This step helps catch any issues before you use the jack again. Follow the simple checks below to confirm the repair was successful.
Check For Leaks
Place the floor jack on a flat surface. Pump the handle several times to raise the lifting arm. Watch closely around the seal area for any oil drips or wet spots. A properly sealed jack shows no leaks. If you see fluid, the seal may still be damaged or installed incorrectly.
Also, check under the jack body. Leaks can appear in hidden spots. Clean the area first for a clear view. Repeat pumping and observe. No leaks mean your seal rebuild is holding up well.
Ensure Proper Operation
Lift the jack arm fully and hold it in place. The arm should stay up without slowly lowering. Lower the arm by turning the release valve gently. It must move smoothly without sudden drops or sticking. Test the pump handle for easy movement.
Try lifting a small load if possible. The jack should raise the weight steadily. No strange noises or resistance should appear. Proper operation confirms the jack is ready for regular use.
Maintenance Tips
Maintaining your floor jack seal is key to keeping it leak-free. Small efforts can stop big problems. Focus on simple steps that protect the seal and extend the jack’s life.
Regular care helps spot issues early. This saves time and money on repairs. Follow clear routines and keep your jack working smoothly.
Regular Inspection
Check the floor jack seal often. Look for cracks, wear, or oil leaks. Use a flashlight to see hidden spots. Pay attention to any sticky oil or dirt buildup.
Test the jack’s lift to feel if it works well. Listen for strange noises or uneven movement. Early signs show before leaks grow bigger. Write down your findings to track changes.
Prevent Future Leaks
Keep the jack clean and dry after use. Wipe off dirt and oil on the seal area. Store the jack in a dry place away from dust.
Use the right hydraulic oil as the manual says. Avoid overfilling the oil reservoir. Tighten seal parts gently but firmly. Replace worn seals with quality parts fast.

Credit: grassrootsmotorsports.com
Frequently Asked Questions
How Do I Identify A Leaking Floor Jack Seal?
A leaking floor jack seal shows hydraulic fluid around the piston. The jack may lose pressure or lift unevenly. Inspect the seal and piston for visible damage or fluid residue. Early detection prevents further damage and ensures safe jack operation.
What Tools Are Needed To Rebuild A Floor Jack Seal?
You need a seal replacement kit, wrench set, screwdrivers, and clean rags. Hydraulic fluid and a small brush help clean parts. Having the correct tools ensures a smooth, efficient rebuild process. Always use manufacturer-recommended seal kits.
Can I Rebuild The Floor Jack Seal Myself?
Yes, rebuilding a floor jack seal is doable with basic mechanical skills. Follow the manufacturer’s instructions carefully. Ensure safety by releasing pressure and supporting the jack properly. DIY rebuild saves cost and extends the jack’s lifespan.
How Long Does It Take To Rebuild A Leaking Floor Jack Seal?
Rebuilding a leaking seal typically takes 30 to 60 minutes. Time varies with your experience and tool availability. Proper cleaning and seal installation are crucial for success. Take your time to avoid mistakes and ensure a perfect seal.
Conclusion
Fixing a leaking floor jack seal is simpler than it seems. Follow the steps carefully for best results. A tight seal keeps your jack safe and working well. Regular checks help catch leaks early and save money. With patience, anyone can rebuild the seal at home.
Keep your tools ready and take your time. A strong seal means a reliable jack for your tasks. Don’t ignore leaks—they can cause bigger problems later. Take action today for a safer, smoother job tomorrow.