Are you struggling to hang something on a hollow wall without worrying it might fall? Hollow wall anchors made of plastic can be your best friend.
They hold your shelves, pictures, and decorations securely, even when the wall has no solid backing. But how do you use these anchors correctly to make sure your items stay put? In this guide, you’ll discover simple steps to install plastic hollow wall anchors like a pro.
Keep reading, and soon you’ll feel confident tackling your next wall project with ease.
Choosing The Right Anchor
Choosing the right hollow wall anchor is key for a secure hold. Plastic anchors come in different types and sizes. Each type fits specific wall materials and weight needs. Picking the correct anchor avoids damage and keeps your items safe on the wall.
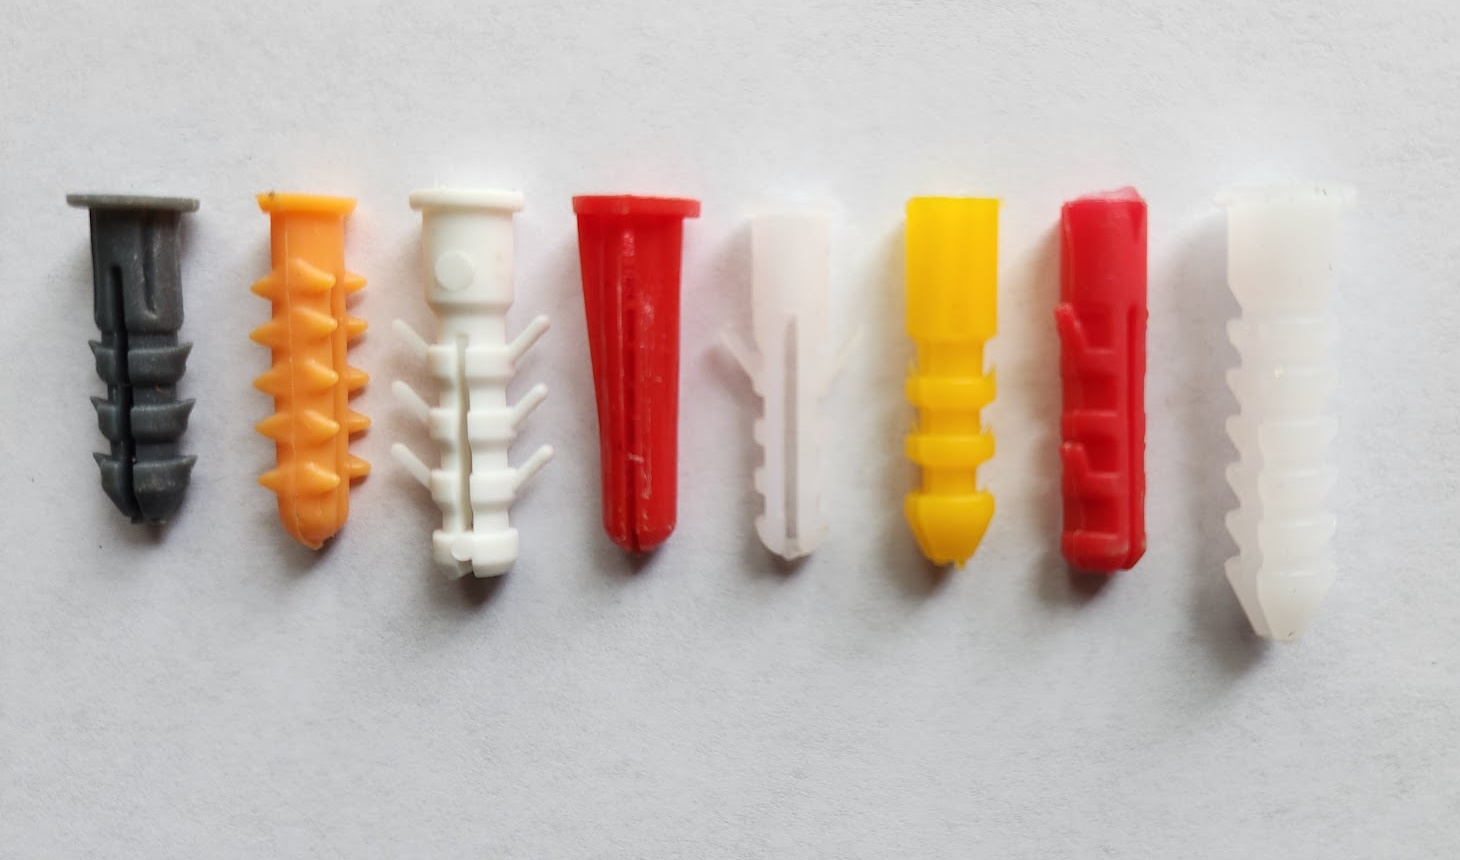
Types Of Plastic Hollow Wall Anchors
Plastic hollow wall anchors include expansion anchors, toggle anchors, and ribbed anchors. Expansion anchors spread inside the wall cavity for a tight grip. Toggle anchors use a spring-loaded mechanism to brace behind the wall. Ribbed anchors rely on friction from their ridges to hold firmly. Each type suits different tasks and wall types.
Matching Anchors To Wall Material
Match the anchor to your wall type for best results. Drywall works well with expansion or toggle anchors. Plaster walls need anchors that won’t crack the surface. Hollow concrete blocks require stronger ribbed anchors. Knowing your wall material helps prevent anchor failure and wall damage.
Weight Limits And Anchor Sizes
Check the weight limit on each anchor package. Small anchors hold light items like picture frames. Larger anchors support heavier objects like shelves or mirrors. Always choose an anchor size rated for the weight of your item. Using the right size avoids accidents and keeps walls intact.
Credit: montreal.spokenweb.ca
Tools Needed
Before starting with hollow wall anchors plastic, gather the right tools. Using proper tools makes the job easier and safer. It also ensures the anchors hold firmly in the wall.
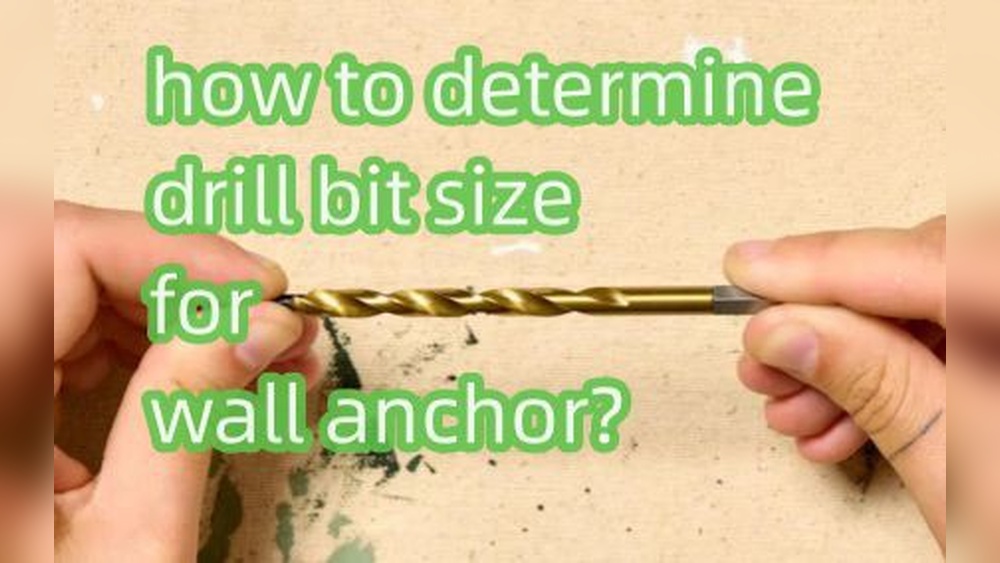
Drill And Drill Bits
A drill is essential to create holes in the wall. Choose a drill bit that matches the anchor size. The hole must be clean and the correct diameter. This helps the anchor fit snugly and hold strong.
Screwdrivers And Screws
Screwdrivers are needed to insert screws into the anchors. A Phillips or flathead screwdriver works for most screws. Use screws that fit the anchors well. The screws should be long enough to secure items to the wall.
Measuring And Marking Tools
Measuring tools help place anchors precisely. Use a tape measure or ruler for accuracy. Mark spots lightly with a pencil. Proper marking prevents mistakes and keeps your project neat.
Preparing The Wall
Preparing the wall is a key step before installing plastic hollow wall anchors. It ensures the anchors hold firmly and the item you hang stays secure. Follow these simple steps carefully to get the best results.
Locating Studs And Cavity Space
Start by finding the studs behind your wall. Use a stud finder or tap the wall softly with your knuckle. A solid sound shows a stud, a hollow sound means empty space. Plastic hollow wall anchors work best in hollow spaces, not on studs.
Marking Anchor Positions
Mark the spots where you want to install the anchors. Use a pencil to make small dots on the wall. Measure carefully to keep the marks level and evenly spaced. Clear marks help you drill in the right place.
Drilling The Pilot Hole
Choose a drill bit that matches the size of your anchor. Drill a hole at each marked spot. Drill straight and steady to avoid making the hole too big or crooked. Clean out dust from the hole before inserting the anchor.
Installing The Anchor
Installing a hollow wall anchor is a simple process that strengthens your wall’s hold. This step helps you hang items safely on drywall or hollow surfaces. Follow each step carefully for a secure fit and lasting support.
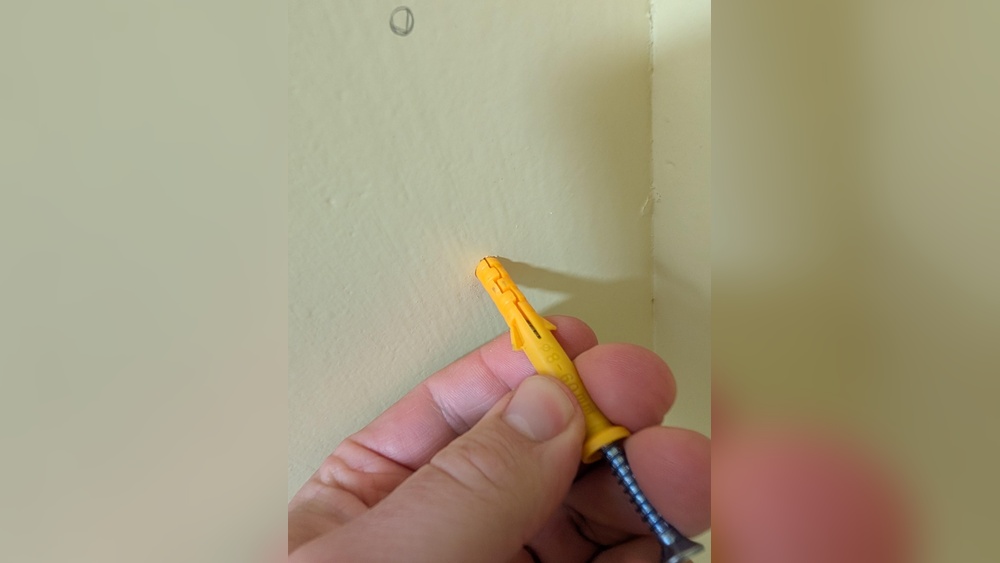
Inserting The Plastic Anchor
Start by drilling a hole that matches the anchor size. Push the plastic anchor gently into the hole. It should fit snugly without forcing. Tap lightly with a hammer if needed. The anchor must sit flush with the wall surface.
Securing The Anchor In Place
Next, expand the anchor behind the wall for a strong grip. Use a screwdriver or drill to drive the screw into the anchor. The plastic will spread inside the hollow space. This locks the anchor firmly in place. Avoid over-tightening to prevent damage.
Avoiding Common Installation Mistakes
Do not use an anchor that’s too large or small for your hole. Avoid pushing the anchor too deep into the wall. Make sure the hole is clean and free of dust. Do not overtighten screws, which can crack the anchor. Follow the anchor’s size instructions for best results.
Attaching Fixtures
Attaching fixtures to hollow walls requires care and the right tools. Plastic hollow wall anchors provide strong support when used correctly. The key lies in choosing the right screws, tightening them properly, and checking stability. This ensures your fixture stays secure without damage to the wall.
Choosing The Right Screws
Select screws that fit the hollow wall anchor size. Screws too long can damage the wall. Screws too short will not hold the fixture firmly. Use screws made of rust-resistant material for lasting strength. Match the screw head type to the fixture for a neat finish.
Tightening Without Damage
Turn screws slowly and steadily. Tighten just enough to hold the fixture. Over-tightening can crack the plastic anchor or wall. Stop as soon as the fixture feels secure. Use a screwdriver with a good grip for better control.
Testing Stability
Gently pull or wiggle the fixture after installation. Check if it moves or feels loose. A stable fixture stays firm without shifting. If loose, tighten screws slightly more. Test again until the fixture is steady and safe.

Credit: www.picturehangsolutions.com
Troubleshooting Tips
Hollow wall anchors are useful for hanging objects on drywall or hollow walls. Sometimes, issues arise during installation or use. Troubleshooting these common problems can save time and avoid damage. The following tips help fix loose anchors, cracked walls, and how to remove and replace anchors safely.
Dealing With Loose Anchors
Loose anchors fail to hold weight properly. First, check if the anchor is too small for the hole. Use a larger anchor or drill a bigger hole for a better fit. Tighten the screw carefully without overdoing it. Over-tightening can widen the hole and loosen the anchor. Use anchors designed for the wall type for stronger grip.
Handling Cracked Walls
Cracks near anchors weaken the wall’s strength. Avoid installing anchors near visible cracks. If cracks appear, stop and repair the wall first. Use a filler or patch compound to fix cracks. Let the patch dry completely before drilling new holes. Reinforce with mesh tape for extra support if needed.
Removing And Replacing Anchors
Removing anchors can be tricky without damaging the wall. Try unscrewing the fastener gently. If the anchor stays stuck, pull it out slowly with pliers. For plastic anchors, push them inside the wall cavity if removal is hard. Fill the hole with spackle or filler before installing a new anchor. Choose the right size anchor for replacement to prevent future issues.
Safety And Maintenance
Safety and maintenance are key when using hollow wall anchors plastic. Proper care helps prevent accidents and extends the life of the anchors. Understanding how to stay safe and maintain your anchors ensures a secure hold on your walls.
Protective Gear Recommendations
Always wear safety glasses to protect your eyes from dust and debris. Use gloves to shield your hands from sharp edges. A dust mask can help prevent inhaling particles during drilling. Proper gear keeps you safe during installation and removal.
Regular Inspection
Check anchors regularly for signs of damage or loosening. Look for cracks, bends, or corrosion on the plastic anchors. Inspect the wall area around the anchor for any damage. Regular checks help catch problems early and keep mounts secure.
When To Replace Anchors
Replace anchors if they show any damage or wear. Loose or cracked anchors cannot hold weight properly. Swap out anchors if the wall material crumbles or weakens. Timely replacement prevents accidents and maintains strong support.

Credit: www.fmwfasteners.com
Frequently Asked Questions
What Are Hollow Wall Anchors Plastic Used For?
Plastic hollow wall anchors secure lightweight items to drywall or hollow walls. They provide strong support without damaging the wall. These anchors expand inside the wall cavity to hold screws firmly. They are ideal for hanging pictures, shelves, or fixtures.
How Do You Install Plastic Hollow Wall Anchors?
First, drill a hole matching the anchor size. Insert the plastic anchor into the hole until flush. Then, screw in the fastener which expands the anchor inside the wall. This creates a secure hold for mounting objects.
Can Hollow Wall Anchors Plastic Support Heavy Weights?
Plastic hollow wall anchors support light to medium loads, typically up to 25 pounds. For heavier items, consider metal anchors or toggle bolts. Always check the anchor’s weight rating to ensure safe mounting.
How To Remove Plastic Hollow Wall Anchors Safely?
Unscrew the attached screw first. Then, gently pull the anchor out using pliers or push it into the wall cavity. Avoid damaging the wall surface. Patch the hole afterward for a clean finish.
Conclusion
Using plastic hollow wall anchors makes hanging items easy and secure. Choose the right size for your wall and weight needs. Drill a proper hole, insert the anchor, then screw in carefully. This method prevents damage and holds objects firmly.
Practice on scrap material to gain confidence. Simple steps lead to strong results. Try it yourself and see how smooth the process can be. Keep these tips in mind for safe and steady wall mounting.