Are you struggling to get a screw hook firmly into your wall? Whether you want to hang a picture, organize your tools, or add some decor, the right technique can make all the difference.
In this guide, you’ll discover simple, step-by-step tips to make sure your screw hook stays secure and your walls stay damage-free. Keep reading, and you’ll learn how to do it quickly and confidently—no guesswork, no frustration.

Credit: www.youtube.com
Choosing The Right Screw Hook
Choosing the right screw hook is key to a strong and safe hold. The right hook supports the weight and fits the wall type. This prevents damage and keeps your items secure. Consider the hook’s type, size, and material before installation.
Types Of Screw Hooks
Screw hooks come in many shapes and styles. Some have open ends, perfect for hanging light items. Closed hooks offer extra security for heavier objects. Specialty hooks fit specific needs, like ceiling mounts or wire hanging. Pick the type that matches your project.
Size And Weight Considerations
Hook size must match the weight of the item. Small hooks hold light objects like keys or decorations. Larger hooks support heavier items, such as plants or tools. Check the package for weight limits. Using the right size keeps the hook from bending or breaking.
Material And Finish Options
Screw hooks come in steel, brass, and plastic. Steel is strong and good for heavy loads. Brass resists rust and looks nice for indoor use. Plastic hooks suit light loads and dry areas. Choose a finish that matches your decor and resists corrosion.

Credit: diy.stackexchange.com
Tools And Materials Needed
To get a screw hook into the wall, you need the right tools and materials. Using the correct items makes the job easier and safer. This section lists everything required for a smooth installation.
Essential Tools
A drill or screwdriver is necessary to create holes or drive screws. A measuring tape helps mark the exact spot on the wall. A pencil or marker is useful for marking points clearly. A level ensures the screw hook goes in straight. Pliers or a wrench help tighten the screw hook securely.
Wall Anchors And Supports
Wall anchors are important for holding the screw hook firmly. They prevent the hook from pulling out, especially in drywall. Choose anchors based on the weight of the item you will hang. Plastic anchors work for light loads, while metal anchors support heavier weight. Stud finders help locate wall studs for stronger support.
Safety Equipment
Safety glasses protect your eyes from dust and debris. Gloves shield your hands from sharp edges and splinters. A dust mask prevents inhaling dust during drilling. Wear closed-toe shoes to protect your feet from falling tools or materials. Keep a first aid kit nearby for any minor injuries.
Preparing The Wall
Preparing the wall is the first step to securely install a screw hook. Proper preparation ensures the hook stays strong and safe. It also prevents damage to your wall.
Locating Studs And Marking Spots
Find the studs behind the wall using a stud finder. Studs provide the best support for screw hooks. Mark the spot with a pencil where you want to place the hook. Double-check the mark to be sure it is in the right place.
Checking For Obstacles
Look for pipes, wires, or other obstacles inside the wall. These can cause damage or injury if drilled into. Use a wire detector or a metal detector to avoid hitting anything. Avoid drilling in areas where obstacles are detected.
Cleaning The Surface
Clean the wall surface where the hook will go. Remove dust, dirt, and grease with a damp cloth. Let the area dry completely before installing the hook. A clean surface helps the hook stay firmly in place.
Drilling Pilot Holes
Drilling pilot holes is a key step to hang screw hooks safely and securely. These small holes guide the screw hook into the wall. They prevent the wall from cracking or the screw from slipping out. Proper pilot holes make the installation easier and stronger.
Using the right drill bit and technique helps create clean holes. Protecting the wall surface is important during this process. Below are tips to drill pilot holes correctly.
Choosing The Right Drill Bit
Select a drill bit slightly smaller than the screw hook’s diameter. This size allows the screw to grip the wall firmly. For drywall, a standard twist bit works well. For wood walls, use a wood-specific bit. For masonry or brick, use a masonry bit.
Check the screw hook size before picking the drill bit. Using a bit too large or too small can cause problems.
Drilling Techniques
Do not force the drill. Let it work naturally. Drilling too fast can damage the wall or bit.
Preventing Wall Damage
Use painter’s tape over the drilling spot to reduce paint chipping. Drill slowly near the surface to avoid cracking. Avoid drilling near electrical wires or pipes inside the wall. Use a stud finder to check for safe spots.
Wear safety glasses to protect your eyes from dust. Clean dust from the hole before inserting the screw hook.
Inserting The Screw Hook
Inserting a screw hook into the wall is a simple task. It requires some care to ensure the hook holds well. Choosing the right method and angle can make the job easier and safer. Below are key points to help you insert the screw hook correctly.
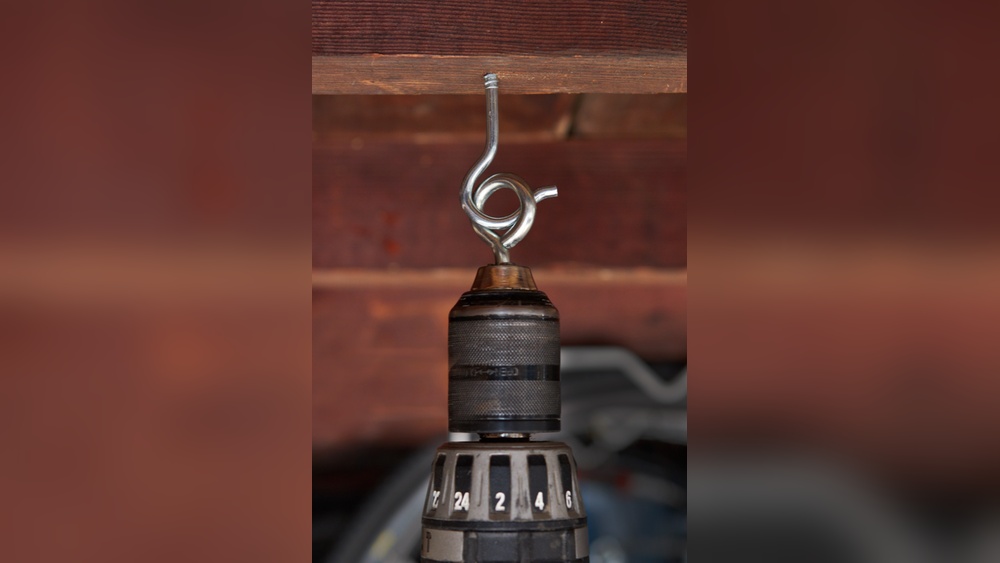
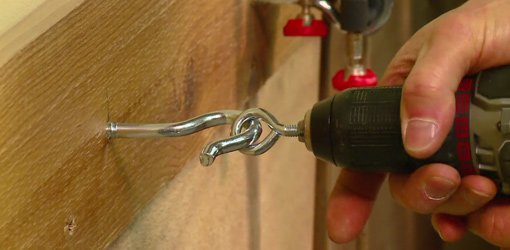
Manual Vs. Power Tools
Using your hands to screw the hook is common for small jobs. Manual twisting gives good control and reduces the risk of damage. For harder walls or larger hooks, a power drill saves time. Power tools make the process faster but need careful handling. Choose the method that fits your wall type and hook size.
Proper Angle And Depth
Hold the screw hook straight against the wall. Insert it at a 90-degree angle for the best grip. Avoid tilting the hook as it weakens the hold. Screw the hook deep enough so it feels firm. A shallow hook may come loose under weight. Turn until the base touches the wall tightly.
Ensuring Stability
Test the hook by gently pulling after installation. It should not wiggle or feel loose. Use wall anchors if the wall is soft or hollow. Anchors provide extra support and prevent damage. Secure hooks hold heavy items safely and last longer.
Credit: todayshomeowner.com
Using Wall Anchors
Using wall anchors makes hanging screw hooks stronger and safer. They help hold the hook firmly in drywall or hollow walls. Anchors stop the screw from slipping or pulling out. This method works well for heavier items. It also prevents damage to your wall surface.
When To Use Anchors
Use anchors if the wall is drywall, plaster, or hollow. Avoid anchors in solid wood or studs. Anchors give extra support in weak walls. Use them for hanging heavy objects. Also, use anchors when the screw hole is large.
Types Of Anchors
Plastic expansion anchors are common for light loads. They spread inside the wall to hold tight. Metal anchors work well for medium weight. They offer better grip in drywall. Toggle bolts are best for heavy items. They open behind the wall for strong hold.
Installation Tips
Choose the right anchor size for your screw hook. Drill a hole slightly smaller than the anchor. Tap the anchor gently into the hole. Screw the hook into the anchor slowly. Do not overtighten to avoid wall damage. Check the hook is steady before use.
Testing The Hook’s Strength
Testing the hook’s strength is key after installation. It ensures the hook will hold items safely on the wall. This step helps avoid accidents or damage from falling objects. Always check the hook before hanging anything heavy.
Weight Limits
Check the hook’s weight limit on the packaging or label. Never exceed this limit to avoid breaking the hook. For safety, choose a hook with a higher weight capacity than your item.
Load Distribution
Place the load evenly on the hook to prevent extra stress. Uneven weight can cause the hook to bend or pull out. Use multiple hooks if the item is wide or heavy.
Safety Checks
After hanging, gently pull on the item to test the hook’s hold. Look for any signs of loosening or movement. Tighten or replace the hook if it feels unstable or weak.
Maintenance And Removal
Maintaining screw hooks in your wall helps keep them strong and safe. Removing them carefully stops damage to your walls. Knowing how to fix any marks keeps your wall looking good.
Regular Inspections
Check screw hooks often for looseness or rust. Tighten any hooks that feel loose. Replace hooks if they show signs of rust or wear. This keeps your hooks secure and your items safe.
Removing Screw Hooks Safely
Turn the hook slowly to unscrew it from the wall. Use pliers if the hook is hard to turn. Avoid pulling the hook straight out to stop wall damage. Take your time to remove hooks gently.
Repairing Wall Damage
Fill small holes with wall putty or spackle. Let the putty dry fully before sanding it smooth. Paint over the repair to match your wall color. This restores your wall and hides marks well.
Frequently Asked Questions
How Do I Install A Screw Hook Into Drywall?
First, mark the spot and drill a pilot hole. Insert a wall anchor if needed. Screw the hook in by hand or with pliers until secure.
What Tools Are Needed To Hang A Screw Hook?
You need a drill, screwdriver, wall anchors, and pliers. These tools help create a hole and secure the hook firmly.
Can I Use A Screw Hook On Plaster Walls?
Yes, but drill a pilot hole first. Use wall anchors designed for plaster to prevent cracking or damage when inserting the hook.
How Do I Choose The Right Screw Hook Size?
Select a hook based on the weight it will hold. Check packaging for weight limits and measure the hook to fit your hanging item.
Conclusion
Getting a screw hook into the wall is easier than it seems. Start by choosing the right spot and tools. Mark the spot clearly before drilling a small pilot hole. Turn the screw hook in slowly and steadily until it feels secure.
Always check that it holds well before hanging anything. With these simple steps, your walls can hold hooks safely and firmly. Give it a try, and enjoy the neat, organized space you create.