Struggling with a deadbolt stuck on the outside of your door? You’re not alone.
Whether you lost your keys or the lock just won’t budge, knowing how to remove a deadbolt from the outside can save you time, money, and frustration. In this guide, you’ll discover simple, step-by-step methods that anyone can follow—even if you’re not a DIY expert.
Keep reading, and you’ll soon have your door working smoothly again without calling a locksmith.
Credit: www.4feldco.com
Tools Needed
Removing a deadbolt from the outside needs the right tools. These tools make the job easier and safer. Prepare before starting. This helps avoid mistakes and saves time.
Phillips Screwdriver
A Phillips screwdriver is essential for removing screws. Most deadbolts use Phillips screws. This tool fits the screw head perfectly. It prevents stripping the screws during removal.
Flathead Screwdriver
A flathead screwdriver helps pry off covers or plates. It works well for small gaps. Use it gently to avoid damage. It can also assist in turning some screws.
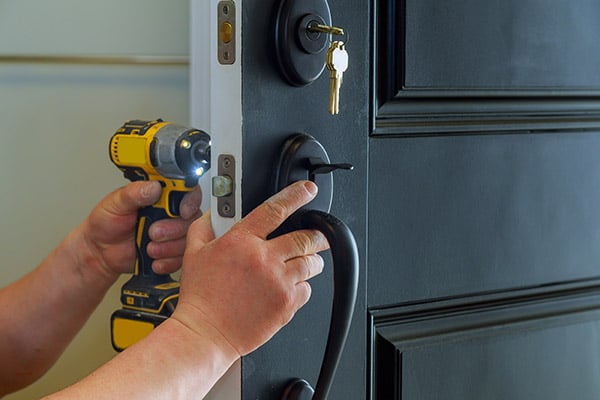
Drill With Drill Bits
A drill speeds up screw removal. Use the right drill bit size. It helps drill out stuck screws if needed. Always use caution to avoid damaging the door.
Allen Wrench
Some deadbolts have hex screws. An Allen wrench fits these screws. Check your deadbolt type before starting. Keep the wrench handy for quick adjustments.
Pliers
Pliers help grip and twist stubborn parts. They provide extra strength when screws are tight. Use them carefully to avoid slipping. They also help pull out broken pieces.
Lubricant Spray
Lubricant spray loosens rusty or stuck screws. It makes turning screws easier. Spray a little and wait a few minutes. This prevents damage to screws and tools.
Identify Your Deadbolt Type
Identifying your deadbolt type is the first step in removing it from the outside. Deadbolts come in different styles, and each requires a unique approach. Knowing the type helps you prepare the right tools and plan the removal process safely.
Look closely at your deadbolt. Notice the shape and design of the lock on your door’s exterior. This visual check will guide you to the correct deadbolt category.
Single Cylinder Deadbolt
This deadbolt has a keyhole only on the outside. Inside, it uses a thumb turn to lock or unlock. It is the most common type found on residential doors. Removing it often involves unscrewing the interior side.
Double Cylinder Deadbolt
This type has keyholes on both sides of the door. It requires a key to lock or unlock from inside and outside. It provides extra security but needs special care during removal. Tools like a key or drill might be necessary.
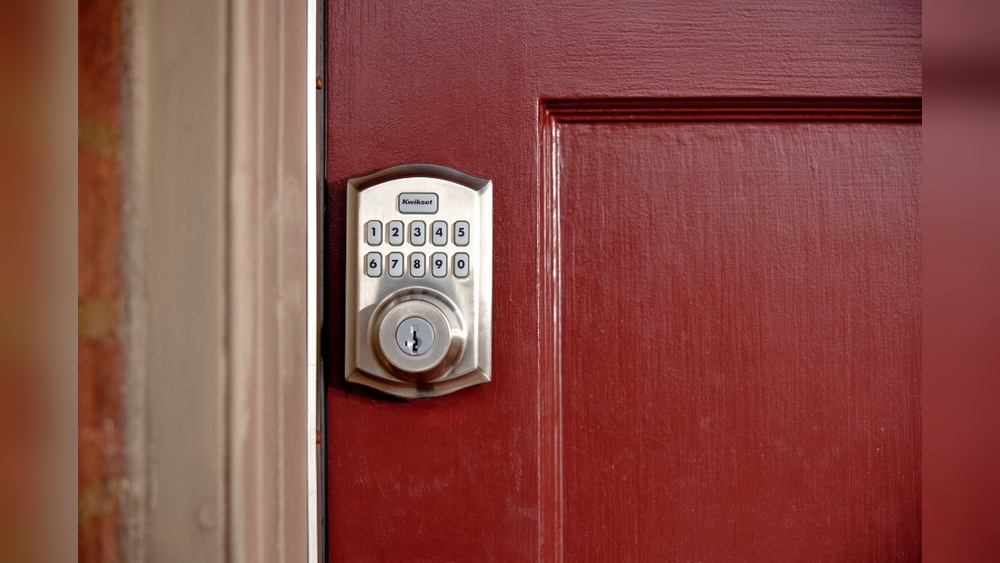
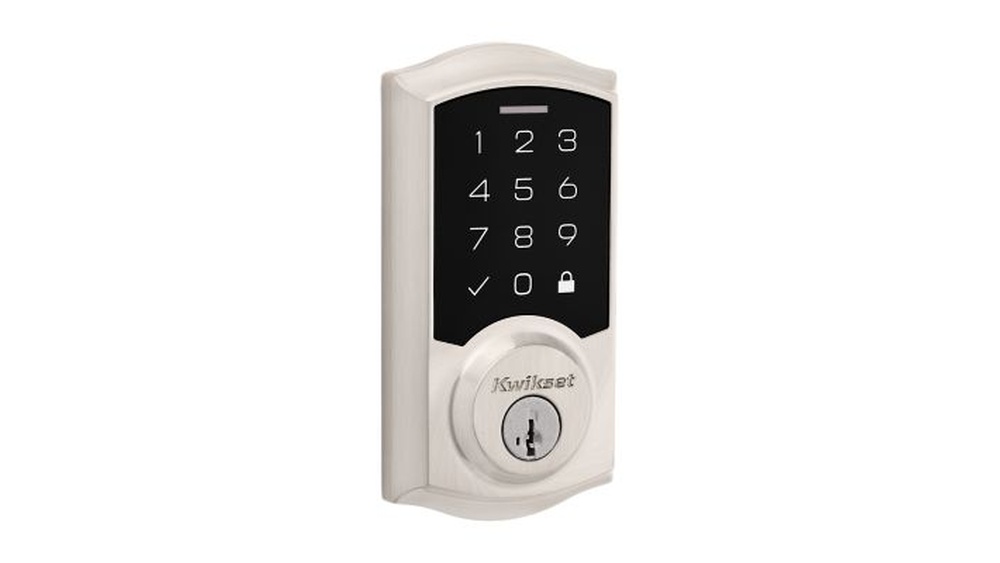
Keyless Deadbolt
This deadbolt uses a keypad or combination lock instead of a key. It may have a battery pack on the interior side. Removing it involves dealing with electronic parts. Make sure to disconnect power before starting.
Prepare The Door
Preparing the door is the first step in removing a deadbolt from the outside. This step makes the process easier and safer. It helps protect the door and your tools. Take time to organize and clear the workspace before starting.
Clear The Area Around The Door
Remove objects near the door to avoid accidents. Clear space on both sides of the door. This gives you room to work comfortably. It also prevents damage to nearby items.
Gather Necessary Tools
Collect all tools before starting. Common tools include a screwdriver, drill, and pliers. Having everything ready saves time. It stops you from searching during the task.
Inspect The Deadbolt And Door
Look closely at the deadbolt and door surface. Check for screws or damage around the lock. Note the type of deadbolt installed. This helps decide the best removal method.
Protect The Door Surface
Use painter’s tape around the deadbolt area. This prevents scratches during removal. Tape also helps mark screw locations. It keeps the door looking good after work.
Remove The Interior Plate
Removing the interior plate is an important step in taking out a deadbolt from the outside. The interior plate holds the lock mechanism in place. Taking it off gives you access to the parts inside the door. This makes it easier to remove the deadbolt completely.
Work carefully to avoid damaging the door or lock. Use the right tools and follow simple steps. This section explains how to remove the interior plate safely and quickly.
Gather Necessary Tools
Prepare a screwdriver, usually a Phillips head. Have a flathead screwdriver ready for prying. A flashlight helps to see screws clearly. Keep a container nearby to hold small screws.
Locate And Remove Screws
Find the screws holding the interior plate. Usually, there are two or three screws. Unscrew them slowly to avoid stripping. Keep the screws safe for reassembly or replacement.
Carefully Pry Off The Interior Plate
After removing screws, gently lift the plate. Use a flathead screwdriver to pry if stuck. Work slowly to prevent scratching the door. Remove the plate completely before moving on.
Access The Deadbolt Cylinder
Accessing the deadbolt cylinder from the outside is the first step in removing the deadbolt. This part holds the key mechanism and secures the door. Understanding how to reach the cylinder makes the removal easier and safer.
Deadbolt cylinders come in different types. Each type needs a slightly different approach. Knowing the type helps to prepare the right tools and steps.
Identify The Cylinder Type
Look closely at the lock on the door’s outside. Most common types are single-cylinder and double-cylinder. Single-cylinder locks have a keyhole outside and a thumb turn inside. Double-cylinder locks have keyholes on both sides.
Gather The Necessary Tools
Prepare a screwdriver, usually Phillips or flathead. A tension wrench or an Allen wrench may also help. Some locks need a special tool for cylinder removal.
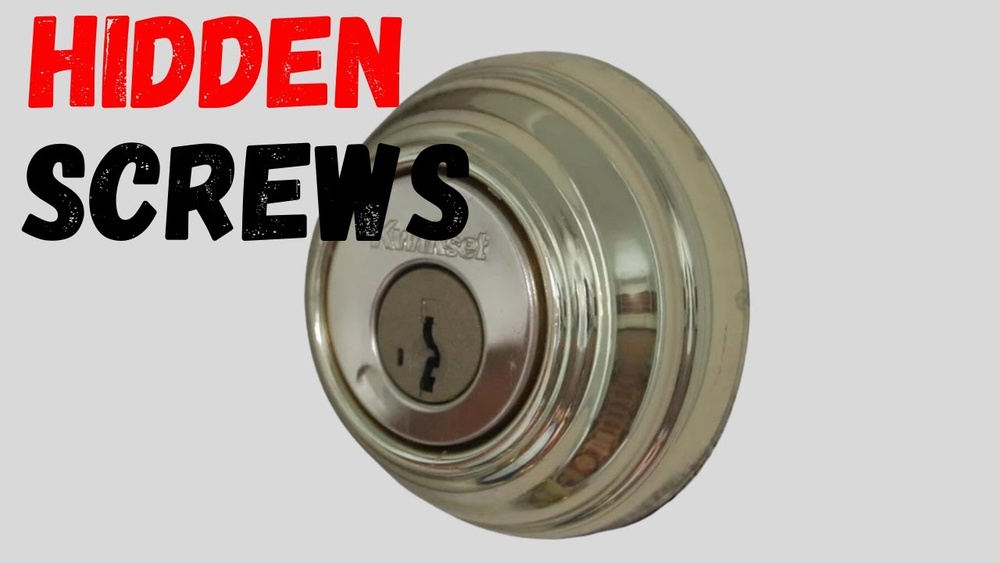
Locate The Cylinder Retaining Screw
Open the door slightly to find the screw holding the cylinder. This screw is usually on the edge of the door, near the deadbolt. Removing it will release the cylinder.
Use The Key To Turn The Cylinder
Insert the key into the cylinder. Turn it slightly to align the cylinder for removal. This step frees the cylinder from the lock housing.

Credit: www.reddit.com
Extract The Cylinder From Outside
Extracting the deadbolt cylinder from the outside is a key step to remove the lock. The cylinder holds the lock mechanism that controls the deadbolt. Removing it lets you access the inner parts easily.
Careful work is needed to avoid damage to your door. The process requires basic tools and some patience. Follow clear steps to pull out the cylinder smoothly.
Gather The Right Tools
Prepare tools like a screwdriver, tension wrench, and pliers. These help you turn and pull the cylinder. Using the correct tools makes the job faster and safer.
Insert The Key And Turn
Put the key into the lock cylinder. Turn the key slightly to unlock the mechanism inside. This step frees the cylinder to move out.
Use A Tension Wrench To Hold
Place the tension wrench in the keyhole. Apply gentle pressure in the direction you turned the key. Keep steady pressure to keep the cylinder loose.
Remove The Cylinder Screws
Find and unscrew the fixing screws on the door edge. These screws hold the cylinder in place. Removing them allows the cylinder to slide out.
Pull The Cylinder Out Carefully
Grip the cylinder with pliers or your hand. Pull it straight out while keeping the key turned. Slowly remove the cylinder without forcing it.
Remove The Deadbolt Mechanism
Removing the deadbolt mechanism is a key step in taking out a deadbolt from the outside. This process involves separating the lock parts from the door. Doing this carefully ensures the lock comes off smoothly.
Start by understanding the deadbolt’s basic structure. It has an exterior part, an interior part, and a connecting mechanism inside the door. Removing the mechanism allows you to free the lock from the door.
Locate The Screws Holding The Deadbolt
Look for screws on the interior side of the door. These screws hold the deadbolt mechanism in place. Use a screwdriver to remove each one. Keep the screws safe to avoid losing them.
Remove The Interior Thumb Turn
After unscrewing, gently pull the interior thumb turn away from the door. This part controls the deadbolt inside. Pulling it off reveals the connecting parts of the deadbolt.
Separate The Exterior Lock Cylinder
Once the interior parts are removed, the exterior lock cylinder is loose. Pull the cylinder straight out of the door. Sometimes, light wiggling helps to loosen it. Avoid forcing it to prevent damage.
Take Out The Deadbolt Latch
Look at the edge of the door. Find the latch that slides in and out. Unscrew the latch plate and pull the latch mechanism out. This frees the deadbolt completely from the door.
Reassemble Or Replace Lock
After removing the deadbolt from the outside, deciding what to do next is key. You can either reassemble the same lock or replace it with a new one. Both choices depend on the condition of the lock and your security needs.
Reassembling the lock saves money and time. It works well if the lock parts are still in good shape. Replacing the lock is better if the old one is damaged or outdated. This can improve your home’s safety.
Assess The Condition Of The Lock
Check every part carefully. Look for rust, broken pieces, or wear. Test if the lock turns smoothly. A damaged lock often needs replacement. A clean and intact lock can be reused.
Gather Necessary Tools And Parts
Prepare screws, screwdriver, and the lock parts. Have a new lock ready if replacing. Keep everything organized before starting the work. This saves time and avoids mistakes.
Reassemble The Deadbolt
Put the parts back in order. Attach the cylinder and the thumb turn. Tighten screws but do not overdo it. Test the lock to make sure it works well. Adjust parts if needed for smooth action.
Install A New Deadbolt
Remove old lock parts completely. Follow the new lock’s instructions carefully. Align the lock with the door holes. Secure the screws tightly. Test the new lock several times for function.
Tips For Difficult Deadbolts
Removing a deadbolt from the outside can be tricky, especially when it is old or stuck. Some deadbolts resist simple removal steps. Knowing special tips can make the process easier. This section covers useful advice for handling difficult deadbolts safely and effectively.
Use Lubricant To Loosen The Mechanism
Spray a small amount of lubricant into the keyhole. Let it sit for a few minutes. This helps free up stuck parts inside. Avoid using too much to prevent mess. Repeat if the deadbolt still feels tight.
Apply Gentle Force With The Right Tools
Use a screwdriver or a small pry bar carefully. Apply steady pressure to avoid damage. Do not force the deadbolt out quickly. Slow, gentle movements reduce the risk of breaking the lock or door.
Remove The Inside Cover First
Check if you can access screws from the inside. Removing the inside cover can make outside removal easier. It often reveals hidden screws or parts to unlock the deadbolt. This step saves time and effort.
Try Turning The Key While Pulling
Insert the key and turn it slightly while pulling the lock. This can release internal pins or catches. It works well on deadbolts that seem stuck or jammed. Use minimal force to avoid breaking the key.
Use A Professional Lock Picking Tool
For very stubborn deadbolts, consider a lock pick tool. These tools help manipulate the lock’s inner parts. Use with caution and some skill. It is a good option before deciding to drill the lock.
Credit: www.reddit.com
Frequently Asked Questions
How Do I Remove A Deadbolt From The Outside?
To remove a deadbolt from the outside, first unlock it using the key. Then, unscrew the exterior screws holding the lock. Carefully pull the lock off the door. Finally, remove the interior components to fully detach the deadbolt.
Can I Remove A Deadbolt Without A Key?
Removing a deadbolt without a key is possible but difficult. You may need to drill the lock cylinder or use lock-picking tools. It’s best to call a locksmith to avoid damaging the door or lock.
What Tools Are Needed To Remove A Deadbolt?
You’ll need a screwdriver, typically a Phillips or flathead, depending on screws. A drill may be required for stubborn screws. A key is necessary to unlock the deadbolt before removal. Optionally, pliers and a hammer might help with stuck parts.
Is It Safe To Remove A Deadbolt Myself?
Yes, removing a deadbolt is safe if you follow instructions carefully. Use the right tools and avoid forcing parts. If unsure, consult a professional locksmith to prevent damage or security risks.
Conclusion
Removing a deadbolt from the outside is easier than it seems. With the right tools and steps, you can do it safely. Take your time and follow each instruction carefully. This will help you avoid damage to your door or lock.
Now, you can replace or fix the deadbolt without stress. Stay patient and work steadily for the best results. Your door will be secure again in no time.