If you’ve ever tried to hang something heavy on your wall, you know that regular screws don’t always cut it. That’s where a hollow wall anchor tool comes in handy.
But if you’re unsure how to use it, you might feel frustrated or worried about damaging your walls. Don’t worry—this guide will walk you through every step, making the process simple and stress-free. By the end, you’ll have the confidence to secure shelves, mirrors, or artwork safely and securely.
Ready to master the hollow wall anchor tool? Let’s dive in!
Choosing The Right Hollow Wall Anchor
Choosing the right hollow wall anchor is key for a secure hold. Using the wrong anchor can cause your item to fall or damage the wall. This guide helps you pick the best anchor for your project. Understanding types, sizes, and material fits makes your work easier and safer.
Types Of Hollow Wall Anchors
There are many hollow wall anchors. Toggle bolts spread behind the wall for strong support. Molly bolts expand inside the wall for medium loads. Plastic anchors are best for light items. Each type suits different weights and wall conditions.
Matching Anchor Size To Load
Choose anchor size based on the weight you hang. Small anchors hold light items like picture frames. Larger anchors support shelves or heavy mirrors. Check the anchor package for maximum load limits. Use a bigger anchor for heavier objects to avoid failure.
Materials And Surface Compatibility
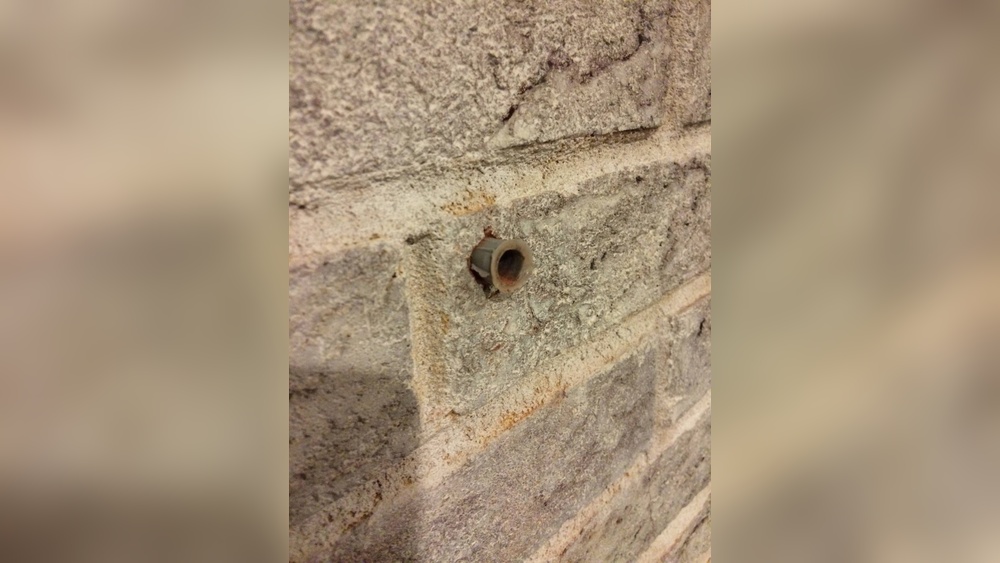
Not all anchors work on every wall. Drywall anchors fit well in plaster or drywall. Metal anchors suit thin or hollow metal walls. Concrete walls need special anchors, like sleeve anchors. Pick anchors that match your wall material for best results.

Credit: www.youtube.com
Gathering Essential Tools
Gathering the right tools makes using a hollow wall anchor tool easier and safer. Having everything ready helps you work faster and avoid mistakes. This section explains what tools you need before starting your project.
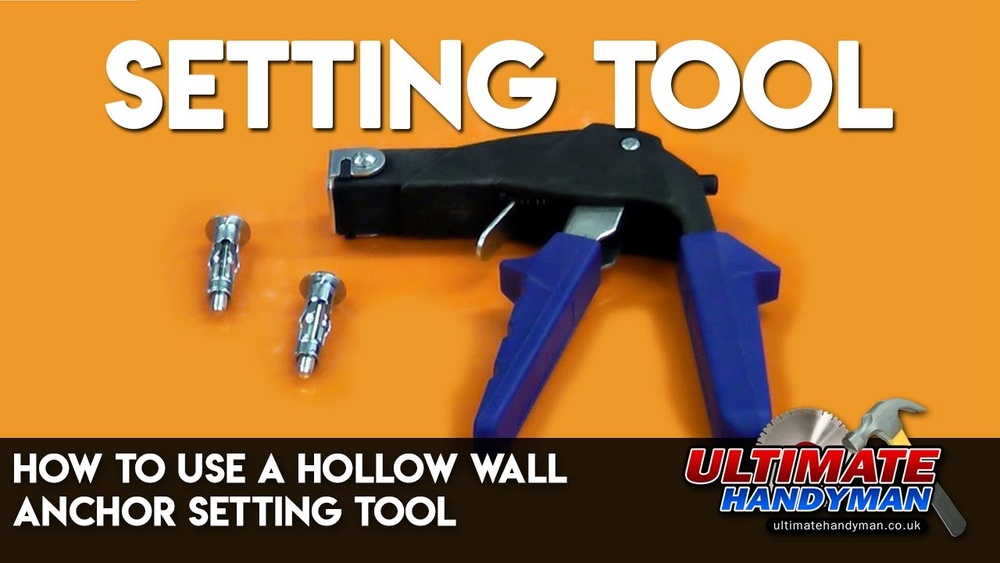
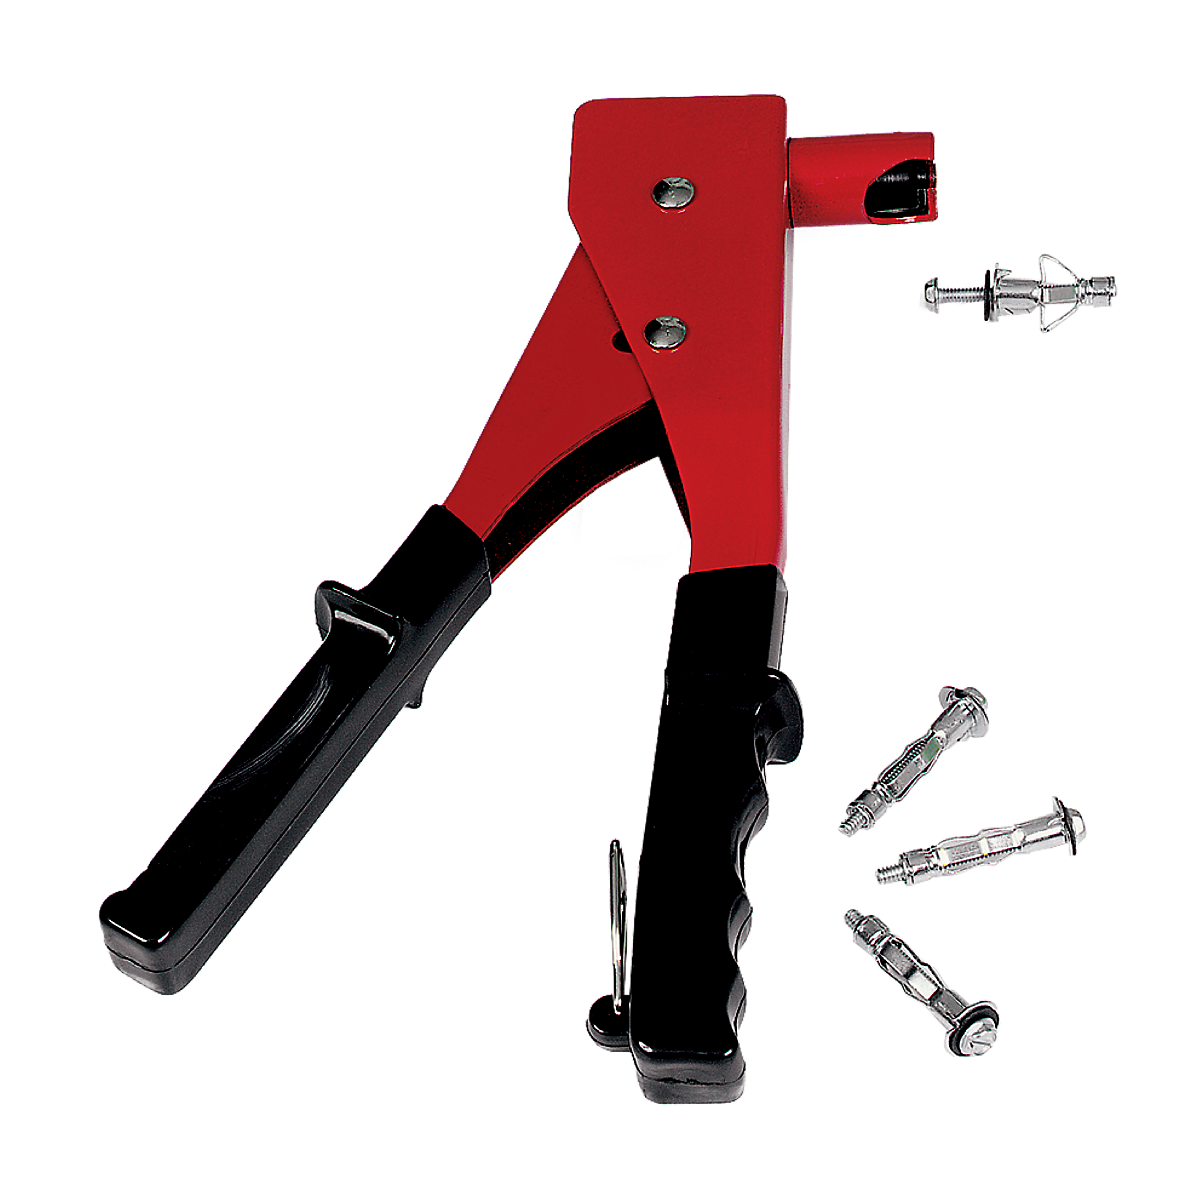
Anchor Tool Kit Components
Start with the hollow wall anchor tool kit. It usually includes the anchor setting tool and different sizes of anchors. The setting tool helps to secure anchors inside the wall. Some kits have a drill bit designed for hollow walls. Check if your kit has a manual or guide for use.
Additional Tools Needed
You will need a drill to make holes in the wall. A screwdriver helps to tighten screws into the anchors. A tape measure or ruler measures the exact spot for drilling. A pencil or marker is useful to mark holes. A level ensures your work is straight and even.
Safety Equipment Tips
Wear safety glasses to protect your eyes from dust and debris. Use gloves to keep your hands safe and clean. If drilling creates a lot of dust, wear a dust mask. Make sure your work area is well lit and free of hazards. Safety first prevents accidents and injuries.
Preparing The Wall
Preparing the wall is the first step for using a hollow wall anchor tool. It ensures the anchor fits securely and holds weight well. Taking time to prepare the wall helps avoid mistakes and damage.
Start by finding the right spot to place the anchor. This means knowing where the studs and empty spaces inside the wall are. Marking the exact drill points comes next. Then, drilling small pilot holes guides the tool for a clean installation.
Locating Studs And Cavity
Studs are wooden or metal frames inside the wall. Anchors need to go into the empty space or cavity between studs. Use a stud finder device or tap on the wall and listen. A hollow sound means a cavity. A solid sound means a stud.
Marking Drill Points
Mark spots where the anchors will go with a pencil. Make sure marks are in the cavity, not on a stud. Space the marks according to the size of the object to hang. This keeps the load balanced and safe.
Drilling Pilot Holes
Use a drill bit slightly smaller than the anchor size. Drill carefully on each marked point. Pilot holes help the anchor enter the wall smoothly. They also prevent the wall from cracking or breaking.
Inserting The Hollow Wall Anchor
Inserting a hollow wall anchor is a key step to secure objects to drywall or hollow walls. This process ensures the anchor holds firmly, providing strong support. Proper insertion prevents damage and keeps the anchor stable for long-term use.
Aligning The Anchor
Start by placing the hollow wall anchor into the drilled hole. Make sure the anchor’s collar sits flat against the wall surface. The anchor must be straight and centered in the hole. This alignment helps the anchor expand correctly inside the wall.
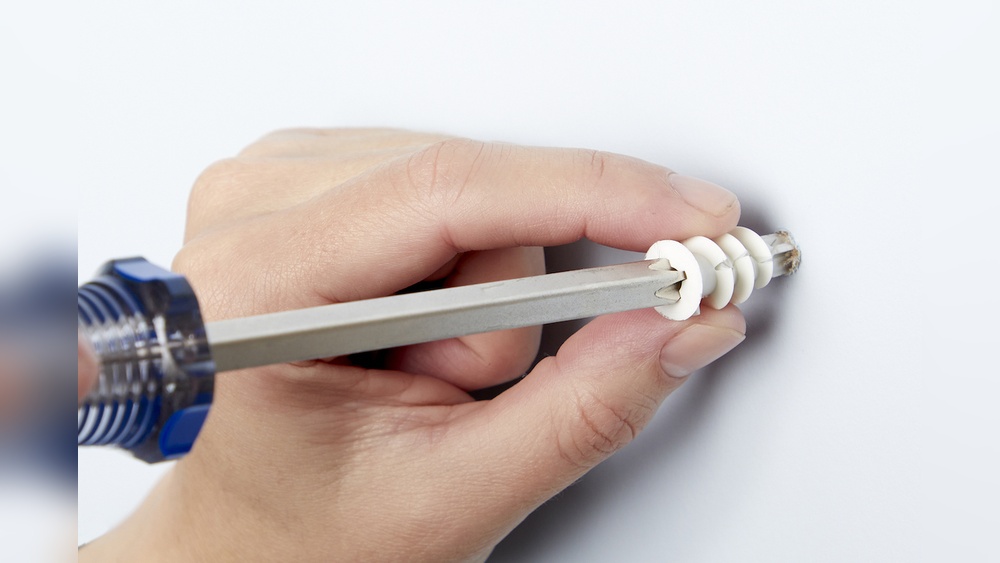
Using The Hollow Wall Anchor Tool
Next, use the hollow wall anchor tool to tighten the anchor. Insert the tool into the anchor and turn it slowly. The tool pulls the anchor’s legs open behind the wall. Keep turning until the anchor feels tight and secure.
Ensuring Proper Expansion
Check that the anchor expands fully behind the wall. The legs should spread wide to hold the anchor firmly. Avoid over-tightening to prevent wall damage. Proper expansion gives the anchor strong grip and stability.
Securing The Fixing
Securing the fixing is a key step when using a hollow wall anchor tool. This step ensures your anchor holds tight and supports the weight needed. Proper securing stops the anchor from loosening or falling out over time. Follow these steps carefully to achieve a strong and stable fixing.
Tightening The Anchor
Start by turning the screw slowly. Use a screwdriver or drill with low speed. Stop when the anchor feels firm but not too tight. Over-tightening can damage the wall or anchor. Tightening draws the anchor wings flush against the inside of the wall. This locks the anchor in place securely.
Checking Stability
After tightening, gently pull on the fixture. It should not move or wiggle. Test by applying slight pressure in different directions. If it shifts, tighten the screw a bit more. A stable anchor means the fixture is safe to hold weight. Double check before hanging heavy objects.
Avoiding Common Mistakes
Do not force the screw too hard. This can break the anchor or wall. Avoid using the wrong size anchor for the hole. A loose fit reduces holding strength. Don’t skip the stability check. Missing this step causes loose fixtures later. Follow instructions carefully for the best results.
Credit: www.rowleycompany.com
Tips For Stronger Fixings
Strong fixings are key to safe and lasting wall mounts. Using hollow wall anchor tools properly makes a big difference. Follow simple tips to improve your fixing strength and keep items secure on your walls.
Choosing Quality Anchors
Select anchors made from durable materials like metal or high-grade plastic. Avoid cheap anchors that can break or lose grip. Match the anchor size to the weight of your item. Use anchors designed for hollow walls to ensure a tight hold.
Regular Maintenance
Check your fixings regularly for any signs of loosening or damage. Tighten screws if needed to keep anchors secure. Replace worn or damaged anchors immediately. Regular care prevents accidents and keeps your mounts stable.
Handling Different Wall Types
Know the wall type before installing anchors. Drywall needs different anchors than plaster or concrete. Use anchors made for the specific wall material. This prevents damage and ensures better holding power.

Credit: lukvy.lt
Frequently Asked Questions
What Is A Hollow Wall Anchor Tool Used For?
A hollow wall anchor tool secures fixtures in drywall or hollow walls. It creates strong, stable anchor points for heavy items. This tool prevents damage and ensures the anchor holds firmly in place. It’s essential for mounting shelves, mirrors, or TVs safely.
How Do You Install A Hollow Wall Anchor Properly?
First, drill the correct hole size in the drywall. Insert the anchor tool and tap it gently with a hammer. Tighten the screw to expand the anchor inside the wall. This secures the anchor firmly, providing a reliable hold for your fixture.
Can Hollow Wall Anchors Support Heavy Objects?
Yes, hollow wall anchors support moderate to heavy objects when installed correctly. They distribute weight evenly across the drywall. Always check the anchor’s weight rating before use. Proper installation ensures safety and prevents wall damage under load.
What Tools Are Needed For Hollow Wall Anchor Installation?
You need a drill, screwdriver, hammer, and the hollow wall anchor tool. A level helps ensure proper alignment. These tools make installation easier and more precise. Using the right tools guarantees a secure and durable mounting.
Conclusion
Using a hollow wall anchor tool makes hanging items easier and stronger. Follow the steps carefully for best results. Always check the wall type before starting. Take your time to avoid mistakes. With practice, you will feel more confident and skilled.
This tool helps keep things secure on hollow walls. Try it on small projects first. Soon, you will handle bigger tasks with ease. Safety comes first, so work slowly and carefully. Hollow wall anchors provide reliable support for your wall hangings.