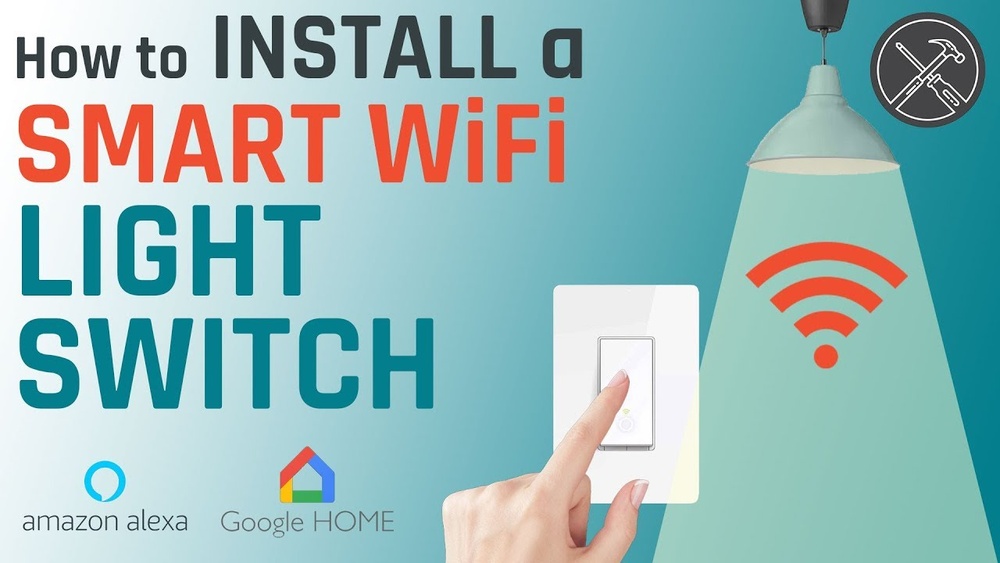
Are you ready to take control of your home lighting and save money on electrician bills? Learning how to fit a light switch yourself is easier than you think.
With just a few simple steps, you can upgrade your space and feel proud of your handiwork. In this guide, you’ll discover clear, easy instructions that anyone can follow—even if you’ve never worked with electrical wiring before. Keep reading to unlock the confidence and skills you need to get the job done safely and quickly.
Your home improvement journey starts right here.
Tools And Materials Needed
Fitting a light switch requires certain tools and materials. Having the right items makes the job easier and safer. Prepare everything before starting the work.
Essential Tools
You will need a screwdriver, usually flathead and Phillips. A voltage tester helps check if the power is off. Wire strippers are useful to prepare the wires. Pliers can help with bending or holding wires. A drill might be needed if new holes are required. A flashlight or headlamp can improve visibility in dark spaces.
Types Of Light Switches
Choose the right switch for your needs. Common types include single-pole, three-way, and dimmer switches. Single-pole switches control one light from one place. Three-way switches control lights from two places. Dimmer switches adjust the brightness level. Each type has different wiring and installation steps.
Safety Gear
Safety is very important. Use insulated gloves to protect against electric shocks. Safety glasses shield your eyes from dust and debris. Wear sturdy shoes to avoid injury. Keep a first aid kit nearby just in case. Always turn off the power before starting any work.
Preparing The Work Area
Preparing the work area is the first step to fit a light switch safely and correctly. A clean, organized space helps you focus on the task. It also reduces risks of accidents or mistakes.
Clear the area around the switch. Remove any furniture or items that block access. Good lighting is important. Use a portable lamp or flashlight if needed. Have tools ready and within reach. Safety gear like gloves and goggles can protect you.
Turning Off Power
Turn off the power to the switch at the main circuit breaker. This stops electricity flow and prevents shocks. Test the switch with a voltage tester to confirm power is off. Never skip this step.
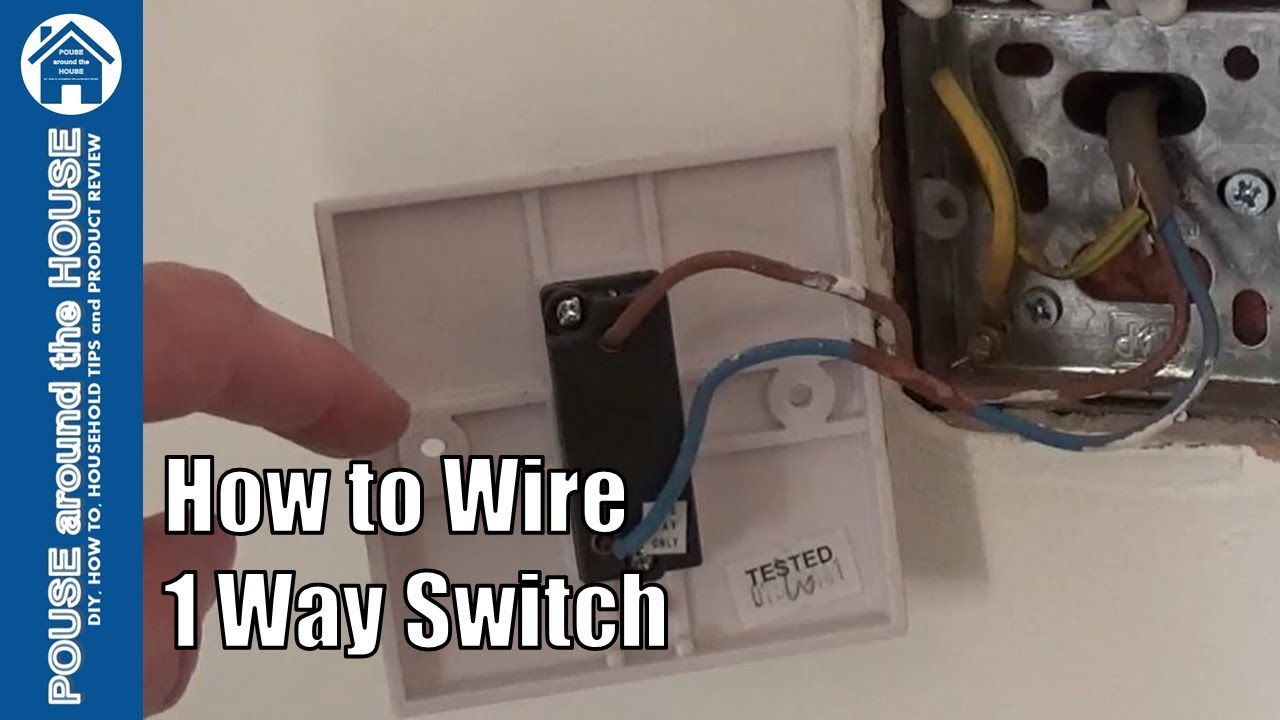
Removing Old Switch
Unscrew the switch cover plate carefully. Use a screwdriver to remove screws holding the switch in place. Pull the switch gently from the wall box. Avoid pulling wires forcefully to prevent damage.
Checking Wiring
Inspect wires for damage or wear. Look for loose connections or exposed copper. Make sure wires match the new switch’s requirements. If unsure, take a clear photo for reference or consult a professional.
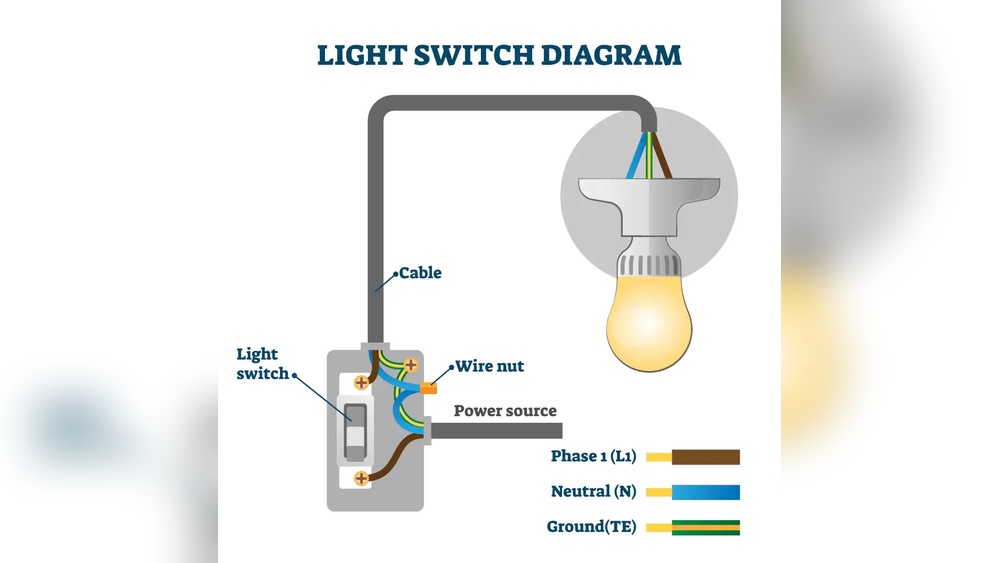
Wiring The New Switch
Wiring the new switch is a key step in fitting a light switch. It involves handling electrical wires safely and correctly. Each wire has a role in making the switch work. Understanding these wires and connecting them right is essential. This section guides you through the process clearly.
Identifying Wires
Turn off the power before touching any wires. Usually, there are three types of wires: live, neutral, and earth. The live wire carries current to the switch. It is often red or brown. The neutral wire returns current and is usually blue. The earth wire is green or yellow-green. It protects against electric shocks. Use a voltage tester to confirm wires. Label wires if needed to avoid confusion.
Connecting Wires Properly
Attach the live wire to the switch’s live terminal. The neutral wire usually does not connect to the switch but to the light fixture. Connect the earth wire to the switch’s earth terminal or grounding screw. Make sure wires are stripped correctly to fit terminals. Insert wires firmly to avoid loose connections. Tighten screws on terminals to hold wires. Double-check each connection before moving forward.
Securing Connections
Once wires connect, push them neatly into the back box. Avoid crowding wires to prevent damage. Use cable clamps or ties if needed to hold wires in place. Fit the switch carefully onto the wall box. Screw it tightly but avoid over-tightening. Loose switches can cause poor connections. Finally, restore power and test the switch for proper function.

Credit: blueskysparky.com
Mounting The Switch
Mounting the switch is a key step in fitting a light switch. It ensures the switch stays secure and works correctly. This part involves placing the switch in the right spot, fixing it to the wall box, and checking the fit. Follow these steps carefully for a clean installation.
Positioning The Switch
Start by placing the switch near the wall box. Align it so the screw holes match the wall box holes. The switch should sit flat against the wall. Make sure the toggle or button moves freely without obstruction. Proper positioning prevents damage and keeps the switch stable.
Attaching To The Wall Box
Use screws to fix the switch to the wall box. Insert screws through the switch holes into the box. Tighten them evenly but avoid over-tightening. Too much force can crack the switch or wall. Secure the switch firmly so it does not wiggle or shift.
Testing The Fit
After attaching, check the switch’s fit. Move the toggle or press the button several times. Ensure smooth operation without sticking. The switch should not move out of place. If it does, adjust the screws or reposition the switch. A proper fit means safe and easy use.
Final Checks And Safety Tips
After fitting a light switch, final checks ensure safety and proper function. These steps protect your home and confirm the switch works correctly. Never skip these important tasks.
Restoring Power
Turn the main power back on at the circuit breaker. Check that no wires are exposed. Make sure the switch and surrounding area are dry. Stay clear of water or dampness near electrical parts.
Testing The Switch Function
Flip the switch to test if the light turns on and off. Try it a few times to be sure it works smoothly. Listen for any unusual sounds like buzzing or clicking. The switch should feel firm and not loose.
Troubleshooting Common Issues
If the light does not work, turn off the power again. Check all wire connections for tightness and correct placement. Look for damaged wires or loose screws. Replace the switch if it still fails after checks.

Credit: www.wikihow.com
Credit: www.youtube.com
Frequently Asked Questions
How Do I Safely Turn Off Power Before Fitting A Switch?
Always switch off the circuit breaker or fuse controlling the switch. Use a voltage tester to confirm no electricity flows. This ensures safety and prevents electric shocks during installation.
What Tools Are Needed To Fit A Light Switch?
You need a screwdriver, wire stripper, voltage tester, and electrical tape. These tools help you remove the old switch, prepare wires, and install the new one safely.
How Do I Connect Wires To A New Light Switch?
Connect the live wire to the switch’s terminal marked “L” or “Line. ” Attach the neutral and earth wires to their respective terminals or back boxes as per instructions.
Can I Fit A Light Switch Without Electrical Experience?
It’s possible but not recommended. Incorrect installation risks electric shock or fire. Hire a qualified electrician if unsure or unfamiliar with wiring safety.
Conclusion
Fitting a light switch is a simple task anyone can do. Follow the steps carefully for safety and success. Always turn off the power before starting work. Take your time to connect wires correctly. Double-check your work before turning the power back on.
A properly installed switch improves your home’s lighting and safety. Practice makes the process easier and faster. Keep tools handy and work in a well-lit area. Soon, you will feel confident handling basic electrical tasks yourself. Enjoy the satisfaction of completing the job on your own.