Are you tired of plain, boring light switch covers that don’t match your room’s style? What if you could easily transform them into eye-catching pieces that add personality to your space?
Painting your light switch cover is a simple and affordable way to refresh your room without much effort. In this guide, you’ll learn step-by-step how to paint your light switch cover like a pro, even if you’ve never picked up a paintbrush before.
Keep reading, and by the end, you’ll have the skills to create a stylish detail that makes your home truly yours.

Credit: nluvstudio.com
Choosing The Right Materials
Choosing the right materials is the first step in painting a light switch cover. The quality of paint and tools affects the final look. Using suitable supplies also makes the job easier. Prepare well to get smooth and lasting results.
Selecting Paint Types
Pick paint that sticks well to plastic or metal. Spray paint works fast and covers evenly. Acrylic paint is good for hand brushing and dries quickly. Avoid oil-based paints; they take longer to dry and can peel. Choose a color that matches your room style.
Picking Brushes And Tools
Use small brushes for better control around edges. Foam brushes give a smooth finish with fewer strokes. A fine-tip brush helps paint small details. Have a clean cloth ready to wipe any mistakes quickly. Gloves protect your hands from paint stains.
Preparing The Workspace
Cover your workspace with old newspapers or a plastic sheet. Work in a well-ventilated room to avoid strong paint fumes. Keep all materials within reach to stay organized. Clean the light switch cover before painting. Dry it completely to help paint stick well.
Removing The Switch Cover
Removing the switch cover is the first step before painting. It makes the process cleaner and safer. Taking off the cover lets you paint evenly and avoid mess.
Follow safety steps to protect yourself and your home. Handle the cover carefully to prevent damage.
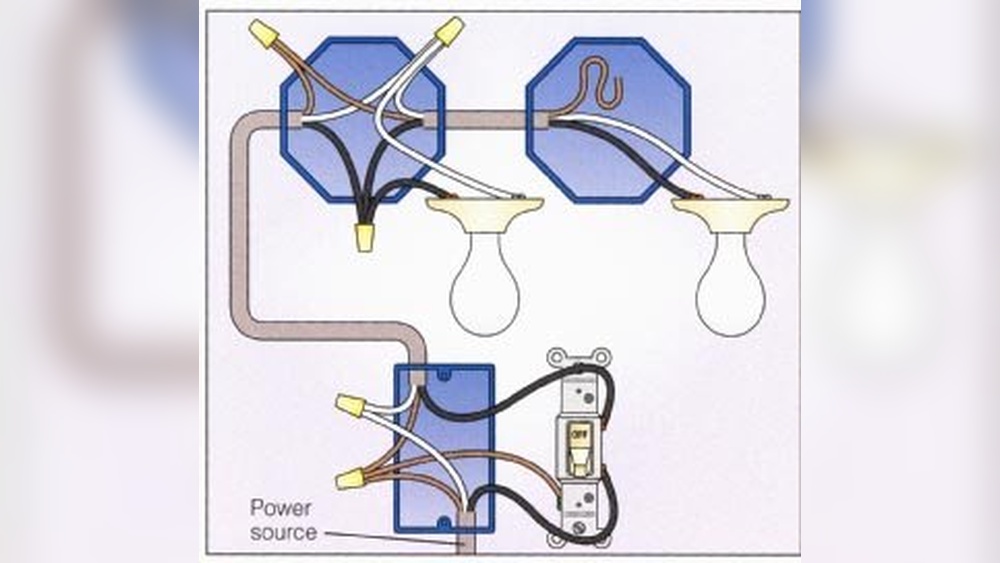
Turning Off The Power
Switch off the power to the light switch. Find the circuit breaker box in your home. Flip the breaker that controls the switch’s power.
Double-check by toggling the light switch. The light should not turn on. This stops any chance of electric shock.
Unscrewing The Cover Safely
Use a screwdriver to remove the screws holding the cover. Keep the screws safe for later use. Gently pull the cover away from the wall.
If the cover is stuck, wiggle it slightly. Avoid using force to prevent damage. Place the cover on a clean surface before painting.
Cleaning And Sanding The Cover
Preparing your light switch cover before painting is key to a smooth finish. Cleaning removes dirt and oils that stop paint from sticking well. Sanding creates a rough surface, helping the paint hold better. This process ensures a neat, long-lasting result.
Removing Dust And Grease
Start by wiping the cover with a damp cloth. Use mild soap and water to clear away grease and grime. Avoid harsh chemicals that may damage the plastic or metal. Let the cover dry completely before moving on. A clean surface helps the paint stick evenly.
Sanding For Better Adhesion
Use fine-grit sandpaper to gently roughen the cover’s surface. Focus on all flat and curved areas for even texture. Sanding removes the shiny finish and creates tiny grooves for the paint. Wipe away dust with a dry cloth after sanding. This step improves paint grip and prevents peeling.
Priming The Surface
Priming the surface is a key step before painting a light switch cover. It helps the paint stick better and last longer. Primer creates a smooth base and stops the paint from peeling or chipping. Skipping this step may cause uneven color and a rough finish.
Choosing The Right Primer
Pick a primer made for plastic or metal, depending on your cover material. A good primer prevents paint from cracking and fading. Use a water-based primer for easy cleanup and less odor. Make sure the primer dries fast to save time.
Applying Primer Smoothly
Clean the cover well before priming. Use a soft cloth to remove dust and grease. Apply primer in thin, even coats to avoid drips. Let each coat dry fully before adding the next. Use light brush strokes or spray for a smooth finish.
Painting Techniques
Painting a light switch cover can brighten any room. Using the right techniques makes the project easier. It helps the paint look smooth and last longer. This section explains simple painting methods for great results.
Applying Base Coats
Start with a clean, dry cover. Use light sanding to smooth rough spots. Choose a paint made for plastic or metal. Apply a thin, even base coat. Let it dry fully before the next step. A good base coat creates a strong foundation. It helps colors appear bright and true.
Using Stencils Or Patterns
Stencils add fun shapes and designs. Secure the stencil on the cover with tape. Use a small brush or sponge to dab paint. Avoid using too much paint at once. Carefully lift the stencil to see the pattern. Let the paint dry before adding more layers. Patterns can be simple or detailed. They make the cover unique and stylish.
Adding Details And Effects
Add small details with a fine brush. Use dots, lines, or tiny shapes for interest. Try effects like sponging or dry brushing. These add texture and depth to the design. Use metallic or glitter paint for shine. Seal the cover with clear varnish to protect it. Details and effects give the cover a polished look.
Drying And Curing
Drying and curing are key steps in painting a light switch cover. They make sure the paint sticks well and lasts long. Proper drying helps avoid smudges and damage. Curing strengthens the paint, making it more durable.
Optimal Drying Times
Paint dries at different speeds depending on type and thickness. Usually, wait at least one hour before touching the cover. For best results, allow 24 hours for full drying. Keep the cover in a dry, dust-free place. Avoid high humidity or cold temperatures to speed drying.
Avoiding Smudges And Marks
Handle the cover carefully during drying. Do not touch the painted surface until fully dry. Set the cover on a soft cloth or paper towel. Avoid stacking or placing heavy objects on top. Keep pets and children away from the drying area to prevent accidents.
Sealing The Paint
Sealing the paint on your light switch cover protects your hard work. It keeps the color bright and stops chips or scratches. A good sealant also makes cleaning easier. Let’s explore how to choose and apply the right sealant for a long-lasting finish.
Choosing A Sealant
Select a sealant that suits your paint type. For acrylic paint, water-based sealants work well. They dry clear and don’t yellow over time. If you used spray paint, consider a spray-on clear coat. It spreads evenly and avoids brush marks. Pick a sealant with a matte, satin, or glossy finish to match your style. Matte hides imperfections, gloss shines bright, and satin offers a soft glow.
Applying Protective Coating
Apply the sealant in a clean, dust-free area. Use a small brush or spray for even coverage. Apply thin coats to avoid drips and bubbles. Let each coat dry fully before adding the next. Usually, two to three coats work best. After the final coat dries, your switch cover will look smooth and stay durable for years.
Reinstalling The Switch Cover
Reinstalling the switch cover is the final step in your painting project. It brings everything together and shows your work clearly. This step requires care to keep the paint intact and ensure safety. Follow simple steps to finish the job perfectly.
Ensuring The Paint Is Fully Dry
Wait long enough for the paint to dry completely. Touch the cover lightly to check for stickiness. Dry paint prevents smudges and uneven surfaces. Drying time may vary based on paint type and room temperature. Patience now saves you from redoing the paint later.
Screwing The Cover Back On
Align the switch cover correctly over the switch. Use a screwdriver to tighten the screws gently. Avoid over-tightening to prevent cracking the cover. Tighten screws until the cover fits snugly and evenly. This keeps the cover secure and looking neat on the wall.
Restoring Power Safely
Turn the power back on only after reinstalling the cover. Switch the circuit breaker or fuse to restore electricity. Test the switch to confirm it works properly. Safety first: avoid touching wires or metal parts. Your painted switch cover is now ready for use.
Creative Design Ideas
Creative design ideas can turn a plain light switch cover into a unique art piece. Small changes make a big difference in your room’s look. Try mixing colors, adding textures, or using fun decals. These ideas help you match your style and brighten your space.
Color Combinations
Choose colors that match your room’s theme. Soft pastels create a calm feeling. Bright colors add energy and fun. Use two or three colors for balance. Try painting stripes or polka dots for extra flair. Experiment with metallic paints for a shiny effect.
Using Decals And Stickers
Decals and stickers are easy to apply and remove. They come in many shapes and patterns. Use floral, geometric, or animal designs. Stick them on painted covers for a layered look. Seal with clear paint to keep decals safe. Perfect for renters or quick makeovers.
Incorporating Textures
Textures add depth and interest to switch covers. Use sponges or brushes for a rough look. Try fabric or lace glued on the cover. Add small beads or buttons for a 3D effect. Textured covers feel different and catch the eye. A simple way to make your cover stand out.
Credit: www.aconcordcarpenter.com
Troubleshooting Tips
Painting a light switch cover can bring a fresh look to any room. Sometimes, small problems happen during the process. These troubleshooting tips help fix common issues fast. They save time and keep your cover looking great.
Fixing Paint Chips
Paint chips happen when the paint peels or cracks. Gently sand the chipped area with fine sandpaper. Clean the surface to remove dust. Apply a thin layer of paint with a small brush. Let it dry fully before adding a second coat. This helps the patch blend with the rest.
Dealing With Uneven Coats
Uneven paint looks blotchy and rough. Use light, even strokes to spread paint smoothly. Avoid thick layers that drip or bubble. If paint is already uneven, wait for it to dry. Then, sand lightly to smooth the surface. Apply another thin coat for a clean finish.
Removing Mistakes
Mistakes like paint on the wall or switch plate holes can happen. Use a damp cloth to wipe wet paint right away. For dried paint, carefully scrape with a plastic tool. Avoid scratching the surface. Touch up the area with a small brush and matching paint.
Credit: www.reddit.com
Frequently Asked Questions
How Do I Prepare A Light Switch Cover For Painting?
Clean the cover with soap and water to remove dirt. Lightly sand it to create a smooth surface. Wipe off dust before painting for better adhesion and finish.
What Type Of Paint Is Best For Switch Covers?
Use spray paint or acrylic paint for a smooth finish. Choose paint labeled for plastic or metal, depending on your cover material. This ensures durability and prevents peeling.
Can I Paint Light Switch Covers Without Removing Them?
It’s best to remove the covers for a neat paint job. Painting in place can cause uneven coats and mess. Removing covers also protects walls and switches from paint.
How Many Coats Of Paint Should I Apply?
Apply 2 to 3 thin coats of paint. Allow each coat to dry completely before applying the next. This method prevents drips and gives a professional finish.
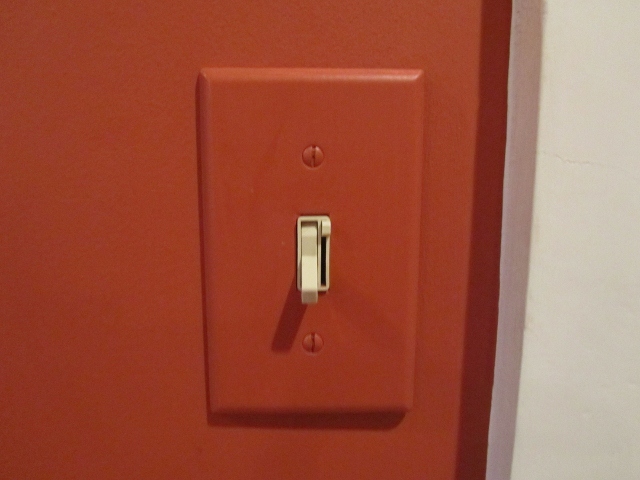
Conclusion
Painting a light switch cover is simple and fun. You only need a few tools and some paint. Take your time to clean and sand the cover well. Use thin, even coats of paint for best results. Let each coat dry completely before adding the next.
A painted cover can brighten any room and add a personal touch. Try this easy project to refresh your home without much cost or effort. Small changes make a big difference. Give it a go and enjoy your new look!