Is your ceiling fan’s light switch not working right? Maybe it flickers, feels loose, or just stopped turning on the light.
Fixing it yourself might seem tricky, but you can do it safely and quickly with the right steps. Imagine saving money and avoiding the hassle of calling a pro. In this guide, you’ll learn exactly how to replace a light switch on your ceiling fan, even if you’ve never done electrical work before.
Keep reading, and by the end, you’ll have the confidence to get your fan’s light working perfectly again.

Credit: www.amazon.com
Tools And Materials Needed
Replacing a light switch on a ceiling fan needs specific tools and materials. Having the right items ready makes the job smoother and safer. This list helps you gather everything before you start.
Basic Tools
Start with a screwdriver set. Both flathead and Phillips screwdrivers are useful. A voltage tester is important to check if power is off. Needle-nose pliers help to bend or twist wires. Wire strippers remove insulation from wires safely.
Materials Required
You need a new light switch that fits your fan model. Electrical tape secures wire connections. Wire nuts connect wires safely and prevent shorts. Replacement screws may be needed if old ones are damaged.
Safety Equipment
Wear safety goggles to protect your eyes from dust or sparks. Use insulated gloves to prevent electrical shocks. A sturdy ladder helps you reach the ceiling fan comfortably and safely.

Credit: www.youtube.com
Safety Precautions
Replacing a light switch on a ceiling fan involves working with electricity. Safety comes first. Taking the right precautions prevents accidents and injuries. Follow these steps carefully before starting your project.
Turn Off The Power
Switch off the power at the circuit breaker. Do not rely on the wall switch alone. Use a voltage tester to confirm no electricity flows to the fan. Safety depends on cutting power completely.
Use Proper Tools
Choose insulated tools designed for electrical work. Avoid using metal tools without insulation. This reduces the risk of electric shocks. Keep your tools organized and within reach.
Wear Safety Gear
Wear rubber-soled shoes and safety goggles. Rubber soles prevent electric shocks through your feet. Goggles protect your eyes from dust or sparks. Safety gear is a simple way to protect yourself.
Work In A Well-lit Area
Good lighting helps you see wires and screws clearly. Avoid working in dark or dim rooms. Use a portable lamp if needed. Clear visibility reduces mistakes and hazards.
Follow Instructions Carefully
Read the switch’s manual before starting. Follow each step exactly as shown. Do not guess or skip steps. Correct installation ensures safety and proper function.
Turning Off The Power
Always cut the power at the breaker before starting work on a ceiling fan switch. This step keeps you safe from electric shock during replacement. Safety first.
Locate The Circuit Breaker
Start by finding your home’s main electrical panel. The circuit breaker controls power for different rooms. Look for the switch labeled for the ceiling fan or the room it is in. Turn this breaker off to cut power safely. This step prevents electric shocks while you work.
Double Check The Power Is Off
After turning off the breaker, confirm no electricity flows to the fan. Use a non-contact voltage tester near the fan wires or switch. The tester will light up or beep if power is still present. If it shows no power, you are safe to proceed. Never skip this safety check.
Inform Others In Your Home
Tell everyone in your home that you are working on the fan. This prevents someone from turning the breaker back on accidentally. Post a note near the breaker box if needed. Safety first. Clear communication avoids surprises and accidents.
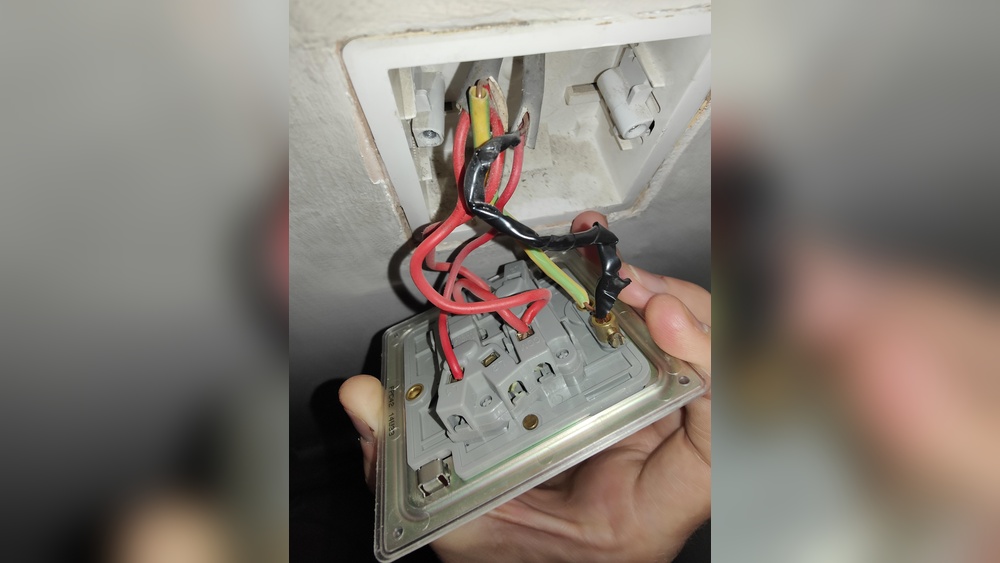
Removing The Old Switch
Removing the old switch from a ceiling fan is the first step in replacing it. This process requires care and attention to avoid any damage or safety hazards. Follow simple steps to safely remove the switch and prepare for the new one.
Accessing The Ceiling Fan Switch
Turn off the power at the circuit breaker to ensure safety. Use a ladder to reach the ceiling fan. Remove the fan’s light kit or housing cover. Locate the switch inside the fan’s canopy or housing. Unscrew any screws holding the switch in place. Gently pull the switch out to expose the wiring.
Disconnecting The Wiring
Note the position of each wire connected to the switch. Use a screwdriver to loosen wire terminals or gently pull off wire connectors. Separate all wires from the old switch carefully. Avoid pulling on the wires themselves to prevent damage. Keep track of all wires for correct reconnection later.
Choosing The Right Replacement Switch
Choosing the right replacement switch ensures your ceiling fan works safely and well. Check the switch type and voltage before buying. A good match makes installation easier and prevents electrical problems.
Understanding The Type Of Switch Needed
Ceiling fans use different types of switches for controlling lights and fan speeds. The common switch types include pull chain, toggle, and rocker switches. Identify the type of switch your fan uses before buying a replacement. Check the old switch’s shape, size, and number of terminals. This helps to find a switch that fits perfectly and works correctly.
Checking Voltage And Amperage Ratings
Every switch has a voltage and amperage rating. These ratings show how much power the switch can handle safely. Look at the old switch or the fan’s manual for these numbers. Choose a replacement switch with the same or higher ratings. This ensures the switch will not overheat or fail under normal use.
Matching The Number Of Poles And Positions
Switches come with different poles and positions. Poles mean how many circuits the switch controls. Positions mean how many settings the switch offers. For example, a fan speed switch might have three positions for low, medium, and high speeds. Match the replacement switch to the original’s poles and positions. This keeps your fan working as expected.
Considering The Switch’s Physical Size And Mounting Style
The replacement switch must fit inside the fan’s housing. Measure the old switch’s size carefully. Check how it mounts to the fan—screw-in, snap-in, or slide-in. A switch that does not fit well can cause installation problems. It may also affect the fan’s safety and performance.
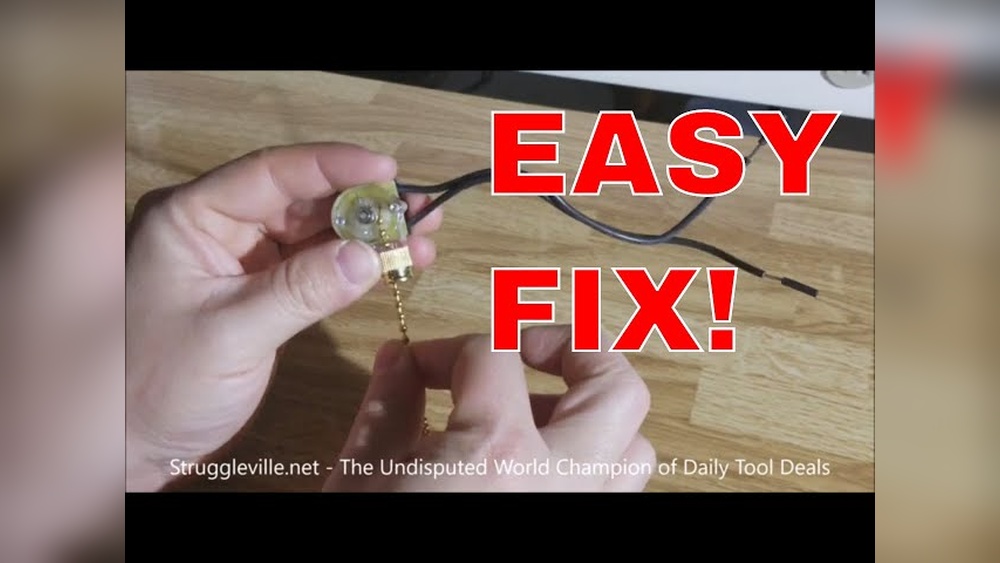
Installing The New Switch
Installing the new switch on your ceiling fan is a key step. It controls the fan and light power. This part is simple but needs care. Follow the steps closely to avoid mistakes. Safety is important, so keep power off during work.
Connecting The Wires
Start by matching the wires from the fan to the new switch. Usually, black wires connect together. White wires link to each other. Use wire nuts to secure connections tightly. Twist wires clockwise before capping them. Check each wire to ensure a strong link.
Securing The Switch In Place
Place the switch back in the ceiling fan housing. Align it with the screw holes carefully. Use a screwdriver to fasten the screws firmly. Avoid over-tightening to prevent damage. Ensure the switch sits flat and does not move. This keeps the switch safe and working well.
Testing The New Switch
Testing the new switch on your ceiling fan is an important step. It confirms the replacement works well and safely. Testing helps avoid future problems and ensures your fan operates smoothly.
Turn The Power Back On
Before testing, restore power at the circuit breaker. This step is crucial to make the switch live. Without power, the switch will not function.
Check The Fan And Light Functions
Flip the new switch to test both fan and light. Ensure the fan blades spin at all speeds. Check if the light turns on and off properly.
Listen For Unusual Sounds
Pay attention to any strange noises from the fan. Buzzing or clicking sounds may indicate wiring issues. Stop testing and review the wiring if you hear these sounds.
Observe For Flickering Or Delays
Watch the light closely for flickering or delays. Flickering may point to a loose connection. A delay in response can mean the switch is faulty.
Use A Voltage Tester For Extra Safety
Use a voltage tester to double-check the switch’s power. This tool confirms electricity flows correctly through the switch. It adds an extra layer of safety to your work.

Credit: www.amazon.com
Troubleshooting Common Issues
Troubleshooting common issues helps fix problems with a ceiling fan switch fast. Simple checks can save time and effort. Knowing what to look for makes the job easier. Below are common problems and clear ways to solve them.
Check For Power Supply Problems
Ensure the circuit breaker is on. Test the light switch with a voltage tester. No power means the switch won’t work. Fix power issues before replacing the switch.
Inspect The Wiring Connections
Loose or wrong wires cause the fan switch to fail. Turn off power, then remove the switch cover. Check all wires are tight and connected correctly. Use the manual or wiring diagram for guidance.
Test The Light Switch Itself
The switch might be faulty even if wires look fine. Use a multimeter to test continuity. No continuity means the switch needs replacement. Always use the right type of switch for the fan.
Look For Physical Damage
Cracks, burn marks, or corrosion can stop the switch from working. Replace damaged switches immediately. Damaged parts may cause electric shocks or fires.
Check The Fan And Light Controls
Sometimes the problem is not the switch but the fan or light unit. Test the fan and light with another switch or remote. Faulty controls need repair or replacement.
Frequently Asked Questions
How Do I Turn Off Power Before Replacing A Light Switch?
Always switch off the circuit breaker for safety. Use a voltage tester to confirm no electricity flows. This prevents electrical shocks during replacement.
What Tools Are Needed To Replace A Ceiling Fan Switch?
You need a screwdriver, voltage tester, wire stripper, and replacement switch. These tools help you safely remove and install the new switch.
How Can I Identify The Correct Wires To Connect?
Match wires by color: black is hot, white is neutral, and green or copper is ground. Label wires before disconnecting for accuracy.
Can I Replace The Switch Without Removing The Fan?
No, you must remove the fan cover to access the switch. This ensures safe and proper replacement.
Conclusion
Replacing a light switch on a ceiling fan is simple with clear steps. Always turn off the power before starting. Take your time to connect wires correctly. Use the right tools for safety and ease. Test the switch after installation to ensure it works.
This small fix can improve your fan’s function quickly. Now, you can handle this task with confidence. Keep safety first, and enjoy your updated fan.