Are you struggling to find a reliable way to join materials without welding or complicated tools? Installing a rivnut fastener might be the simple solution you need.
Whether you’re working on a DIY project, fixing your car, or assembling furniture, knowing how to install a rivnut fastener can save you time and give your work a professional finish. In this guide, you’ll learn clear, step-by-step instructions that anyone can follow.
Keep reading, and by the end, you’ll have the confidence to handle rivnut fasteners like a pro.
What Is A Rivnut Fastener
A rivnut fastener is a special type of nut. It fits inside a hole and creates a strong, threaded connection. This fastener allows you to add a bolt or screw to thin or soft materials. It works well on metal, plastic, or wood panels.
Rivnut fasteners are also called rivet nuts or threaded inserts. They combine the strength of a rivet and the convenience of a nut. You can install them quickly without access to the back side of the material.
How A Rivnut Fastener Works
A rivnut has a tubular body with internal threads. When you insert it into a hole and tighten the screw, the body expands. This expansion locks the fastener inside the material. It creates a secure hold that won’t loosen easily.
Common Uses Of Rivnut Fasteners
People use rivnut fasteners in many projects. They attach panels, mount hardware, or join parts together. Cars, appliances, and furniture often use rivnuts for strong, hidden fastenings.
Types Of Rivnut Fasteners
Rivnuts come in different shapes and sizes. Some have flanges for extra grip. Others are smooth or knurled for better hold in plastic or metal. Choosing the right type depends on your material and load needs.
Tools And Materials Needed
Installing a rivnut fastener requires a few specific tools and materials. Having the right items makes the job easier and ensures a strong hold. Gather everything before you start to avoid interruptions.
Tools Required
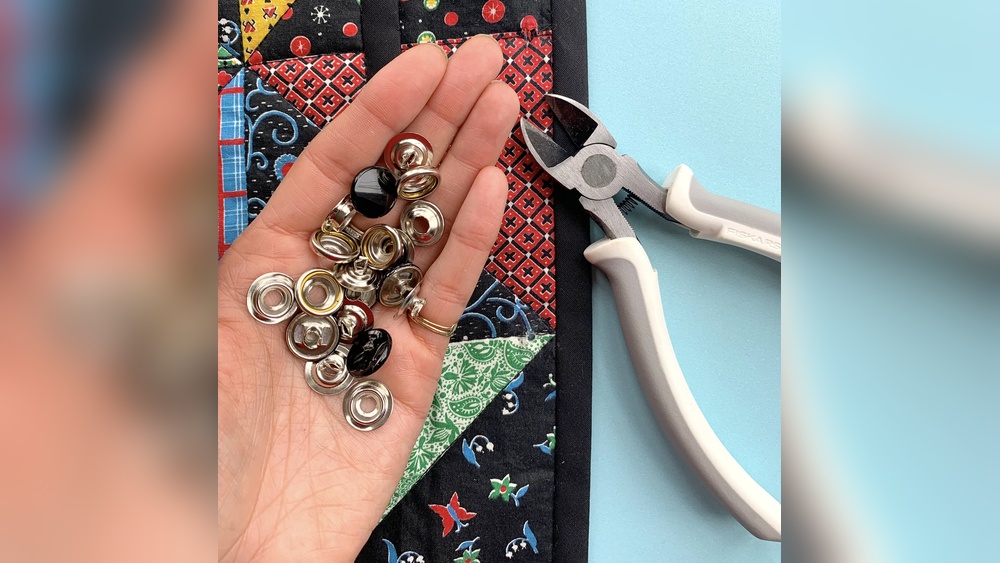
A rivnut tool or rivet nut setter is essential. This tool pulls the rivnut to secure it tightly. You also need a drill with the correct drill bit size to make the hole for the rivnut. A wrench or pliers may help tighten the tool. A center punch can mark the drilling spot for accuracy. Safety glasses protect your eyes from metal shavings.
Materials Needed
Choose the right rivnut fasteners for your project. They come in different sizes and materials like steel or aluminum. Pick a size that fits the hole and the bolt you will use. Use washers if extra support is needed. Clean the surface before installation for better grip.
Preparing The Work Surface
Preparing the work surface is the first step to install a rivnut fastener correctly. A clean and smooth surface ensures a strong hold and prevents damage. Taking time to prepare the area saves effort later.
Focus on the exact spot where you will place the rivnut. Make sure this area is free of dirt, rust, and paint. A clean surface helps the rivnut grip tightly and stay in place.
Cleaning The Surface
Remove dust, grease, and oil with a cloth or cleaner. Use a degreaser for oily surfaces. Clean surfaces help the rivnut stay secure and prevent slipping.
Removing Rust And Paint
Use sandpaper or a wire brush to remove rust and loose paint. Rust weakens the metal and may cause the rivnut to fail. Sand until you see bare metal for the best grip.
Marking The Drill Spot
Mark the exact point for drilling with a pencil or marker. Check measurements twice to ensure accuracy. A well-marked spot helps avoid mistakes and ensures the rivnut fits perfectly.
Drilling The Hole
Use the correct drill bit size for the rivnut. Drill straight and steady to avoid an uneven hole. A clean hole makes rivnut installation easier and stronger.
Marking And Drilling The Hole
Marking and drilling the hole is a crucial step for installing a rivnut fastener. This step ensures the rivnut fits perfectly and holds strong. Accurate marking helps avoid mistakes that can weaken the installation.
Use a clear and precise method to mark the spot. Proper drilling prevents damage to the material around the hole. Follow the correct size and technique for the best results.
Choosing The Right Spot To Mark
Pick the exact place where the rivnut will go. Check both sides of the material for any obstacles. Make sure the location allows easy access for tools.
Marking The Hole Accurately
Use a pencil, marker, or center punch to mark the spot. A center punch creates a small dent that guides the drill bit. This helps keep the drill steady during drilling.
Selecting The Drill Bit Size
Match the drill bit size to the rivnut’s body diameter. Too small a hole will block the rivnut. Too big a hole will make the rivnut loose.
Drilling The Hole Properly
Hold the drill steady and perpendicular to the surface. Drill slowly to avoid overheating or damaging the material. Clean the hole of any debris before inserting the rivnut.
Inserting The Rivnut
Inserting the rivnut is a key step in the installation process. It creates a strong, threaded anchor in thin materials. Proper insertion ensures the rivnut holds tightly and lasts long. This section breaks down the steps for easy and correct placement.
Prepare The Hole
Check the hole size matches the rivnut diameter. The hole should be clean and free of debris. Use a drill if the hole is too small. A perfect fit prevents wobbling and ensures strength.
Thread The Rivnut Tool
Screw the rivnut onto the tool’s mandrel. Turn it clockwise until it is secure. The tool holds the rivnut firmly for insertion. Avoid cross-threading to keep the rivnut straight.
Insert The Rivnut Into The Hole
Place the rivnut into the prepared hole. Push gently until it sits flush with the surface. The tool keeps it steady and aligned. Make sure it does not tilt or move.
Set The Rivnut
Squeeze the tool handles to expand the rivnut. The rivnut’s back side flares and grips the material. Apply steady pressure for a strong hold. Release the handles once set firmly.
Remove The Tool
Turn the tool counterclockwise to unscrew it. The rivnut stays in place securely. Check the rivnut for tightness and alignment. The hole is now ready for a bolt or screw.

Credit: www.huyett.com
Setting The Rivnut In Place
Setting the rivnut in place is a key step in the installation process. It ensures the fastener holds securely. This step requires careful attention and the right tools. Proper setting prevents damage and guarantees a strong hold.
Prepare The Rivnut And Tool
Start by threading the rivnut onto the mandrel of the rivnut tool. Make sure it fits snugly. Align the rivnut straight to avoid cross-threading. Double-check the tool is clean and working well.
Insert The Rivnut Into The Hole
Push the rivnut into the pre-drilled hole. Hold it steady and straight. The rivnut must sit flush with the surface. Avoid forcing it to prevent damage to the material.
Compress The Rivnut
Squeeze the tool handles to compress the rivnut. You will feel resistance as the rivnut deforms inside the hole. This creates a tight grip on the material. Stop squeezing when the rivnut is firmly set.
Remove The Tool Carefully
Unscrew the mandrel from the rivnut slowly. Check that the rivnut stays in place. Avoid twisting or pulling hard. The rivnut should remain tight and secure in the hole.
Testing The Installation
Testing the installation of a rivnut fastener is a key step. It ensures the fastener holds securely and works as expected. Skipping this step can lead to weak joints and failures later. Take time to check the rivnut before moving on.
Check For Proper Seating
Look closely at the rivnut after installation. It should sit flush against the material’s surface. No gaps or loose edges should be visible. A properly seated rivnut prevents wobbling and provides strong support.
Test Tightening Resistance
Use a bolt or screw to tighten into the rivnut. It should turn smoothly but not feel loose. If it spins easily without gripping, the rivnut may not be set correctly. Tightening resistance shows the rivnut’s grip strength.
Apply A Pull Test
Gently pull on the bolt or screw to check firmness. The rivnut should stay firmly in place. If it moves or pulls out, redo the installation. The pull test confirms the fastener’s hold under stress.
Inspect For Material Damage
Check the surrounding material for cracks or deformation. Installing rivnuts can sometimes damage thin or weak surfaces. Avoid using the fastener if the material is compromised. Good material condition ensures long-lasting fastening.
Common Mistakes To Avoid
Installing a rivnut fastener seems simple but many make avoidable errors. These mistakes can weaken the hold or damage the material. Knowing what to watch out for helps achieve a strong, clean installation every time.
Here are some common errors to avoid when installing rivnut fasteners. Follow these tips to get the best results and save time.
Incorrect Hole Size
Drilling the wrong hole size is a frequent problem. A hole that is too large prevents the rivnut from gripping tightly. A hole that is too small makes it hard to insert the fastener and may damage it.
Always check the rivnut package for the correct hole diameter. Use a drill bit that matches the recommended size exactly.
Not Cleaning The Hole
Failing to clean metal shavings or debris from the hole leads to poor fastener fit. Dirt reduces the rivnut’s grip and may cause it to loosen over time. Use compressed air or a brush to clear the hole before installation.
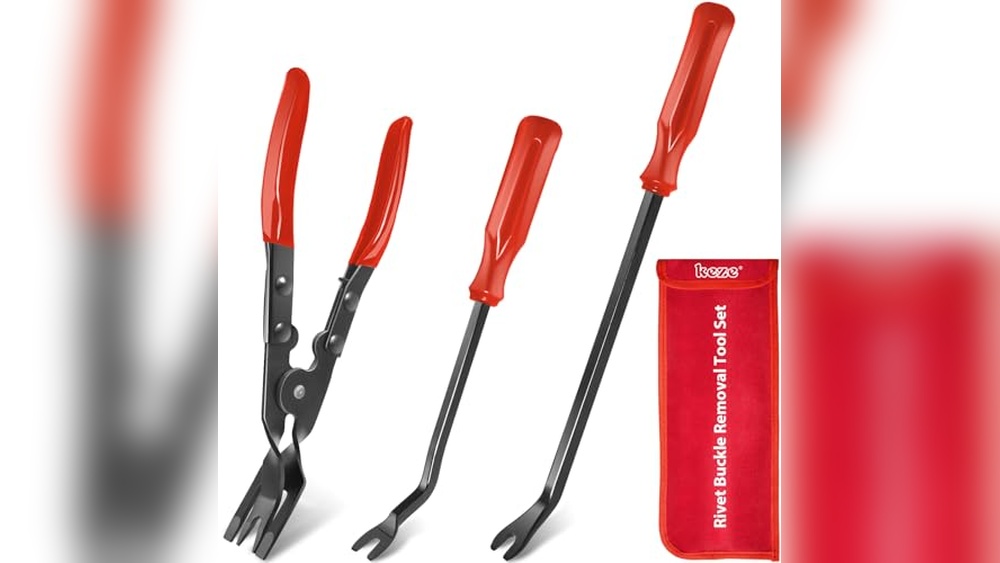
Using The Wrong Tool
Using an improper tool can damage the rivnut or the material. Hand tools made for rivnuts provide the right pressure for secure installation. Avoid pliers or makeshift tools that may deform the fastener.
Over-tightening The Rivnut
Applying too much force can strip the threads or break the fastener. Tighten the rivnut until it feels snug but not forced. Follow the torque guidelines provided with the rivnut for best results.
Ignoring Material Thickness
Choosing a rivnut too long or too short for the material thickness reduces strength. Measure the material before selecting the rivnut length. The fastener should fully engage but not extend excessively.
Tips For A Secure Fit
Getting a secure fit for a rivnut fastener is key for a strong hold. A loose rivnut can cause parts to wobble or come apart. Follow simple tips to make sure the rivnut stays tight and stable. Small steps can make a big difference in the final result.
Choose The Right Rivnut Size
Select a rivnut that matches the hole diameter exactly. Too small, and it won’t fit. Too large, and it won’t hold tightly. Measure the hole carefully before picking the rivnut size.
Prepare The Hole Properly
Clean the hole from dust and debris. Use a drill bit to smooth rough edges. A clean hole helps the rivnut sit flush and grip firmly. Avoid any rust or paint inside the hole.
Use Correct Installation Tools
Use a rivnut tool made for the fastener size. Hand tools or rivet guns work well. Avoid makeshift tools that can damage the rivnut or the material. Proper tools ensure even pressure during installation.
Apply Firm, Steady Pressure
Pull the rivnut tool steadily to set the fastener. Do not rush or jerk the tool. Even pressure allows the rivnut to deform and grip the material tightly. Stop once you feel strong resistance.
Check For Proper Seating
After installation, check if the rivnut sits flush with the surface. It should not stick out or wiggle. A flush fit means the fastener is secure and ready for use.

Credit: www.spyderindustries.com
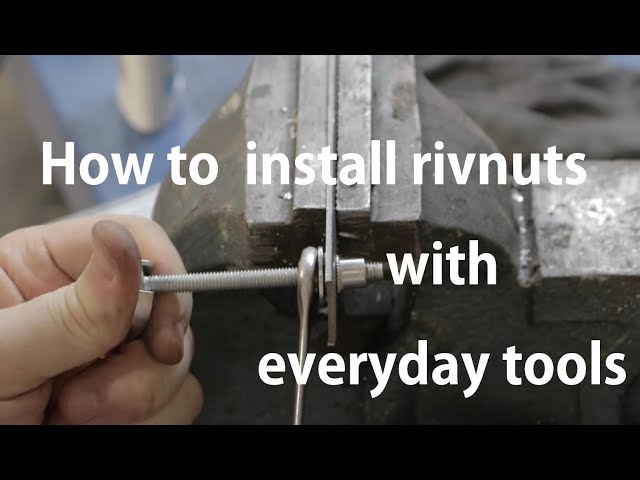
Credit: www.youtube.com
Frequently Asked Questions
What Tools Are Needed To Install A Rivnut Fastener?
You need a rivnut tool, drill, correct drill bit, rivnuts, and safety gear. These tools ensure proper and safe installation.
How Do You Prepare The Surface For Rivnut Installation?
Clean the surface thoroughly and drill a hole matching the rivnut size. Proper preparation ensures a secure fit.
Can Rivnuts Be Installed In Thin Metal Sheets?
Yes, rivnuts are ideal for thin metals where welding isn’t suitable. They provide strong, threaded fastening points.
How Tight Should A Rivnut Be Installed?
Tighten the rivnut until it is firmly compressed without damaging the material. Proper torque ensures durability and strength.
Conclusion
Installing a rivnut fastener can be simple with the right steps. Start by choosing the correct size and tools. Drill a hole carefully, then insert the rivnut and tighten it securely. This fastener offers strong hold in thin materials. Practice a few times to gain confidence.
Proper installation ensures long-lasting results. Now, you can attach parts firmly without welding or nuts. Small effort, big difference in your projects. Give it a try and see how it works.