Have you ever tried hanging a picture or shelf, only to have the screw pull out of the wall? It’s frustrating, right?
The secret to a strong hold lies in using the right wall anchor. But how do you put a wall anchor in the wall the right way? You’ll discover simple, step-by-step instructions that anyone can follow. By the end, you’ll feel confident tackling your next home project without worrying about your decorations falling down.
Keep reading, and let’s make your walls hold tight!
Credit: www.bobvila.com
Choosing The Right Wall Anchor
Choosing the right wall anchor is key to a strong hold. Not all anchors suit every wall or object. Picking the right one helps avoid damage and keeps things secure. This section explains how to select the best wall anchor for your needs.
Types Of Wall Anchors
There are many types of wall anchors. Plastic expansion anchors are common for light loads. Toggle bolts spread weight inside the wall for heavy items. Molly bolts expand behind drywall for medium weight. Choose an anchor type that fits your project.
Matching Anchors To Wall Material
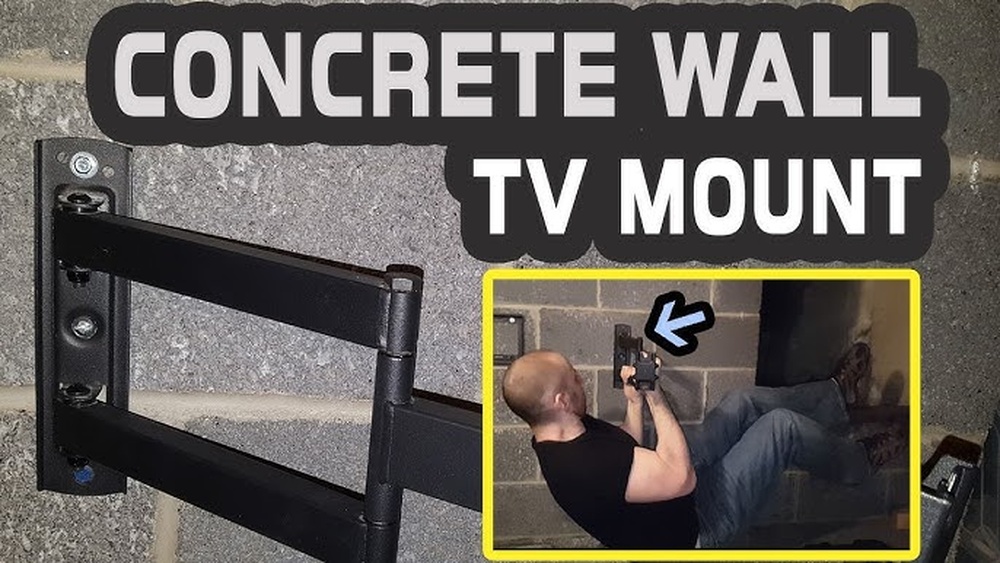
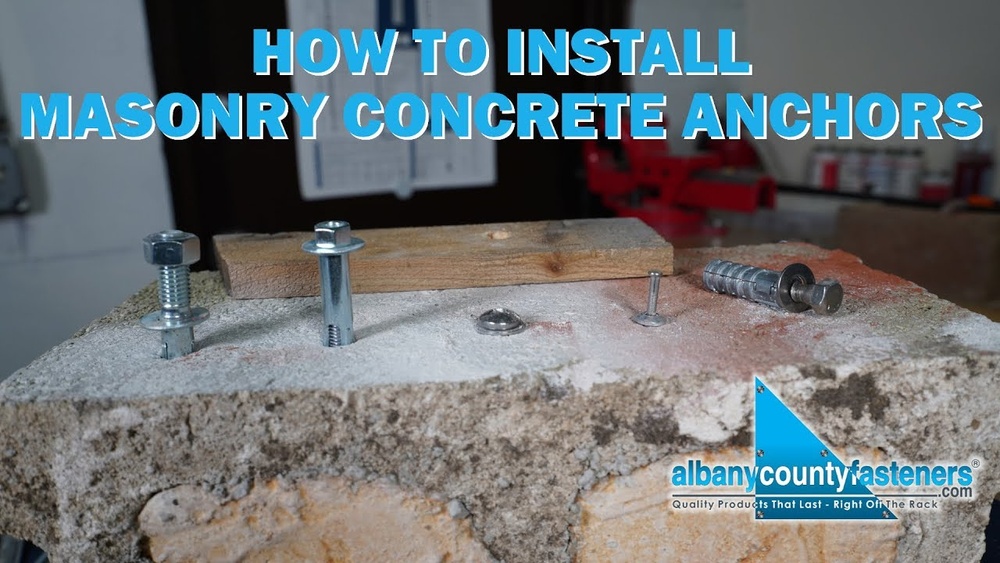
Wall material matters when selecting anchors. Drywall needs different anchors than concrete or brick. Plastic anchors work well in drywall but fail in brick. Masonry anchors suit concrete and brick walls. Match the anchor to your wall for best results.
Weight Capacity Considerations
Each anchor holds a certain weight. Know the weight of your item before choosing. Use anchors rated for more than your item’s weight. This prevents accidents and wall damage. Check the package for weight limits on anchors.

Credit: www.youtube.com
Tools Needed For Installation
Installing a wall anchor requires the right tools. These tools help you place the anchor correctly and securely. Using proper tools makes the job easier and safer. Below are the essential tools you need for the installation process.
Drill And Drill Bits
A drill is necessary to make holes in the wall. Choose a drill bit that matches the size of the wall anchor. Using the correct drill bit prevents damage to the wall. A power drill saves time and effort compared to a manual drill.
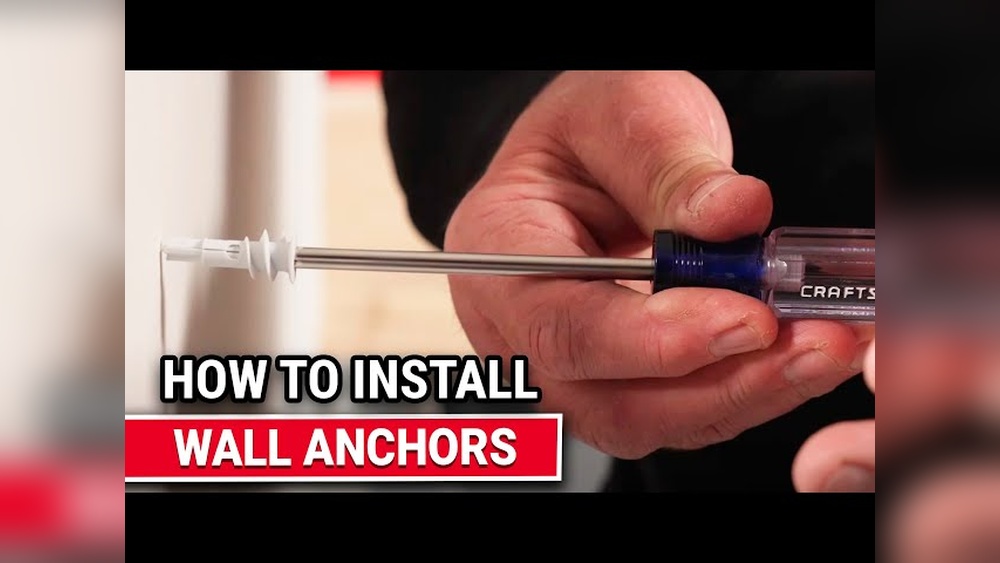
Screwdriver Options
Use a screwdriver to insert the screw into the wall anchor. A Phillips head screwdriver fits most screws. A flathead screwdriver works for some anchor types. A cordless screwdriver can speed up the process.
Measuring And Marking Tools
Measure the spot where you want to install the anchor. A tape measure helps find the exact location. Use a pencil or marker to mark the drill point on the wall. Accurate marking ensures the anchor is placed correctly.
Preparing The Wall
Preparing the wall is the first step for a strong and safe installation. This process helps you avoid damage and ensures the wall anchor holds well. Take your time to get this step right. It makes the whole project easier and safer.
Locating Studs And Avoiding Wiring
Use a stud finder to find wooden studs behind the wall. Anchors work best in drywall, but studs provide extra strength. Avoid placing anchors where wires or pipes run. This prevents accidents and damage. Scan the wall slowly and mark where studs and wiring appear.
Marking Anchor Positions
Measure the exact spots where you want to place anchors. Use a pencil to make small marks on the wall. Keep marks level and evenly spaced for a neat look. Double-check measurements before drilling. Clear markings guide you and reduce mistakes.
Drilling Pilot Holes
Choose a drill bit slightly smaller than your anchor. Drill pilot holes at the marked spots. Drill straight and steady to avoid wall damage. Clean out dust from holes before inserting anchors. Pilot holes make anchor insertion easier and more secure.

Credit: www.picturehangsolutions.com
Installing Different Types Of Anchors
Installing wall anchors helps secure objects to walls safely. Different anchors suit different wall types and weights. Understanding each anchor type makes your job easier. Here’s a guide to installing common wall anchors.
Plastic Expansion Anchors
Plastic expansion anchors work well with drywall and light materials. First, drill a hole slightly smaller than the anchor. Push the anchor into the hole until it is flush with the wall. Insert the screw and tighten it. The anchor expands inside, holding firmly.
Toggle Bolts
Toggle bolts are good for heavy items on hollow walls. Drill a hole large enough for the folded toggle to fit. Insert the toggle through the hole; it will open inside the wall. Pull the bolt gently to secure the toggle. Tighten the screw to hold the object.
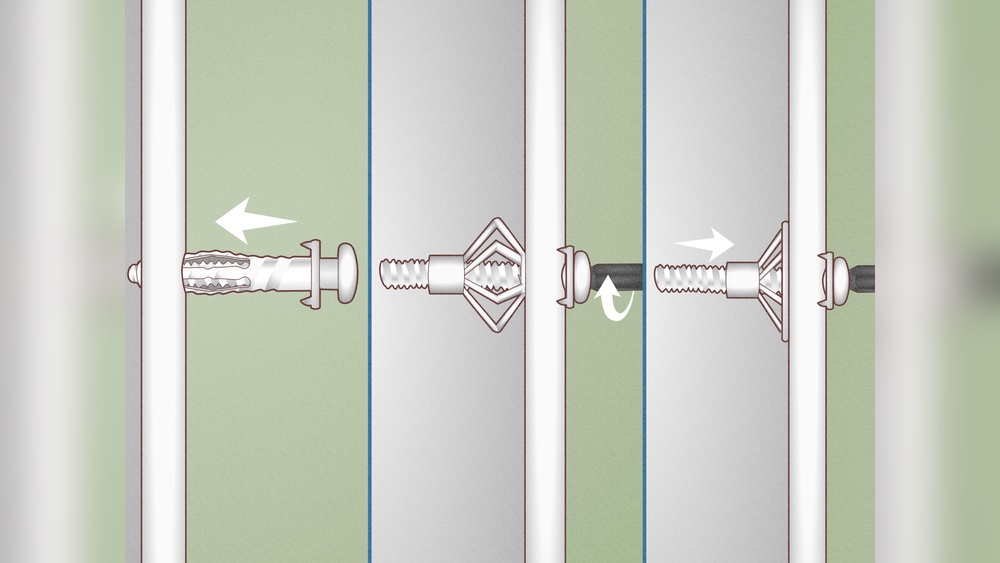
Molly Bolts
Molly bolts provide strong support for medium loads in drywall. Drill a hole matching the bolt size. Insert the molly bolt and tap it until it fits flush. Tighten the screw to spread the anchor inside the wall. Remove the screw, hang your item, then reinsert the screw.
Self-drilling Anchors
Self-drilling anchors work without pre-drilling holes. They are ideal for drywall and thin materials. Position the anchor on the wall and turn it with a screwdriver. It drills into the wall while securing itself. Insert the screw to hold the anchor tightly.
Securing The Anchor And Fastener
Securing the anchor and fastener is a key step in wall anchoring. It ensures the fixture stays firmly in place. A loose anchor can cause damage or make the item fall. Follow the right method to keep everything strong and safe.
Inserting The Anchor
Start by gently pushing the anchor into the hole. Use your fingers or a small tool to guide it. The anchor should fit snugly without extra force. If it feels tight, tap lightly with a hammer. Avoid pushing too hard to prevent wall damage.
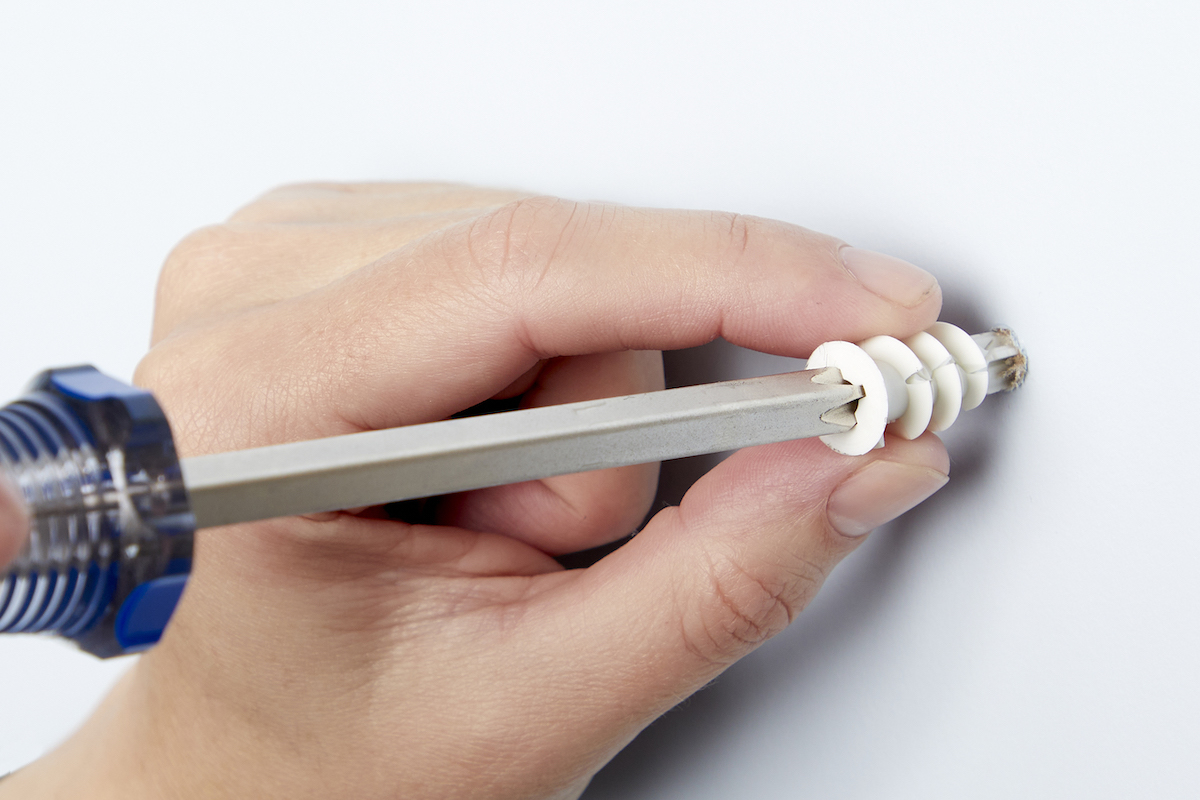
Driving The Screw
Next, place the screw into the anchor’s opening. Use a screwdriver or drill with the correct bit. Turn the screw slowly and steadily. The anchor will expand inside the wall as the screw goes in. Stop turning once you feel resistance.
Ensuring A Tight Fit
Check the screw’s tightness by gently wiggling the fixture. It should not move or feel loose. Tighten the screw more if needed, but avoid overtightening. Over-tightening can strip the anchor or damage the wall. A firm fit keeps the fixture secure and reliable.
Testing Anchor Strength
Testing anchor strength is an important step after installing a wall anchor. It ensures the anchor can hold the weight safely. Without proper testing, the anchor might fail and damage the wall or fall off.
Testing helps you find out if the anchor is secure or if it needs adjustment. It also prevents accidents and saves money on repairs. Follow these simple steps to check your anchor’s strength effectively.
Applying Load Gradually
Start by applying a small amount of weight to the anchor. Use your hand or a light object. Increase the load slowly over time. This prevents sudden stress on the anchor.
Adding weight step-by-step shows how much the anchor can hold. It also reveals weak points early. Stop adding weight if the anchor feels loose or unstable.
Checking For Movement
Watch the anchor closely while applying weight. Look for any signs of movement or slipping. Even small shifts can mean the anchor is not secure.
Try to wiggle the attached object gently. If it moves easily, the anchor needs attention. Secure anchors stay firm and do not shift.
When To Reinstall Or Replace
Remove and replace the anchor if it moves or feels loose. Reinstalling helps if the original hole is damaged. Use a bigger anchor for better support.
Replace the anchor if it cracks, bends, or breaks. Never ignore signs of failure. A strong anchor protects your wall and the items hung on it.
Tips For Long-lasting Support
Wall anchors provide solid support for hanging items. To keep them strong, follow a few simple tips. These help avoid damage and keep your anchor secure for a long time.
Avoiding Over-tightening
Turn screws slowly and stop when tight. Over-tightening can break the anchor or damage the wall. Use just enough force to hold the item firmly. This keeps the anchor safe and secure.
Using Appropriate Screws
Choose screws that match the anchor size. Too large screws can crack the anchor. Too small screws won’t hold well. Use screws recommended for the anchor type to ensure a strong fit.
Regular Inspection And Maintenance
Check anchors regularly for any looseness or damage. Tighten screws gently if needed. Replace anchors if they show signs of wear. Regular care keeps your wall anchor reliable for years.
Frequently Asked Questions
What Tools Do I Need To Install A Wall Anchor?
You need a drill, drill bit, screwdriver, and the wall anchor itself. A hammer may be useful for some anchors. Always choose the right drill bit size for a secure fit.
How Do I Choose The Right Wall Anchor?
Select anchors based on wall type and load weight. Use plastic anchors for light loads and metal anchors for heavy items. Check the anchor packaging for weight limits.
Can I Install A Wall Anchor In Drywall?
Yes, drywall anchors are designed for hollow walls. Use plastic or metal anchors made specifically for drywall. Avoid heavy loads without proper anchors or studs.
How Deep Should I Drill For A Wall Anchor?
Drill a hole slightly longer than the anchor length. This ensures the anchor fits fully and holds securely. Check the anchor instructions for exact depth.
Conclusion
Putting a wall anchor in the wall is simple with the right steps. Start by choosing the correct anchor for your wall type. Drill a hole that fits the anchor size. Push the anchor in firmly until it sits flush.
Then, screw in your fastener to secure it tightly. This method keeps your items safe and steady on the wall. Practice these steps to feel confident in your skills. Soon, hanging things will feel easy and reliable. Just take your time and follow each step carefully.