If you’re working with a Weaver mount base, you’ve probably wondered about the right tap or die to use. Choosing the correct tool can save you time, prevent damage, and ensure a perfect fit every time.
But how do you know which one suits your needs? This guide will clear up the confusion and help you make the best choice for your project. Keep reading, and you’ll gain the confidence to handle your Weaver mount base like a pro.
Weaver Mount Base Basics
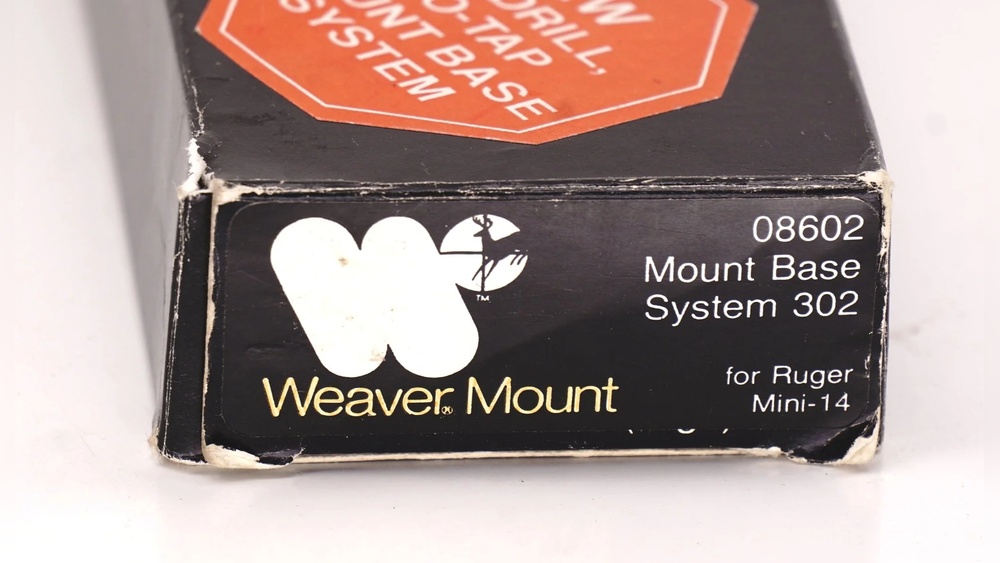
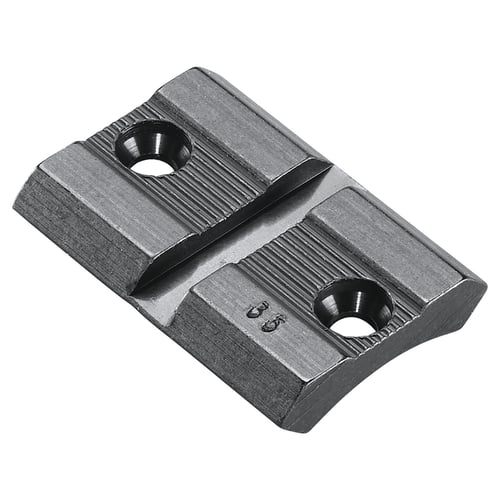
The Weaver mount base is a popular choice for attaching scopes and sights to firearms. It provides a sturdy platform that holds optics firmly in place. Understanding the basics of Weaver mounts helps you pick the right base for your needs.
Knowing the types and materials of Weaver mounts makes installation easier. It also ensures the mount fits well and lasts long.
Types Of Weaver Mounts
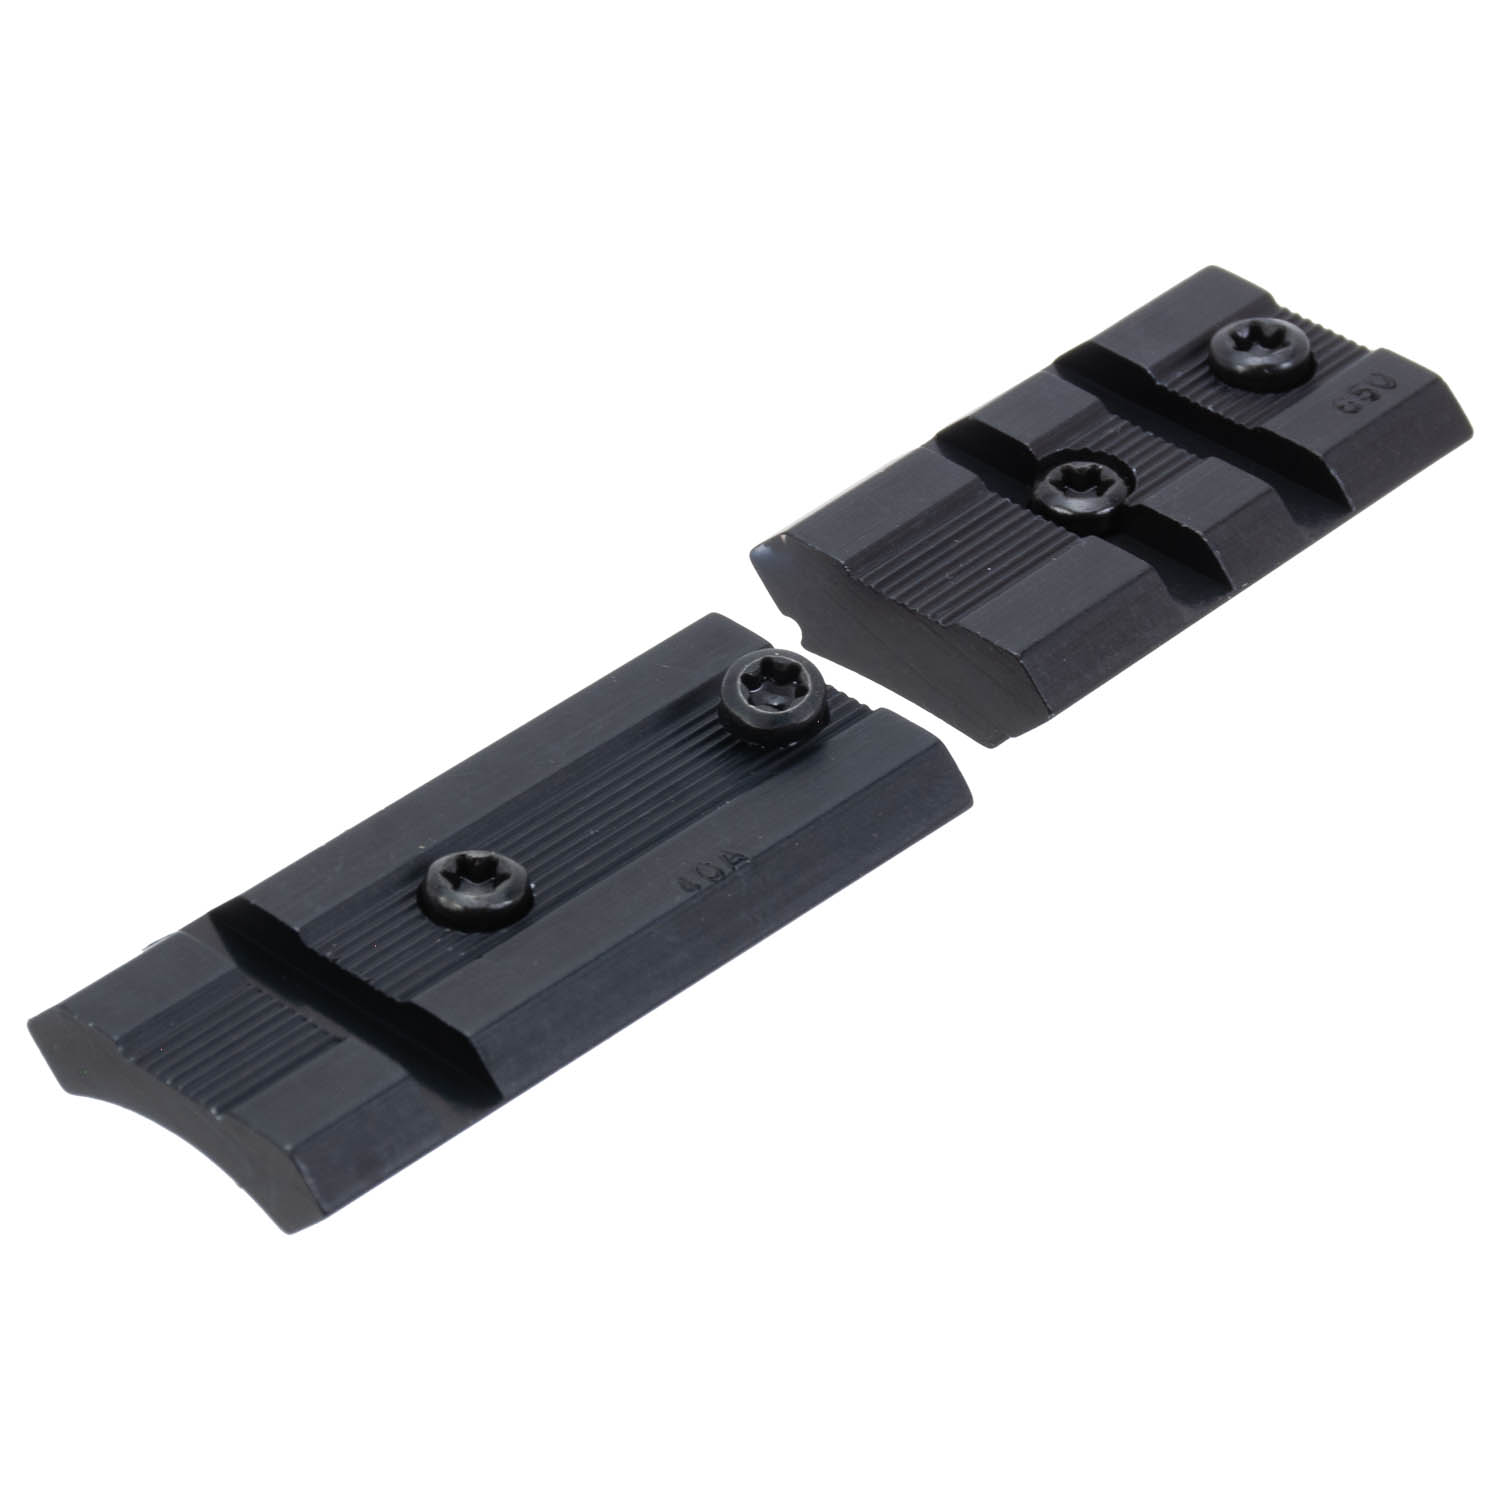
Weaver mounts come in several styles. The most common are one-piece and two-piece mounts. One-piece mounts offer strong support and simple alignment. Two-piece mounts allow more flexibility for different scopes. Some mounts also have quick-detach levers for fast removal. Each type suits different setups and preferences.
Material And Build
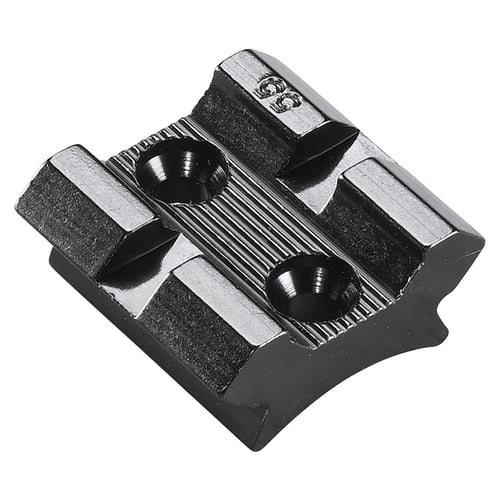
Most Weaver mounts are made from steel or aluminum. Steel mounts are heavier but very strong. Aluminum mounts are lighter and resist rust well. The build quality affects the mount’s durability and accuracy. Look for mounts with smooth finish and tight tolerances. This ensures a better fit and stable shooting experience.
Role Of Tap And Die
The tap and die set plays a crucial role in the installation of Weaver mount bases. These tools help create or repair threads on screws and holes, ensuring a secure fit. Proper threading is vital for stability and safety in mounting scopes or accessories.
Without clean and precise threads, the mount may loosen or fail. Tap and die sets allow users to maintain or customize thread sizes for perfect compatibility. Understanding their use helps achieve strong, lasting connections.
Purpose In Mount Installation
The tap cuts internal threads in holes. It prepares the base for screws to fit tightly. The die cuts external threads on bolts or rods, making them fit the mount holes.
Using tap and die tools ensures the screws and holes match perfectly. This prevents slipping or wobbling of the Weaver mount base. It also helps fix damaged threads, extending the mount’s life.
Common Sizes For Weaver Bases
Weaver bases often use standard screw sizes like 6-48 and 8-40. These numbers represent thread diameter and pitch. The tap and die sets for these sizes are widely available.
Choosing the correct size is important. It guarantees the threads fit well and hold firm. Most mounts require smaller taps and dies because of the compact screws used.
Selecting The Right Tap And Die
Selecting the right tap and die for a Weaver mount base is important. These tools help create or fix screw threads for secure mounting. Choosing the correct tap and die ensures the threads fit perfectly and hold tight. Using the wrong size can damage parts or cause weak mounts.
Understanding key factors like thread pitch and tool quality helps in making the right choice. This guide covers what to look for when picking a tap and die set for your Weaver mount base.
Matching Thread Pitch
The thread pitch is the distance between threads. It must match the Weaver mount base screws exactly. Standard thread pitches for mounts are usually measured in millimeters or threads per inch. Using the wrong pitch leads to loose or stripped threads. Always check the thread pitch on your mount before buying taps or dies. You can find this info in the product manual or by measuring with a thread gauge.
Quality And Durability Factors
High-quality taps and dies last longer and work better. Look for tools made from hardened steel or high-speed steel. These materials resist wear and breakage. Smooth cutting edges reduce effort and prevent thread damage. Poor quality tools can bend or dull quickly, ruining your mount base threads. Investing in durable taps and dies saves time and money over many projects.
Credit: www.macesports.com
Step-by-step Tapping Process
Tapping a Weaver mount base requires care and precision. The process ensures that the threads fit well for secure mounting. Follow each step to avoid damaging the base or tap.
This guide breaks down the tapping process into simple parts. Each part helps you prepare, use the tap, and avoid common errors.
Preparing The Mount Base
Clean the surface of the mount base thoroughly. Remove dirt and oil to help the tap cut smoothly. Mark the hole position clearly to guide your tapping. Use a center punch to make a small dent. This prevents the drill from slipping. Drill a hole with the correct size for the tap. Check the hole depth matches the screw length. Keep the hole straight for good thread alignment.
Using The Tap Correctly
Choose the correct tap size for your Weaver mount. Insert the tap carefully into the drilled hole. Turn the tap slowly and steadily. Apply light pressure to cut the threads. Stop turning if you feel resistance. Back the tap out every few turns to clear metal chips. Use cutting oil to reduce friction and heat. Finish tapping by cleaning out the hole thoroughly.
Avoiding Common Mistakes
Do not force the tap if it binds. Forcing can break the tap or damage threads. Avoid tapping at an angle; keep it straight. Skip rushing; slow and steady wins. Do not forget to lubricate the tap. Clean metal shavings regularly to prevent clogging. Check thread fit before final assembly. Fix any cross-threading immediately to save time.
Die Usage For Thread Repair
Using a die for thread repair is a key step in fixing damaged threads on a Weaver mount base. A die helps restore the original thread shape and size, ensuring a secure fit for screws or bolts. This tool is practical and effective, especially when threads become worn or stripped from frequent use or accidents.
Thread repair with a die saves time and money. Instead of replacing the entire part, you can bring back the damaged threads to working condition. Proper use of the die is important to avoid further damage and achieve smooth, clean threads.
When To Use A Die
Use a die when threads are damaged but not completely stripped. Light to moderate wear, cross-threading, or small burrs can be fixed. If threads are too damaged, a die may not work well. It is also useful when threads feel rough or screws do not tighten properly. A die can restore the thread profile and fix alignment issues.
Techniques For Thread Restoration
Start by cleaning the damaged threads with a brush or compressed air. Choose the correct die size that matches the original threads. Apply cutting oil to reduce friction and protect the die. Turn the die slowly and evenly over the threads, cutting gently. Avoid forcing the die, as this can cause more damage. After cutting, clean the threads again to remove metal shavings. Test the fit with a screw or bolt to ensure proper repair.
Maintenance Tips For Tools And Mounts
Proper care of your tap or die set and Weaver mount base helps them last longer. Maintenance keeps tools in good shape and ensures safe, accurate work. Small daily efforts protect your investment and improve performance.
Cleaning And Storage
Clean tools after each use to remove dirt and metal shavings. Use a soft brush or cloth to wipe away debris. Avoid water to stop rust from forming. Apply a light coat of oil to metal parts for protection.
Store tools in a dry place, away from moisture. Use the original case or a sturdy box. Keep the Weaver mount base covered to prevent dust buildup. Proper storage prevents damage and keeps tools ready for action.
Regular Inspections
Check your tap or die set and Weaver mount base regularly. Look for cracks, chips, or worn parts. Tighten any loose screws or bolts. Inspect threads for signs of wear or damage.
Early detection of problems avoids bigger repairs later. Replace damaged parts immediately to keep tools safe. Regular checks ensure your tools work smoothly every time.
Troubleshooting Thread Issues
Thread issues can cause problems when using a tap or die for a Weaver mount base. These issues often lead to poor fitting or unstable mounting. Fixing thread problems quickly helps keep your setup secure and reliable.
Understanding how to spot and repair thread damage can save time and money. Simple steps can restore threads and improve performance. Let’s explore common thread troubles and their solutions.
Identifying Cross-threading
Cross-threading happens when threads do not align properly. It makes screws hard to turn and can damage both parts. Signs include rough turning, resistance, and misaligned screws. Check threads carefully before forcing any screw into place.
Stop immediately if you feel unusual resistance. Look closely for bent or stripped threads. Cross-threading can worsen if ignored. Early detection prevents more serious damage.
Fixing Damaged Threads
Damaged threads need careful repair to restore function. Use a tap or die that matches the thread size and pitch exactly. Clean the area first to remove dirt or debris.
Slowly turn the tap or die to reshape the threads. Avoid forcing tools to prevent more damage. After repair, test with the screw to ensure smooth fitting. If threads are too damaged, consider replacing the part.
Credit: www.midwestgunworks.com
Credit: www.macesports.com
Frequently Asked Questions
What Tap Size Is Needed For A Weaver Mount Base?
The most common tap size for a Weaver mount base is 8-40 UNC. This tap size ensures proper threading and secure mounting. Always verify your specific mount requirements before tapping.
Can I Use A Die To Cut Threads For Weaver Mounts?
Yes, a die can be used to cut external threads on screws or rods for Weaver mounts. Ensure the die matches the required thread size, such as 8-40 UNC, for compatibility and a secure fit.
Why Is Tapping Important For Weaver Mount Installation?
Tapping creates internal threads in the mounting surface, allowing screws to hold firmly. Proper tapping ensures a stable, reliable attachment for your Weaver mount base. It prevents loosening and enhances durability.
What Tools Are Best For Tapping Weaver Mount Threads?
A quality hand tap wrench and the correct tap size (usually 8-40 UNC) are ideal. Using proper lubrication and steady pressure improves thread quality and prevents damage during tapping.
Conclusion
Choosing the right tap or die ensures a secure Weaver mount base fit. Proper tools make threading easier and safer. Always check the size and thread type before starting. Using good quality taps or dies saves time and prevents damage.
Keep your tools clean and sharp for best results. With the right approach, your Weaver mount will stay strong and steady. Simple steps lead to better shooting experiences. Trust the process and enjoy your setup.