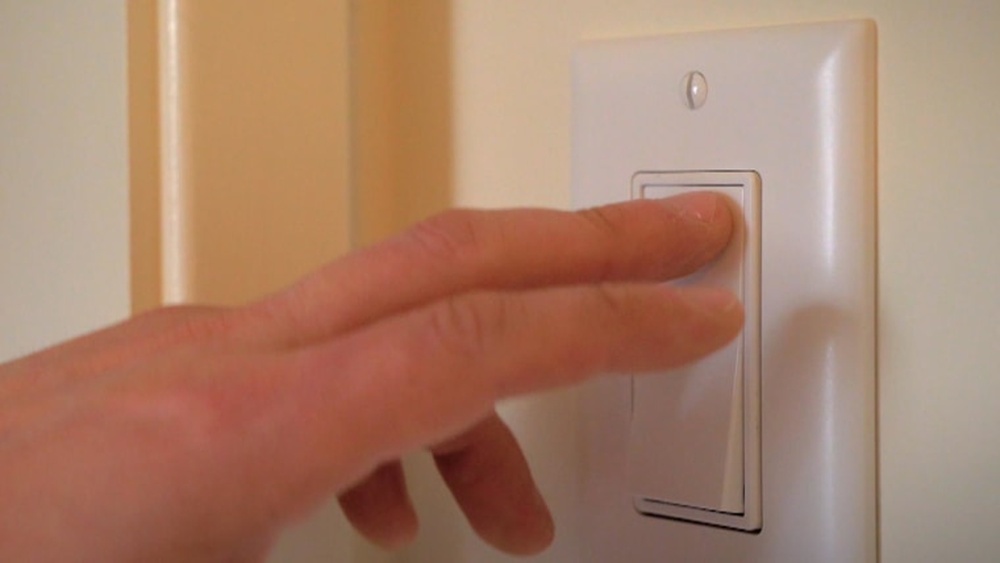
Are you looking to remove a light switch safely and easily? Whether you want to replace a faulty switch or upgrade your home’s lighting, knowing the right steps can save you time and hassle.
In this guide, you’ll discover simple, clear instructions that anyone can follow—even if you’re not an expert. By the end, you’ll feel confident handling your light switch like a pro. Ready to get started? Let’s dive in!
Tools Needed
Removing a light switch requires the right tools. Having these tools ready makes the job safer and easier. This section lists the tools needed for this task. Each tool has a simple role to help you work efficiently.
Basic Tools List
- Flathead screwdriver – to remove the switch cover plate
- Phillips screwdriver – for screws holding the switch
- Voltage tester – to check if the power is off
- Wire stripper – to clean wire ends if needed
- Needle-nose pliers – to bend or hold wires
- Flashlight – for better visibility in dark spaces
Safety Equipment
- Insulated gloves – to protect from electric shock
- Safety goggles – to guard your eyes from dust
- Rubber-soled shoes – to reduce electric shock risk
- Non-conductive mat – to stand on for extra safety
Turn Off Power
Turning off the power is the first step to safely remove a light switch. It stops electricity from flowing and protects you from shocks. Taking this step seriously keeps the work safe and easy.
Locate The Circuit Breaker
Find your home’s circuit breaker panel. It is usually in the basement, garage, or a utility room. Look for the switch labeled for the room or area with the light switch. This is the one to turn off. Flip the breaker to the “off” position. This cuts power to the switch.
Confirm Power Is Off
After turning off the breaker, check if the power is really off. Use a voltage tester or a simple light bulb tester. Touch the tester to the wires or switch terminals. No light or sound means no power. This confirms it is safe to work.
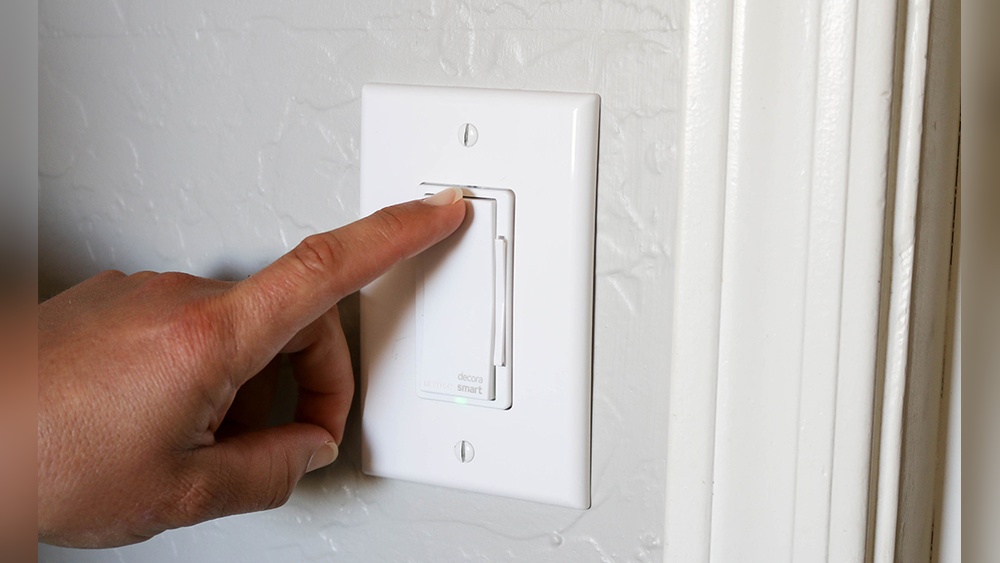
Remove Switch Cover
Removing the switch cover is the first step to take off a light switch. This part protects the switch and hides the wiring behind it. Handle it gently to avoid damage or injury.
Unscrew The Faceplate
Look for the screws holding the faceplate. They are usually at the top and bottom of the plate. Use a screwdriver that fits the screws well. Turn the screws counterclockwise to loosen them. Keep the screws safe for later use.
Handle Cover Carefully
Once the screws are out, gently pull the faceplate away from the wall. Avoid using too much force. The cover may stick a little if paint or dirt is present. Place the cover on a soft surface to prevent scratches.
Credit: diy.stackexchange.com
Test For Electricity
Testing for electricity is the most important step before removing a light switch. It helps ensure your safety by confirming no power is running through the wires. Never skip this step. Always test first to avoid electric shock.
Use A Voltage Tester
Start by turning off the circuit breaker for the light switch. Next, use a voltage tester to check the wires. Touch the tester’s probe to each wire connected to the switch. The tester will light up or beep if electricity is present. This tells you the power is still on. Keep testing until the tester shows no power.
Double Check Safety
Even after the voltage tester shows no electricity, test again for safety. Check the switch terminals and wires twice. Also, test the wall box where the switch is mounted. This double check prevents any surprises. Always assume wires may still have power until proven safe.
Disconnect Wires
Disconnecting the wires is a key step in removing a light switch safely. This process stops the electrical flow and prepares the switch for removal. Careful handling of wires prevents damage and keeps you safe. Follow clear steps to identify and detach each wire properly.
Identify Wire Types
Start by looking closely at the wires connected to the switch. Usually, you will see three types: black (hot), white (neutral), and green or bare copper (ground). The black wire carries electricity to the switch. The white wire completes the circuit. The green or bare wire connects to the ground for safety. Knowing these wires helps avoid mistakes during removal.
Loosen Terminal Screws
Next, use a screwdriver to loosen the screws holding the wires. Turn each screw counterclockwise just enough to free the wire. Avoid pulling wires forcefully. Gently wiggle them loose once the screws are loose. Keep track of which wire goes where. This makes it easier to connect a new switch later.
/how-to-replace-a-light-switch-1824670_hero_40432-43add2624f6c4522a4ee50bb24ece2be.jpg)
Credit: www.thespruce.com
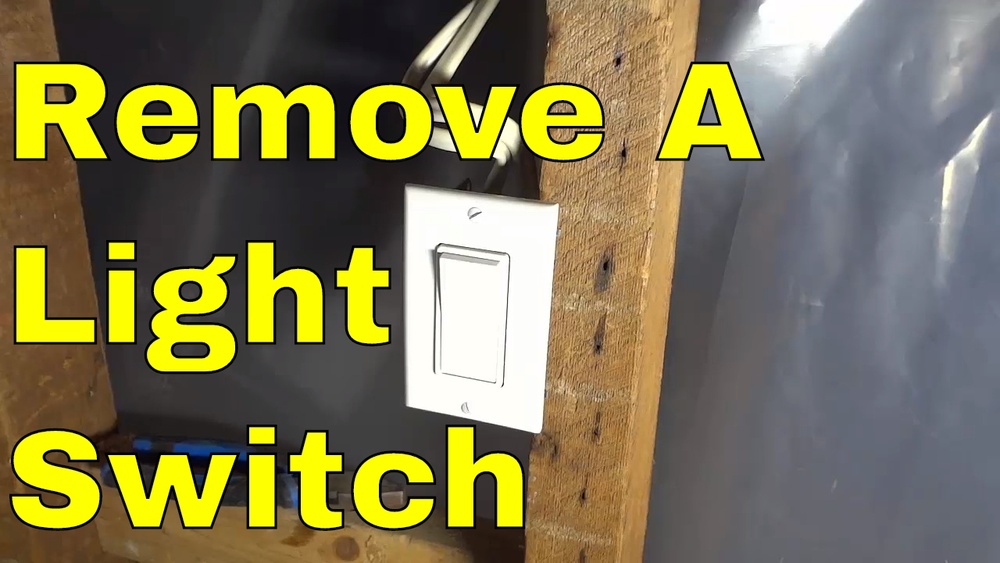
Remove The Switch
Removing the light switch is an important step in replacing or repairing it. Follow these clear steps to take out the switch safely and easily. Work slowly and carefully to avoid damage or injury.
Take Out Mounting Screws
Locate the screws holding the switch cover. Use a screwdriver to turn them counterclockwise. Keep the screws safe for later use. Remove the screws completely before pulling the switch out.
Extract Switch From Box
Gently pull the switch away from the wall box. Do not yank or force it out. Check for any wires still attached. Keep the switch steady as you work to prevent damage.
Cap And Secure Wires
Capping and securing wires is a key step after removing a light switch. This step keeps wires safe and prevents any accidents. Properly capping wires stops them from touching each other or any metal parts. This prevents short circuits and electrical shocks.
Always handle wires carefully. Make sure to use the right tools and materials. Follow simple steps to keep your electrical setup safe and neat.
Use Wire Nuts
Wire nuts are small plastic caps that twist onto wire ends. They keep wires tightly connected and covered. To use wire nuts, twist wires together first. Then, screw on the wire nut until it feels snug. Check that no bare wire is exposed outside the nut.
Wire nuts come in different sizes. Choose the size that fits your wires well. This ensures a strong and safe connection. Avoid using electrical tape alone, as it can come loose.
Tuck Wires Safely
After capping, tuck wires neatly back into the electrical box. Avoid bending wires sharply or putting pressure on them. Arrange wires so they do not touch the box edges or screws.
Use gentle pushes to fit wires inside. This keeps the box organized and reduces damage risk. A neat setup helps when installing a new switch later on.

Credit: www.wikihow.com
Replace Cover Plate
Replacing the cover plate after removing a light switch is important for safety and appearance. It hides the electrical box and wires. A new cover plate keeps the area neat and prevents dust and dirt from entering.
Choosing the right cover plate and attaching it properly makes the job complete. It is a simple step that improves the look of your wall.
Choose Blank Plate
Select a blank cover plate that fits the size of the electrical box. Blank plates do not have holes for switches or outlets. They are perfect when you remove the switch and do not plan to install a new one. Choose a plate made of durable material like plastic or metal. Make sure the color matches the wall or room decor for a clean look.
Attach Securely
Place the cover plate over the electrical box carefully. Align the screw holes with the box holes. Use the correct screws and tighten them gently. Do not overtighten, as this can crack the plate. Check if the plate sits flat against the wall. A secure attachment prevents the plate from falling off or moving. This step keeps the area safe and tidy.
Restore Power
After finishing the removal or replacement of a light switch, restoring power safely is the next step. This step ensures your electrical system works correctly and safely without any issues. Take your time to do this part carefully. Follow the instructions below to restore power in your home.
Turn Circuit Breaker On
Locate your home’s electrical panel. Find the circuit breaker you turned off earlier. Flip the switch back to the “On” position. This action restores power to the light switch and its connected circuit. Stand clear and switch it smoothly. Avoid rushing to prevent any electrical sparks or damage.
Test Surrounding Outlets
Use a small device or a lamp to check nearby outlets. This test confirms power is back in the circuit. Turn on devices plugged into the surrounding outlets. If they work, power is restored successfully. If not, double-check the breaker or wiring for issues. Testing outlets ensures no other parts of your home lost power.
Safety Tips
Removing a light switch can be simple, but safety is key. Electricity can be dangerous if handled wrong. Always prepare and follow safety steps before starting work. This helps avoid shocks and damage. Use tools carefully and check your work area.
When To Call A Professional
Electric work is tricky. Call a professional if you see damaged wires or burnt parts. If you do not know how to turn off power, get help. A certified electrician knows the rules and tools. They keep the job safe and done right. Don’t risk injury or fire by guessing.
Common Mistakes To Avoid
Never skip turning off the power at the breaker. Touching live wires causes shocks. Avoid using metal tools without insulation. Do not pull wires forcefully. Label wires before removal to keep track. Avoid working in wet areas or with wet hands. These errors can lead to serious harm or damage.
Frequently Asked Questions
How Do I Safely Remove A Light Switch?
First, turn off the power at the circuit breaker. Use a voltage tester to confirm no electricity flows. Unscrew the switch cover plate, then unscrew the switch from the electrical box. Carefully disconnect the wires before removing the switch completely.
What Tools Do I Need To Remove A Light Switch?
You need a screwdriver, voltage tester, and needle-nose pliers. A flashlight helps in dark spaces. Always use insulated tools for safety when working with electrical components.
Can I Remove A Light Switch Without Turning Off Power?
No, never remove a light switch without switching off the power. It risks electric shock and injury. Always ensure power is off before starting any electrical work.
How Do I Identify The Wires On A Light Switch?
Typically, black or red wires are hot, white is neutral, and green or bare is ground. Use a voltage tester to verify. Label wires before disconnecting to ensure correct reconnection.
Conclusion
Removing a light switch is easier than it seems. Always turn off power before starting work. Use basic tools and follow safety steps closely. Take your time to avoid mistakes. With care, you can replace or fix switches yourself. This skill saves money and gives you confidence.
Try it out next time you need electrical work. Simple tasks like this make home projects less stressful. You’ve got this!