Are you tired of harsh, bright lights that make your room feel uncomfortable? Imagine being able to adjust your lighting to suit your mood instantly.
Installing a dimmer on your light switch can transform your space, giving you full control over brightness with just a simple twist or slide. In this guide, you’ll learn exactly how to put a dimmer on your light switch safely and easily—no electrician needed.
Keep reading, and you’ll discover step-by-step tips that will help you create the perfect ambiance in your home today.
Choosing The Right Dimmer
Choosing the right dimmer is important for a smooth dimming experience. It affects how well the lights work and how long the dimmer lasts. The right dimmer matches the type of bulbs, power, and your needs.
Types Of Dimmers
There are several types of dimmers. Some work by changing voltage, and others adjust power flow. Rotary dimmers let you twist to change light levels. Slide dimmers move up or down for brightness control. Touch dimmers use a tap or swipe. Smart dimmers connect to apps or voice assistants. Choose a type that fits your switch and style.
Compatibility With Bulbs
Not all dimmers work with every bulb. Incandescent bulbs work with most dimmers. LED bulbs need special dimmers made for LED. CFL bulbs require compatible dimmers too. Using the wrong dimmer can cause flicker or damage. Check the bulb packaging or manual for dimmer info. Match dimmers and bulbs for smooth light changes.
Wattage And Load Considerations
Each dimmer has a maximum wattage rating. This rating shows how much power it can handle. Add the wattage of all bulbs on the circuit. Make sure the total is below the dimmer’s limit. Overloading can cause overheating and failure. For many bulbs or high wattage, use a higher capacity dimmer. Proper wattage helps the dimmer work safely and well.

Credit: www.youtube.com
Gathering Tools And Materials
Before installing a dimmer switch, gather all needed tools and materials. Having everything ready makes the process smooth and safe. Missing tools can slow you down or cause mistakes.
Organize your workspace and check off each item before starting. This helps avoid interruptions and keeps you focused on the task.
Essential Tools List
Collect tools for wiring and mounting the dimmer switch. You will need a screwdriver, usually a flathead and a Phillips. A voltage tester is crucial to check power is off. Wire strippers help remove insulation without damaging wires. Needle-nose pliers assist in bending and twisting wires. Electrical tape secures wire connections and prevents shorts. A drill may be necessary if new holes are needed for mounting. Keep a flashlight nearby for better visibility in dark spaces.
Safety Equipment
Wear safety gear before starting any electrical work. Safety glasses protect your eyes from sparks or debris. Insulated gloves reduce the risk of electric shock. Use shoes with rubber soles to avoid grounding yourself. Turn off power at the circuit breaker to prevent accidents. Use a lockout tag to ensure the power stays off while you work. Have a fire extinguisher nearby as a precaution. Never rush; safety is the top priority.
Preparing The Workspace
Preparing the workspace is the first step to safely install a dimmer switch. A clean and organized area helps you work faster and avoid mistakes. Clear the space around the light switch. Remove any objects that may get in your way.
Gather all tools and materials before starting. Having everything close will save time. Safety is the top priority. Take steps to avoid electrical hazards. Follow instructions carefully to protect yourself and your home.
Turning Off Power
Switch off the power to the light switch at the circuit breaker. This stops electricity flow and prevents shocks. Use a voltage tester on the switch to confirm power is off. Never skip this step. Double-checking keeps you safe during the job.
Removing Existing Switch
Remove the switch cover plate using a screwdriver. Unscrew the mounting screws holding the switch in place. Gently pull the switch from the wall box. Look closely at the wiring before disconnecting. Note the wire positions to connect the dimmer correctly later.
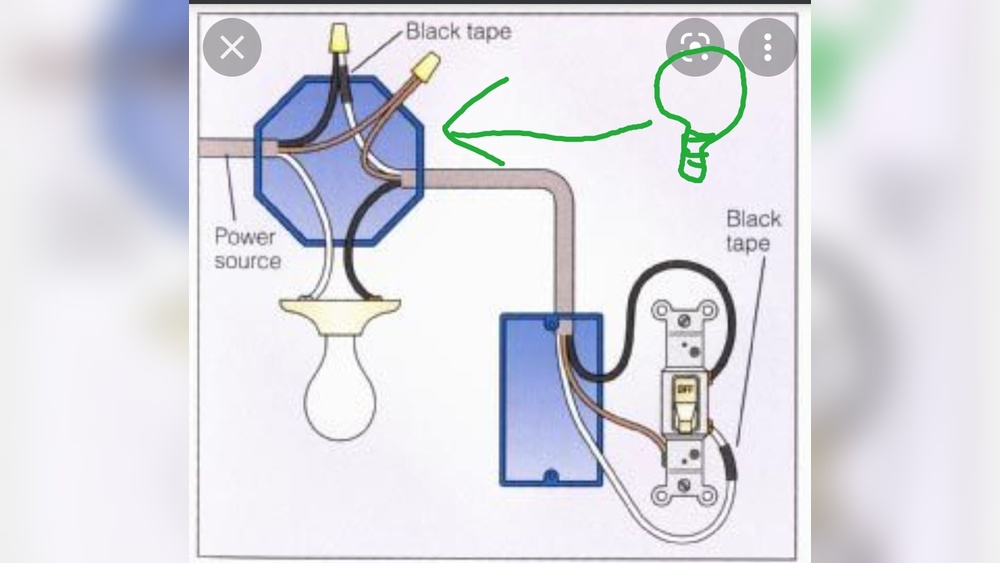
Wiring The Dimmer Switch
Wiring the dimmer switch is a key step in installing your new lighting control. It requires careful attention to the wires inside your wall switch box. Understanding each wire’s role helps avoid errors and ensures safe installation.
Follow clear steps to identify, connect, and secure the dimmer switch properly. This process makes your lights dim smoothly and safely.
Identifying Wires
First, turn off the power at the circuit breaker. Use a voltage tester to confirm no electricity flows to the switch.
Remove the old switch cover and inspect the wires. Typically, you will find a black (hot) wire, a white (neutral) wire, and a green or bare copper ground wire.
Some switches may only have two wires: black and ground. Note each wire’s position before disconnecting the old switch.
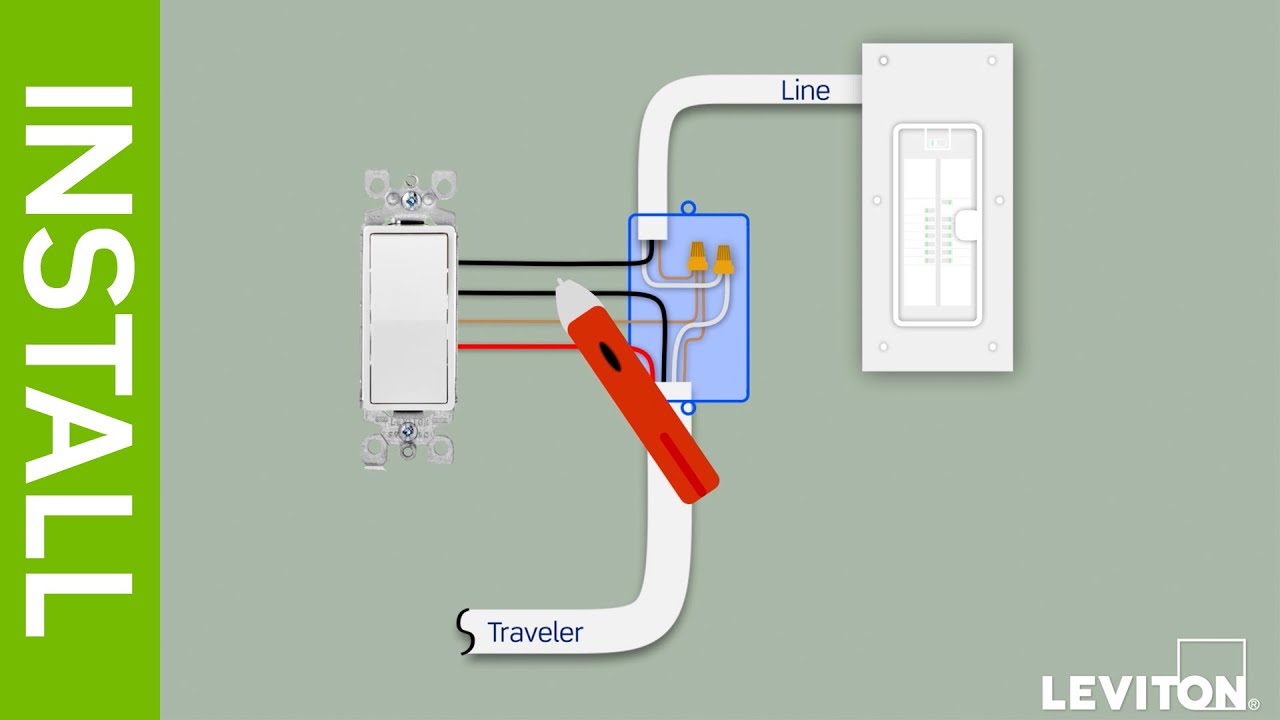
Connecting Wires Correctly
Match the dimmer switch wires to your home wires. Usually, the dimmer has two black wires and one green ground wire.
Connect the black wires from the dimmer to the black house wires. Twist the ends together and secure with wire nuts.
Attach the green ground wire from the dimmer to the copper or green ground wire in the wall box. This connection is vital for safety.
Neutral wires are not always used in dimmer switches. Check your dimmer instructions to confirm.
Securing The Dimmer
Carefully tuck the connected wires back into the wall box. Avoid sharp bends or pinching wires.
Fasten the dimmer switch to the wall box using the screws provided. Tighten firmly but do not over-tighten.
Attach the dimmer switch cover plate. Restore power at the circuit breaker and test your dimmer for smooth operation.
Testing And Adjusting
Testing and adjusting your new dimmer switch is an important step. It ensures the switch works well and is safe to use. Take your time during this phase. It helps avoid any problems later. Follow each step carefully for the best results.
Restoring Power Safely
Turn the circuit breaker back on to restore power. Make sure your hands are dry. Stand on a dry surface to avoid shocks. Use a voltage tester to confirm the power is on. Do not touch wires or terminals directly.
Checking Dimmer Function
Flip the dimmer switch to test its function. The light should turn on smoothly. Rotate the knob slowly to see brightness change. If the light flickers or does not respond, check the wiring. Tighten loose connections and try again.
Adjusting Brightness Levels
Set the dimmer to a comfortable brightness. Turn the knob fully to check the brightest setting. Then, dim it down to the lowest level. Ensure the light stays on without flickering. Adjust until you find the perfect light for your room.
Credit: www.youtube.com
Troubleshooting Common Issues
Troubleshooting common issues helps keep your dimmer switch working well. Problems can stop your lights from dimming smoothly or cause flickering. Fixing these issues quickly improves your room’s lighting and comfort.
Below are simple solutions for frequent dimmer problems. These tips help you save time and avoid calling an electrician.
Dimmer Not Working
Check the power supply first. Make sure the circuit breaker is on. Loose wires can cause the dimmer to fail. Turn off the power before tightening any connections. Replace the dimmer if it still does not work.
Flickering Lights
Flickering often means the bulb is not compatible with the dimmer. Use dimmer-compatible LED or CFL bulbs. Tighten the bulb in its socket. Sometimes flicker happens if the dimmer is overloaded. Reduce the number of bulbs on the dimmer switch.
Compatibility Problems
Not all dimmers work with every bulb type. Check the dimmer’s packaging for compatible bulbs. Use the correct dimmer for LED or incandescent bulbs. Mixing types causes poor performance and damage. Upgrade your dimmer to match the bulbs you have.
Maintaining Your Dimmer Switch
Maintaining your dimmer switch keeps your lights working well and saves energy. Regular care helps avoid problems and extends the switch’s life. Simple steps can keep your dimmer smooth and safe.
Regular Checks
Check your dimmer switch every few months. Look for any unusual sounds or flickering lights. Feel the switch for heat; it should not be too hot. Clean dust and dirt gently with a dry cloth. Make sure the switch moves easily without sticking.
Replacing Bulbs
Use bulbs that match the dimmer’s requirements. LED and CFL bulbs need special dimmers. Replace old or flickering bulbs quickly. Turn off the power before changing bulbs. Proper bulbs help your dimmer work better and last longer.
When To Call A Professional
Call an electrician if your dimmer switch sparks or smells strange. Do not try to fix wiring yourself. If the switch is too hot or not working at all, get expert help. Professionals keep your home safe and fix problems fast.

Credit: www.gelighting.com
Frequently Asked Questions
How Do I Install A Dimmer Switch On A Light?
Turn off power at the breaker. Remove the old switch. Connect dimmer wires to existing wires. Secure the dimmer and restore power. Test the dimmer to ensure proper function.
What Tools Are Needed To Put A Dimmer On Light Switch?
You will need a screwdriver, wire stripper, voltage tester, and electrical tape. These tools help safely remove the old switch and install the dimmer switch correctly.
Can I Use A Dimmer Switch With Led Lights?
Yes, but ensure the dimmer is LED-compatible. Using the wrong dimmer may cause flickering or damage. Check product details before installation for best results.
Is It Safe To Install A Dimmer Switch Myself?
Yes, if you follow safety steps like turning off power and using a voltage tester. If unsure, consult a professional electrician to avoid risks.
Conclusion
Adding a dimmer switch can change your room’s mood easily. It saves energy and extends bulb life. Follow the steps carefully for safe installation. Turn off power before starting to avoid shocks. Use the right tools and check connections twice.
Enjoy softer or brighter light anytime you want. A dimmer switch makes your space feel cozy and smart. Simple, useful, and worth the effort.