Have you noticed your sensor light switch acting up—turning on unexpectedly or not responding at all? It can be frustrating when your smart lighting doesn’t work the way it should.
The good news is, resetting your sensor light switch is often a simple fix you can do yourself. You’ll discover easy, step-by-step instructions to reset your sensor light switch and get it working perfectly again. Keep reading, and by the end, you’ll have the confidence to solve this common problem quickly and effortlessly.

Credit: www.homedepot.com
Signs Your Sensor Light Needs Resetting
Sensor lights are convenient, but they can sometimes stop working properly. Knowing the signs that your sensor light needs resetting helps you fix it fast. Ignoring these signs may cause more issues or leave you in the dark.
Below are common signs indicating your sensor light needs a reset.
Light Not Turning On
The sensor light stays off even when it should turn on. This means the sensor might not be detecting motion or the internal settings are off. A reset can often restore normal function.
Unresponsive To Motion
Your sensor light does not react to movement nearby. It stays dark despite clear activity in front of the sensor. This usually means the sensor lost connection or needs recalibration.
Flickering Or Dim Light
The light flickers or glows weakly instead of shining steadily. This suggests a sensor malfunction or a problem in the light’s power flow. Resetting the sensor can fix this issue quickly.
Tools Needed For Resetting
Resetting a sensor light switch requires a few basic tools. Having the right equipment makes the process faster and safer. Prepare your tools before you start. This helps avoid interruptions and mistakes.
Basic Tools Checklist
- Flathead screwdriver
- Phillips screwdriver
- Voltage tester
- Needle-nose pliers
- Small flashlight
- Step ladder (if the switch is high)
- Wire stripper (optional)
These tools help you open the switch panel and check the wiring. The voltage tester ensures no electricity flows during work. The flashlight helps you see inside dark areas.
Safety Equipment
- Insulated gloves
- Safety goggles
- Non-slip shoes
- Protective clothing
Safety gear protects you from electric shocks and injuries. Wear insulated gloves to avoid direct contact with wires. Goggles shield your eyes from dust or sparks. Use non-slip shoes to prevent falls. Protective clothing covers your skin from sharp edges.
Preparing To Reset The Sensor Light
Preparing to reset a sensor light is an important first step. It ensures safety and helps the reset process go smoothly. Taking time to prepare prevents damage and avoids mistakes. Follow these simple steps to get ready.
Turn Off Power
Start by turning off the power to the sensor light. This stops electricity from flowing and keeps you safe. Find the correct circuit breaker in your home’s electrical panel. Switch it off to cut power to the sensor switch. Double-check by turning the light on to confirm it is off.
Locate The Sensor Switch
Find the sensor switch that controls the light. It is usually near the light fixture or on the wall. Look for a small box with a lens or sensor on it. Knowing the exact location helps you work on the right device. This avoids confusion and saves time.
Read The Manufacturer’s Instructions
Check the instructions that came with the sensor switch. They give specific details for your model. Reading these guides helps you understand how to reset the device. Follow the manufacturer’s steps carefully to avoid problems. If you lost the manual, look online for a digital copy.
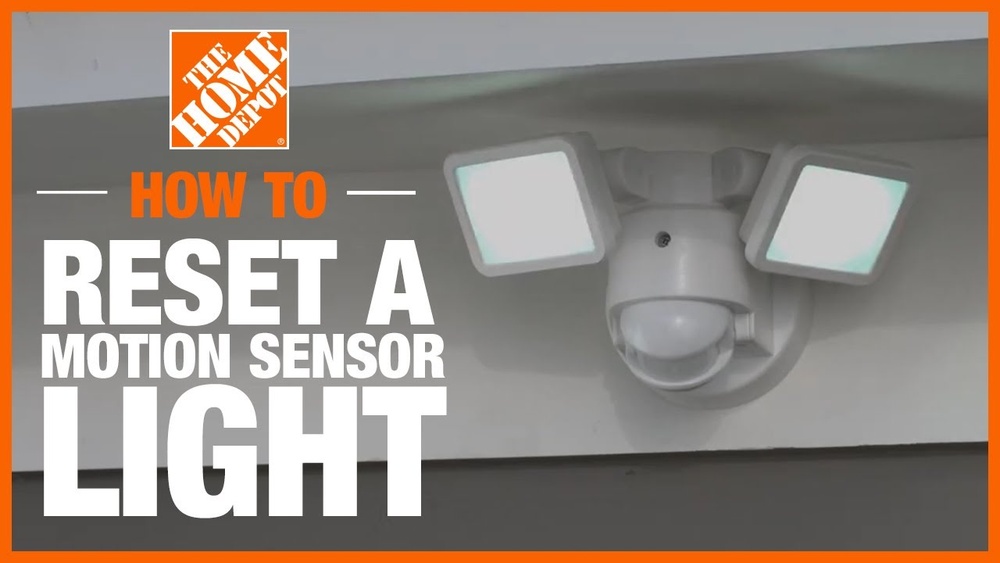
Credit: www.homedepot.com
Step-by-step Reset Process
Resetting a sensor light switch can fix many common problems. It helps the switch work properly again. Follow these simple steps to reset the sensor light switch. Each method is easy and quick.
Manual Reset Method
Turn off the power to the sensor switch at the circuit breaker. Wait about 30 seconds. Turn the power back on. This clears the switch’s memory. It resets the sensor to default settings. Test the light to see if it works.
Using The Reset Button
Some sensor switches have a reset button on the unit. Press and hold the button for 5 to 10 seconds. Release the button when the light blinks or turns off. This signals the reset is complete. The sensor light switch returns to factory settings.
Power Cycle Reset
Turn off the light switch using the wall switch. Wait 10 seconds. Turn the switch back on. This power cycle can fix small glitches. It forces the sensor to reboot. Check the sensor light switch after this step.
Adjusting Sensor Settings Post-reset
After resetting a sensor light switch, adjusting its settings is key. This ensures the light works exactly how you want it. You can control when and how the light turns on and off. Fine-tuning these settings saves energy and improves comfort.
Sensitivity Adjustment
Sensitivity controls how much motion the sensor detects. Set it too high, and the light may turn on too often. Set it too low, and it might miss movement. Adjust the sensitivity by turning the sensor dial or using the switch’s app. Test different levels to find the best setting for your space.
Light Duration Settings
This setting controls how long the light stays on after detecting motion. It can range from a few seconds to several minutes. Choose a shorter time to save energy. Pick a longer time if you need light while moving around. Adjust the duration by turning the dial or through the control panel.
Ambient Light Calibration
Ambient light calibration stops the sensor from turning on during daylight. The sensor measures natural light and works only in the dark. Adjust this setting using a dial or app control. Set it lower for darker rooms. Set it higher if you want the light to turn on in dim conditions.

Credit: www.reddit.com
Troubleshooting Common Issues
Troubleshooting common problems with sensor light switches can save time and effort. Many issues occur due to simple mistakes or settings. Knowing how to identify and fix these problems helps keep your light switch working well.
Start by checking the sensor and power supply. Sometimes, small adjustments make a big difference. Below are common issues and easy steps to solve them.
Sensor Still Not Working
First, make sure the sensor is clean and free of dirt. Dust can block the sensor’s view. Next, check the power connection. Loose wires cause the sensor to stop working. Reset the switch by turning off power for 30 seconds. Then, turn it back on and test the sensor. If it still does not work, the sensor may be faulty and need replacement.
Light Stays On Continuously
This problem often happens when the sensor detects motion constantly. Adjust the sensitivity setting to a lower level. Also, check if heat sources like air conditioners or heaters trigger the sensor. Position the sensor away from these sources. Reset the switch by cutting power for 30 seconds. After power returns, the light should turn off when no one is around.
False Triggers
False triggers occur when the sensor reacts to small movements or animals. Reduce the sensitivity to avoid this problem. Change the sensor’s angle to avoid street lights or moving trees. Make sure the sensor’s detection range fits the area you want to monitor. Reset the switch if needed by turning power off and on. This helps clear errors in the sensor’s memory.
Preventive Tips To Avoid Future Resets
Resetting a sensor light switch can be simple. Yet, frequent resets get annoying. Taking steps to prevent resets saves time and effort. Small habits keep the switch working well. They help avoid malfunctions and false triggers.
Regular Cleaning
Dust and dirt block the sensor’s view. Clean the sensor lens often. Use a soft, dry cloth. Avoid wet or harsh cleaners. Keep the area around the switch free from dust. This keeps the sensor active and accurate.
Proper Installation
Place the sensor away from direct sunlight. Avoid areas near heat sources or vents. Mount the switch at the recommended height. Follow the manufacturer’s instructions carefully. Proper placement stops false triggers and errors.
Routine Maintenance
Test the sensor light regularly. Check for loose wires or damage. Replace batteries if your model uses them. Update the settings to suit your needs. Routine checks catch small problems early.
Frequently Asked Questions
How Do You Reset A Sensor Light Switch Manually?
To reset a sensor light switch manually, turn off the power first. Wait for 30 seconds, then turn the power back on. Press the reset button if available, or follow the manufacturer’s instructions to complete the reset process.
Why Is My Sensor Light Switch Not Resetting?
Your sensor light switch may not reset due to power issues, faulty wiring, or a damaged sensor. Check the power supply and wiring connections. If problems persist, replace the sensor or consult an electrician for professional help.
How Long Does A Sensor Light Switch Reset Take?
A sensor light switch reset typically takes less than one minute. After turning off the power and waiting 30 seconds, restoring power and pressing the reset button quickly completes the process.
Can Resetting A Sensor Light Switch Fix Detection Problems?
Yes, resetting a sensor light switch can often resolve detection issues. It recalibrates the sensor, clearing glitches and restoring normal function. If problems continue, further troubleshooting or replacement might be needed.
Conclusion
Resetting a sensor light switch is simple and quick. Start by turning off the power to stay safe. Then, follow the steps to reset your device. This helps fix common problems and keeps your light working well. Regular resets can improve sensor performance.
Remember to check the manual for specific instructions. A properly reset sensor saves energy and adds convenience to your home. Now, your sensor light switch should work like new. Easy, right?