Are you ready to take full control of your home’s lighting with a Lutron light switch? Programming your switch might sound tricky, but it’s easier than you think.
With just a few simple steps, you can customize your lighting to match your lifestyle perfectly. Imagine setting the right mood for every room, saving energy, and making your daily routine smoother—all with a quick setup. Keep reading, and you’ll learn exactly how to program your Lutron light switch quickly and effortlessly.
Your home is about to get a smart upgrade!

Credit: www.youtube.com
Choosing The Right Lutron Switch
Choosing the right Lutron switch is important before programming it. The right switch fits your needs and works well with your home. It saves time and avoids problems. This guide helps you pick the best switch for your home lighting.
Types Of Lutron Switches
Lutron offers many switch types. Some control one light. Others control multiple lights or dimmers. There are switches for regular bulbs and LED lights. Some models connect to smart home systems. Choose the type that fits your lighting setup.
Compatibility With Home Wiring
Check your home wiring before buying a switch. Some Lutron switches need a neutral wire. Older homes may not have this wire. Use a switch that works with your wiring to avoid extra work. This step helps the switch work safely and correctly.
Features To Consider
Look at features like dimming, remote control, and timer options. Some switches offer voice control with smart devices. Others have simple on/off functions. Think about how you want to use the switch every day. Choose features that fit your lifestyle and budget.

Credit: www.youtube.com
Gathering Necessary Tools
Before programming a Lutron light switch, gather all the necessary tools. Having the right tools makes the process smooth and safe. Prepare everything in one place to avoid interruptions.
Basic Tools Required
Start with a flathead screwdriver and a Phillips screwdriver. These help remove the switch cover and secure wires. A voltage tester ensures no electricity flows before work. Wire strippers prepare wires for connection. A small flashlight helps see inside the switch box.
Safety Equipment
Wear insulated gloves to protect against electric shock. Safety glasses shield your eyes from dust or sparks. Turn off the circuit breaker to cut power to the switch. Use a non-contact voltage tester to double-check power is off.
Optional Accessories
A small level helps align the switch perfectly. Wire nuts secure wire connections tightly. Electrical tape adds extra safety around wire joints. A digital multimeter can check voltage and continuity for troubleshooting.
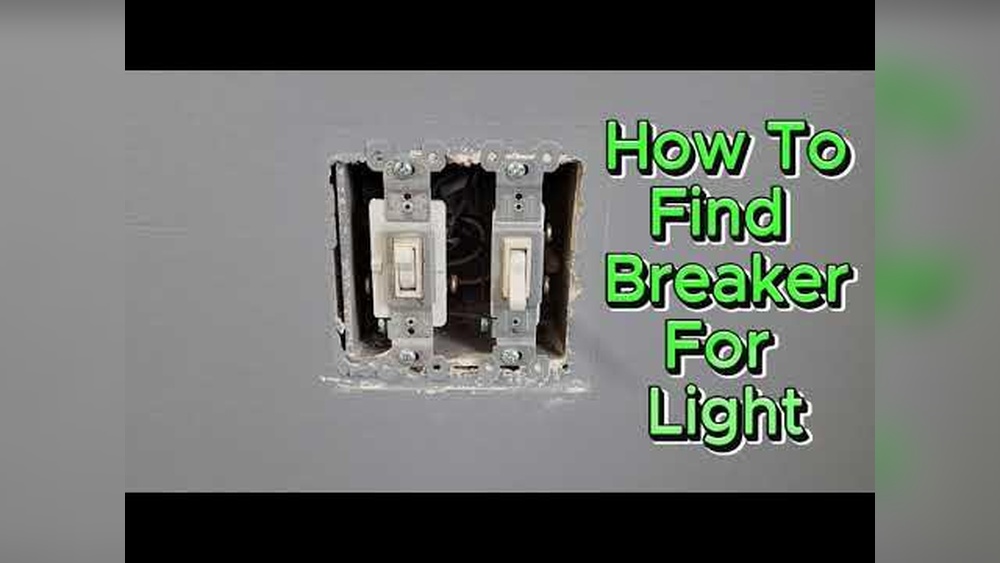
Turning Off Power Safely
Turning off power safely is the first step before programming a Lutron light switch. It protects you from electric shock. It also prevents damage to the switch or wiring. Always make sure the power is off before you start any work.
Locating The Circuit Breaker
Find your home’s main electrical panel. It is usually in the basement, garage, or utility room. Look for labels on the panel door. These labels show which breaker controls the light switch you want to program.
Turn the correct breaker to the “off” position. This stops electricity from flowing to the switch. Make sure the breaker is fully off. Sometimes, breakers can look off but still have power running.
Confirming Power Is Off
Use a non-contact voltage tester or a multimeter. Place it near the wires or the light switch. If the tester does not beep or show voltage, the power is off. Double-check by trying to turn on the light. It should not light up.
Never skip this step. Confirming power is off keeps you safe. Only work on the switch after you are sure there is no electricity.
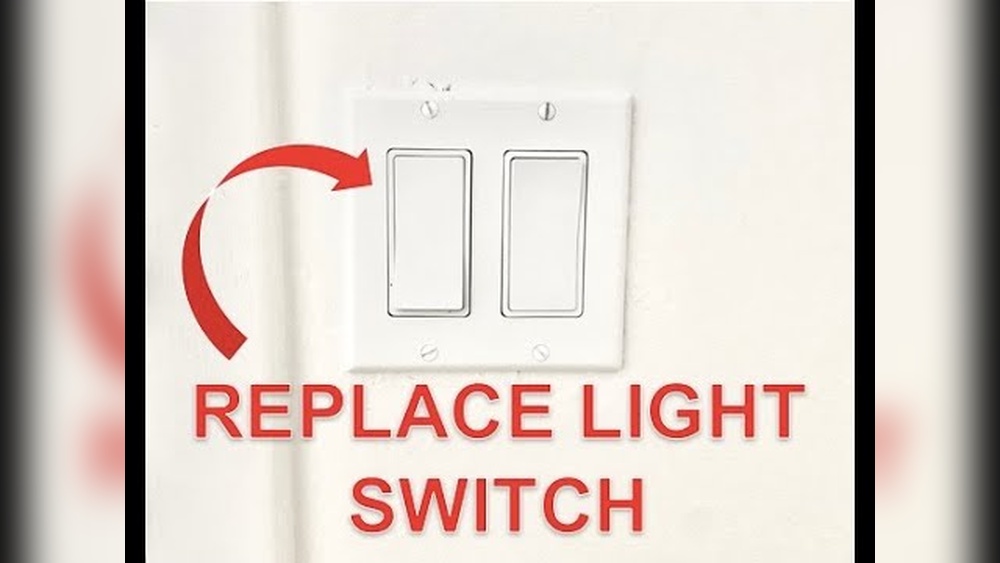
Removing The Old Switch
Removing the old switch is the first step to installing a new Lutron light switch. It is important to do this safely and carefully. Turn off the power at the circuit breaker to avoid electric shock. Then, check that the light switch is not live by testing it with a voltage tester.
Unscrewing The Faceplate
Start by locating the screws on the faceplate of the old switch. Use a screwdriver to remove these screws. Keep the screws in a safe place; you might need them later. Gently pull the faceplate away from the wall. Do not force it, as this can damage the wall or wires.
Disconnecting Wires
After removing the faceplate, you will see the wires connected to the switch. Take a photo or note where each wire connects. Use a screwdriver to loosen the screws holding the wires. Carefully disconnect each wire from the old switch. Keep the wires separated to prevent accidental contact.
Wiring The Lutron Switch
Wiring the Lutron switch is the key step to control your lights smoothly. This task needs care and attention. Simple steps make it easy to follow. Safety matters most. Turn off power before starting. Check tools and wires carefully.
Identifying Wire Types
Different wires have different jobs. The black wire is the hot wire. It carries electricity from the panel. The white wire is the neutral wire. It returns electricity to the panel. The green or bare wire is the ground wire. It protects from electric shocks. Identify each wire by color and position. Use a voltage tester to be sure.
Connecting Wires To The Switch
Match wires to the correct switch terminals. Connect the black wire to the hot terminal. Attach the white wire to the neutral terminal. Connect the ground wire to the green terminal. Use wire nuts to join wires if needed. Tighten all connections firmly. Loose wires can cause problems. Double-check each connection before moving on.
Securing The Switch In The Wall
Push the connected wires gently back into the wall box. Align the switch with the box holes. Use screws to fix the switch in place. Do not overtighten screws to avoid damage. Ensure the switch fits flush with the wall. Attach the wall plate over the switch. Restore power and test the switch function.

Credit: support.lutron.com
Programming The Switch
Programming the Lutron light switch allows you to control your lights with ease. This process helps tailor the switch to your daily needs. You can manage on/off settings, dimming levels, and more. Follow these simple steps to program your device effectively.
Resetting The Device
Start by resetting the switch to clear old settings. Press and hold the main button for about 10 seconds. The LED will blink, signaling the reset is complete. This step ensures a fresh start for new programming.
Setting Up Basic Controls
After resetting, set up basic controls for your lights. Tap the button to turn lights on or off. Use the dimmer slider to adjust brightness levels. Test the response to make sure it works smoothly.
Customizing Scenes And Timers
Create scenes to save your favorite light settings. Press and hold the scene button until the light blinks. Set timers to automate when lights turn on or off. This feature helps save energy and adds convenience.
Testing The Installation
Testing the installation of your Lutron light switch ensures it works correctly. This step confirms the wiring and programming are done right. It helps avoid problems later and saves time.
Restoring Power
Turn the circuit breaker back on to restore power. Wait a few seconds for the switch to start up. The light switch may flash or beep during this time. This means it is powering on and ready.
Checking Switch Functionality
Press the switch button to see if the light turns on and off. Try dimming the light if your model supports it. Test any remote controls or apps linked to the switch. Make sure all features respond quickly and correctly.
Troubleshooting Common Issues
If the light does not turn on, check the wiring again. Look for loose wires or wrong connections. Reset the switch by turning the breaker off and on. Consult the Lutron manual for error signals or codes. Contact customer support if problems persist.
Integrating With Smart Home Systems
Integrating your Lutron light switch with smart home systems brings convenience and control. It lets you manage lights from your phone or voice commands. This section explains how to connect, set up voice control, and use automation features.
Connecting To Hub Or App
First, open the Lutron app on your smartphone. Create an account or log in. Follow the app instructions to add a new device. Make sure your Lutron switch is powered on. The app will search for nearby devices. Select your light switch from the list. Connect it to your home Wi-Fi or smart hub. This step links the switch to your smart system. You can now control the switch remotely.
Voice Control Setup
Voice control works with assistants like Alexa or Google Assistant. Open the assistant’s app on your phone. Find the option to add a new device or skill. Search for the Lutron integration and enable it. Sign in with your Lutron account. The assistant will scan for connected switches. Assign the switch to a room or group. Test voice commands by saying simple phrases. For example, “Turn on the living room lights.”
Automation Tips
Create routines to automate your lights. Set schedules for switching lights on or off. Use triggers like sunrise or sunset times. Link your lights to other smart devices. For instance, turn on lights when your smart lock opens. Adjust brightness automatically based on time of day. Automation makes your home smarter and energy-efficient.
Maintaining Your Lutron Switch
Maintaining your Lutron switch helps keep it working well for years. Simple care and small updates can prevent many problems. Proper upkeep also makes sure your lighting stays smooth and reliable.
Regular Cleaning
Dust and dirt can build up on your switch. Use a soft, dry cloth to wipe it gently. Avoid harsh chemicals or wet cloths. Clean the switch face and surrounding wall area once a month. This keeps the switch looking good and working properly.
Firmware Updates
Lutron often releases firmware updates for better performance. Check the Lutron app or website for new updates. Install updates using your smartphone or tablet. Updating firmware fixes bugs and adds new features. Keep your switch’s software current for best results.
When To Call A Professional
Some issues need expert help. If the switch does not respond or flickers, ask a technician. Electrical problems can be dangerous. Avoid trying to fix wiring yourself. A professional can safely diagnose and repair complex problems. Call for help if you feel unsure or see damage.
Frequently Asked Questions
How Do I Program A Lutron Light Switch?
To program a Lutron light switch, press and hold the main button until the LED blinks. Then, set your desired brightness level using the dimmer. Release the button to save the setting. Refer to your model’s manual for specific steps and features.
Can I Use A Lutron Switch With Smart Home Systems?
Yes, many Lutron switches are compatible with smart home systems like Alexa, Google Home, and Apple HomeKit. Check your model’s specifications to confirm compatibility and setup instructions for seamless integration.
How Do I Reset A Lutron Light Switch?
To reset, press and hold the main button for about 10 seconds until the LED flashes rapidly. Release the button to restore factory settings. This clears custom programming and allows you to start fresh.
What Tools Are Needed To Install A Lutron Switch?
You typically need a screwdriver, voltage tester, and wire stripper. Always turn off power at the breaker before installation. Follow instructions carefully for safe and proper setup.
Conclusion
Programming a Lutron light switch is simple and quick. Follow the steps carefully for best results. You can control your lights easily and save energy. Enjoy the convenience and comfort of smart lighting. Keep your manual handy for future adjustments.
Practice makes perfect—don’t worry if it takes a few tries. Brighten your home the way you want. Now, your lighting works just how you like it.