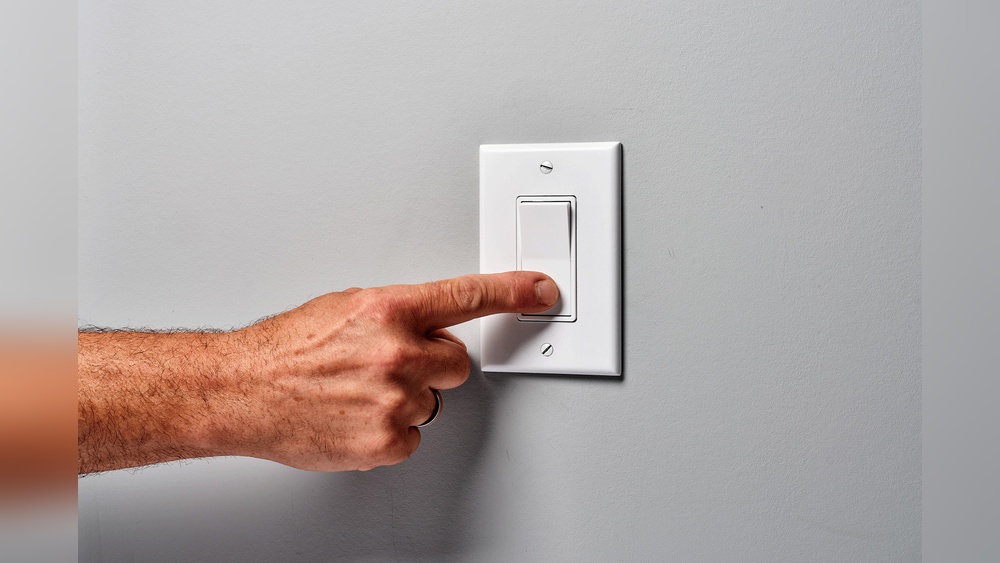
Have you ever wanted to control a lamp or device right from your wall outlet? Imagine flipping a switch instead of unplugging cords every time.
Learning how to put a light switch on an outlet can save you time and add convenience to your daily routine. In this guide, you’ll discover simple, step-by-step instructions that anyone can follow, even if you’re not an expert. Keep reading, and by the end, you’ll have the confidence to upgrade your space with just a few tools and easy wiring tricks.
Your home’s lighting control is about to get a whole lot smarter.
Tools And Materials Needed
Before starting the project, gather all the necessary tools and materials. This step helps the work go smoothly. Having everything ready saves time and prevents frustration. Safety is also important, so use the right tools and materials.
Essential Tools
- Screwdriver (flathead and Phillips)
- Wire stripper
- Voltage tester
- Needle-nose pliers
- Drill with drill bits
- Electrical tape
- Level
- Wire nuts
- Flashlight (if needed)
Required Materials
- Light switch
- Electrical outlet
- Electrical box (if not already installed)
- Romex electrical wire (14/2 or 12/2 gauge)
- Wire connectors
- Switch plate cover
- Outlet cover plate
- Mounting screws

Credit: www.do-it-yourself-help.com
Safety Precautions
Working with electrical outlets and switches can be risky. Safety is the top priority. Taking proper precautions prevents shocks and injuries. Always prepare before starting any electrical work. Follow clear steps to ensure safety.
Power Off Procedures
Turn off the power at the main circuit breaker. This stops electricity from flowing to the outlet. Never rely on just the wall switch. Double-check that the correct breaker is off. Use a label or marker to mark the breaker. This avoids turning it back on by mistake.
Unplug devices from the outlet before starting. Wear rubber-soled shoes and avoid wet areas. Keep hands dry during the process. These small steps reduce the risk of electric shock.
Using A Voltage Tester
A voltage tester checks if electricity still flows to the outlet. Use it after switching off the breaker. Place the tester’s probes on the outlet terminals. A no-light or no-sound signal means no power. If the tester shows power, do not proceed. Recheck the breaker or call an electrician.
Voltage testers are simple and safe tools. They give you confidence before touching wires. Always test twice. Safety comes first in every step.
Preparing The Outlet
Preparing the outlet is the first step to add a light switch. This step helps you work safely and correctly. It also makes sure the wiring is ready for the switch. Take time to prepare well before starting the wiring.
Removing The Outlet Cover
Turn off the power from the circuit breaker. This stops any chance of electric shock. Use a screwdriver to remove the screws on the outlet cover. Gently pull off the cover to see the outlet and wires. Keep the screws safe for later use. Check the outlet box to see if it is loose or damaged. Fix any issues before moving on.
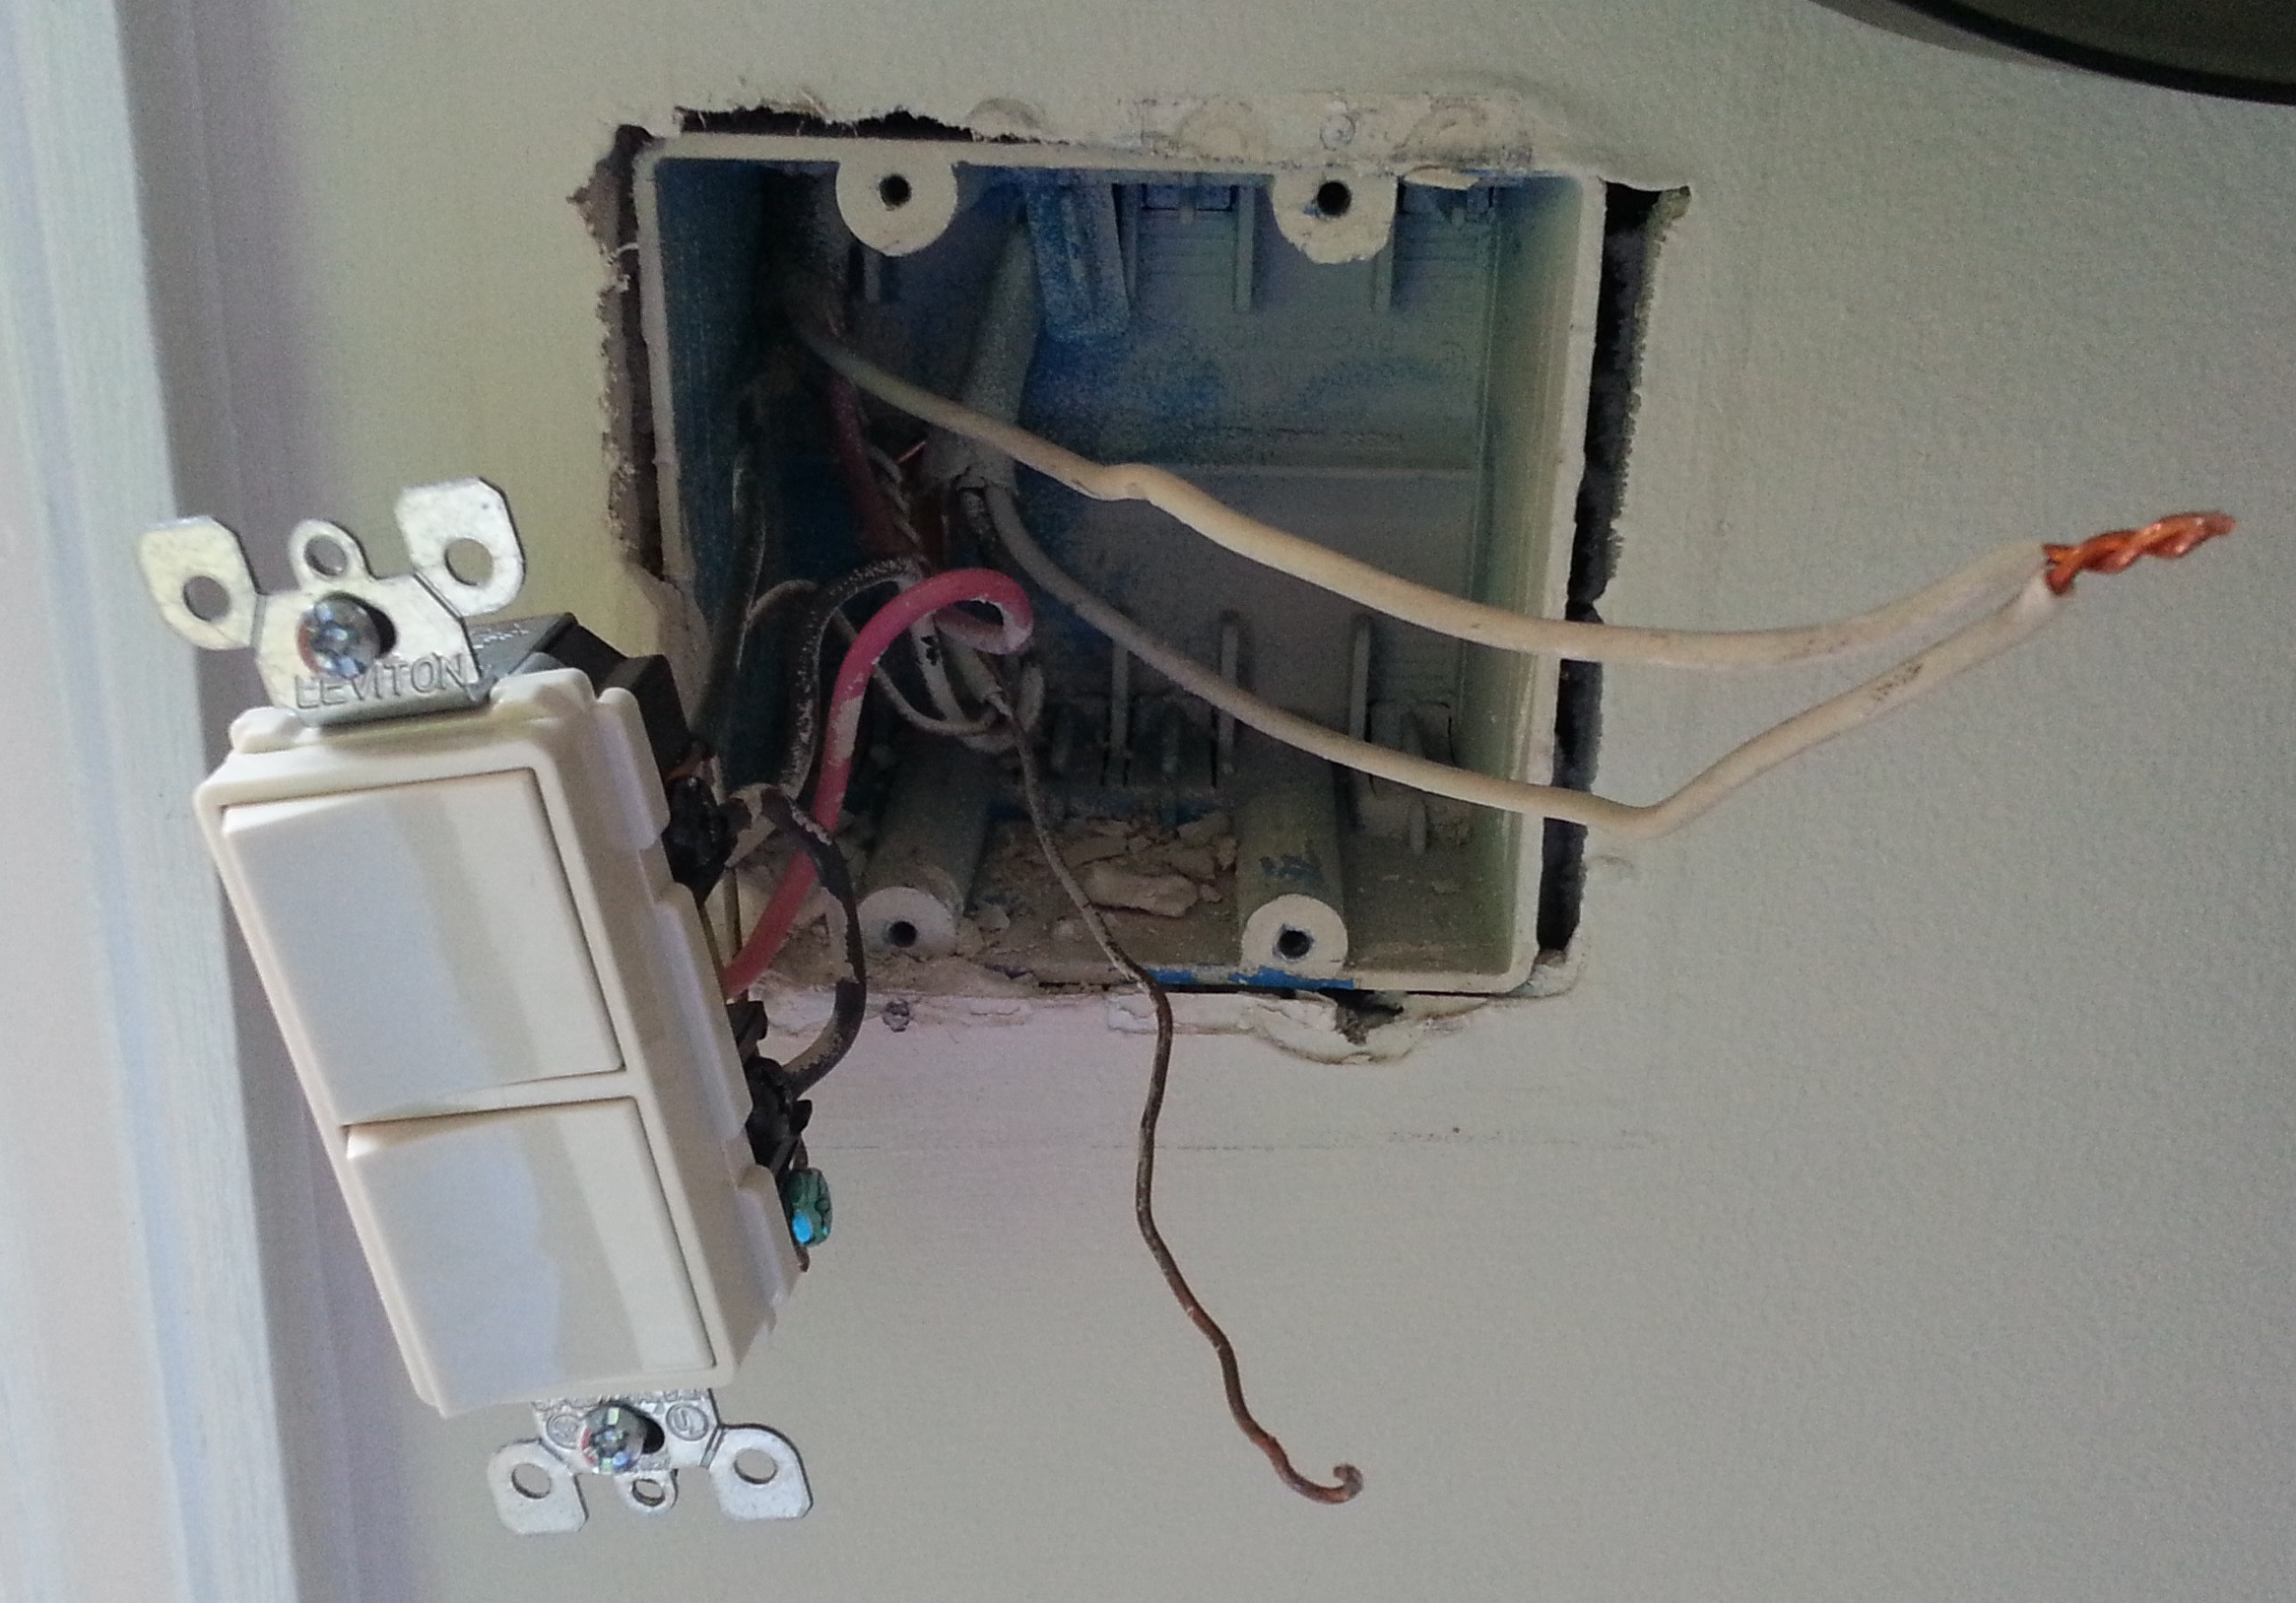
Checking Wiring Setup
Look at the wires connected to the outlet. Usually, you will see black, white, and green or bare copper wires. The black wire is the hot wire. The white wire is the neutral wire. The green or bare wire is the ground wire. Make sure wires are not frayed or broken. If wires are damaged, replace them before continuing. Confirm the outlet has enough space for the new switch wires. Clear any debris or dust inside the outlet box. Proper wiring setup is key to a safe light switch installation.

Credit: www.youtube.com
Wiring The Light Switch
Wiring the light switch is a key step in adding control to an outlet. It lets you turn the outlet on or off with ease. Understanding how to connect the wires safely is important. This part explains how to identify the wires and connect the switch to the outlet properly.
Identifying Wires
First, look at the wires in the outlet box. Usually, you will find three types: black, white, and green or bare copper. The black wire is the hot wire. It carries electricity from the power source. The white wire is neutral. It completes the electrical circuit. The green or bare wire is the ground. It keeps the system safe by preventing shocks.
Use a voltage tester to check which wire is live. Turn off power at the breaker before working. Label each wire with tape for easy identification. This step avoids confusion during connection.
Connecting Switch To Outlet
Connect the black hot wire from the power source to one terminal on the switch. Then, connect a new black wire from the other switch terminal to the outlet’s hot terminal. This setup allows the switch to control the power flow to the outlet.
Attach the white neutral wires together with a wire nut. Do not connect them to the switch. Connect the ground wires to the switch’s green screw and the outlet’s ground terminal. Secure all wire connections tightly.
Double-check all wiring before restoring power. Proper wiring ensures your light switch works safely with the outlet.
Mounting The Switch
Mounting the switch is a key step in adding a light switch to an outlet. This step ensures the switch stays in place and works safely. Proper mounting avoids loose wiring and keeps everything neat. Follow these simple steps to mount your switch correctly.
Installing The Switch Box
First, choose the right switch box for your wall type. A plastic or metal box works well for most installations. Mark the spot where you want to place the switch. Cut a hole in the wall that fits the box size. Push the box into the hole until it fits snugly. Use the built-in clamps or brackets to hold the box tight. Make sure the box is level and flush with the wall surface. This helps the switch cover fit perfectly later.
Securing The Switch
Next, attach the switch to the box. Line up the switch’s screw holes with the box’s mounting holes. Insert the screws and tighten them firmly. Do not over-tighten to avoid breaking the switch. Check that the switch sits straight and does not wobble. Proper securing prevents damage and ensures smooth switch operation. Finally, attach the switch cover plate to complete the installation.
Credit: diy.stackexchange.com
Testing The Installation
Testing the installation is a crucial step after wiring a light switch on an outlet. It ensures everything works safely and correctly. This step helps avoid electrical problems and keeps your home secure.
Restoring Power
First, restore power at the circuit breaker. Switch the breaker back to the ON position. This sends electricity to the outlet and switch. Use caution and avoid touching any wires. Confirm the power is back by checking other devices on the same circuit.
Verifying Switch Functionality
Next, test the switch by turning it ON and OFF. The connected light or device should respond immediately. If it does not, check your wiring connections again. Make sure the switch controls only the outlet part it is meant to. Repeat the test several times to be sure it works smoothly.
Troubleshooting Tips
Troubleshooting is key when installing a light switch on an outlet. Problems can stop the switch or outlet from working. Knowing common issues helps fix them quickly. This saves time and avoids damage. Below are simple tips to solve wiring and switch problems.
Common Wiring Issues
Wrong wire connections cause many problems. Wires must match the switch and outlet terminals. A loose wire can stop power flow. Check if wires are tightly connected. Sometimes, wires get swapped between terminals. This can cause the switch not to work.
Another issue is damaged wires. Look for cuts or burns on wires. Replace any damaged wires before testing the switch.
Fixing Switch Problems
If the switch does not work, test it with a voltage tester. No voltage means a power supply problem. Check the circuit breaker or fuse box. A tripped breaker can stop power to the switch.
Sometimes, the switch itself is faulty. Replace the switch if it feels loose or does not click. Use a new switch rated for your outlet’s voltage and current.
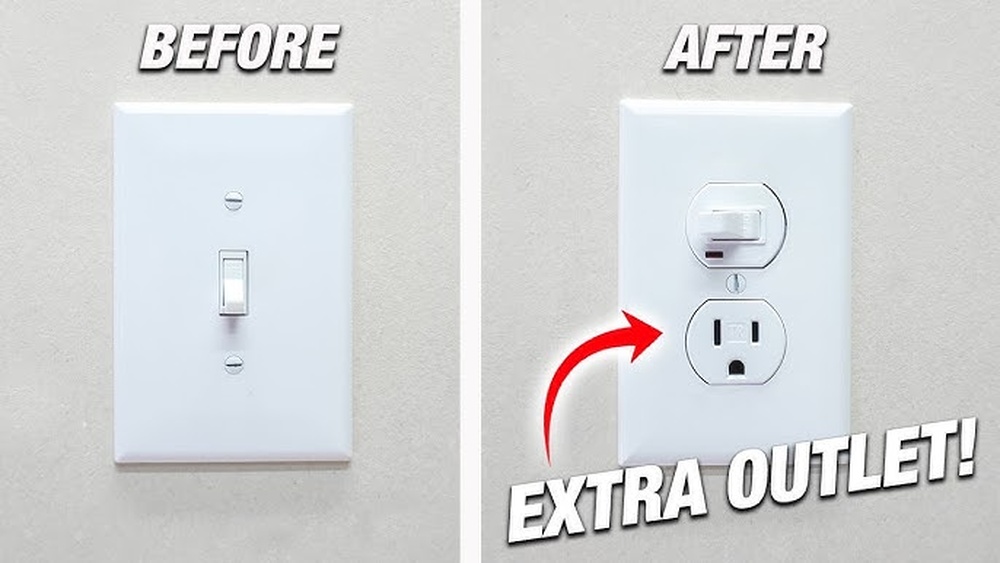
Upgrading And Customizing
Upgrading and customizing your outlet with a light switch adds both function and style. It makes controlling your lights easier and more convenient. This simple change can improve your room’s look and feel. You can tailor the lighting to suit your needs perfectly.
Adding Dimmer Features
Dimmer switches let you adjust light brightness. They create a soft or bright light depending on your mood. Installing a dimmer on an outlet is simple. It replaces the standard switch and connects to the light fixture. Dimmer switches save energy by reducing power use. They also extend the life of your bulbs. You can set the light level for reading, relaxing, or working.
Using Smart Switches
Smart switches add modern control to your lighting. You can turn lights on or off using a phone app or voice commands. These switches connect to your home Wi-Fi network. They offer scheduling and remote access. Installing a smart switch on an outlet helps automate your home. It increases safety by allowing light control from anywhere. Smart switches also work with other smart home devices for more options.
Frequently Asked Questions
How Do I Connect A Light Switch To An Outlet Safely?
Turn off the power at the circuit breaker before starting. Use a switch-rated outlet box and follow wiring codes carefully. Connect the switch in series with the outlet’s hot wire to control the light properly.
Can I Use A Single Switch For Multiple Outlets?
Yes, a single switch can control multiple outlets if wired correctly. Ensure the wiring supports the load, and all outlets are on the same circuit. Use proper gauge wire and follow local electrical codes for safety.
What Tools Are Needed To Install A Switch On An Outlet?
Essential tools include a voltage tester, wire stripper, screwdriver, electrical tape, and pliers. A circuit breaker finder and wire nuts are also helpful. Always wear safety gear and double-check power is off before working.
Is It Possible To Add A Switch To An Existing Outlet?
Yes, you can add a switch to an existing outlet by modifying the wiring. This involves splitting the hot wire to pass through the switch before reaching the outlet. Ensure compliance with electrical codes for safety.
Conclusion
Putting a light switch on an outlet is easier than it seems. Follow each step carefully and take safety seriously. Double-check all connections before turning power back on. This simple upgrade can add convenience to your space. Practice patience, and don’t rush the process.
With a bit of care, you can do this yourself. Always use the right tools and materials. Remember, safety first. Feel confident in your new skill after trying this project.