Have you ever found yourself stuck, wishing you had a reliable floor jack but didn’t want to spend a fortune? What if you could make one yourself, using simple tools and materials?
Learning how to make a floor jack not only saves you money but also gives you the confidence to handle your car repairs or heavy lifting tasks anytime, anywhere. In this guide, you’ll discover easy steps to build a sturdy, safe floor jack that works just like the ones in the shop.
Ready to empower yourself and take control of your projects? Keep reading, and by the end, you’ll have the skills to create your very own floor jack with ease.
Choosing Materials
Choosing the right materials is key to building a strong and safe floor jack. Materials affect the jack’s strength and durability. Using poor materials can cause accidents or failure during use. Focus on parts that carry weight and pressure to ensure reliability. This section covers essential tools, how to select strong components, and the safety gear needed for the project.
Essential Tools
Gathering the correct tools helps in working with materials easily. Tools like wrenches, screwdrivers, and metal cutters are necessary. A drill and welding machine can also be useful for assembling parts. Having the right tools ensures precise cuts and secure fittings. It also saves time and reduces mistakes during the build.
Selecting Strong Components
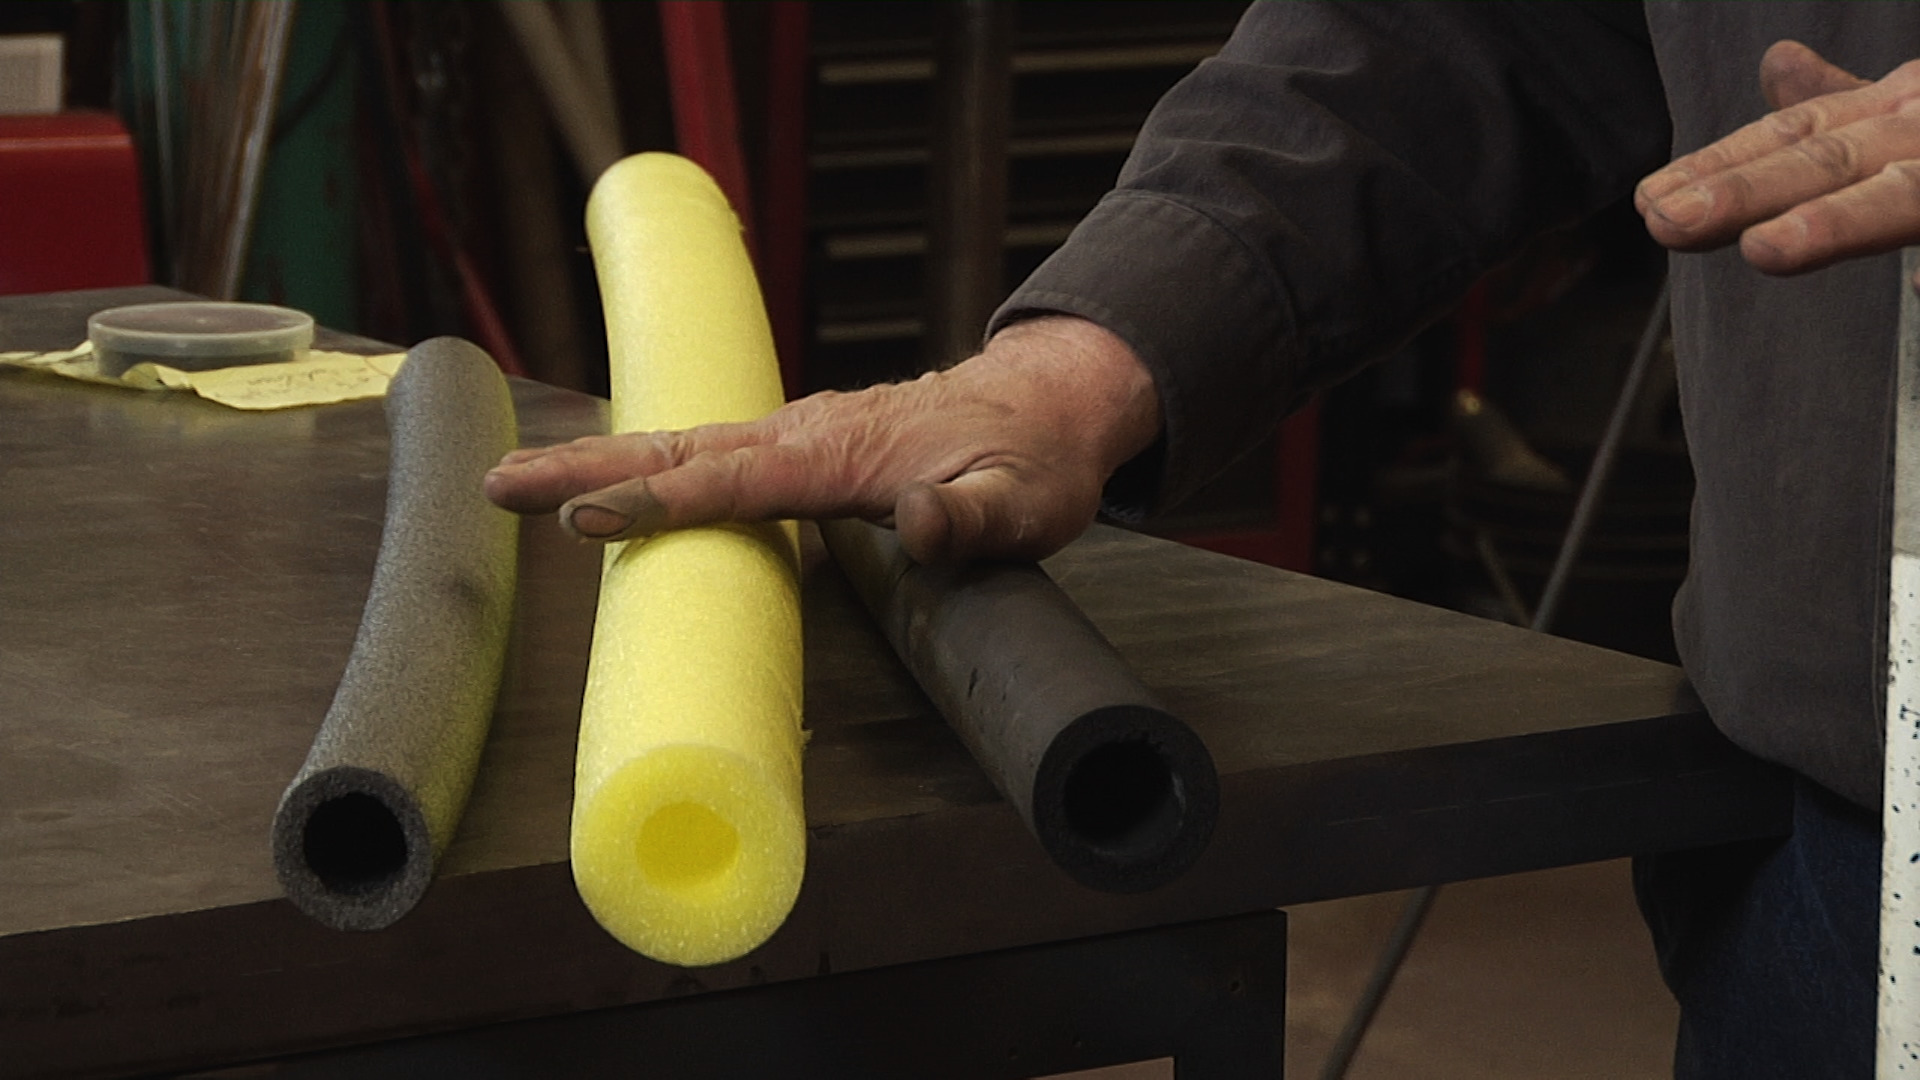
Pick metals like steel or iron for the main frame and lifting parts. These metals provide high strength and resist bending or breaking. Avoid using soft metals or plastics for weight-bearing parts. Choose thick, solid bolts and nuts to hold the jack firmly. Check each component for cracks or defects before use. Strong materials prevent failures and keep the jack working safely.
Safety Gear
Protect yourself while handling heavy and sharp materials. Use gloves to avoid cuts and bruises. Safety glasses shield your eyes from metal shards or dust. Wear sturdy boots to protect your feet from falling parts. A helmet can protect your head during welding or heavy lifting. Safety gear reduces risks and keeps the project injury-free.
Preparing The Base
Preparing the base is the first step in making a strong floor jack. A solid base ensures stability and safety. This section covers cutting the base plate, drilling support holes, and assembling the base frame. Follow each step carefully to create a reliable foundation.
Cutting The Base Plate
Start with a flat metal sheet for the base plate. Measure the size needed for your jack. Mark the dimensions on the sheet clearly. Use a metal cutting tool or saw to cut the plate. Smooth the edges with a file to avoid sharp parts. A clean cut makes assembly easier and safer.
Drilling Support Holes
Next, mark where the support holes go on the base plate. These holes help attach other parts firmly. Use a drill with the correct drill bit size. Drill slowly to keep holes neat and accurate. Clean any metal shavings from the plate after drilling. Proper holes keep the frame strong and steady.
Assembling The Base Frame
Gather the cut base plate and support beams. Align the beams with the drilled holes on the plate. Secure the beams using bolts and nuts for strong joints. Tighten all bolts evenly to avoid wobbling. Check the frame for stability before moving on. A solid base frame is key for a safe floor jack.
Building The Lifting Mechanism
Building the lifting mechanism is a key step in making a floor jack. It allows the jack to raise and hold heavy objects safely. This part includes setting up parts that work together to lift weight smoothly. Follow clear steps to create a strong and reliable lifting system.
Using Hydraulic Components
Hydraulic parts make lifting easier by using fluid pressure. Get a hydraulic cylinder, hoses, and valves. Attach the cylinder to the base firmly. The cylinder pushes the lifting arm up when filled with fluid. Check all connections to avoid leaks. Proper hydraulic parts ensure smooth and safe lifting.
Installing The Pump
The pump moves the hydraulic fluid into the cylinder. Fix the pump near the base of the jack. Connect it to the hydraulic cylinder with hoses. Make sure the pump handle moves freely. This handle controls the fluid flow and lifting action. Test the pump to confirm it pushes fluid correctly.
Connecting The Lifting Arm
Attach the lifting arm to the top of the hydraulic cylinder. Use strong pins or bolts for a tight fit. The arm lifts the load when the cylinder extends. Align the arm carefully to prevent wobbling. Check the movement by pumping the handle. The arm should rise smoothly and hold weight firmly.

Credit: www.911motorsports.net
Adding Safety Features
Adding safety features to your floor jack is crucial. It protects you and ensures the jack works properly. Safety features help avoid accidents and damage. Focus on three key areas: locking mechanisms, weight capacity, and stability.
Incorporating Locking Mechanisms
Locking mechanisms keep the jack in place during use. They prevent sudden drops or slips. Use strong metal locks that fit tightly. Check the lock moves easily but holds firmly. Test the lock several times before using the jack.
Testing Weight Capacity
Know the maximum weight your jack can hold safely. Exceeding this limit can cause failure and injury. Use weights or a scale to test the jack’s strength. Increase the load slowly and watch for any signs of strain. Never use the jack beyond its tested limit.
Ensuring Stability
Stability stops the jack from tipping over. A wide base helps spread the weight evenly. Use non-slip feet or pads under the jack. Place the jack on flat, hard surfaces only. Check the jack’s balance before lifting any load.
Finishing Touches
The finishing touches make your floor jack safe and durable. This final step protects the metal and ensures smooth operation. Pay close attention to each detail for the best result.
Painting And Coating
Paint shields the jack from rust and wear. Choose a strong, rust-resistant paint for metal surfaces. Apply thin, even coats for a smooth finish. Let each coat dry completely before applying the next. A good coat helps the jack last longer and look neat.
Lubricating Moving Parts
Lubrication keeps the jack’s parts moving freely. Use a quality grease or oil on hinges, screws, and wheels. This reduces friction and prevents wear. Apply lubricant sparingly to avoid dirt buildup. Regular lubrication makes lifting easier and safer.
Final Inspection
Check every part of the jack carefully. Look for loose bolts, sharp edges, or paint chips. Test the lifting mechanism to ensure it works smoothly. Fix any problems before using the jack. A thorough inspection prevents accidents and extends the jack’s life.
Credit: www.classiccarrestorationclub.com
Using Your Floor Jack
Using your floor jack properly is key to lifting vehicles safely and efficiently. It helps you raise heavy parts with less effort. Understanding the right methods improves safety and tool life. Follow simple steps to use your floor jack with confidence.
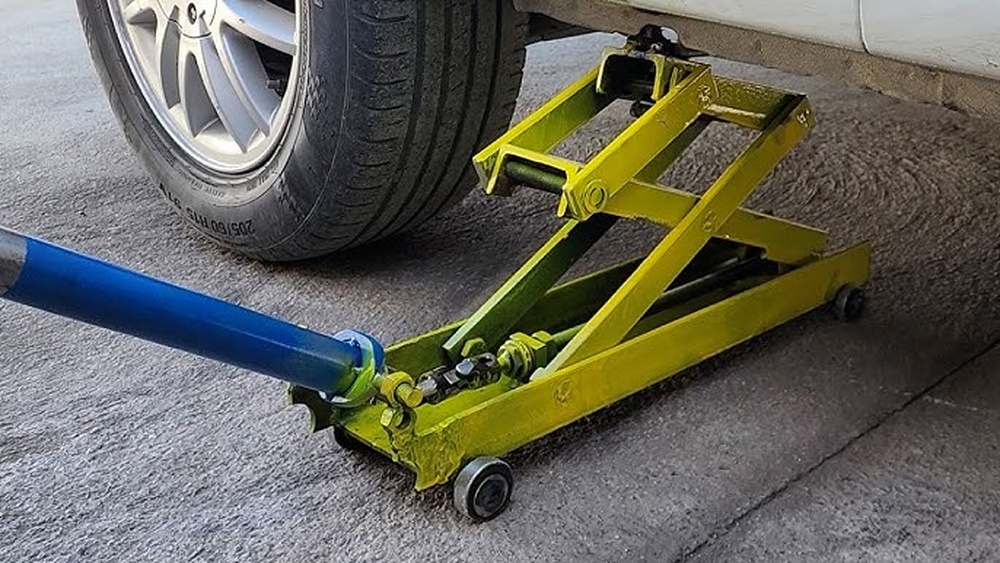
Proper Positioning
Place the floor jack on a flat, firm surface. Check that the jack’s wheels are locked if possible. Position the jack under the vehicle’s lifting point. Look for the car’s frame or designated spots. Align the jack saddle directly beneath the lifting point. This prevents slipping or damage during lifting.
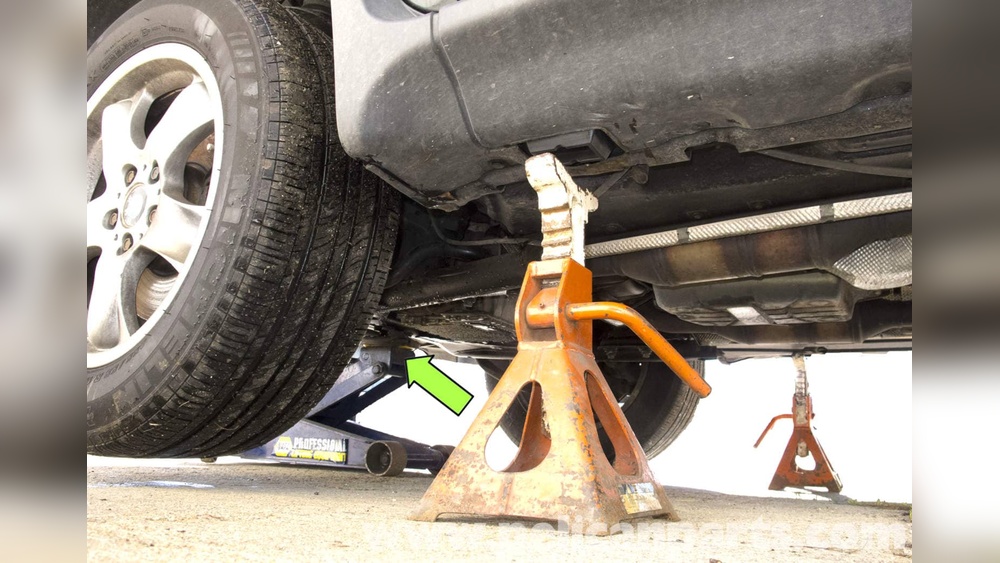
Safe Lifting Practices
Before lifting, ensure the vehicle is in park or gear. Engage the parking brake to keep it still. Pump the jack handle slowly and steadily. Watch the vehicle rise evenly without tilting. Never get under a vehicle supported only by a floor jack. Use jack stands for added safety after lifting.
Maintenance Tips
Check the jack regularly for leaks or damage. Keep the jack clean and free of dirt. Lubricate moving parts like the wheels and handle pivot. Store the jack in a dry place to avoid rust. Test the jack’s lift and release functions often to ensure smooth operation.

Credit: www.youtube.com
Frequently Asked Questions
What Tools Are Needed To Make A Floor Jack?
To make a floor jack, you need metal pipes, a hydraulic bottle jack, welding tools, a steel plate, bolts, and nuts. Safety gear like gloves and goggles is essential for protection during assembly.
How Does A Floor Jack Lift Heavy Vehicles?
A floor jack uses hydraulic pressure to multiply force. When you pump the handle, fluid pushes a piston upward, lifting the vehicle smoothly and safely. This makes heavy lifting easier with minimal effort.
Is It Safe To Make Your Own Floor Jack?
Making your own floor jack can be safe if you follow instructions carefully and use quality materials. However, professional jacks are tested for safety. Homemade jacks should be used cautiously and not for very heavy loads.
How Long Does It Take To Build A Floor Jack?
Building a floor jack usually takes 2 to 4 hours depending on skill level and tool availability. Proper preparation and clear instructions speed up the process significantly.
Conclusion
Making a floor jack at home saves money and teaches useful skills. The steps are simple and use easy-to-find parts. Always work carefully and check each part’s strength. A homemade floor jack helps lift heavy objects safely. Try building one to see how it works firsthand.
Stay safe and take your time during assembly. This project is practical and rewarding for anyone interested.