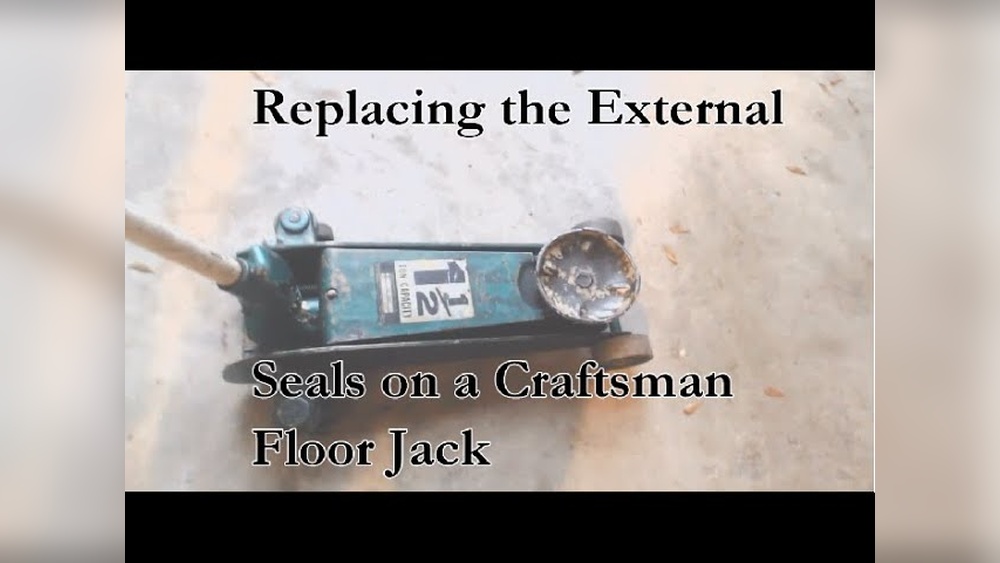
If you use a Craftsman floor jack, you know how important it is to keep it in top shape. Over time, the seals can wear out, causing leaks and loss of pressure.
This can make lifting heavy loads unsafe and frustrating. But don’t worry—replacing those seals is easier than you think. In this guide, you’ll learn simple steps to fix your floor jack and get it working like new again. Keep reading to save time, avoid costly repairs, and make sure your jack is ready whenever you need it.

Credit: www.amazon.com
Tools And Materials Needed
Replacing seals on a Craftsman floor jack needs the right tools and materials. Having everything ready saves time and avoids frustration. Gather all items before starting to keep the process smooth. Focus on quality tools and proper safety gear for best results.
Essential Tools
- Socket wrench set for removing bolts
- Flathead and Phillips screwdrivers
- Pliers for gripping and pulling seals
- Seal puller or small pick tool
- Clean cloths to wipe parts
- Hydraulic fluid for refilling
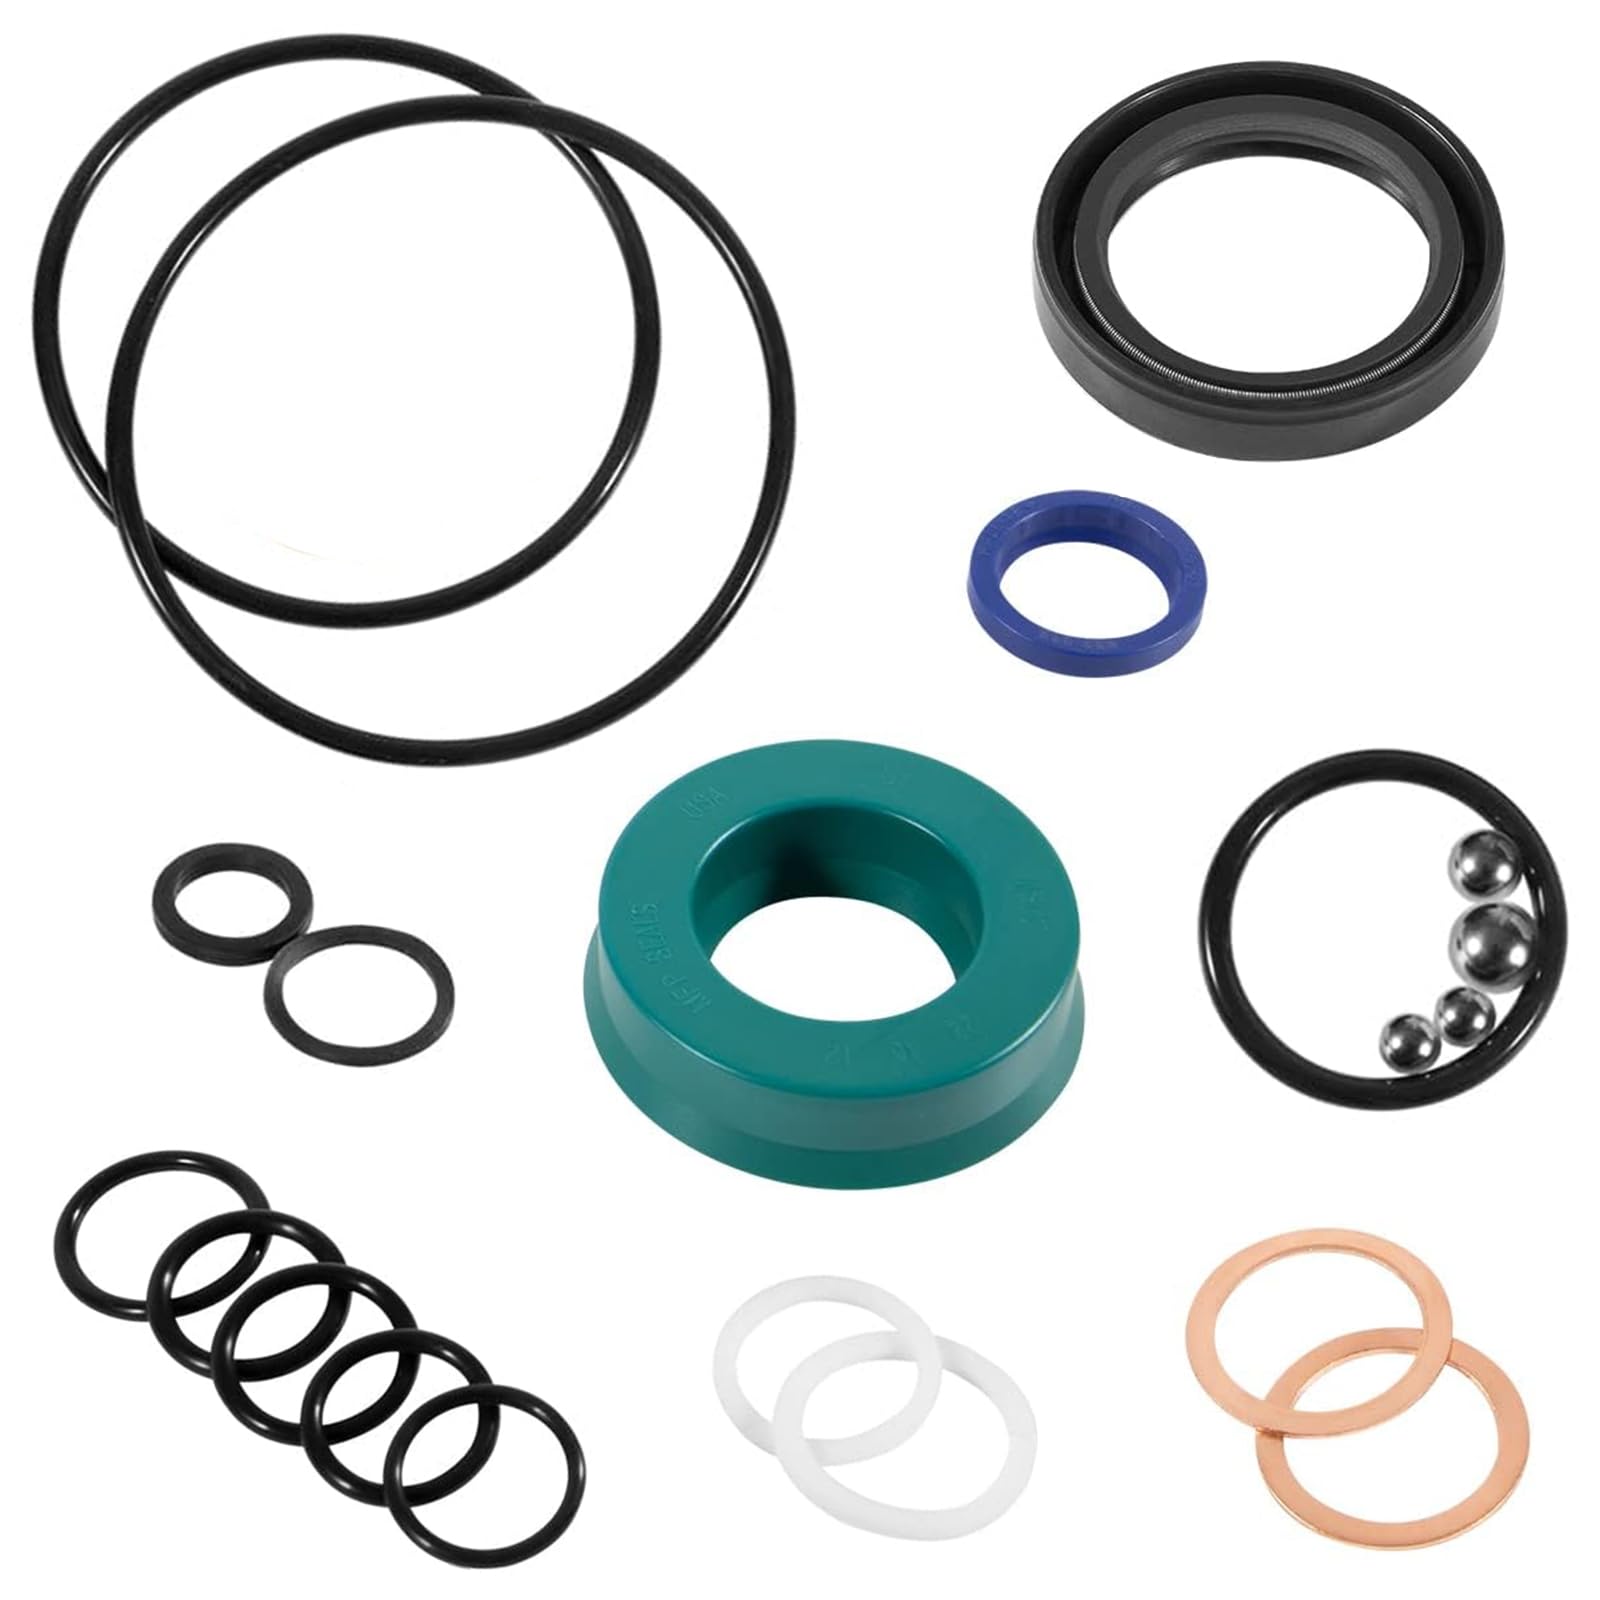
Replacement Seals
Use seals made specifically for Craftsman floor jacks. Avoid generic or low-quality seals. Proper fit ensures no leaks and smooth operation. Purchase a full seal kit to replace all worn parts at once.
Safety Gear
- Protective gloves to keep hands safe
- Safety glasses to protect eyes from fluid
- Work apron or old clothes to avoid stains
- Well-ventilated workspace to avoid fumes
Credit: www.amazon.com
Preparing The Floor Jack
Preparing the floor jack is the first step for a smooth seal replacement. This stage ensures safety and makes the job easier. Proper preparation helps avoid damage to the jack and ensures the new seals fit well.
Start by cleaning and positioning the jack correctly. These tasks clear dirt and give access to the seals.
Cleaning The Jack
Remove dirt and grease from the jack’s surface. Use a clean rag and a mild cleaner. Wipe all parts, especially around the seals. Clean tools and a well-lit workspace help. Dirt can block the seal area and cause leaks later.
Positioning For Seal Replacement
Place the jack on a flat, stable surface. Lower the jack completely before starting. This position releases pressure and helps access seals. Use blocks or stands for extra stability if needed. Proper placement keeps you safe and makes the job faster.
Removing Old Seals
Removing old seals from a Craftsman floor jack is a key step before installing new ones. Old seals wear out and cause leaks, reducing jack performance. Careful removal protects the jack’s parts from damage. This section explains how to find and remove seals safely.
Locating The Seals
Seals sit inside the jack’s hydraulic cylinder. They block oil from escaping. To find them, first lower the jack fully. Then remove the jack’s outer cover or casing. Look for rubber rings or bands near the piston area. These are the seals.
Check the jack’s manual for exact seal locations. Seals can be at the top or bottom of the cylinder. Note their position before removal to place new seals correctly later.
Safe Removal Techniques
Use simple tools like a flat screwdriver or seal puller. Insert gently under the seal edge. Avoid sharp tools that can scratch metal surfaces. Twist the tool slowly to lift the seal out.
Work around the seal evenly. Pull it out little by little. Do not force the seal out quickly. This can damage the cylinder or piston.
Wear gloves to protect your hands from oil and dirt. Clean the area after removing seals to prepare for new ones. Keep old seals to compare sizes with new replacements.
Installing New Seals
Installing new seals on a Craftsman floor jack is a key step to keep it working well. Proper seal installation stops leaks and helps the jack lift smoothly. Take your time and follow each step carefully for the best results.
Applying Lubricant
Start by applying a thin layer of lubricant to the new seals. Use a lubricant designed for hydraulic tools. This helps the seals slide into place without damage. Lubricant also prevents wear and keeps the seals flexible.
Spread the lubricant evenly on both sides of each seal. Avoid using too much. Excess lubricant can cause dirt to stick and harm the seal’s fit.
Placing Seals Correctly
Place the seals in the exact spot where the old ones were removed. Make sure the seals sit flat and are not twisted. Twisted seals cause leaks and reduce jack performance.
Check the seals against the jack parts to confirm the fit. Press gently but firmly to secure them. Do not force the seals, as this can tear them.
Reassembling The Floor Jack
Reassembling the floor jack is a key step after replacing the seals on your Craftsman jack. This process ensures the jack works properly and safely. Take your time to put all parts back in the right order. Careful reassembly prevents damage and leaks.
Keep all components clean and free from dirt. Check each part for wear or damage before fitting them back. Follow the correct sequence to avoid mistakes. Tighten bolts and screws firmly but do not over-tighten. This helps keep the jack stable during use.
Securing Components
Start by placing the seals carefully in their positions. Fit the pistons and springs as they were removed. Make sure the seals sit flat without twisting. Attach the housing and tighten bolts evenly. Use a wrench to secure all fasteners snugly. Avoid loose parts that can cause leaks or failure.
Testing For Leaks
After assembly, fill the jack with hydraulic fluid. Pump the handle slowly to build pressure. Watch for any fluid escaping around seals or joints. Check the jack’s lift to ensure smooth operation. If you see leaks, disassemble and check seal placement. Repeat testing until no leaks appear and the jack works well.

Credit: www.youtube.com
Maintenance Tips
Maintaining your Craftsman floor jack keeps it safe and reliable. Good care helps avoid leaks and damage. Follow simple steps to keep seals and parts in top shape.
Regular Inspection
Check the jack often for signs of wear or leaks. Look closely at seals and hydraulic parts. Catching problems early stops bigger repairs. Tighten loose bolts and clean dirt away. Use a cloth to wipe oil and grime. Spot damage or cracks and fix them fast.
Proper Storage
Store the floor jack in a dry, clean place. Avoid damp or dusty areas that harm seals. Keep it on a flat surface to prevent oil spills. Lower the jack fully before storing. Cover it with a cloth to block dust. Proper storage extends the life of the seals and pump.
Frequently Asked Questions
How Do I Know When To Replace Floor Jack Seals?
Check for oil leaks or loss of lifting power. If the jack won’t hold pressure or slowly sinks, seals likely need replacement.
What Tools Are Needed To Replace Craftsman Floor Jack Seals?
You’ll need wrenches, screwdrivers, replacement seals, a seal driver or punch, and hydraulic fluid. Clean workspace is also essential.
Can I Replace Seals On Any Craftsman Floor Jack Model?
Most Craftsman floor jacks have similar seal replacement procedures, but check your model’s manual for specific instructions and seal types.
How Long Does It Take To Replace Seals On A Floor Jack?
Seal replacement usually takes 30 to 60 minutes, depending on your experience and the jack’s condition.
Conclusion
Replacing seals on a Craftsman floor jack helps keep it working well. Clean the parts carefully before fitting new seals. Tight seals stop oil leaks and keep pressure steady. Take your time and follow steps one by one. Proper care extends the jack’s life and safety.
Now, your floor jack should lift smoothly again. Small repairs save money and avoid bigger problems later. Keep tools ready and check the jack often for leaks. Simple fixes like this make a big difference.