If you’ve ever tried hanging something heavy on your wall and worried it might fall, butterfly wall anchors are your best solution. These simple tools can hold a lot of weight and keep your items secure, but only if they’re installed correctly.
In this guide, you’ll learn exactly how to install butterfly wall anchors step by step. By the end, you’ll feel confident tackling your wall projects without fear of damage or failure. Ready to make your walls stronger and safer? Let’s get started!

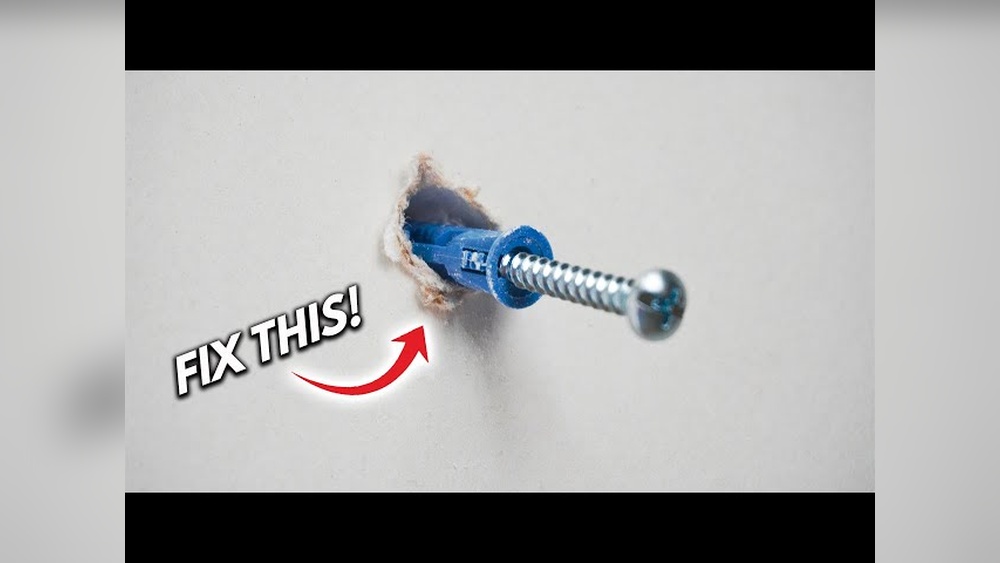
Credit: www.homedepot.com
Choosing The Right Butterfly Anchors
Choosing the right butterfly wall anchors is key for a strong hold. The right anchor keeps your items safe and your walls undamaged. Different anchors fit different needs. Knowing how to pick the best one saves time and effort. Here is what to consider when selecting butterfly anchors.
Types Of Butterfly Anchors
Butterfly anchors come in several types. Some have metal wings that open inside the wall. Others use plastic wings for lighter loads. There are also anchors with spring-loaded wings. Each type works best for certain wall materials and weights. Choose the type that fits your project.
Materials And Weight Capacity
Anchors are made from metal or plastic. Metal anchors hold heavier objects better. Plastic anchors suit lighter items. Check the weight capacity marked on the package. Do not use an anchor under its weight limit. Matching the anchor to the weight ensures safety and durability.
Selecting Based On Wall Type
Wall material affects anchor choice. Drywall needs anchors that spread weight inside the wall. Plaster walls may require stronger anchors or special types. Hollow walls need anchors that open wide behind the surface. Solid walls need anchors that grip tightly. Know your wall type before buying anchors.
Tools And Materials Needed
Before installing butterfly wall anchors, gather the right tools and materials. Having everything ready makes the job easier and safer. This section lists the items needed for a smooth installation process.
Essential Tools List
- Drill with a masonry bit or a bit suitable for your wall type
- Screwdriver (flathead or Phillips, based on your screws)
- Measuring tape to mark anchor positions accurately
- Hammer to gently tap anchors into place
- Level to ensure your installation is straight
- Pencil for marking drill spots
- Wall anchors and screws designed for your wall type
Safety Gear Recommendations
- Safety goggles to protect your eyes from dust and debris
- Work gloves to protect your hands while drilling and handling anchors
- Dust mask to avoid inhaling particles during drilling
- Ear protection if using loud power tools for extended periods
Preparing The Wall
Preparing the wall is a key step before installing butterfly wall anchors. It ensures a secure hold and prevents damage. Taking time to prepare the wall helps the anchors work properly. Follow clear steps to get the wall ready.
Locating Studs And Obstacles
Start by finding the wall studs. Use a stud finder to locate them easily. Studs provide strong support for heavy items. Avoid placing anchors directly in studs. Also, check for pipes or wires behind the wall. This prevents accidents and damage during drilling. Mark any obstacles clearly.
Marking Anchor Placement
Measure the spots for each anchor carefully. Use a pencil to mark the exact points on the wall. Keep marks light to erase later if needed. Make sure marks align with the item you want to hang. Double-check the spacing to ensure balance. Proper marking saves time and effort during installation.
Drilling The Hole
Drilling the hole is the first step when installing butterfly wall anchors. A clean and precise hole makes the anchor hold firmly. It helps prevent damage to your wall and ensures the anchor works well. Knowing the right tools and methods is important before drilling.
Choosing Drill Bits
Select a drill bit that matches the butterfly anchor size. The bit should be slightly smaller than the anchor’s wingspan. For drywall, use a standard twist bit. For plaster or masonry, use a masonry bit. Using the correct bit avoids loose holes or wall damage.
Drilling Techniques For Clean Holes
Mark the spot clearly on your wall. Hold the drill steady and start slowly. Drill straight into the wall to keep the hole clean. Avoid pushing too hard; let the drill do the work. After drilling, remove dust from the hole for better anchor grip.
Inserting The Butterfly Anchor
Inserting the butterfly anchor is a key step for a secure hold. The process requires care and the right technique to ensure strength. This section explains how to position and secure the anchor properly. Follow the steps to get the best results for your wall fixture.
Proper Positioning
Start by marking the spot on the wall. Use a pencil to make a clear mark. Drill a hole that matches the size of the butterfly anchor. The hole must be clean and smooth. Insert the anchor so the wings fit inside the wall cavity. The anchor should sit flush with the wall surface. Check that it does not tilt or move out of place.
Securing The Anchor
Push the anchor into the hole gently but firmly. Use a screwdriver or drill to turn the screw inside the anchor. This action opens the wings behind the wall. The wings spread out to hold the anchor tight. Stop turning once the anchor feels secure. Avoid overtightening to prevent damage. The anchor now supports the weight of your fixture safely.
Testing Anchor Strength
Testing the strength of butterfly wall anchors is vital for safety. It ensures the anchor holds the load without slipping or breaking. This step helps avoid damage to walls and prevents accidents. Checking anchor strength gives peace of mind that your installation is secure.
Applying Load Safely
Start by applying weight gently. Use a small load first to test the anchor’s grip. Increase the weight slowly to avoid sudden stress. Watch the anchor for any movement or noise. Stop adding weight if you see any signs of loosening. This careful approach protects your wall and the anchor.
Troubleshooting Loose Anchors
Loose anchors can cause problems and damage. Check if the anchor moves when you pull or push it. Remove the anchor if it wiggles or feels weak. Use a larger anchor or a different type for better hold. Fill the hole with wall repair compound before re-installing. This fixes the wall and improves anchor strength.
Tips For Long-lasting Support
Ensuring butterfly wall anchors hold strong over time requires careful attention. Simple steps can boost their strength and durability. These tips help your anchors stay secure and reliable for years. Focus on proper installation and regular care.
Avoiding Common Mistakes
Choose the right size anchor for your wall and item weight. Drill the hole to the correct depth and diameter. Do not force the anchor if it feels stuck. Tighten screws gently to avoid damage. Avoid using anchors in weak or crumbly walls.
Maintenance And Inspection
Check anchors regularly for any signs of loosening. Tighten screws if they become loose over time. Look for cracks or damage around the anchor area. Replace anchors showing wear or corrosion immediately. Keep the surrounding wall clean and dry to prevent damage.

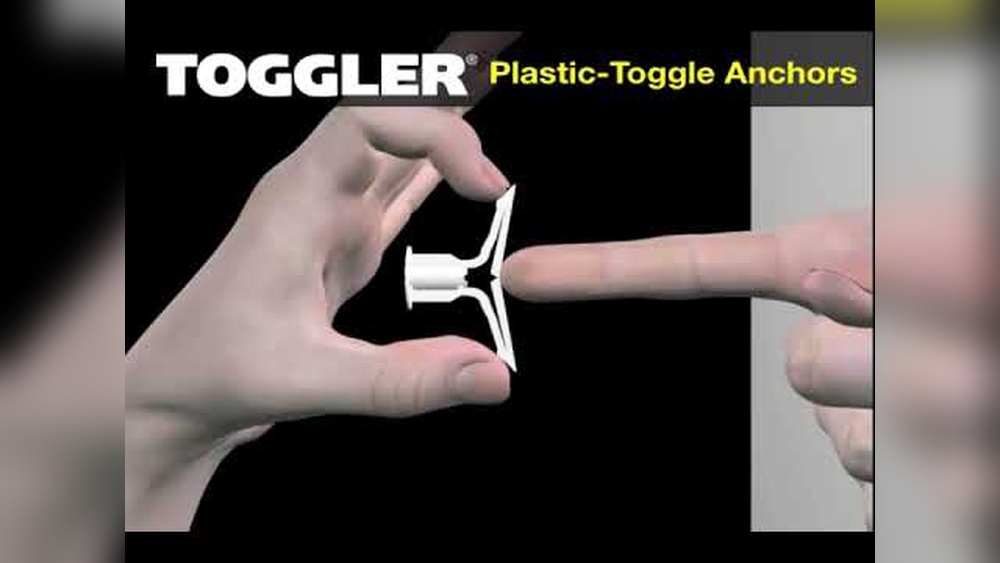
Credit: www.youtube.com

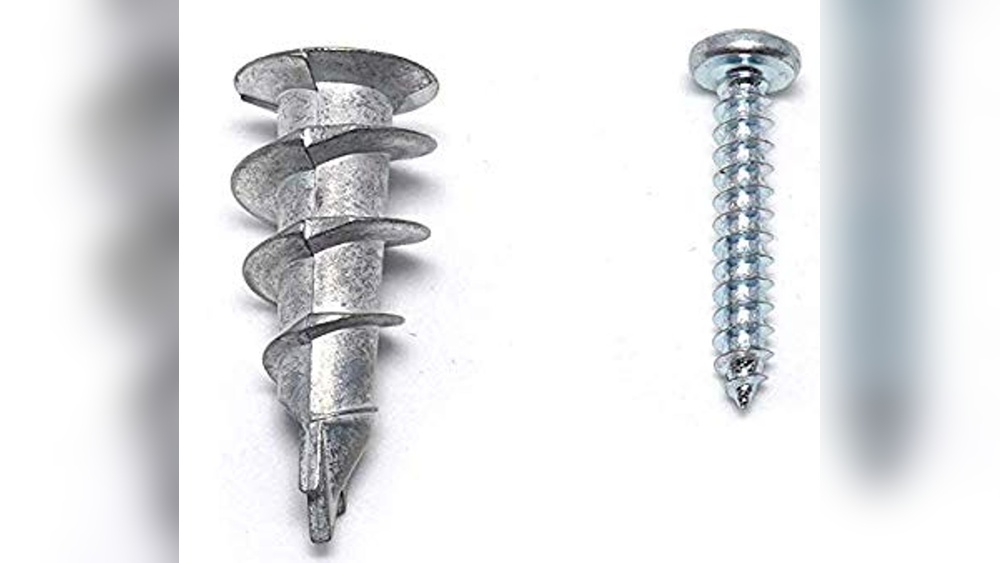
Credit: www.amazon.sg
Frequently Asked Questions
What Tools Do I Need For Installing Butterfly Wall Anchors?
You need a drill, screwdriver, hammer, and a measuring tape. These tools help create precise holes and secure anchors effectively.
How Do Butterfly Wall Anchors Support Heavy Loads?
Butterfly anchors expand behind the wall, spreading weight evenly. This mechanism ensures strong, reliable support for heavy objects.
Can Butterfly Wall Anchors Be Used On Drywall?
Yes, they are ideal for drywall. Their wings spread inside the wall, providing secure grip without damaging the surface.
How To Choose The Right Size Butterfly Wall Anchor?
Select anchors based on wall thickness and object weight. Proper size ensures maximum holding strength and safety.
Conclusion
Installing butterfly wall anchors is simple with the right steps. Choose the correct size for your wall and item. Drill a hole, then push the anchor inside. Tighten the screw to expand the anchor securely. These anchors hold heavy objects firmly and prevent damage.
Taking time to install them properly saves future repairs. Use them for shelves, mirrors, or picture frames. This method gives strong support on drywall or hollow walls. Try these tips for a safe and stable hold every time.