Are you tired of holes and damage on your walls every time you want to hang something? Command hooks offer a simple, damage-free solution that you can use anywhere in your home or office.
But getting them to stick properly isn’t always as easy as it seems. In this guide, you’ll learn exactly how to apply Command hooks to your walls the right way. Follow these easy steps, and you’ll have your hooks holding strong without any mess or marks.
Keep reading to discover the secrets to a perfect, secure hold every time.

Credit: www.commandbrand.com.au
Choosing The Right Command Hooks
Choosing the right command hooks is important for a strong hold. Different hooks serve different purposes. Picking the correct one keeps your walls safe and your items secure.
Types Of Command Hooks
Command hooks come in many styles. Some have adhesive strips, others use Velcro. There are clear hooks, white hooks, and metal hooks. Each type fits specific needs, like hanging pictures or keys.
Weight Limits And Sizes
Hooks have weight limits. Small hooks hold light items like keys or cords. Medium hooks support kitchen tools or small frames. Large hooks can carry heavier things like backpacks or coats. Choose a hook that matches your item’s weight.
Surface Compatibility
Command hooks stick best on smooth, clean surfaces. Painted walls, tiles, glass, and metal work well. Avoid rough or porous surfaces like brick or wallpaper. Check the surface before applying to ensure a good grip.
Preparing The Wall Surface
Preparing the wall surface is a key step before applying Command Hooks. A clean, dry, and suitable surface helps the hooks stick better. This ensures the hooks hold strong and last longer. Take time to prepare the area well for best results.
Cleaning The Area
Start by cleaning the wall where you want to place the hook. Use a mild soap and water solution. Wipe the area with a soft cloth to remove dirt and dust. Avoid using oily or greasy cleaners. Dirt or grease can stop the adhesive from sticking properly.
Make sure you clean the whole spot. This helps the hook stay firm. Let the wall dry before moving to the next step.
Drying And Temperature Considerations
Dry the wall surface completely after cleaning. Use a dry towel or let it air dry. Moisture can weaken the adhesive on the hook.
Check the room temperature. The ideal range is between 50°F and 100°F (10°C to 38°C). Extreme cold or heat can affect how well the hook sticks. Apply the hook only when the wall is dry and at a good temperature.
Step-by-step Hook Application
Applying Command Hooks to your wall is quick and simple. Following each step carefully helps the hook stick firmly. This guide breaks down the process into clear, easy parts. Each step ensures the hook holds well and your items stay secure.
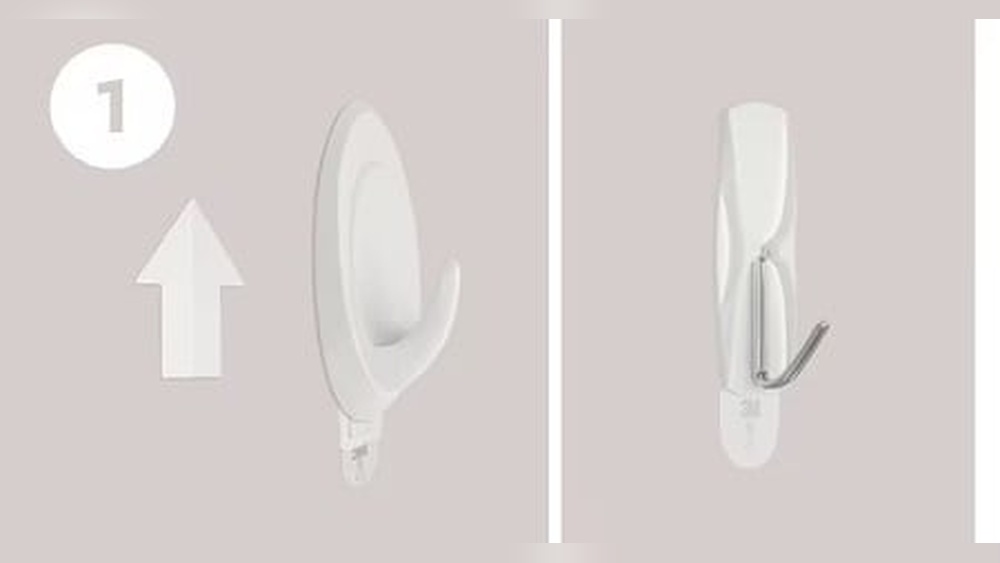
Separating The Strips
Start by peeling the strips apart. Hold the strips firmly and pull slowly. Avoid touching the sticky side. Keep the strips flat and clean.
Attaching The Strips To The Hook
Press the sticky side of the strip onto the hook. Push hard to make sure it sticks well. Check that the strip covers the hook’s base fully. Do this for each hook you want to hang.
Pressing The Hook To The Wall
Place the hook on the wall where you want it. Press the hook firmly against the wall. Hold it for about 30 seconds. This helps the adhesive bond to the surface strongly.
Waiting Time Before Hanging
Wait at least one hour before hanging anything. This gives the adhesive time to set properly. Avoid pulling or moving the hook during this time. After waiting, the hook is ready to hold your items securely.

Credit: www.wikihow.com
Tips For Damage-free Removal
Removing Command hooks without harming your walls is easy with the right steps. Many people worry about peeling paint or holes after taking down hooks. Following simple tips can keep walls smooth and clean. This saves time and effort on repairs.
Focus on gentle handling and correct strip use. This ensures a safe removal process. Let’s explore key tips for damage-free removal.
Proper Removal Technique
Start by holding the hook firmly. Pull the tab slowly straight down, not outward. Stretch the strip along the wall surface. Keep pulling until the strip releases from the wall. Do not yank or pull at an angle. This avoids pulling paint or drywall off.
Avoiding Wall Damage
Clean the wall before applying hooks. Dirt and dust reduce adhesion, causing damage. Use rubbing alcohol for best results. Avoid pulling hooks off too fast. Remove hooks in a calm, steady motion. Use new strips for heavy or large items to reduce risk.
When To Replace Strips
Replace strips if they lose stickiness. Old strips may not hold well and cause damage. Replace strips after two months for heavy items. Always use fresh strips for new hooks. This keeps walls safe and hooks secure.
Common Mistakes To Avoid
Applying Command Hooks to walls seems simple. Yet, many people make mistakes. These errors cause hooks to fall or lose grip. Avoiding common errors helps keep hooks strong and secure. Read on to learn key mistakes to avoid.
Ignoring Weight Limits
Each Command Hook has a weight limit. Ignoring this can cause hooks to break off. Always check the package for the weight capacity. Use hooks only for items within their limit. Heavy objects need stronger or multiple hooks. This prevents damage to walls and your belongings.
Applying On Dirty Surfaces
Hooks stick best to clean, dry walls. Dirt, dust, or grease weakens the adhesive. Wipe the wall with rubbing alcohol before applying the hook. Avoid using household cleaners that leave residue. Clean surfaces help the hook stick longer and stronger.
Rushing The Adhesion Process
Pressure and time are key for strong adhesion. Press the hook firmly for 30 seconds or more. Do not hang items immediately after applying. Wait at least one hour to let the adhesive bond. Rushing causes the hook to fall off quickly.

Credit: www.wikihow.com
Frequently Asked Questions
How Do I Prepare The Wall For Command Hooks?
Clean the wall surface with rubbing alcohol and a lint-free cloth. Avoid using household cleaners. Let it dry completely before applying the hook. This ensures better adhesion and prevents peeling or falling.
Can Command Hooks Hold Heavy Items On Walls?
Command hooks have weight limits specified on the packaging. For heavy items, use hooks rated for higher weight. Exceeding weight limits can cause hooks to fall and damage walls.
How Long Do Command Hooks Stay On Walls?
Command hooks can hold firmly for months to over a year. Adhesive strength depends on wall texture and conditions like humidity. Replace hooks if you notice loosening.
Can I Remove Command Hooks Without Wall Damage?
Yes, Command hooks are designed for damage-free removal. Pull the adhesive strip slowly downward, stretching it to release. Avoid pulling outward to prevent paint or drywall damage.
Conclusion
Applying command hooks to walls is simple and quick. Clean the wall surface first for strong hold. Press the hook firmly and wait before hanging items. Avoid heavy objects to keep hooks secure. Removing hooks leaves no marks or damage.
These hooks help organize your space without tools. Try them for easy and neat wall storage. Small effort, big difference. Keep your walls tidy and your items handy.