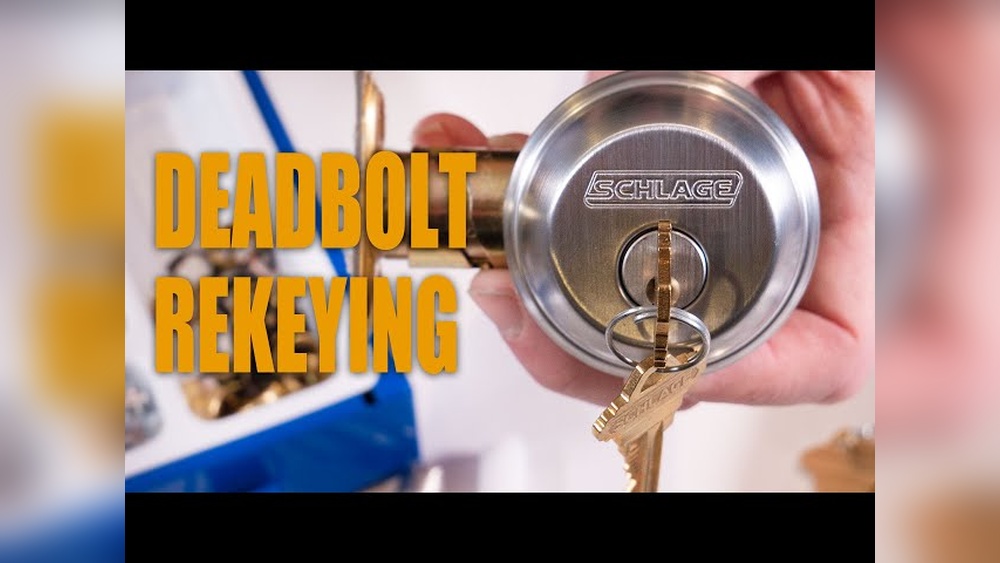
If you’ve ever lost your keys or moved into a new home, you know how important it is to keep your locks secure. Rekeying your Schlage deadbolt lock is an easy way to take control of your home’s safety without buying a new lock.
In this guide, you’ll learn simple steps to rekey your lock quickly and confidently. By the end, you’ll have the skills to protect your home and feel more secure every time you turn the key. Ready to make your home safer?
Let’s get started!
Tools Needed
Rekeying a Schlage deadbolt lock requires specific tools to do the job correctly. Having the right tools makes the process easier and faster. This section explains the tools you need to rekey your lock safely.
Essential Tools
- Flathead screwdriver – to remove the lock from the door
- Phillips screwdriver – for screws inside the lock
- Plug follower – to push the plug out of the cylinder
- New Schlage keys – to match the new lock pins
- Pinning kit – contains pins to fit your new key
- Tweezers – to handle small pins easily
Optional Supplies
- Magnifying glass – to see tiny pins clearly
- Key gauge – to measure key cuts accurately
- Lubricant spray – to keep the lock smooth
- Small container – to hold pins and screws
- Gloves – to keep hands clean and steady
Credit: www.schlage.com
Preparing The Lock
Preparing the lock is the first step in rekeying your Schlage deadbolt. This stage involves carefully removing the lock from the door and taking it apart. Proper preparation helps avoid damage and makes rekeying easier.
Work slowly and keep track of all small parts. Organize screws and pieces so you don’t lose anything. A clean workspace helps keep everything in order.
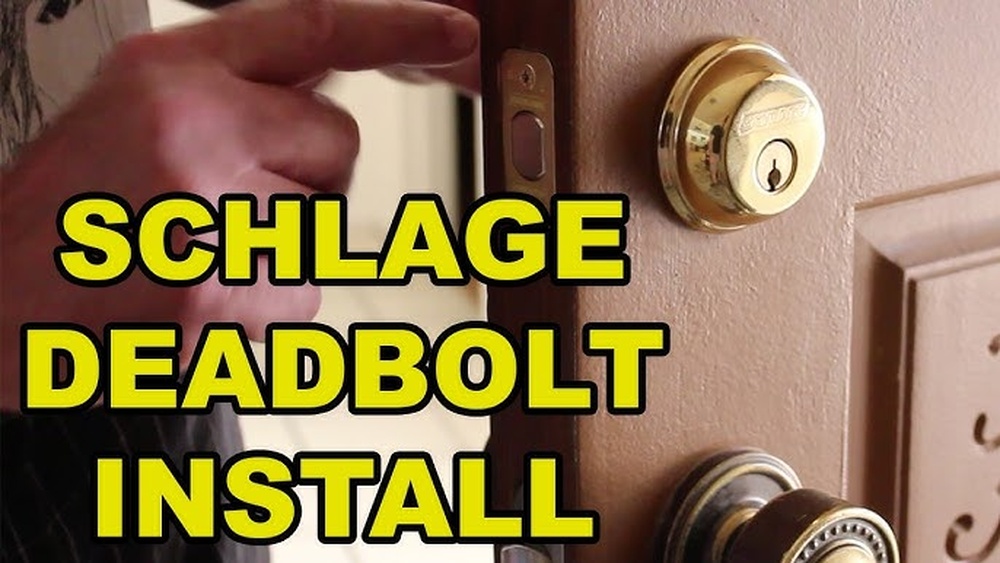
Remove The Deadbolt
Start by opening the door and locating the screws on the inside part of the lock. Use a screwdriver to remove these screws carefully. Once the screws are out, pull the interior lock assembly away from the door.
Next, slide the deadbolt mechanism out from the edge of the door. Keep the bolt and the faceplate together to avoid losing parts. Set them aside on your workspace.
Disassemble The Lock Cylinder
With the deadbolt removed, focus on the lock cylinder. Locate the retaining clip or screw that holds the cylinder in place. Use a small tool to remove this clip or unscrew it carefully.
Gently pull the cylinder out from the housing. Keep the cylinder steady to prevent internal parts from falling out. Lay the cylinder on your workspace for the next rekeying steps.
Extracting The Old Key Pins
Extracting the old key pins is a crucial step in rekeying a Schlage deadbolt lock. This process allows you to remove the pins that match the old key so you can replace them with new ones. Careful handling during this step ensures your lock works smoothly with the new key.
Removing The Retaining Clip
Start by locating the small retaining clip on the side of the lock cylinder. Use needle-nose pliers to gently pull the clip off. Keep the clip safe for reassembly. Removing this clip frees the plug inside the lock.
Taking Out The Plug
Insert the original key and turn it slightly to align the pins. Use a plug follower tool to push the plug out of the cylinder. The follower keeps the pins and springs in place. Take your time to avoid damaging any parts.
Removing Existing Pins
With the plug out, look inside the pin chambers. Use tweezers to carefully pull out the old key pins. Sort them by size to compare with new pins later. Clear all pins before adding new ones for your key.
Installing New Key Pins
Installing new key pins is a key step in rekeying your Schlage deadbolt lock. This process ensures that your lock matches the new key you want to use. Each pin must fit perfectly to allow smooth turning of the key. Careful attention during this step prevents lock jams or key breakage.
Matching Pins To New Key
Start by comparing the new key cuts with the pin sizes. Each cut on the key corresponds to a specific pin length. Use a pinning chart or guide to select the correct pins. The pins must align with the key’s grooves exactly. This step is vital for proper lock function.
Inserting Pins Into The Plug
Place the plug on a flat surface to work easily. Insert the matched pins into the holes in the plug. Push each pin gently until it sits firmly in place. Avoid forcing pins to prevent damage. Once all pins are in, test the plug with the new key before reassembling.
Reassembling The Lock
Reassembling the lock is the final step in rekeying your Schlage deadbolt. This part needs care and focus to make sure the lock works properly. Take your time to put all parts back in the right order. A well-assembled lock keeps your home safe and secure.
Reinstalling The Plug
Start by placing the plug back into the cylinder. Align the key pins inside carefully. Use the key to turn the plug slightly to help it slide in smoothly. Make sure the plug fits flush with the cylinder housing. A smooth fit means the lock will turn without trouble.
Securing The Retaining Clip
Next, secure the plug with the retaining clip. This clip holds the plug firmly inside the cylinder. Use pliers or your fingers to snap the clip into place. Check that it sits tightly and does not move. A loose clip can cause the lock to fail.
Reattaching The Deadbolt
Finally, reattach the deadbolt to the lock body. Align the bolt with the screw holes on the lock. Insert and tighten the screws to hold the bolt firmly. Test the bolt by turning the key and the thumb turn. The bolt should move smoothly without sticking.
Testing The Rekeyed Lock
Testing the rekeyed Schlage deadbolt lock is a crucial step. It confirms the lock works smoothly with the new key. Skipping this step may lead to frustration or security risks. Take time to check every part of the lock’s function. This ensures safety and ease of use.
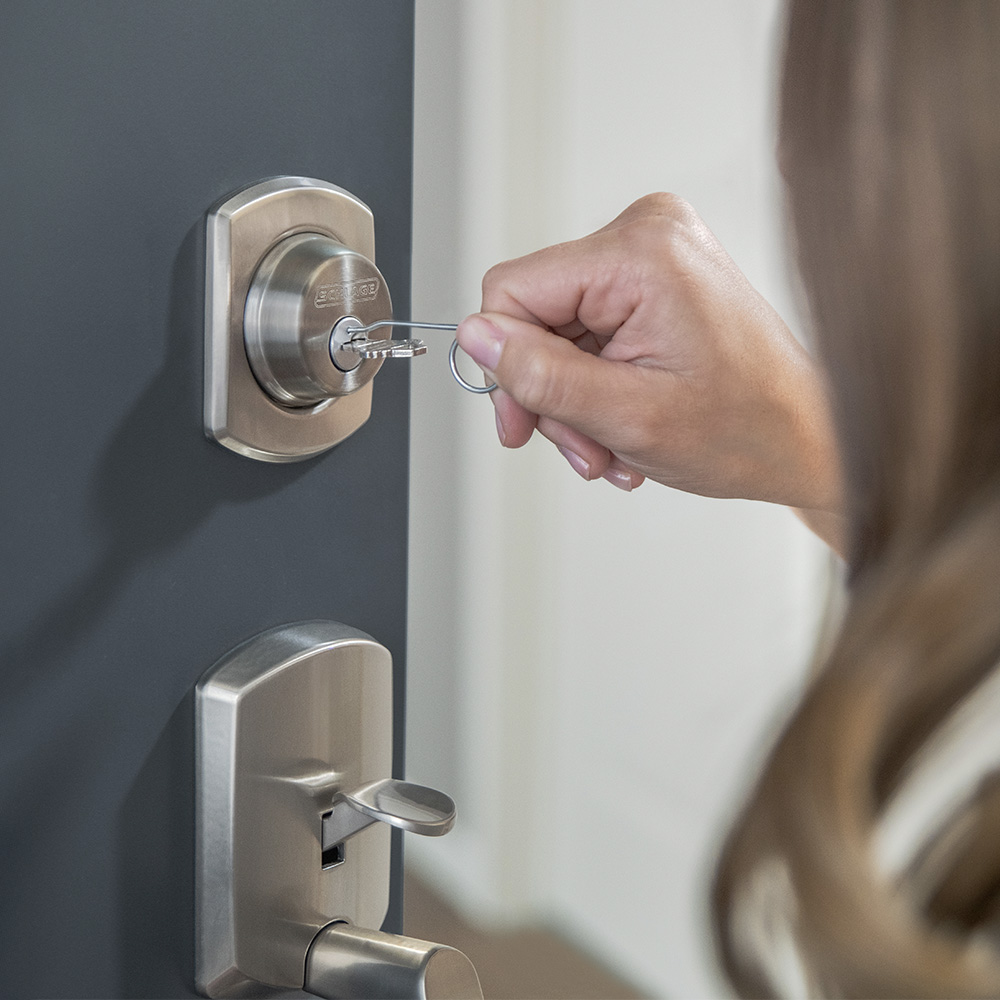
Checking Key Operation
Insert the new key into the lock cylinder. Turn it slowly to the locked and unlocked positions. The key should move without sticking or resistance. Test the key several times to confirm smooth operation. Try locking and unlocking the door from both sides. The lock should engage and disengage easily each time.
Check that the key fully inserts and removes without force. Any roughness can indicate issues in reassembly. Make sure the deadbolt slides in and out completely. This confirms the internal pins align correctly with the new key.
Troubleshooting Common Issues
If the key feels tight or won’t turn, check pin alignment first. Remove the cylinder and inspect the pins for proper placement. Pins that are too long or too short cause jamming. Adjust or replace pins as needed to match the new key cuts.
Clean the lock parts from dirt or metal shavings. Debris inside the cylinder blocks smooth movement. Apply a small amount of graphite lubricant to ease key turning. Avoid oil-based lubricants that attract dust and gum up the lock.
If problems persist, disassemble and rekey the lock carefully. Verify each step matches the key’s pattern exactly. Patience and precision are key to fixing common rekey issues.
Tips For Easy Rekeying
Rekeying a Schlage deadbolt lock can be straightforward with the right approach. Small details make a big difference. These tips help you work smoothly and avoid common mistakes. They save time and reduce frustration during the process.
Maintaining Pin Order
Keep the pins in the exact order you remove them. Mixing pins can stop the lock from working. Use a small tray or paper with drawn sections. Place each pin in its spot as you take it out. This step is vital for easy reassembly and proper function.
Handling Small Components
Use tweezers or a small tool to handle pins and springs. They are tiny and easy to lose. Work on a clean, flat surface with good light. Avoid rushing to keep all parts safe. Patience helps prevent mistakes and keeps parts organized.
When To Call A Professional
Choose a locksmith if the lock is damaged or very old. Complex lock problems need expert skills and tools. Professionals save time and avoid further damage. Asking for help is smart when unsure about rekeying steps.

Credit: www.youtube.com
Credit: www.schlage.com
Frequently Asked Questions
How Long Does It Take To Rekey A Schlage Deadbolt?
Rekeying a Schlage deadbolt typically takes 15 to 30 minutes. It depends on your experience and tools. Following step-by-step instructions ensures a quick and successful process.
Can I Rekey A Schlage Lock Without Removing It?
No, you must remove the Schlage deadbolt from the door. Removing it allows access to the lock cylinder, which is essential for rekeying.
What Tools Are Needed To Rekey A Schlage Deadbolt?
You need a Schlage rekeying kit, a screwdriver, and sometimes needle-nose pliers. These tools help you disassemble and reassemble the lock efficiently.
Is Rekeying Better Than Replacing A Schlage Deadbolt?
Rekeying is cost-effective and faster than replacing the entire lock. It changes the key without needing a new lock, enhancing security conveniently.
Conclusion
Rekeying a Schlage deadbolt lock is easier than it seems. With the right tools and steps, you can do it yourself. It saves money and keeps your home safe. Take your time and follow each step carefully. Practice makes perfect, so don’t rush.
Your lock will work like new once finished. Keep your keys in a safe place. This simple skill helps protect your home and peace of mind. Give it a try—you might be surprised how simple it is.