Are you tired of struggling to lift your vehicle higher with your floor jack? Maybe you need just a bit more height to reach those tricky spots or to work comfortably under your car.
That’s where a floor jack extender comes in handy. Making your own floor jack extender is easier than you think, and it can save you time, money, and frustration. In this guide, you’ll discover simple steps to create a reliable extender that fits your needs perfectly.
Keep reading, and you’ll soon have the confidence to lift your vehicle safely and smoothly every time.
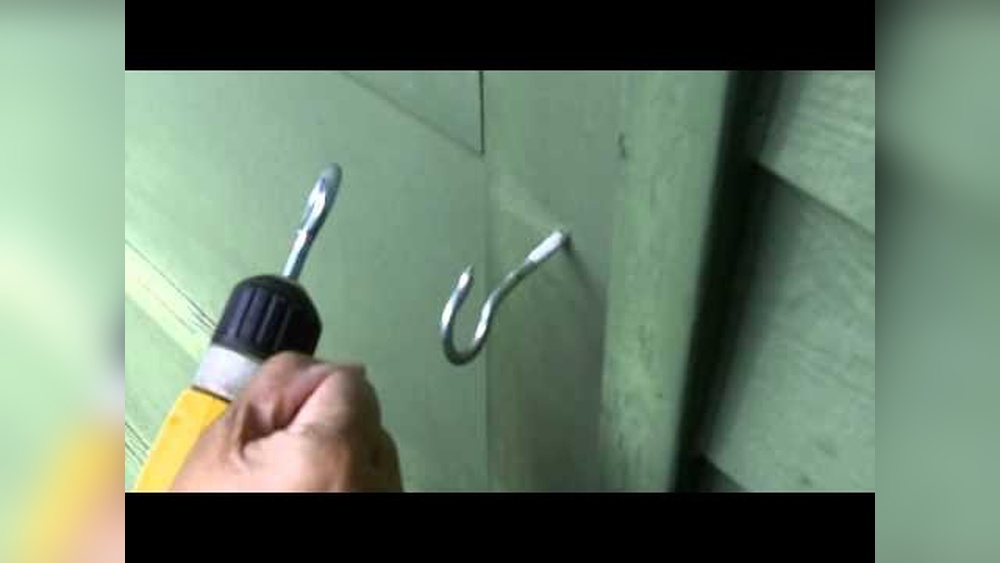
Credit: www.instructables.com
Choosing Materials
Choosing the right materials is key to making a strong floor jack extender. The materials must support heavy weight and last long. Picking good materials helps keep the extender safe and steady. This section explains metals, tools, and safety gear needed.
Types Of Metals
Steel is the best choice for a floor jack extender. It is strong and holds weight well. Aluminum is lighter but not as strong. Avoid using weak metals like thin copper or plastic. Thick steel pipes or plates work well. Make sure the metal is free from rust and cracks.
Tools Required
You need a few simple tools. A metal saw or angle grinder cuts the metal to size. A drill makes holes for bolts or screws. Wrenches tighten the bolts firmly. A measuring tape helps get the right length. Sandpaper smooths sharp edges for safety.
Safety Gear
Safety is very important. Wear safety glasses to protect your eyes from metal dust. Gloves keep your hands safe from cuts. Use ear protection if using loud tools. Wear a mask to avoid breathing metal dust. Work in a well-ventilated place to stay safe.
Measuring And Planning
Measuring and planning are the first steps in making a floor jack extender. Careful measurements help ensure the extender fits well and works safely. Planning the design helps avoid mistakes and saves time during assembly. Take your time with these steps for the best results.
Determining Extension Height
Start by checking the height you want to add to your floor jack. Measure the current height of the jack and the height needed to lift your vehicle safely. Note the difference; this is your extension height. Accurate height ensures the jack lifts without risk.
Sketching The Design
Draw a simple design of the extender based on your measurements. Include the length, width, and height. Mark where the extender will attach to the jack. A clear sketch helps visualize the final product and guides cutting and assembly.
Marking Cut Lines
Use your sketch to mark cut lines on the material. Measure twice and mark once. Straight, clear lines make cutting easier and more precise. Correct cutting lines help the parts fit together tightly for a strong extender.
Cutting And Shaping
Cutting and shaping are key steps in making a floor jack extender. These steps help create the right size and form for your extender. Proper cutting and shaping ensure the extender fits well and works safely.
Start by marking the metal parts clearly. This guide helps you follow the lines for precise cuts. Use the right tools and take your time for best results.
Using A Saw And Grinder
Use a metal saw to cut the extender parts. Saw slowly to avoid rough edges. A grinder helps smooth the cuts and shape the metal. Hold the grinder steady and move it along the cut line. This step removes burrs and sharp bits.
Smoothing Edges
After cutting, smooth all edges carefully. Use a file or sandpaper for this job. Smooth edges prevent injury and make the extender safer. Check every side, especially corners and ends. A smooth finish also helps the parts fit better.
Checking Dimensions
Measure the parts against your design. Use a ruler or tape measure to check length and width. Make sure the extender fits the floor jack properly. Double-check all sides for accuracy. Correct dimensions keep the extender stable and strong.

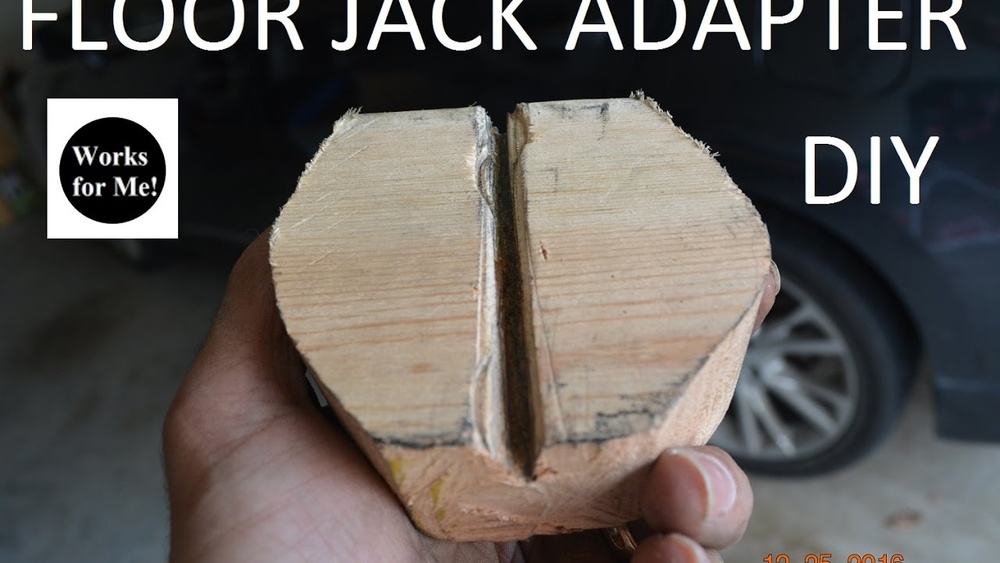
Credit: www.youtube.com
Assembly Process
The assembly process is a key step in making a floor jack extender. It brings all parts together to form a strong and safe tool. Careful assembly ensures the extender works well and lasts long.
Follow each step closely. Take your time to avoid mistakes. Use the right tools and materials for the best results.
Welding Components
Start by welding the metal parts together. Weld the base plate and the extender arm firmly. Use a clean, flat surface for stability.
Check the welds for cracks or weak spots. Strong welds hold the parts securely. Avoid gaps or uneven joints during welding.
Securing With Bolts
Next, attach parts with bolts for extra support. Use high-quality bolts and nuts. Tighten them evenly to prevent movement.
Place washers under bolts to spread pressure. This prevents damage to the metal. Double-check bolt tightness before moving on.
Ensuring Stability
Test the assembled extender on a flat surface. Make sure it does not wobble or shift. Adjust bolts or welds if needed for better stability.
Check all connections one last time. A stable floor jack extender keeps you safe. Proper assembly creates a reliable, strong tool.
Testing The Extender
Testing the floor jack extender is a crucial step. It ensures the tool works safely and efficiently. This phase helps spot any issues before real use. Follow these tests carefully to confirm the extender’s strength and stability.
Load Capacity Test
Start by checking how much weight the extender can hold. Use a known weight close to the jack’s limit. Slowly apply the weight and watch for any bending or slipping. Stop immediately if you see any damage or signs of strain. This test confirms the extender’s lifting power.
Safety Inspection
Next, inspect every part of the extender. Look for cracks, loose bolts, or sharp edges. Check the welds and connections for any weakness. Make sure all moving parts operate smoothly. This inspection helps prevent accidents during use.
Adjustments And Improvements
After testing, note any problems or weak points. Tighten loose parts and reinforce any fragile areas. Adjust the extender to fit better with the jack if needed. Small fixes improve safety and performance. Repeat tests after making changes to ensure reliability.

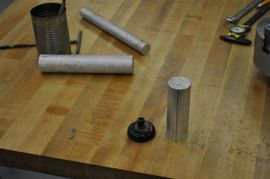
Credit: www.instructables.com
Maintenance Tips
Maintaining your floor jack extender keeps it safe and working well. Small care steps help avoid damage and save money. Follow these tips to keep the tool in good shape.
Regular Inspections
Check the extender before every use. Look for cracks, bends, or rust on the metal parts. Make sure the connections are tight and secure. Replace any worn or broken parts immediately. This keeps the extender safe and reliable.
Cleaning And Lubrication
Clean the extender after each use. Remove dirt, dust, and grease with a soft cloth. Use mild soap and water if needed. Dry it well to prevent rust. Apply a light machine oil to moving parts. This helps the extender work smoothly.
Storage Recommendations
Store the floor jack extender in a dry place. Avoid damp or wet areas to stop rust. Keep it off the ground on a shelf or rack. Cover it with a cloth to protect from dust. Proper storage extends the tool’s life and keeps it ready for use.
Frequently Asked Questions
What Materials Are Needed To Make A Floor Jack Extender?
You need sturdy metal pipes, welding tools, bolts, and a strong base plate. These materials ensure durability and safety while extending your floor jack.
How Do I Safely Attach A Floor Jack Extender?
Securely weld or bolt the extender to the jack’s lifting arm. Ensure all connections are tight to prevent slipping during use.
Can I Use A Floor Jack Extender For Heavy Vehicles?
Yes, but only if the extender is made from high-strength materials. Always check the weight limit to avoid accidents.
How Does A Floor Jack Extender Improve Lifting Capacity?
It increases the jack’s reach, allowing you to lift taller or wider vehicles safely. This enhances versatility without compromising stability.
Conclusion
Making a floor jack extender is simple and useful. It helps lift vehicles higher and safer. Using basic tools, you can build one at home. Always check the extender’s strength before use. A strong extender keeps you safe during repairs.
Try this project to save money and time. Practice careful steps and stay patient. Your floor jack will work better with an extender. Give it a try and see the difference yourself.