Are you ready to add extra security to your door but not sure where to start? Knowing how to make a hole for a deadbolt is a simple skill that can save you time and money.
Imagine the confidence you’ll feel once your door is equipped with a strong, reliable lock—giving you peace of mind every time you close it. In this guide, you’ll discover easy, step-by-step instructions to drill the perfect hole for your deadbolt, even if you’ve never done it before.
Keep reading, and you’ll be securing your home like a pro in no time.

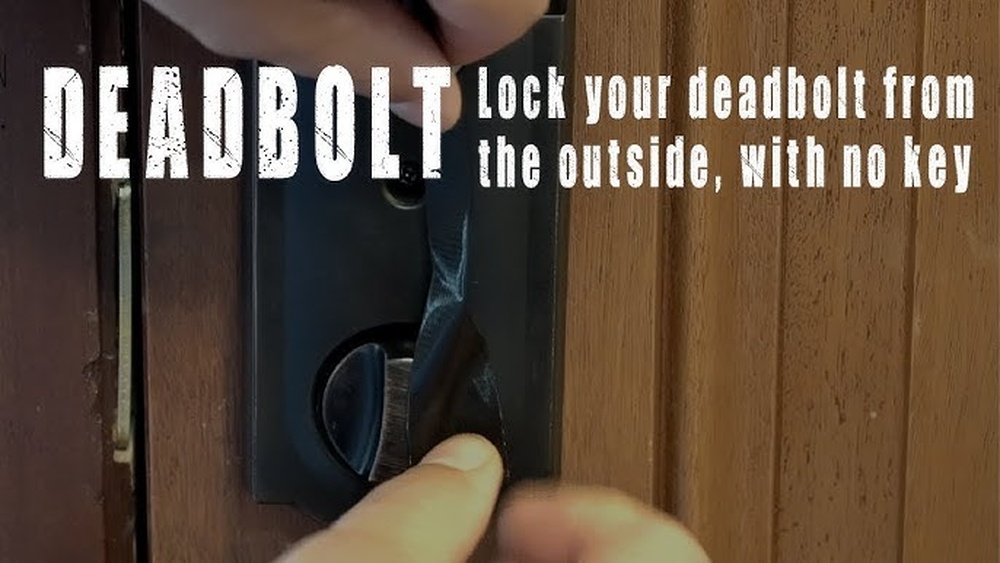
Credit: www.youtube.com
Tools And Materials Needed
Making a hole for a deadbolt requires specific tools and materials. Having the right equipment makes the job easier and safer. Prepare everything before you start drilling.
Essential Tools
You need a power drill with a 2 1/8-inch hole saw bit. This size fits most deadbolts. A spade bit or hole saw bit for the latch hole is also important.
Use a tape measure and pencil to mark drill spots. A chisel helps clean edges for a neat fit. A screwdriver is needed to install the deadbolt hardware.
Clamp the door or work on a stable surface to keep it steady. Sandpaper smooths rough edges after drilling.
Recommended Safety Gear
Wear safety glasses to protect your eyes from dust and splinters. Use ear protection if your drill is loud. Gloves protect your hands from sharp tools.
Wear a dust mask to avoid inhaling wood particles. Dress in clothes that cover your arms to prevent scratches. Work in a well-lit area to see clearly.
Choosing The Right Spot
Choosing the right spot for your deadbolt hole is very important. A well-placed hole makes your lock work smoothly. It also keeps your door strong and secure. Poor placement can cause problems later, such as weak locks or damaged doors.
Take time to find the perfect spot on your door. This section guides you through two key steps: measuring door thickness and marking drill points. These steps help you prepare for a clean and accurate hole.
Measuring Door Thickness
First, measure your door’s thickness using a tape measure. Most exterior doors are between 1 3/4 inches and 2 inches thick. Knowing this helps you pick the right size hole saw and lock components.
Measure at several points to check if the door thickness is even. Uneven thickness can affect the lock’s fit. Write down the exact measurement before you start drilling.
Marking Drill Points
Next, mark where you will drill on the door. The standard height for a deadbolt is usually 6 to 12 inches above the doorknob. Use a pencil and ruler to mark a spot at this height.
Mark the center of the door edge for the latch hole. Then, mark the front face for the main lock hole. Double-check your marks to ensure they line up properly.
Correct marking prevents mistakes and helps create a clean hole. It also saves time and effort during installation.
Preparing The Door
Preparing the door is an important step before making a hole for a deadbolt. It helps ensure accuracy and protects the door from damage. Careful preparation makes the installation easier and results in a clean finish. Take your time with this step to avoid mistakes.
Protecting Door Surface
Start by protecting the door surface. Use painter’s tape around the area where you will drill. This tape stops the wood from splintering. It also keeps the door clean from dust and marks. Use a soft cloth to clean the door before applying tape. This helps the tape stick well.
Drilling Pilot Holes
Next, drill small pilot holes. These holes guide the larger drill bit. They help prevent the wood from cracking. Mark the center point of your deadbolt hole with a pencil. Use a small drill bit to make the pilot hole. Drill slowly and straight to keep the hole accurate. Check the hole depth with a ruler.

Credit: www.familyhandyman.com
Drilling The Face Bore
Drilling the face bore is a key step to install a deadbolt correctly. This hole goes through the door’s face and needs to be precise. A clean, round hole ensures the lock fits well and works smoothly. Using the right tools and technique makes the task easier and safer.
Start by marking the exact spot on the door where the deadbolt will sit. Use a template if your deadbolt kit has one. This helps keep the hole centered and aligned with the latch bore on the edge of the door.
Using The Hole Saw
Choose a hole saw that matches your deadbolt size, usually 2 1/8 inches. Attach it to a power drill. Hold the drill steady and start drilling at low speed. Let the saw cut slowly and smoothly through the door. Avoid pushing hard; let the saw do the work.
Keep checking the depth as you drill. Most deadbolts need a hole about 1 inch deep. Stop once you reach the right depth to avoid going through the door too far. Remove the hole saw carefully to keep the hole clean and neat.
Maintaining Drill Stability
Hold the drill firmly with both hands. Keep the drill straight and aligned with the marked spot. This prevents the hole from being crooked or uneven. If the drill wobbles, the hole might be off-center or jagged.
Use a clamp or ask for help to hold the door steady. This reduces movement and improves accuracy. Drill slowly and steadily to maintain control. Steady drilling also helps avoid splintering the wood around the hole.
Drilling The Edge Bore
Drilling the edge bore is a key step in installing a deadbolt. This hole fits the latch into the door’s edge. It must be drilled carefully to ensure the latch fits well and works smoothly. Accuracy in this step affects the lock’s security and function.
Aligning The Spade Bit
Start by choosing the right spade bit size. It should match the latch’s diameter. Mark the exact spot on the door’s edge where the latch will go. Hold the spade bit straight and steady. Align it with your mark to avoid crooked holes. Use a drill guide or clamp for better control. This helps keep the drill bit centered and straight.
Creating The Latch Hole
Drill slowly and steadily into the door’s edge. Stop when you reach the correct depth for the latch. Check the depth with the latch piece or a ruler. Clean out wood chips from the hole. A smooth hole ensures the latch fits tightly and moves freely. Test fit the latch before moving to the next step.

Credit: www.youtube.com
Installing The Deadbolt
Installing the deadbolt is the next important step after making the hole. This step ensures the lock fits properly and works smoothly. Pay close attention to fitting each part correctly. A well-installed deadbolt improves home security and lasts longer.
Fitting The Latch
Start by inserting the latch into the hole on the door edge. Make sure the latch faceplate sits flush with the door surface. Use a screwdriver to tighten the screws firmly. Check if the latch moves freely by sliding the bolt in and out. The latch should not stick or feel loose.
Securing The Deadbolt Assembly
Place the exterior part of the deadbolt through the large hole. Align it with the latch mechanism inside the door. Then, attach the interior part of the deadbolt on the other side. Connect the two parts using the provided screws. Tighten the screws evenly to avoid misalignment. Test the deadbolt by turning the key and thumb turn. It should lock and unlock smoothly without resistance.
Testing The Deadbolt
Testing the deadbolt is a crucial step after installation. It ensures the lock works properly and keeps your door secure. Check the deadbolt several times to confirm smooth locking and unlocking. This step helps catch any issues early and saves time on repairs.
Ensuring Smooth Operation
Turn the key or thumb turn slowly. The bolt should move in and out easily. It should not stick or feel too tight. Check both sides of the door for smooth action. Also, test locking and unlocking with the door open and closed. This confirms the bolt aligns well with the strike plate.
Adjustments If Needed
If the bolt is hard to move, adjust the strike plate. Loosen its screws and shift it slightly. Tighten the screws and test the deadbolt again. Repeat this until the bolt slides smoothly. Sometimes, slight sanding of the door frame helps. Keep testing after every change to ensure a perfect fit.
Tips For A Professional Finish
Achieving a neat, professional finish for your deadbolt hole adds to your door’s look and function. Small details matter. Proper cleanup and careful handling make a big difference. Follow simple tips to ensure your work looks sharp and lasts long.
Cleaning Up Drill Debris
Clear dust and wood chips from the hole immediately. Use a vacuum or brush to remove debris. This prevents buildup that can affect lock installation. Wipe the area with a damp cloth to catch fine dust. Clean surfaces help the deadbolt fit snugly and work smoothly.
Preventing Door Damage
Protect the door surface before drilling. Use painter’s tape over the drill spots to stop splintering. Drill slowly and steadily to avoid cracking the wood. Support the door on the back side to reduce pressure. Taking care keeps your door strong and looking good.
Frequently Asked Questions
How Do You Measure For A Deadbolt Hole?
Measure the door thickness and mark 6 to 7 inches from the edge. Use a template for accurate hole placement. This ensures the deadbolt fits securely and aligns with the strike plate on the door frame.
What Tools Are Needed To Drill A Deadbolt Hole?
You need a hole saw drill bit, a spade bit, a tape measure, a pencil, a chisel, and a screwdriver. These tools help create precise holes and recesses for proper deadbolt installation.
Can I Install A Deadbolt Without A Template?
While possible, using a template ensures proper alignment and hole size. Templates prevent mistakes, saving time and avoiding damage to the door during installation.
How Deep Should The Deadbolt Hole Be Drilled?
Drill the hole deep enough to fit the deadbolt mechanism, usually about 2. 5 inches. Ensure the hole is clean and straight for smooth deadbolt operation.
Conclusion
Making a hole for a deadbolt takes patience and care. Use the right tools and measure twice before drilling. Follow the steps slowly to avoid mistakes. Safety matters, so wear goggles and work in a clean space. A well-made hole keeps your lock secure and your home safe.
Practice helps you get better at this task. Keep your door strong with a properly installed deadbolt. Easy to do, if you take your time and stay focused. Ready to try it yourself? You can do it!