Have you ever removed a wall anchor and been left with an ugly hole staring back at you? Those small gaps can ruin the clean look of your walls and make your space feel unfinished.
But don’t worry—filling in wall anchor holes is easier than you think. Whether you want to repaint, redecorate, or simply fix the damage, this guide will show you simple steps to make your walls look flawless again. Keep reading, and you’ll learn how to restore your walls quickly and confidently.

Credit: diy.stackexchange.com
Types Of Wall Anchors
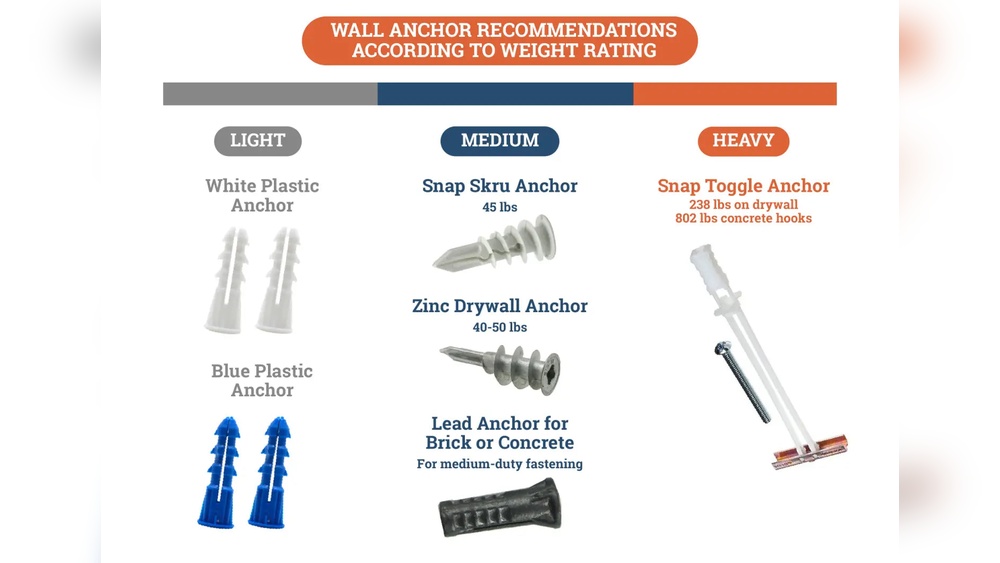
Wall anchors come in different types to suit various wall materials and weights. Choosing the right anchor ensures a strong hold and prevents damage. Understanding these types helps you fix holes properly after removing anchors.
Plastic Expansion Anchors
Plastic expansion anchors are common and easy to use. They expand inside the wall when a screw is driven in. Best for light loads on drywall or plaster walls. They work by gripping the wall material tightly.
Toggle Bolts
Toggle bolts have metal wings that open inside the wall. They offer strong support for heavy items. Ideal for hollow walls or ceilings. The wings spread the load over a larger area.
Molly Bolts
Molly bolts are metal anchors that expand behind the wall. They create a secure hold in drywall or plaster. Suitable for medium to heavy loads. The expansion prevents the bolt from pulling out.
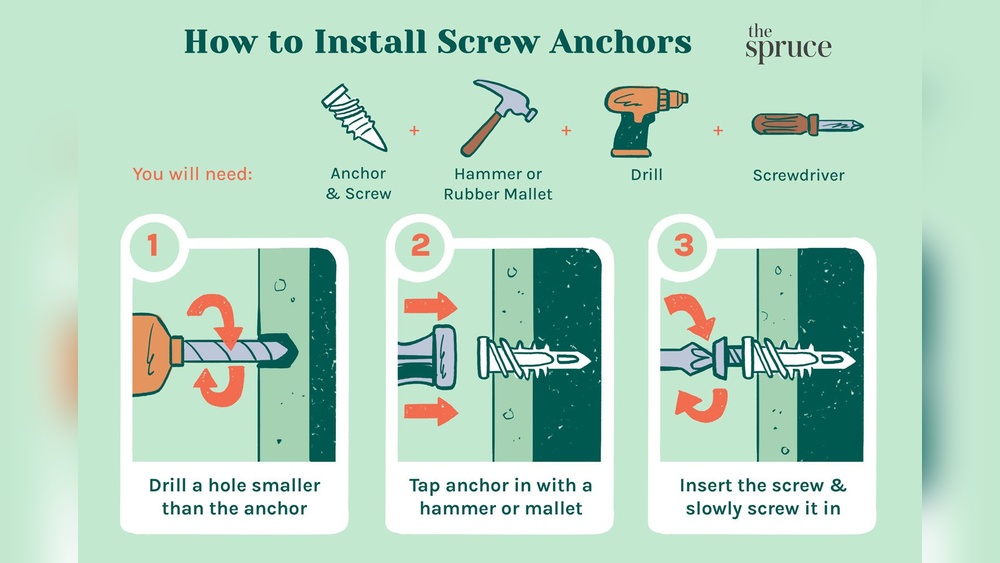
Self-drilling Anchors
Self-drilling anchors screw directly into drywall without pre-drilling. They save time and effort. Good for light to medium weights. Their design provides firm grip and easy installation.

Credit: www.youtube.com
Tools And Materials Needed
Filling in wall anchor holes needs the right tools and materials. Using proper supplies ensures a smooth and lasting repair. The process becomes easier and the result looks neat. Below are the key items you should have ready before starting.
Spackle And Joint Compound
Spackle is perfect for small holes. It dries fast and is easy to apply. For larger holes, joint compound works better. It fills bigger gaps and smooths out the wall surface. Both help restore the wall’s flat look.
Putty Knife And Sandpaper
A putty knife spreads spackle or compound evenly. Choose a size that fits the hole. Sandpaper smooths the dried patch. Use fine-grit sandpaper to avoid scratches. These tools create a clean finish ready for painting.
Primer And Paint
Primer seals the patched area. It helps the paint stick well. Use a primer that matches your wall type. After priming, paint the patch to blend it with the wall. This step hides the repair completely.
Cleaning Supplies
Keep a cloth or sponge handy to clean dust and debris. Remove loose paint or dirt around the hole. Clean walls help spackle and paint stick better. A tidy workspace makes the job easier and neater.
Preparing The Hole
Preparing the hole is the first step to fill wall anchor holes properly. It ensures the repair lasts long and looks smooth. Taking time to prepare the hole well makes the patch stronger and less noticeable.
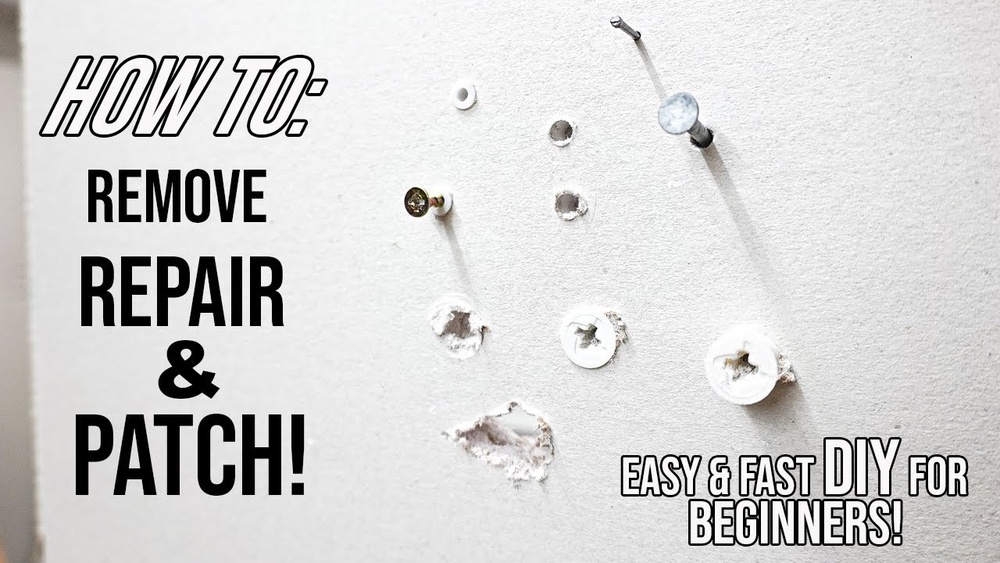
Removing The Anchor
Start by pulling out the wall anchor carefully. Use pliers or a screwdriver to grip the anchor. Pull gently to avoid damaging the wall further. If the anchor is stuck, twist it slowly to loosen it. Removing the anchor completely clears the hole for filling.
Cleaning The Area
Next, clean the hole and its edges. Remove dust, dirt, and any loose debris. Use a brush or a vacuum to clear the area well. A clean surface helps the filler stick better. Clean edges also make the patch blend smoothly with the wall.
Checking For Damage
Look closely at the hole and surrounding wall. Check for cracks, chips, or crumbling drywall. Small damage needs fixing before filling the hole. Repair weak spots with patching compound or drywall tape. Solid walls hold the filler better and prevent future problems.
Filling Small Holes
Small holes from wall anchors can make walls look messy. Filling these holes is easy and quick. It helps restore the smooth look of your walls. You only need a few materials and some patience to get good results.
Applying Spackle
Start by choosing a lightweight spackle. Use a small putty knife or a plastic scraper. Scoop a little spackle and press it into the hole. Make sure the hole is fully covered. Remove extra spackle around the hole for a neat finish.
Smoothing The Surface
After applying spackle, smooth the surface gently. Use the putty knife to level the area with the wall. Smooth edges blend better with the wall texture. This step helps avoid lumps or bumps after drying.
Drying Time
Let the spackle dry completely before touching it. Drying usually takes 15 to 30 minutes. Check the instructions on the spackle container. Once dry, the surface will feel firm and ready for sanding or painting.
Repairing Larger Holes
Repairing larger wall anchor holes takes more effort than small ones. These holes need a strong fix to look good and last long. You need the right materials and steps to fill them properly.
Using Patch Kits
Patch kits are perfect for bigger holes. They come with a mesh patch and compound. First, clean the hole and place the patch over it. Press firmly so it sticks well. The patch holds the compound and keeps the wall strong.
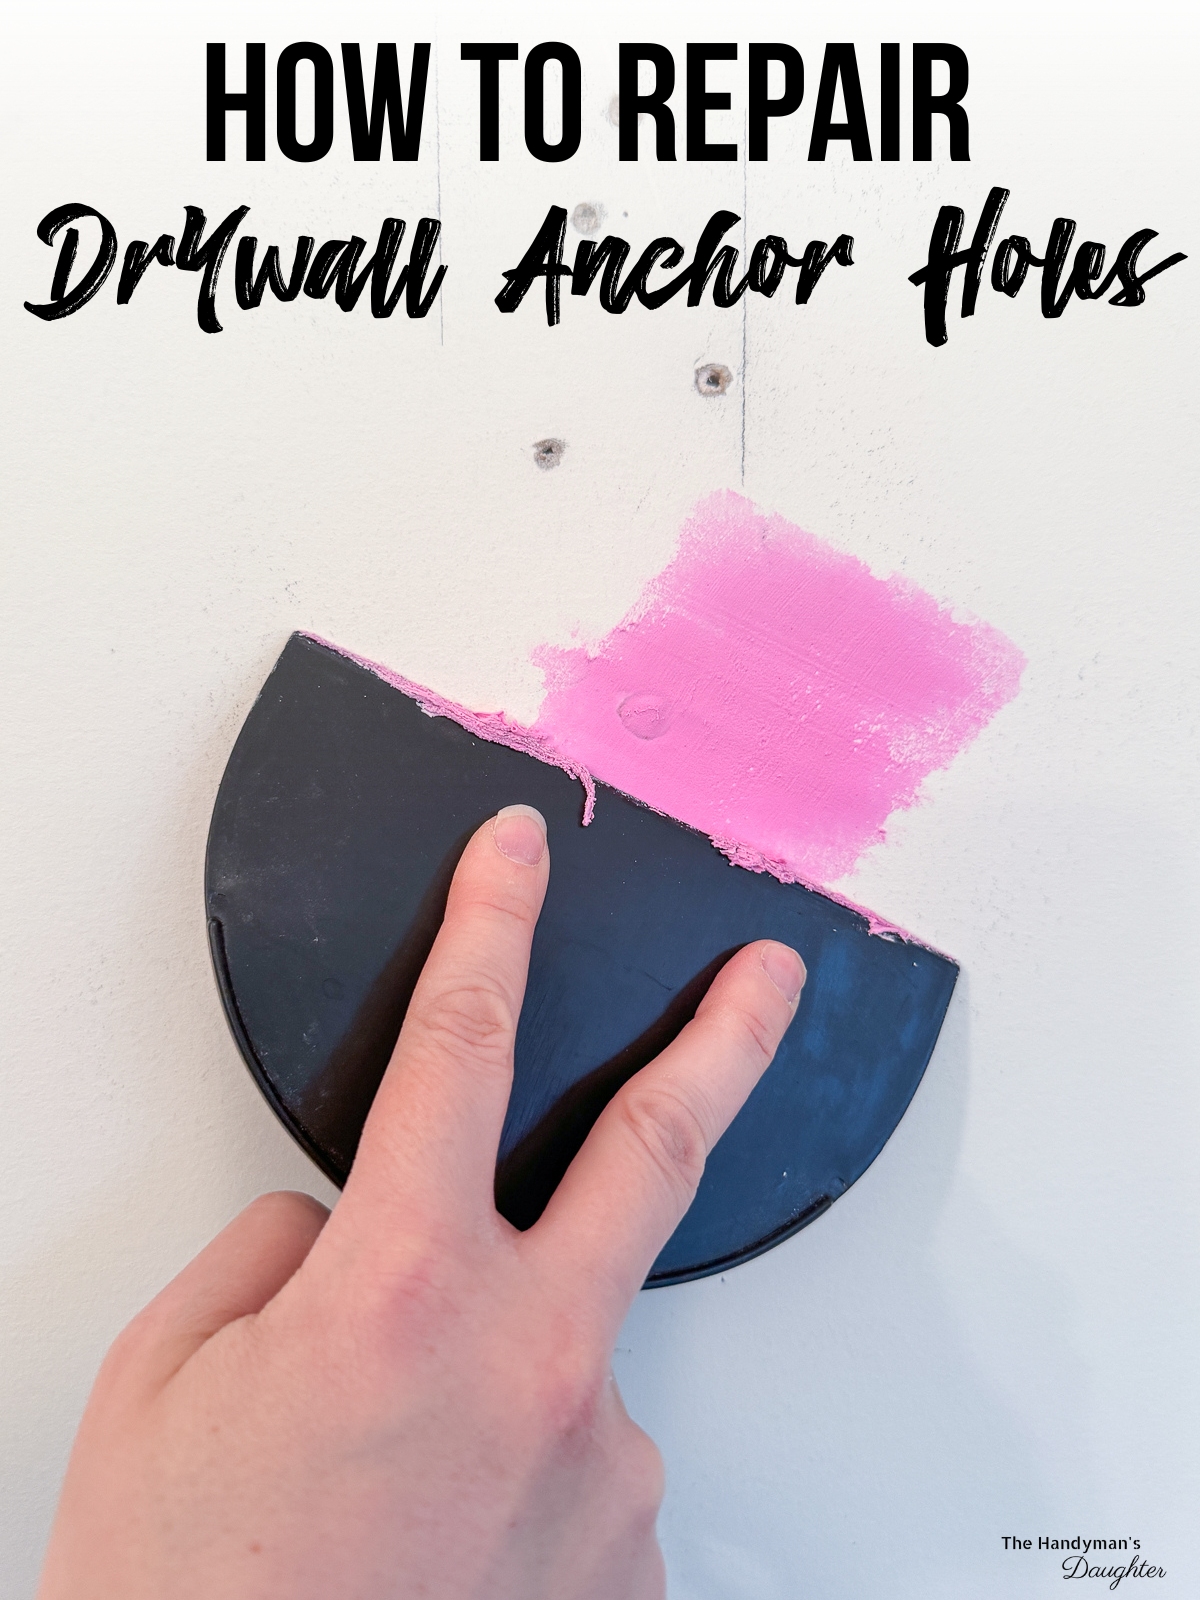
Layering Joint Compound
Apply joint compound in thin layers over the patch. Let each layer dry before adding the next. This builds up the surface evenly. Use a putty knife to spread the compound smoothly. Layering prevents cracks and makes the repair strong.
Sanding For Smoothness
After the last layer dries, sand the area gently. Use fine sandpaper for a smooth finish. Sand until the patch blends with the wall surface. Clean off dust with a cloth. Now, the wall is ready for painting or wallpaper.
Finishing Touches
Finishing touches make your wall look smooth and new after filling anchor holes. These steps help the patch blend well with the rest of the wall. You want the repair to be invisible and neat.
Priming The Patch
Apply a thin coat of primer on the patched area. This helps the paint stick better and last longer. Let the primer dry completely before painting. Use a small brush for precise application.
Matching Paint Color
Choose paint that matches your wall color exactly. Test a small spot to check the color. Use the same type of paint as the wall for best results. This prevents the patch from standing out.
Blending With Surrounding Wall
Paint the patch with light, even strokes. Blend the edges into the surrounding wall paint. Use a small roller or brush for a smooth finish. This hides the patch and makes it look natural.
Preventing Future Damage
Preventing future damage to walls is key after filling wall anchor holes. Proper steps help keep walls strong and clean. Avoiding mistakes saves time and effort later. Use the right materials and methods to protect your walls.
Choosing The Right Anchor
Select anchors that fit the wall type and weight load. Drywall anchors work for light objects. Heavy items need toggle bolts or molly bolts. Using the wrong anchor can crack or weaken walls. Match anchor size to the screw and object weight.
Proper Installation Techniques
Drill holes carefully to avoid cracking the wall. Use a drill bit that matches the anchor size. Insert anchors straight to prevent wall damage. Avoid over-tightening screws, which can enlarge holes. Check that anchors hold tightly before hanging anything.
Credit: www.thehandymansdaughter.com
Frequently Asked Questions
How Do I Fill Wall Anchor Holes Quickly?
Use spackling paste or lightweight filler to fill holes. Apply with a putty knife, smooth it, and let dry. Sand lightly and paint for a clean finish. This method is fast and effective for small to medium holes.
What Materials Work Best For Filling Anchor Holes?
Spackling paste, lightweight drywall filler, or wood filler work best. Choose based on wall type—drywall or wood. These materials dry quickly and are easy to sand and paint for a seamless look.
Can I Repaint After Filling Wall Anchor Holes?
Yes, once the filler dries and is sanded smooth, repaint the area. Use primer if needed for better paint adhesion. This restores the wall’s original look effectively and hides the repair well.
Is It Necessary To Remove Old Wall Anchors First?
Yes, always remove old anchors before filling holes. Removing anchors prevents damage and allows proper filling. Use pliers or a screwdriver to pull them out gently.
Conclusion
Filling wall anchor holes is simple with the right steps. Choose the right filler and apply it carefully. Let it dry fully before sanding smooth. A clean patch blends well with your wall. This small fix improves your room’s look instantly.
Keep tools handy for quick repairs anytime. Practice makes the process easier and faster. Now, your walls look neat and well-maintained. Ready for your next home project?