Is your floor jack losing pressure and not lifting like it used to? A pressure leak can make your jack unreliable and even dangerous to use.
But before you think about buying a new one, there’s good news—you can often fix the leak yourself. In this guide, you’ll learn simple, step-by-step ways to find and repair pressure leaks in your floor jack. Keep reading, and you’ll have your jack working smoothly again in no time.

Credit: www.youtube.com
Identifying Pressure Leaks
Identifying pressure leaks in a floor jack is the first step to fixing it. Leaks cause the jack to lose pressure and fail. Finding the leak early can save time and money. This section shows how to spot leaks and what tools help with the inspection.
Common Leak Signs
Look for oil puddles under the jack. Oil stains on the jack’s body also show leaks. The jack may not lift or hold weight well. It can slowly lower without any load. You might hear hissing sounds during use. These signs point to a pressure leak inside the jack.
Tools Needed For Inspection
Use a flashlight to see small cracks or oil spots. A clean cloth helps wipe away dirt and oil. Gloves keep your hands clean and safe. A wrench set may be needed to open parts. Soapy water in a spray bottle can reveal bubbles at leak points. These tools make it easier to find and fix pressure leaks.
Preparing The Floor Jack
Preparing the floor jack is the first step to fix a pressure leak. Proper preparation helps find the problem and fix it safely. It also makes the repair process smoother and faster.
Safety Precautions
Always wear safety gloves and goggles before starting. Make sure the floor jack is on a flat, stable surface. Do not work under a vehicle supported only by the jack. Use jack stands for extra support. Check for any damage or cracks on the jack. Keep children and pets away during the repair.
Cleaning The Jack
Remove dirt and grease from the jack’s surface. Use a clean cloth and mild soap solution. Clean around the hydraulic cylinder and seals carefully. Avoid using harsh chemicals that can damage parts. Dry the jack completely before inspecting it. Clean tools help spot leaks and damaged parts easily.
Locating The Leak Source
Finding the source of a pressure leak in a floor jack is the first step to fix it. The leak usually comes from parts that hold or carry hydraulic fluid. You need to carefully check these parts to spot any signs of damage or fluid loss.
Start with the basics. Look for low hydraulic fluid levels or visible wet spots. Then, check seals and hoses for cracks or tears. This method helps you find the exact spot causing the leak. It saves time and prevents further damage.
Checking Hydraulic Fluid Levels
Hydraulic fluid keeps your floor jack working smoothly. Low fluid means there could be a leak. Open the reservoir cap and check the fluid level. It should be near the top. If it is low, add the right type of hydraulic fluid. Watch for any fluid that escapes while you inspect.
Inspecting Seals And Hoses
Seals and hoses hold the hydraulic fluid inside the jack. Over time, they wear out or crack. Look closely for any wet or oily spots on these parts. Press the hoses gently to feel for soft or cracked areas. Replace any damaged seals or hoses to stop the leak.
Fixing Minor Leaks
Fixing minor leaks in a floor jack can save time and money. These leaks often come from small issues like loose parts or worn seals. Fixing them is simple and does not require professional tools. Start by identifying the source of the leak. Then, apply the right fix to stop the leak and keep your jack working safely.
Tightening Connections
Loose connections cause many small leaks in floor jacks. Check all bolts and fittings around the hydraulic system. Use a wrench to gently tighten these parts. Avoid overtightening; this can damage threads or seals. Tight connections help stop oil from escaping. After tightening, test the jack to see if the leak stops. Repeat the process if needed until no leaks appear.
Replacing O-rings
O-rings seal joints and prevent oil leaks. Over time, these rubber rings wear out or crack. Remove the old O-ring carefully from the jack. Match it with a new ring of the same size and material. Lubricate the new O-ring with hydraulic fluid before installing it. This helps create a tight seal and extends the O-ring’s life. Reassemble the parts and check for leaks again. Replacing O-rings often fixes stubborn minor leaks effectively.
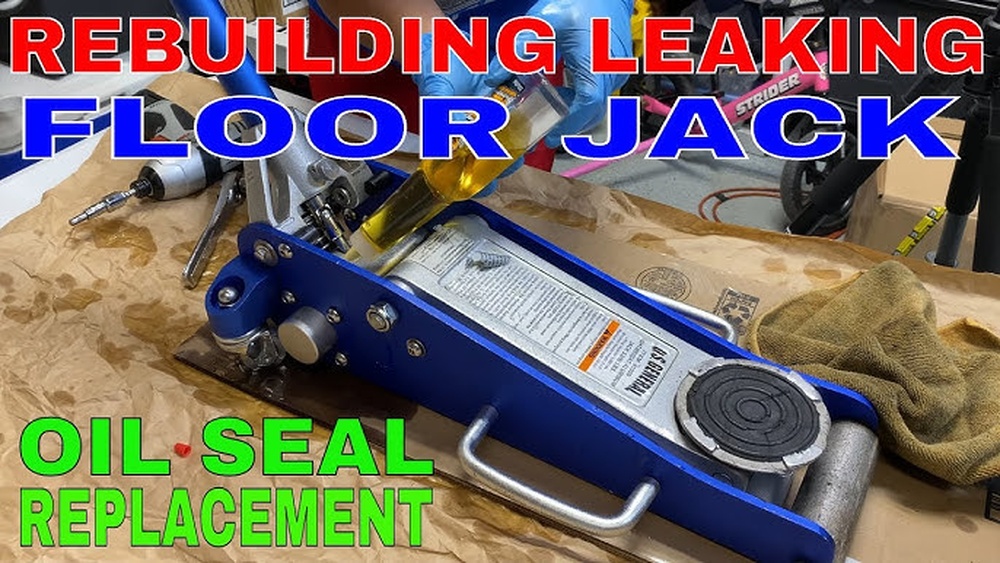
Repairing Major Leaks
Major leaks in a floor jack can stop it from working properly. Fixing these leaks is important to keep the jack safe and strong. This part explains how to repair big leaks by replacing seals and refilling hydraulic fluid. Follow these steps to get your floor jack working well again.
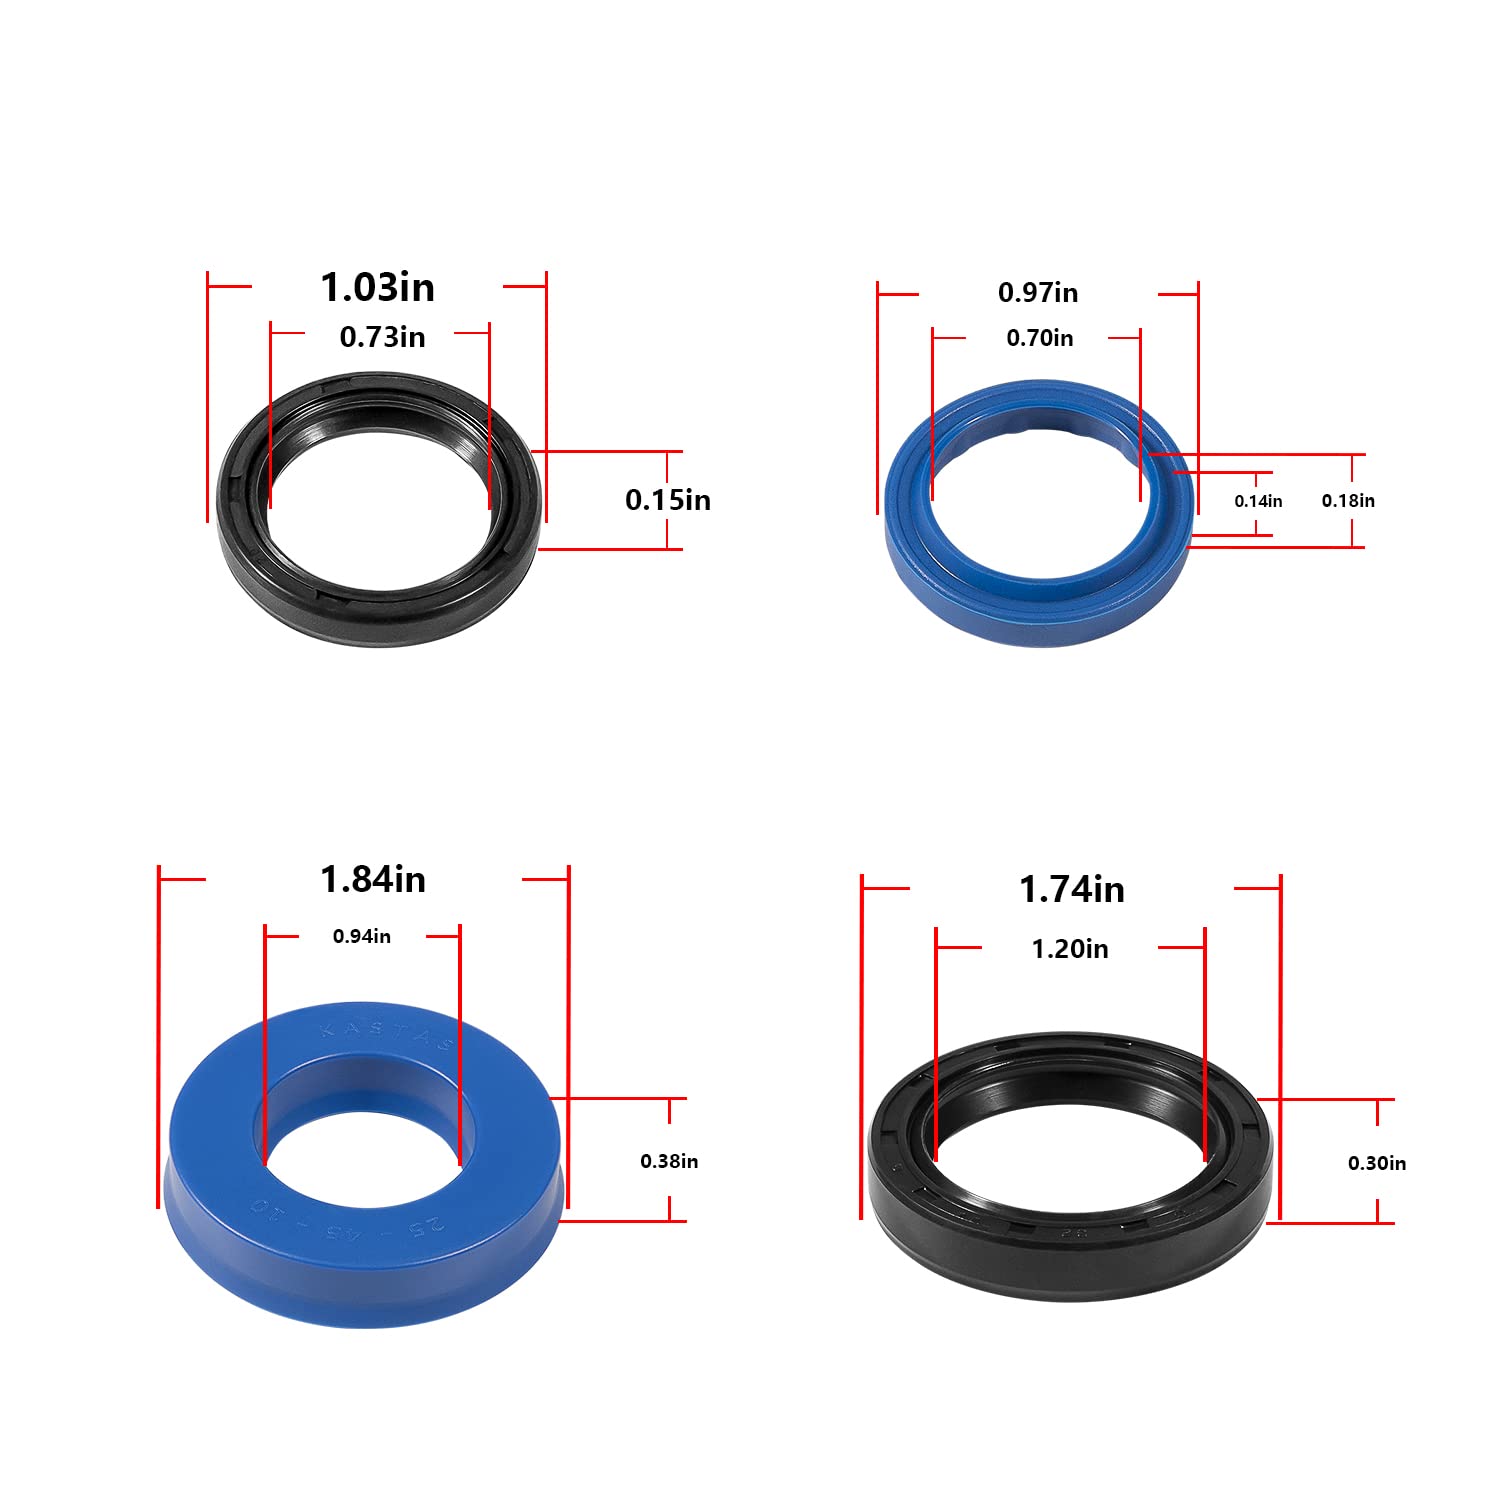
Replacing Seals
Seals stop hydraulic fluid from leaking out. Over time, seals can wear out or break. Check the seals around the pump and ram for damage. Remove the old seals carefully using a small tool. Clean the area well before putting new seals in place. Use seals that fit your jack model exactly. Press the new seals firmly to avoid leaks. This step often solves major leaks and keeps the fluid inside.
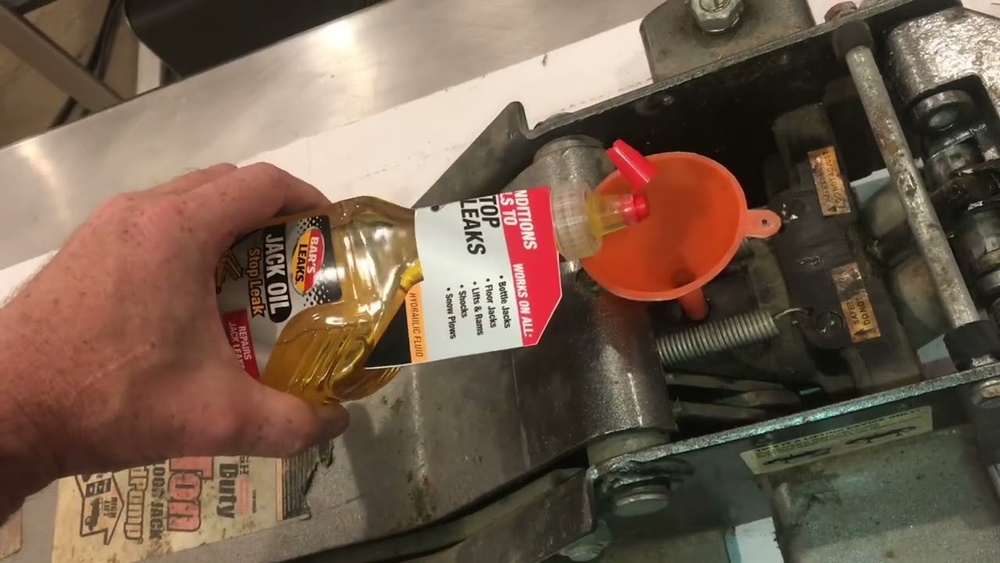
Refilling Hydraulic Fluid
Low fluid levels cause poor jack performance. After fixing seals, check the hydraulic fluid level. Open the fill plug on the jack’s reservoir. Use the recommended hydraulic fluid for your jack. Pour the fluid slowly to avoid air bubbles. Fill it up to the right level, not too full. Close the plug tightly to prevent leaks. Test the jack to see if it lifts smoothly now.
Testing The Repair
After fixing a pressure leak in your floor jack, testing the repair is crucial. This step confirms if the leak is fully sealed. It also ensures the jack works safely and correctly. Proper testing helps avoid accidents and saves time and money.
Pressure Testing
Start by pumping the jack slowly. Watch for any signs of pressure drop. If the jack holds pressure for several minutes, the leak is fixed. Use a pressure gauge if available. It gives a clear reading of the jack’s pressure level. No sudden loss means a successful repair.
Ensuring Proper Operation
Next, check if the jack lifts smoothly and holds weight. Raise the jack to its maximum height. Hold it raised for a few minutes. Lower it carefully and repeat the process a few times. This confirms the jack operates without pressure loss or jerks. Smooth operation shows your repair is reliable.
Maintenance Tips
Maintenance is key to keeping your floor jack working well. Small steps help prevent pressure leaks. These tips save time and money on repairs. Follow simple habits to protect your tool.
Regular Inspection
Check your floor jack often for signs of leaks or damage. Look at the hydraulic fluid level and seals. Catching problems early stops leaks from getting worse. Clean dirt and debris from parts to keep them working smoothly. Tighten loose bolts to avoid pressure loss.
Proper Storage
Store the floor jack in a dry place away from harsh weather. Keep it on a flat surface to avoid oil shifting. Lower the jack fully before storing to reduce pressure on seals. Cover it with a cloth or plastic to keep dust out. Proper storage extends the life of your jack.

Credit: www.sviinternational.com
Credit: www.martinispa.com
Frequently Asked Questions
How Do I Identify A Pressure Leak In A Floor Jack?
A pressure leak causes the jack to lose lifting power or slowly lower. Check for oil drips or hissing sounds near seals and valves.
What Tools Are Needed To Fix A Floor Jack Pressure Leak?
You need a wrench set, replacement seals, hydraulic fluid, a screwdriver, and clean rags. These tools help disassemble and reseal the jack properly.
Can I Fix A Pressure Leak Myself Safely?
Yes, with basic mechanical skills and safety precautions, you can fix it. Always release pressure fully and work on a clean surface to avoid accidents.
How Do I Replace Seals To Stop A Pressure Leak?
Remove the jack’s hydraulic cylinder carefully. Replace worn seals with exact matches. Clean all parts before reassembly for a tight, leak-free fit.
Conclusion
Fixing a pressure leak in a floor jack is easier than it seems. Take your time and check each part carefully. Use the right tools and follow safety steps. Small leaks can cause big problems if ignored. Regular maintenance helps your jack work longer.
Keep an eye on seals and valves. A well-maintained floor jack lifts safely every time. You can save money by fixing leaks yourself. Stay patient and focused during the repair process. This simple task keeps your tools ready and reliable.