Have you ever struggled with a floor jack handle that just won’t come off when you need it to? Removing the handle might seem tricky, but it doesn’t have to be frustrating or time-consuming.
Whether you’re fixing your floor jack or storing it away, knowing the right steps can save you effort and avoid damage. In this guide, you’ll discover simple, effective tips to remove your floor jack handle quickly and safely. Keep reading, and you’ll have it done in no time—no hassle, no confusion.
Tools Needed
Removing a floor jack handle requires a few basic tools. Having the right tools makes the job easier and faster. These tools help you safely detach the handle without damage.
Prepare these tools before starting. Each tool has a specific role in the process. Using the correct tools ensures smooth removal and prevents injury.
Wrench Set
A wrench set is essential to loosen bolts or nuts holding the handle. Choose the right size wrench to avoid stripping the hardware. A good fit allows easy turning and quick removal.
Screwdriver
A flathead or Phillips screwdriver may be needed. This tool helps remove screws securing the handle. Pick the screwdriver that matches the screw head for a secure grip.
Hammer
A hammer helps gently tap out pins or stuck parts. Use light taps to avoid bending or breaking the handle. This tool is useful if the handle is tight or rusty.
Penetrating Oil
Penetrating oil loosens rusted or stuck parts. Spray it on the connection points before removing the handle. Wait a few minutes for the oil to work effectively.
Safety Gloves
Wear safety gloves to protect your hands. Gloves provide a better grip and prevent cuts from sharp edges. Safety is important during any tool use.
Safety Precautions
Safety is the top priority when removing a floor jack handle. The process involves force and moving parts that can cause injuries. Taking safety steps helps prevent accidents and damage. Read these precautions carefully before starting.
Wear Protective Gear
Always wear gloves to protect your hands from pinches and cuts. Safety glasses guard your eyes from debris. Closed-toe shoes protect your feet from dropped tools or parts.
Ensure The Jack Is Stable
Place the jack on a flat surface. Check it does not wobble or tilt. A stable jack reduces the risk of it falling during handle removal.
Release Pressure Completely
Lower the jack to release all pressure. Never try to remove the handle while the jack is under load. This can cause sudden movement and injury.
Use The Right Tools
Use tools designed for the job. Avoid makeshift tools that might slip or break. Proper tools make the process safer and easier.
Keep Hands Clear Of Pinch Points
Identify areas where the handle and jack meet. Keep fingers away from these pinch points during removal. This prevents crushing injuries.
Locate The Handle Pin
Locating the handle pin is the first step to remove a floor jack handle. This small part keeps the handle attached to the jack. Finding it helps you unlock the handle safely and quickly.
The handle pin is usually easy to spot. It holds the handle in place and prevents it from moving around. Knowing where it is saves time and effort during removal.
Check Near The Base Of The Handle
Look closely at the bottom of the handle. The pin often sits where the handle meets the jack body. It might be a small metal piece sticking out.
Inspect Both Sides Of The Handle
Sometimes the pin is on one side, sometimes on both. Turn the handle gently to see all sides. This helps find the pin without forcing anything.
Look For A Clip Or Cotter Pin
Many floor jacks use a clip or cotter pin as the handle pin. These clips hold the handle pin in place. Spotting the clip means you found the pin area.
Remove The Cotter Pin
Removing the cotter pin is an important step to take off the floor jack handle. This small metal piece holds the handle securely in place. It prevents the handle from slipping out during use.
Before you remove the handle, you must get the cotter pin out first. It might look tricky, but it is simple with the right tools and steps. Taking out the cotter pin carefully protects other parts from damage.
Locate The Cotter Pin
Find the cotter pin near the base of the jack handle. It usually passes through a hole in the handle shaft. The pin looks like a small metal wire bent into a loop or a split end.
Use Pliers To Straighten The Ends
Grab needle-nose pliers to straighten the bent ends of the cotter pin. Pull the ends away from the shaft. This loosens the pin and prepares it for removal.
Pull Out The Cotter Pin
Hold the pin firmly with the pliers. Pull it out gently but steadily. Avoid twisting too hard to stop bending or breaking the pin.
Keep The Cotter Pin Safe
Store the cotter pin in a small container. You might need it later for reassembly. Keeping it safe saves time and money.
Extract The Handle Pin
Extracting the handle pin is the key step in removing the floor jack handle. This pin holds the handle tightly in place. Removing it allows you to pull the handle free.
Understanding how to extract the handle pin safely makes the process easier. You need the right tools and a simple approach.
First, find the handle pin on the jack. It is usually near the base of the handle. Look for a small metal pin or clip that holds the handle steady.
Choose The Right Tool
Select a tool like pliers or a punch. These help grip or push the pin out. Avoid using too much force to prevent damage.
Remove The Pin Carefully
Grip the pin firmly with your tool. Pull or tap it out slowly. Keep the jack stable during this step. The pin should slide out smoothly.
Store The Pin Safely
Keep the pin in a safe place after removal. This prevents it from getting lost. You will need it when reattaching the handle later.

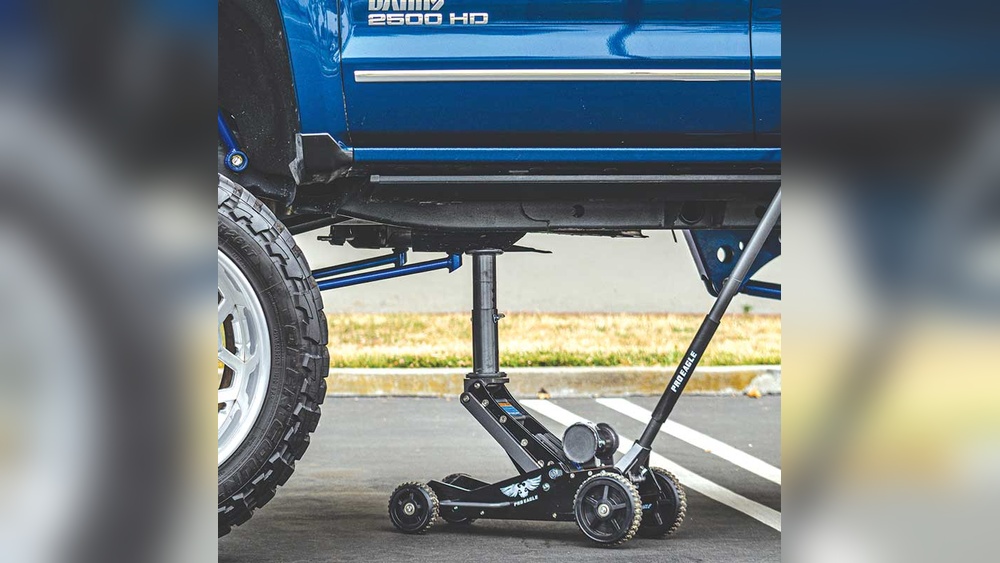
Credit: factorypure.com
Detach The Handle
Detaching the handle from a floor jack is simple with the right steps. This process helps in storage, transport, or repair of the jack. Follow clear instructions to avoid damage and keep safety in mind.
Locate The Handle Connection Point
Find where the handle meets the jack body. This is usually near the base or pivot area. Check for any pins, bolts, or clips holding the handle in place.
Remove Safety Pins Or Clips
Look for safety pins or clips at the connection point. Use pliers or your fingers to pull them out carefully. Keep these parts safe for reassembly.
Unscrew The Handle Bolt
If a bolt secures the handle, use a wrench or socket to loosen it. Turn counterclockwise until the bolt is free. Set the bolt aside to avoid losing it.
Pull The Handle Out Gently
Hold the handle firmly and pull it straight out. Avoid twisting to prevent bending or breaking. Wiggle it slightly if it feels stuck, but do not force it.
Inspect The Handle And Jack
Check both parts for damage or wear. Clean any dirt or rust before storing or reattaching. Proper care extends the life of your floor jack.
Handle Removal Tips
Removing a floor jack handle can seem tricky at first. Simple steps make the process easier and safer. Follow these handle removal tips to avoid damage and save time.
Gather The Right Tools
Use the correct tools before starting. A wrench or pliers often work best. Check the type of bolts or pins holding the handle.
Release Pressure From The Jack
Make sure the jack is not under pressure. Lower it completely to avoid accidents. This step helps the handle come off smoothly.
Locate The Handle Pin Or Bolt
Find the pin or bolt securing the handle. It usually sits at the base of the handle. Removing this part frees the handle for easy removal.
Use Gentle Force
Apply gentle force to pull the handle out. Avoid using too much strength to prevent damage. If stuck, try rocking the handle back and forth.
Clean And Inspect The Parts
After removing, clean the handle and pin area. Remove dirt and rust for better maintenance. Check for worn or broken parts before reassembling.
Reinstalling The Handle
Reinstalling the floor jack handle is an important step after removing it. A properly reinstalled handle ensures safe and easy operation of the jack. Take your time and follow these simple steps to put it back correctly.
Prepare The Handle And Jack
Start by cleaning the handle and the jack’s handle socket. Dirt and rust can block smooth fitting. Use a cloth or brush to remove any grime. Check the handle for any damage. Replace it if bent or cracked.
Align The Handle Correctly
Place the handle into the socket on the jack. Make sure it fits snugly. The handle should slide in easily but stay firm. Align the holes on the handle and the jack for the pin or bolt.
Secure The Handle In Place
Insert the pin or bolt through the aligned holes. Push it fully to lock the handle. If your jack uses a clip or cotter pin, fasten it properly. This stops the handle from slipping out during use.
Test The Handle Movement
Move the handle up and down to check its function. It should move smoothly without wobbling. A tight handle means it is secure. Adjust or tighten the pin if the handle feels loose.
Troubleshooting Common Issues
Troubleshooting common issues helps you remove the floor jack handle safely. Problems can slow down the process or cause damage. Knowing what to check saves time and effort. Below are some common problems and easy fixes.
Stuck Handle Due To Rust
Rust often causes the handle to stick in the jack. Use a rust remover spray on the joint. Let it sit for 10 minutes. Then, gently wiggle the handle back and forth. Avoid using too much force to prevent damage.
Handle Not Releasing The Pin
The handle may fail to release if the pin is jammed. Check if dirt or debris blocks the pin. Clean the area with a cloth or brush. Apply a small amount of lubricant to free the pin. Try pulling the handle again.
Handle Slips Out Too Easily
If the handle slips out quickly, the locking mechanism might be worn. Inspect the lock for any signs of damage. Replace the locking part if worn. This ensures the handle stays secure during use.
Handle Feels Loose Or Wobbly
A loose handle can cause unsafe operation. Tighten any screws or bolts securing the handle. Use the correct tools to avoid stripping fasteners. Check the handle’s fit again after tightening.

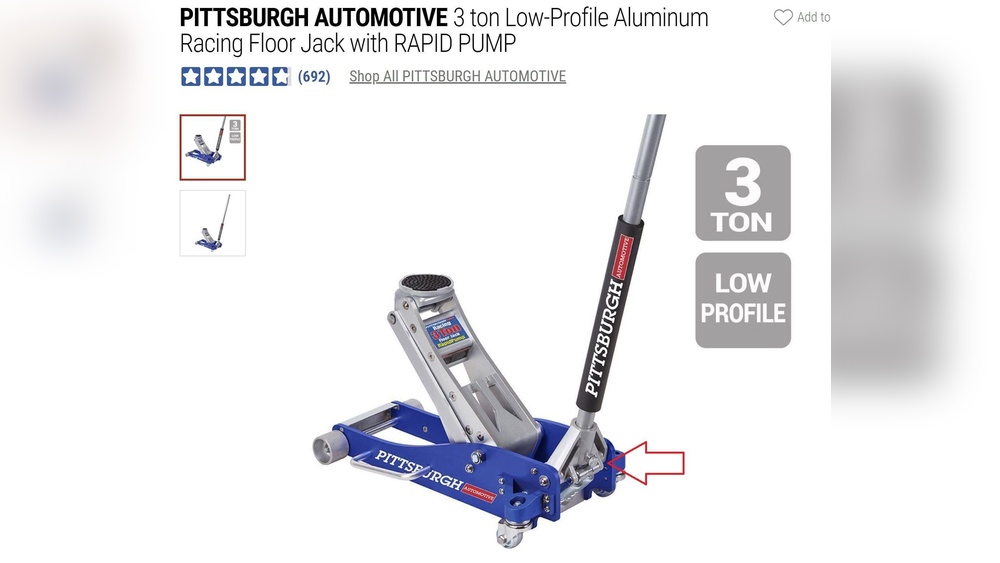
Credit: grassrootsmotorsports.com

Credit: www.reddit.com
Frequently Asked Questions
How Do I Safely Remove A Floor Jack Handle?
First, secure the jack on a flat surface. Locate the handle pin or clip. Remove the pin carefully with pliers or a screwdriver. Gently pull the handle out. Always follow the manufacturer’s instructions for safety.
What Tools Are Needed To Remove A Floor Jack Handle?
You typically need pliers or a flathead screwdriver. These tools help remove the handle pin or clip. Sometimes, no tools are required if it’s a quick-release handle. Check your jack’s manual for specific tool recommendations.
Can I Remove The Handle Without Damaging The Floor Jack?
Yes, removing the handle properly prevents damage. Avoid using excessive force when pulling the handle out. Use the right tools to remove pins carefully. Follow the manufacturer’s instructions to keep your jack intact.
Why Remove The Handle From A Floor Jack?
Removing the handle makes storage easier and safer. It also helps during transportation to avoid damage. Additionally, handle removal is needed for certain repairs or maintenance tasks.
Conclusion
Removing a floor jack handle is simple with the right steps. Start by loosening any locking pins or bolts carefully. Pull the handle straight out without forcing it. Keep your workspace clean and organized for safety. Regularly check your tools to avoid damage.
This quick process saves time during repairs or storage. Now, you can easily remove and replace the handle when needed. Practice these easy tips to maintain your floor jack properly. Safe and smooth work is always possible with proper care.