Have you ever removed a picture or shelf from your wall, only to be left with ugly holes staring back at you? Those small anchor holes can make your walls look worn and unfinished.
But fixing them doesn’t have to be a headache. In this guide, you’ll learn simple, step-by-step methods to fill anchor holes quickly and effectively. Whether you want your walls to look flawless or you’re preparing to repaint, these tips will help you get professional results without spending a fortune.
Keep reading, and you’ll discover how easy it is to make your walls look like new again.

Credit: www.thriftydecorchick.com
Tools And Materials Needed
Fixing anchor holes in walls needs the right tools and materials. Having the correct supplies makes the repair easy and neat. It helps the wall look smooth and strong again. Below are key items to prepare before starting the job.
Choosing The Right Filler
Select a filler that matches the wall type and hole size. For small holes, spackling paste works well. It dries fast and sands smooth. For bigger holes, use patching compound or joint compound. These fillers are thicker and stronger. Some fillers are ready to use, others need mixing. Pick one that suits your skill and time.
Essential Repair Tools
Gather basic tools to make the repair easy. You need a putty knife to apply the filler smoothly. A sanding block or sandpaper helps to smooth the dried filler. Keep a damp cloth nearby to clean dust and spills. A small brush can remove loose debris from the hole. Gloves protect your hands from the filler material. A utility knife can trim any rough edges around the hole.
Preparing The Wall Surface
Before filling anchor holes, prepare the wall surface carefully. This step helps the filler stick well and makes the repair last longer.
Cleaning the hole and removing any loose debris are key tasks. These actions create a smooth, stable area for the filler.
Cleaning The Hole
Start by wiping the hole with a damp cloth. This removes dust and dirt from the surface. Avoid using too much water, as it can damage the wall.
Use a small brush to reach inside the hole. It clears out any stubborn particles. Clean holes help the filler stick better and dry evenly.
Removing Loose Debris
Check for any loose pieces inside the hole. These can weaken the repair. Use a toothpick or a small tool to pull out loose material.
Brush the hole again to clear away any remaining debris. A clean hole gives a strong base for the filler to hold on tightly.
Filling Small Anchor Holes
Small anchor holes in walls look untidy and can collect dust. Filling these holes is an easy way to improve your wall’s appearance. It also helps prepare the wall for painting or hanging new decorations. The process needs only a few tools and little time.
Applying Spackle Or Putty
Start by cleaning the hole from dust and loose debris. Use a small putty knife or your finger to apply spackle or wall putty. Press the material firmly into the hole to fill it completely. Smooth the surface by spreading the spackle evenly around the hole. Let it dry according to the product instructions. Usually, it takes about 15 to 30 minutes for small holes.
Smoothing The Surface
After the spackle dries, check the surface for bumps or uneven spots. Use fine sandpaper to gently smooth the area until it feels flat. Wipe away dust with a dry cloth. The wall is now ready for painting or wallpaper. A smooth finish hides the hole perfectly.
Repairing Larger Holes
Repairing larger anchor holes needs more care than small ones. These holes often need extra materials and steps. Using the right tools and techniques helps the wall look smooth again. The process can take some time but is easy with patience.
Follow these simple steps to fill big holes. The right patch kits and proper layering create a strong repair. Drying time between layers is important for a clean finish.
Using Patch Kits
Patch kits work well for larger holes. They usually include mesh patches and filler compound. Start by cleaning the hole and removing loose debris. Stick the mesh patch over the hole. It holds the filler and stops cracks. Then, apply the filler with a putty knife. Spread it evenly and press it into the patch. This gives a solid base for the wall.
Layering And Drying
Apply the filler in thin layers. One thick layer can crack or peel later. Let each layer dry fully before adding the next. Drying time depends on the filler type and room temperature. Usually, wait at least 30 minutes. Sand the surface lightly after the last layer dries. This makes the wall smooth and ready for paint.
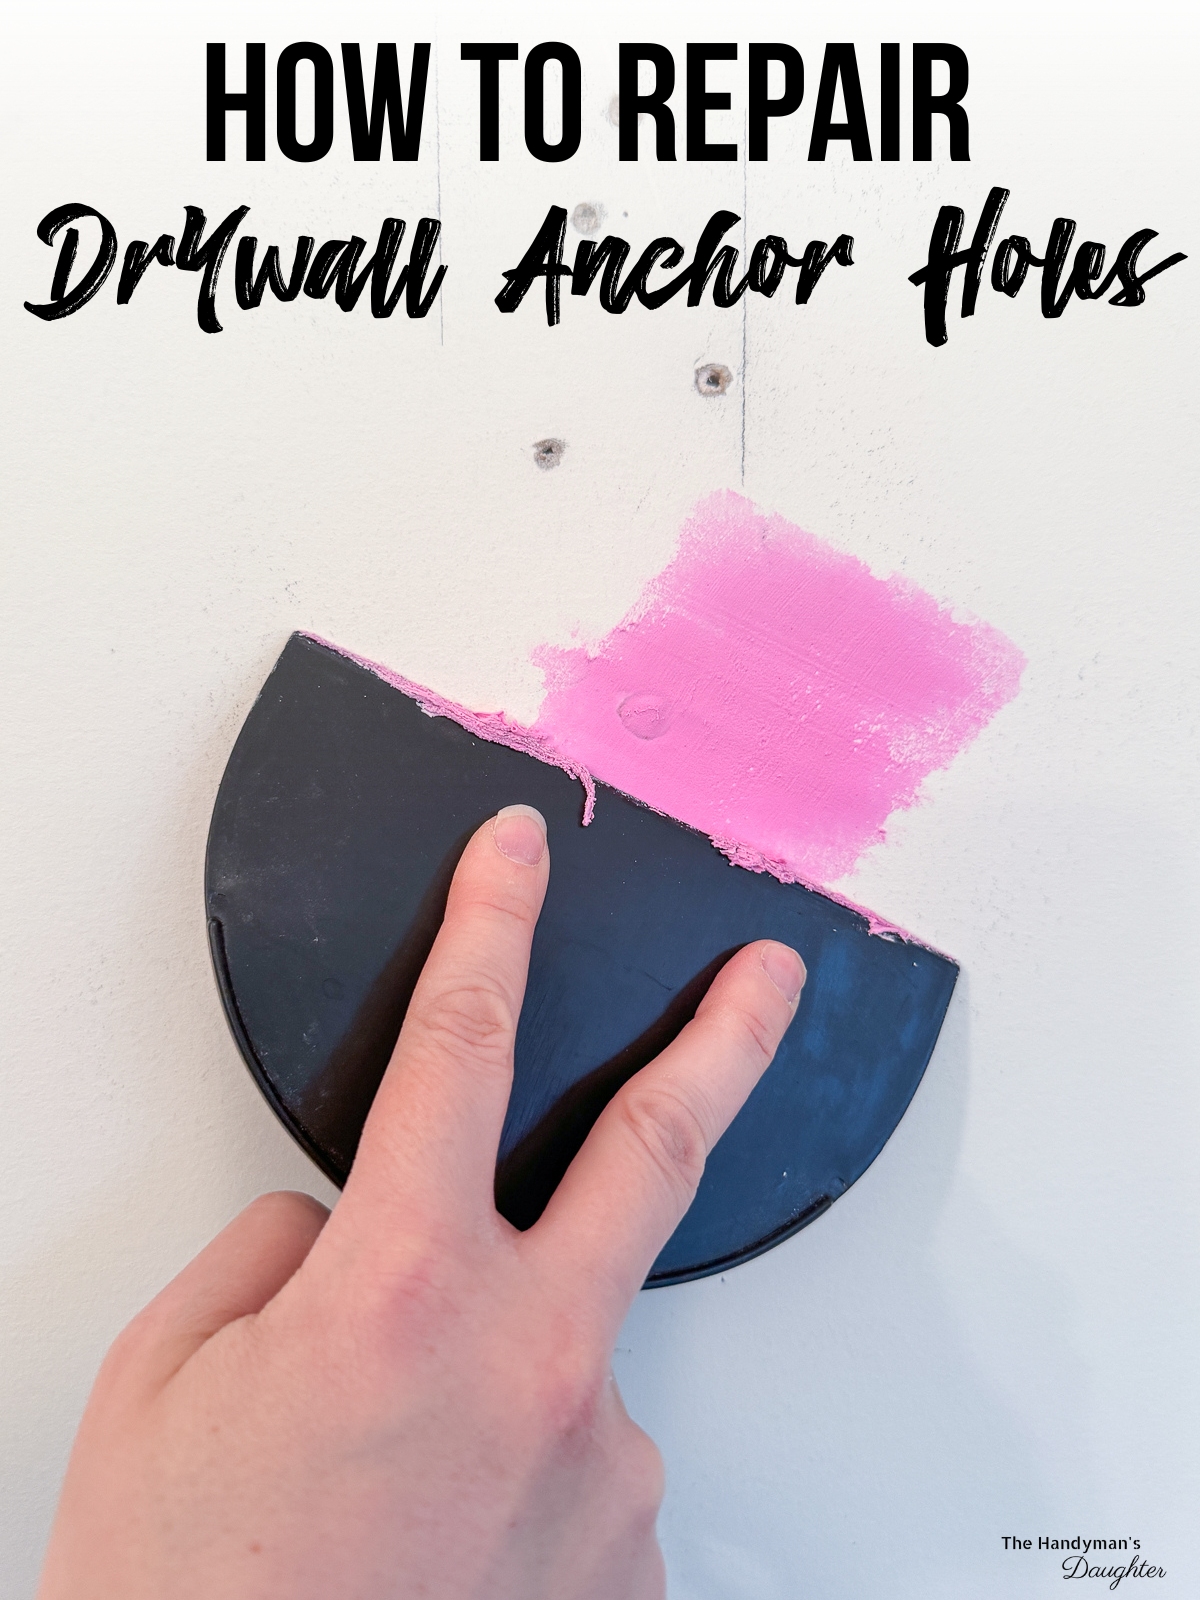
Sanding And Finishing
Sanding and finishing are key steps to make wall repairs look great. They help blend the filled anchor holes with the rest of the wall. Proper sanding removes bumps and rough spots. Finishing prepares the surface for painting or wallpapering. Taking time here improves the final look and feel of your wall.
Achieving A Smooth Finish
Start with medium-grit sandpaper to smooth the dried filler. Sand gently in circular motions to avoid damage. Check the surface by running your hand over it. Use fine-grit sandpaper for a softer finish. Remove all dust with a clean, dry cloth before moving on. A smooth surface hides the repair better.
Preparing For Painting
Apply a primer over the sanded area to seal it. Primer helps paint stick evenly and prevents blotches. Let the primer dry completely before painting. Use a paint that matches your wall color. Apply thin coats for a natural look. This step makes the repair invisible after painting.

Credit: www.youtube.com
Painting Over Repairs
Painting over repaired anchor holes is the last step in making your wall look smooth again. It helps hide the patch and blends it with the rest of the wall. Using the right paint and technique makes the repair almost invisible.
Matching Wall Color
Match the paint color to your wall exactly. Use leftover paint from the original job if you have it. If not, take a small chip of paint to the store for a match. Test the new paint on a hidden spot to check the color. Let it dry before deciding if it matches well. A close color match hides the repair better.
Tips For Seamless Blending
Use a small brush to apply paint over the repaired area. Dab gently instead of brushing hard to avoid brush marks. Blend the edges of the patch with the surrounding wall. Apply thin layers of paint and let each dry before adding more. This prevents thick spots and uneven color. Keep the lighting consistent while painting to see the true color. Proper blending makes the repair hard to spot.
Preventing Future Wall Damage
Preventing future wall damage is key after filling anchor holes. Proper care stops cracks and holes from growing. It keeps your walls strong and smooth. The right steps help your walls last longer. Focus on how you install anchors and which anchors you select.
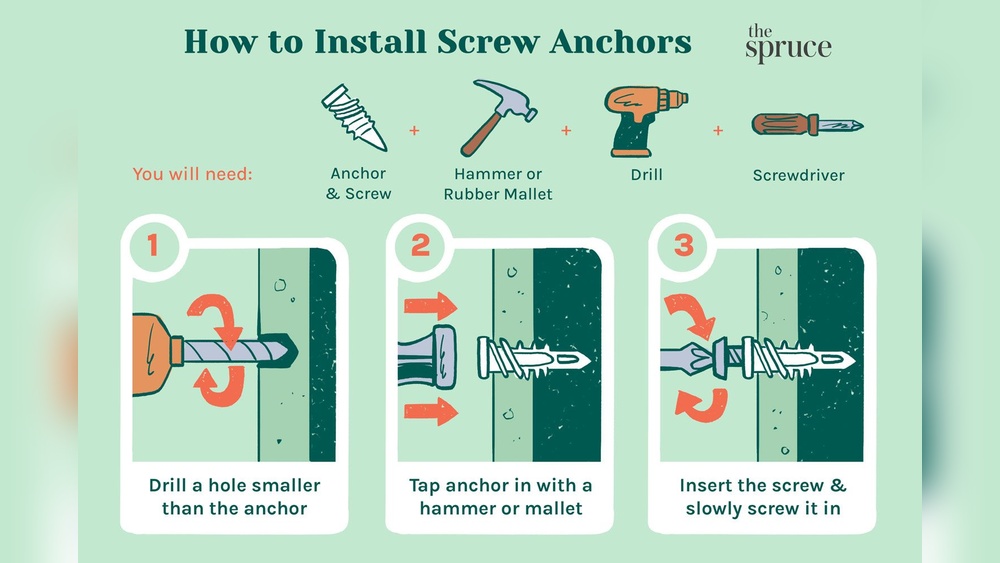
Proper Anchor Installation
Installing anchors correctly avoids wall damage. Start by drilling the right hole size. Too big or small holes cause weak holds. Push the anchor gently into the hole. Do not force it hard. Tighten screws slowly and evenly. This stops the wall from cracking. Use a level to keep things straight. Straight anchors spread weight better and prevent damage.
Choosing Suitable Wall Anchors
Pick wall anchors based on wall type and weight load. Drywall needs different anchors than brick or plaster. Light items need plastic anchors, heavier items need metal ones. Use anchors with the right size and strength. This reduces stress on the wall. Avoid using anchors that are too weak or too strong. Correct anchors protect your wall from holes and cracks.
Credit: www.thehandymansdaughter.com
Frequently Asked Questions
How Do I Fill Anchor Holes In Drywall?
To fill anchor holes in drywall, remove the anchor first. Then apply spackling paste with a putty knife. Let it dry, sand smooth, and repaint for a seamless finish. This restores the wall’s appearance efficiently.
What Materials Are Best For Filling Anchor Holes?
Spackling paste or joint compound works best for filling anchor holes. Use lightweight spackle for small holes and joint compound for larger ones. These materials dry quickly and sand easily, creating a smooth surface for painting.
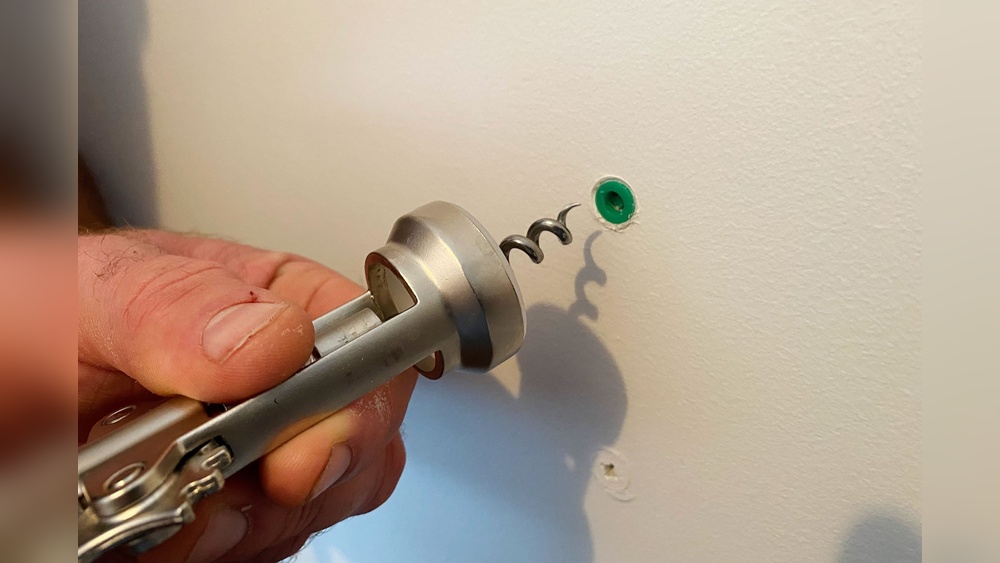
Can I Fill Anchor Holes Without Removing The Anchor?
It’s best to remove the anchor before filling. Filling around the anchor may cause an uneven surface. Removing ensures a better patch and stronger repair. Use pliers to pull out anchors carefully before patching.
How Long Does Filler Take To Dry In Anchor Holes?
Drying time depends on the filler type and hole size. Typically, spackling paste dries within 1-2 hours. Joint compound may take up to 24 hours. Always check the product instructions for accurate drying times.
Conclusion
Filling anchor holes in walls keeps your space neat and safe. Use the right materials for the best results. Take your time to apply filler smoothly and let it dry fully. Sand the area gently for a clean, even finish.
A well-filled hole hides damage and prepares walls for new decor. Small repairs like this save money and improve your home’s look. Practice these steps, and your walls will look great again. Simple fixes make a big difference.