If you’ve ever tried hanging something heavy on your wall and worried it might not hold, molly bolt wall anchors could be your best solution. These small but powerful anchors give you extra strength and security when mounting shelves, mirrors, or cabinets.
In this guide, you’ll learn exactly how to install molly bolt wall anchors quickly and safely, so your items stay firmly in place. Keep reading to discover simple steps that anyone can follow—no special tools or skills needed. Your walls will thank you!
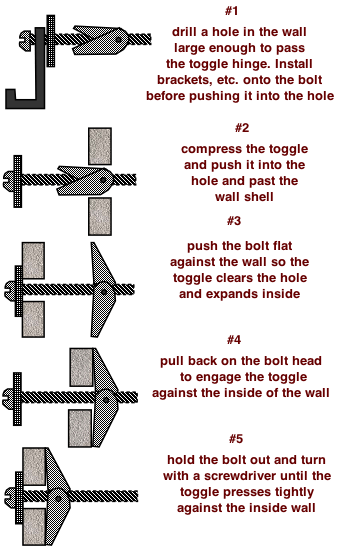
Credit: www.do-it-yourself-help.com
Choosing Molly Bolt Anchors
Choosing the right molly bolt anchors is key for a strong hold. These anchors provide firm support in drywall and hollow walls. Picking the right type and size ensures your fixture stays secure and safe. Below are tips to help you select the best molly bolts for your project.
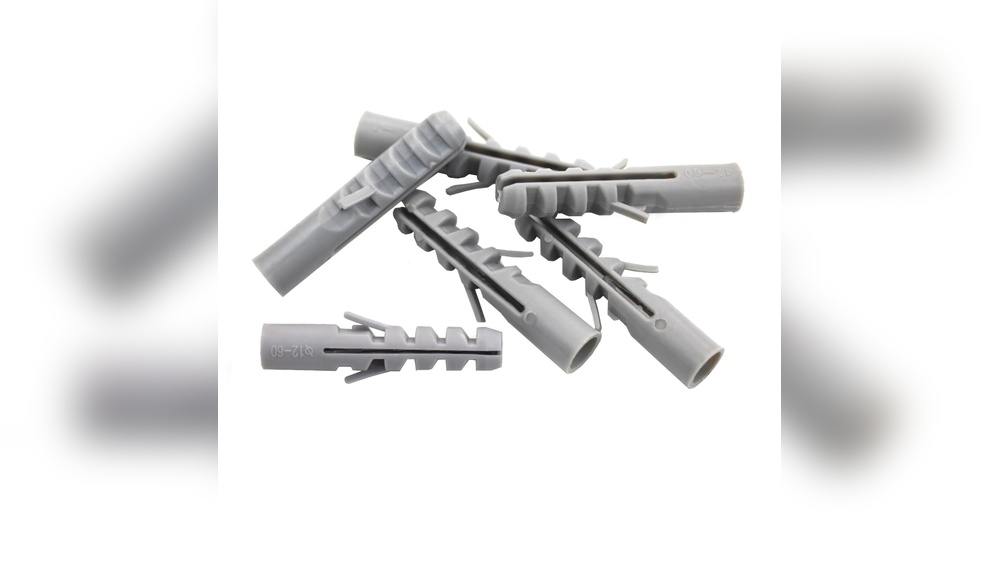
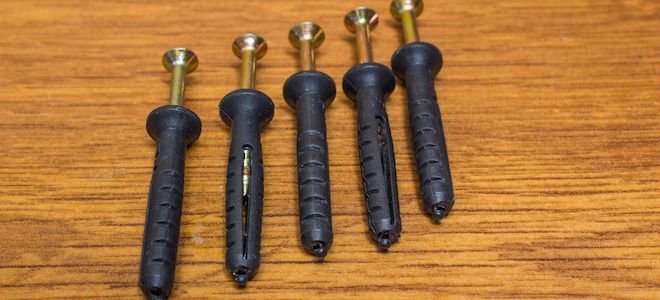
Types Of Molly Bolts
Molly bolts come in several styles. Standard molly bolts have a metal sleeve that expands behind the wall. This creates a strong grip. Snap-toggle molly bolts have a plastic toggle that snaps open inside the wall. They work well for heavier items. Choose the type that fits your wall and weight needs.
Selecting The Right Size
Size matters for molly bolts. The length should match your wall thickness. Too short, and the anchor won’t hold well. Too long, and it can be hard to install. Also, check the bolt diameter. Bigger bolts hold more weight but need bigger holes. Pick a size that fits your wall and the weight of the item.
Credit: www.doityourself.com
Tools Needed
Installing molly bolt wall anchors requires a few basic tools. These tools help make the process smooth and secure. Having the right tools ready saves time and effort.
Here are the essential tools needed for this task.
Drill And Drill Bits
A drill is necessary to make holes in the wall for the molly bolts. Use a drill bit that matches the anchor size. A drill with adjustable speed is ideal. It helps control the hole size and prevents damage to the wall.
Screwdriver Options
A screwdriver is needed to tighten the molly bolt. A Phillips head screwdriver works for most anchors. Sometimes, a flathead screwdriver fits better. A power screwdriver or drill with a screwdriver bit can speed up the job.
Measuring Tools
Measure carefully to place the anchors correctly. A tape measure or ruler is perfect for this. Use a pencil to mark the drilling spots. Accurate marks ensure the anchors go in the right place.
Preparing The Wall
Preparing the wall is the first step to install molly bolt wall anchors properly. This step ensures the anchor will hold tight and your item will stay secure. Proper preparation helps avoid damage and makes installation easier.
Locating Studs And Marking
Start by finding the studs in the wall. Use a stud finder or tap the wall to hear solid spots. Mark the spots with a pencil. Avoid placing anchors on studs because molly bolts work best in drywall. Mark the exact points where you want to install the anchors. Precise marking saves time and effort later.
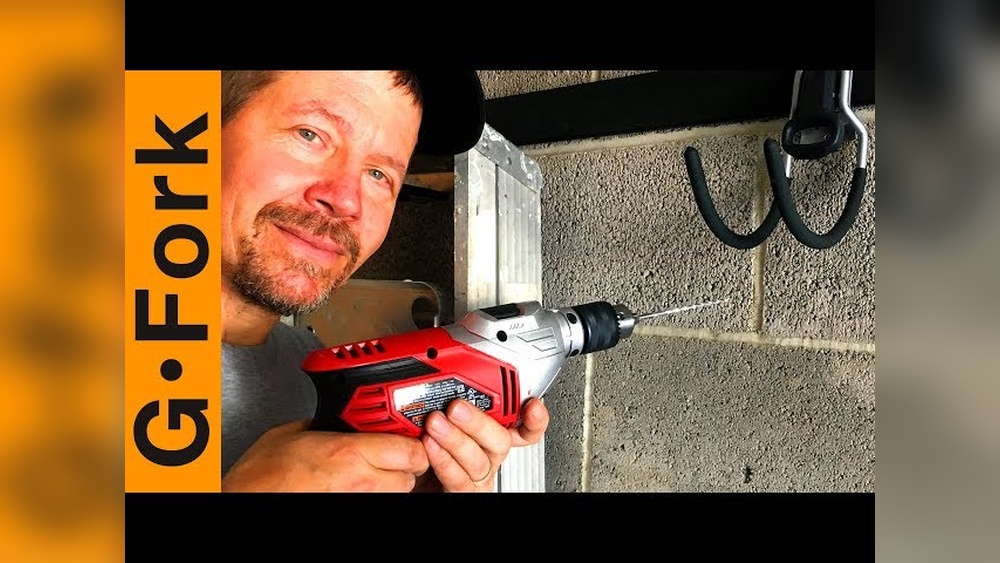
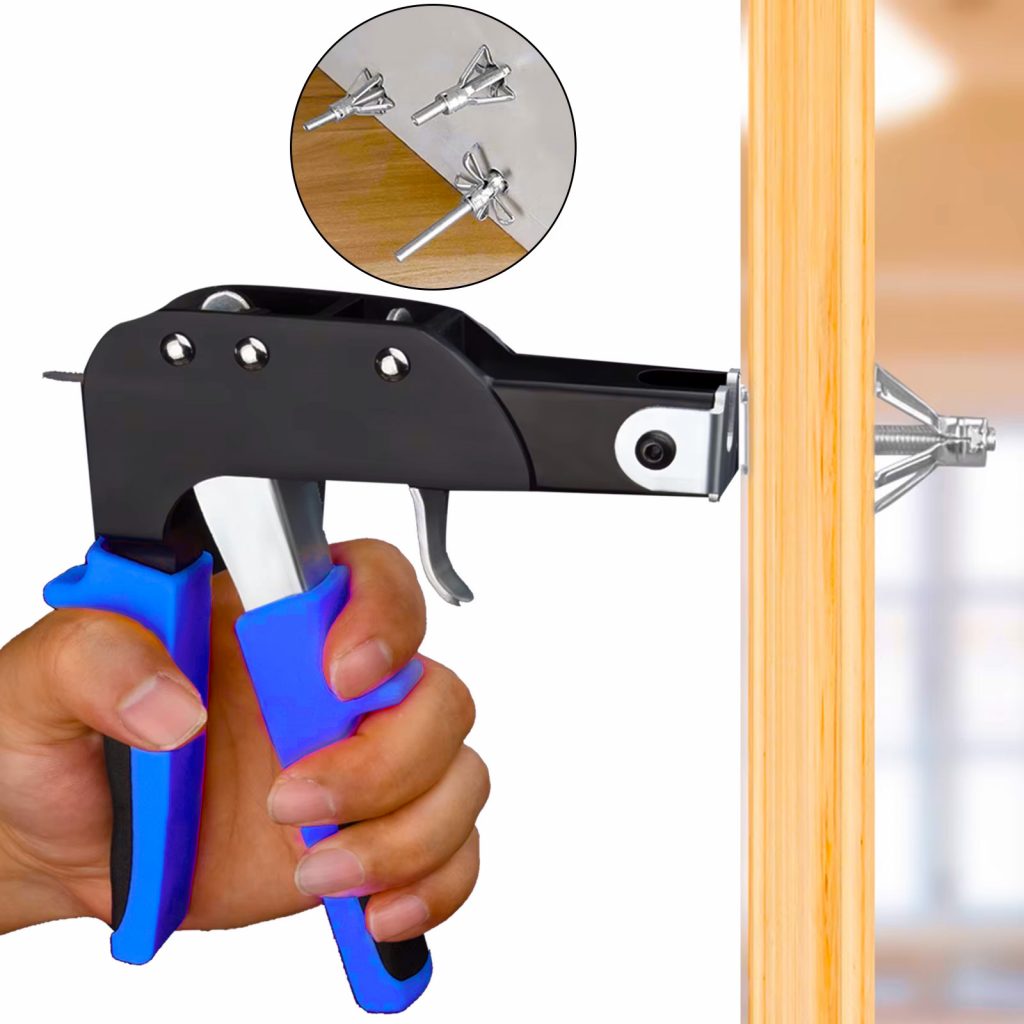
Drilling The Pilot Hole
Choose a drill bit that matches the size of the molly bolt. Drill a hole at the marked spot. Drill straight and steady to avoid damage. The hole should be clean and smooth. Remove any dust with a brush or cloth. A good pilot hole makes it easier to insert the molly bolt and secure it tightly.
Credit: plierpincer.com
Inserting The Molly Bolt
Inserting the molly bolt is a key step in securing items to drywall. This process ensures a strong hold and prevents damage. Follow the steps carefully to insert the anchor correctly.
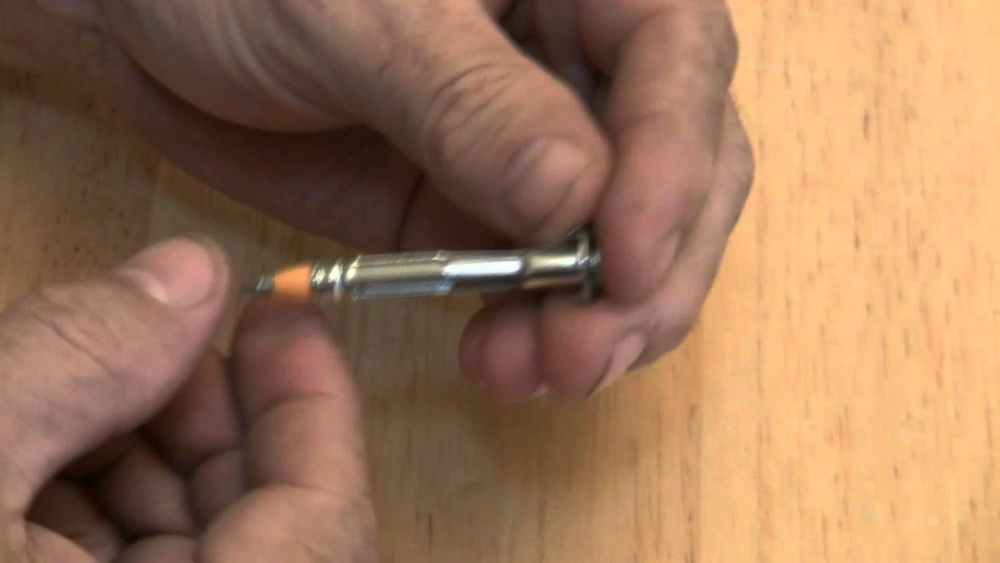
Placing The Anchor In The Hole
Start by pushing the molly bolt into the pre-drilled hole. Make sure the anchor fits snugly without forcing it. The flange should sit flush against the wall surface. Check that the sleeve is fully inside the hole.
Expanding The Anchor
Next, tighten the screw to expand the anchor behind the wall. Use a screwdriver and turn slowly. The metal sleeve will spread and grip the inside of the drywall. Stop tightening once the anchor feels secure. Avoid over-tightening to prevent damage.
Securing The Fixture
Securing the fixture with molly bolt wall anchors is the key step. This step holds your object firmly on the wall. Proper securing prevents damage and keeps the fixture stable. Follow each part carefully to ensure a strong hold.
Aligning The Object
Place the object against the wall where you want it. Make sure the holes in the object line up with the molly bolts. Check the position twice before moving on. Proper alignment avoids awkward angles and weak support.
Tightening The Screw
Insert the screw into the molly bolt’s center. Use a screwdriver to turn the screw clockwise. Tighten until you feel resistance and the anchor expands inside the wall. Do not overtighten. Stop when the fixture feels secure and does not wobble.
Tips For A Strong Hold
Getting a strong hold with molly bolt wall anchors ensures your mounted items stay secure. Proper installation matters. Small mistakes can cause the anchor to fail or damage the wall. Follow simple tips to keep the anchor tight and the wall safe.
Avoiding Common Mistakes
Choose the right size anchor for the weight of your item. Do not force an anchor that is too big into a small hole. Drill a hole that matches the anchor’s diameter exactly. Push the anchor gently until it sits flush against the wall. Tighten the screw slowly to allow the anchor to expand inside the wall. Stop tightening once you feel resistance to avoid stripping the anchor.
Maintaining Wall Integrity
Drill holes carefully to avoid cracking or damaging the wall. Use a drill bit designed for the wall material. Avoid hammering the anchor too hard into the hole. Keep the drill steady and straight to prevent angled holes. Clean out dust from the hole before inserting the anchor. This helps the anchor grip better and prevents slipping.
Frequently Asked Questions
What Tools Do I Need To Install Molly Bolt Anchors?
You need a drill, drill bit, screwdriver, hammer, and a Molly bolt anchor. These tools ensure correct installation and secure mounting.
How Do I Prepare The Wall For Molly Bolt Installation?
Locate the spot, drill a pilot hole matching anchor size, and clean debris. Proper preparation ensures a strong anchor hold.
Can Molly Bolts Hold Heavy Objects On Drywall?
Yes, Molly bolts can support medium to heavy loads on drywall. Their expanding design provides a strong, reliable grip.
How Deep Should I Drill For Molly Bolt Anchors?
Drill a hole slightly deeper than the anchor length. This allows the bolt to expand fully for secure mounting.
Conclusion
Installing Molly bolt wall anchors is simple with the right steps. Start by drilling a hole that fits the anchor size. Next, insert the anchor and tighten the screw to expand it inside the wall. This creates a strong hold for hanging items.
Use a screwdriver or drill for better control. Always check the wall material before choosing the anchor. Follow these instructions carefully for safe and secure mounting. Now you can hang shelves, mirrors, or pictures with confidence. Practice makes perfect, so try on scrap pieces first.
Easy and reliable—Molly bolts work well for many projects.