Are you looking to create the perfect mood in your room with just a flick of a switch? Connecting a light dimmer switch is easier than you might think, and it can instantly transform your space.
Whether you want softer lighting for movie nights or brighter light for reading, a dimmer switch gives you full control. In this guide, you’ll learn simple, step-by-step instructions to install your dimmer switch safely and quickly. Keep reading, and by the end, you’ll be ready to upgrade your lighting like a pro—no electrician needed!
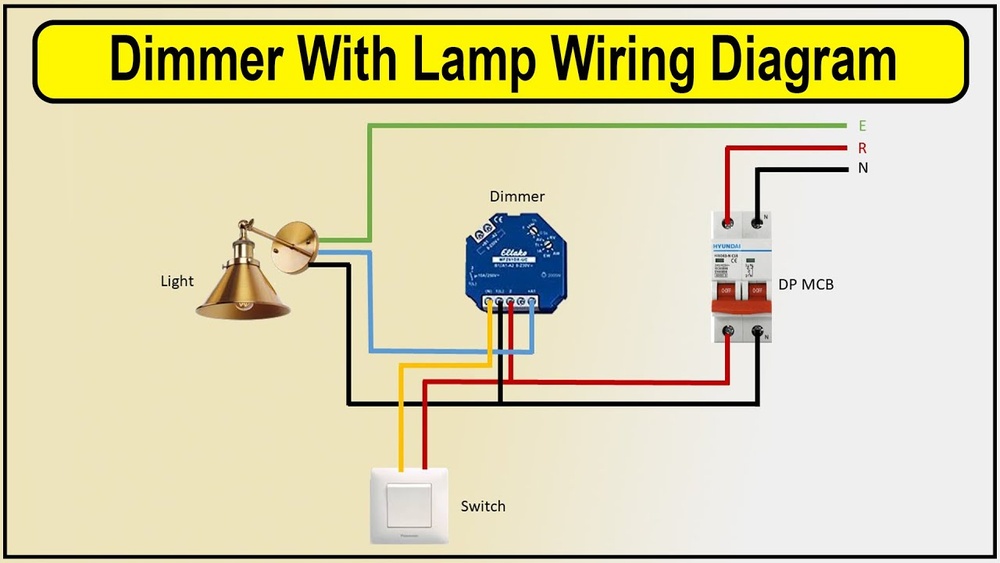
Credit: www.electrical101.com
Choosing The Right Dimmer Switch
Before starting to connect a light dimmer switch, gather all tools and materials. Having everything ready makes the process smooth and safe. This section lists the essential items needed for the job.
Essential Tools
- Screwdriver (flathead and Phillips)
- Wire stripper
- Voltage tester
- Needle-nose pliers
- Electrical tape
- Wire nuts
Safety Gear
- Insulated gloves
- Safety glasses
- Non-slip shoes
Additional Supplies
- Dimmer switch compatible with your light fixture
- Extra wiring (if needed)
- Plastic wall box (if replacing old switch box)
Credit: www.youtube.com
Tools And Materials Needed
Preparing to install a light dimmer switch is an important step. It ensures safety and smooth setup. Taking time to prepare helps avoid mistakes. Follow these simple steps carefully before starting the installation process.
Turning Off Power
Safety comes first. Turn off power to the switch at the circuit breaker. Double-check that the power is off by testing the switch. Use a voltage tester or a simple light switch. This step prevents electric shocks during installation.
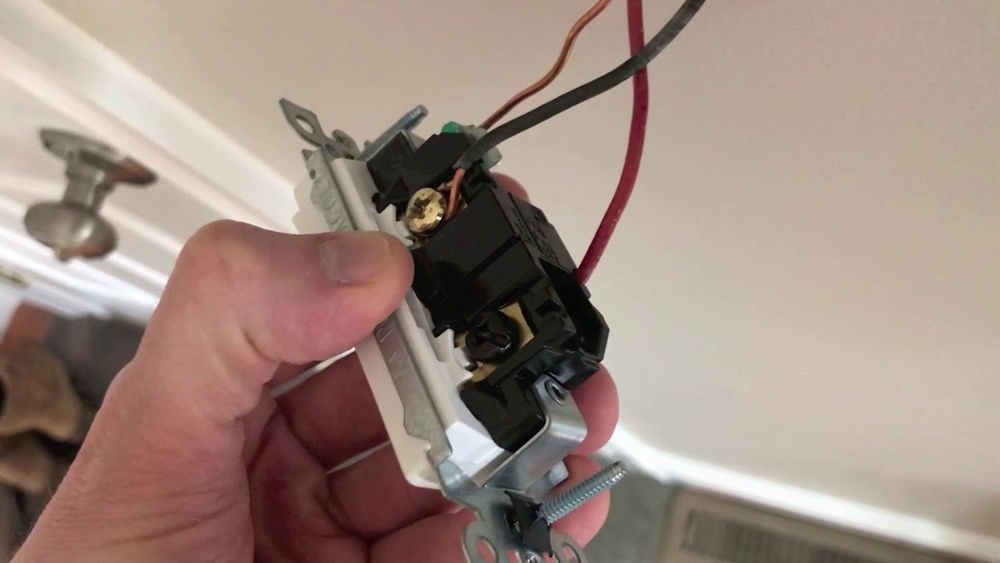
Removing Existing Switch
Remove the cover plate from the old switch. Use a screwdriver to unscrew the switch from the wall box. Gently pull the switch out to see the wiring. Keep track of how wires are connected. Taking a photo helps for reference later.
Checking Wiring
Inspect the wires for damage or wear. Make sure the wires are clean and straight. Identify the line, load, and ground wires. Correct wiring is key for the dimmer to work. Label wires if needed to avoid confusion.
Preparing For Installation
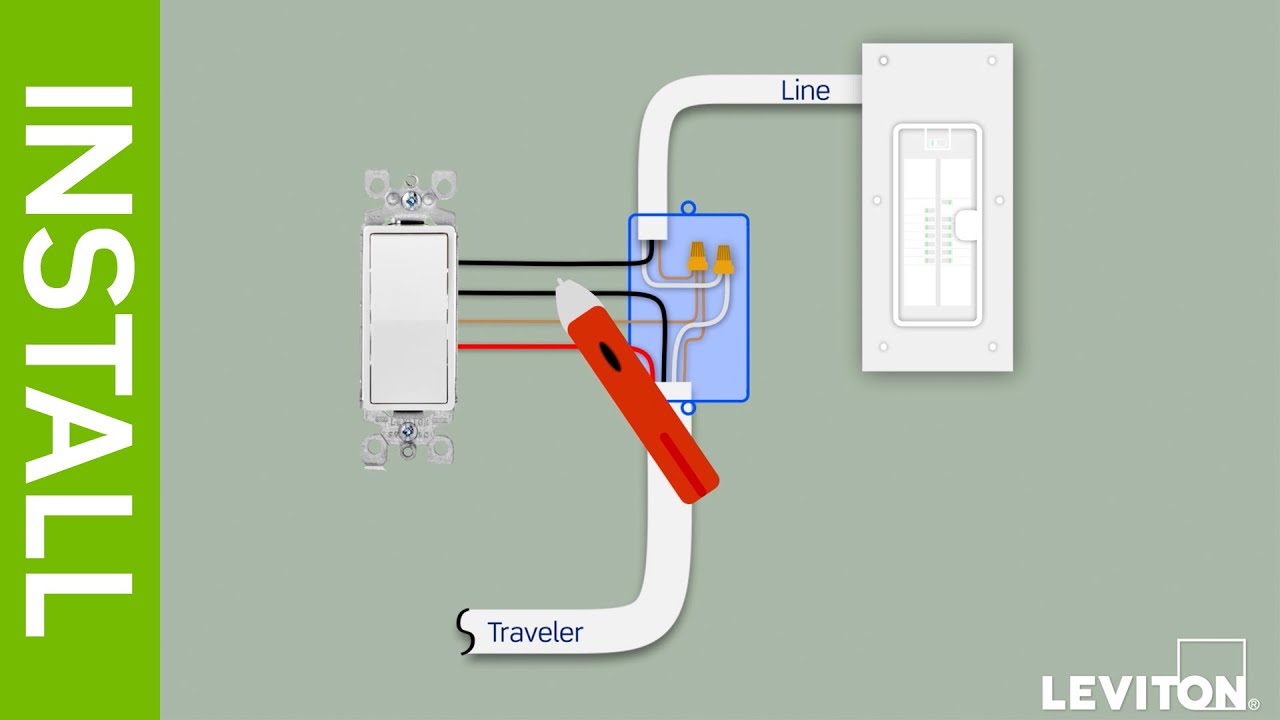
Wiring the dimmer switch is a key step in installing it safely and correctly. Understanding the wires and connecting them properly ensures the dimmer works well. This part of the process requires attention to detail and patience. Follow the steps below to wire your dimmer switch with confidence.
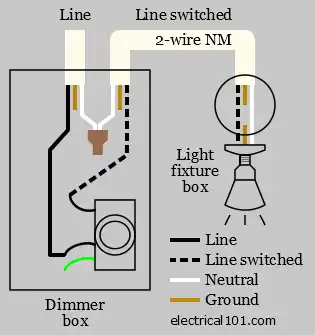
Identifying Wires
First, turn off the power at the circuit breaker. Use a voltage tester to make sure the wires have no power. Look for three main wires: the live wire, the load wire, and the ground wire. The live wire brings electricity from the power source. The load wire goes to the light fixture. The ground wire is usually green or bare copper and helps prevent shocks.
Connecting Wires Correctly
Match the dimmer switch wires with the house wires. Connect the live wire from the dimmer to the live wire in the wall. Connect the load wire from the dimmer to the load wire in the wall. Attach the ground wire from the dimmer to the ground wire in the wall. Use wire nuts to twist wires together tightly. Do not mix the wires or connect them loosely.
Securing Connections
After connecting, wrap the wire nuts with electrical tape. This prevents them from coming loose over time. Push the connected wires neatly into the wall box. Screw the dimmer switch into the wall box securely. Make sure the switch sits flush with the wall. Finally, restore power and test the dimmer switch for proper function.
Wiring The Dimmer Switch
Troubleshooting common issues with light dimmer switches helps keep your lighting smooth and safe. Problems can happen even after a careful installation. Knowing how to fix these issues saves time and avoids extra costs.
Below are some frequent problems and simple ways to solve them. Follow these tips to get your dimmer switch working correctly.
Dimmer Not Working
First, check the power supply to the dimmer switch. Make sure the circuit breaker is on. Loose wiring connections may stop the dimmer from working. Turn off power before checking wires.
Verify the dimmer switch matches your bulb type. Some dimmers work only with specific bulbs. Replace the bulb if needed. Faulty dimmers need replacement.
Flickering Lights
Flickering often means poor connection or incompatible bulbs. Tighten any loose wires inside the switch box. Use dimmer switches designed for LED or CFL bulbs if you have these.
Old or low-quality bulbs can cause flickering. Test with a new bulb to see if the problem stops. Check if the dimmer’s wattage rating fits the total bulb load.
Overheating Switch
Overheating can be dangerous. It happens when the dimmer is overloaded or poorly ventilated. Check the wattage limit on the dimmer and reduce the number of bulbs if needed.
Make sure the switch box is not too small or packed with wires. Use dimmers with built-in thermal protection for safety. If overheating continues, replace the dimmer immediately.
Testing And Finalizing
Perfect lighting creates the right mood and saves energy. Using a light dimmer switch helps you control brightness easily. Follow these tips for the best lighting results in your home.
Adjusting Brightness Levels
Start with a low brightness setting and increase it as needed. Brightness changes affect mood and comfort. Dim lights for relaxing times and brighten for tasks. Use the dimmer slowly to avoid flickering.
Using Multiple Dimmers
Install dimmers in different rooms or zones for flexible control. This lets you set light levels based on activities in each area. Multiple dimmers improve convenience and style. Make sure all dimmers match the type of bulbs used.
Energy Saving Practices
Dim lights reduce electricity use and extend bulb life. Combine dimmers with LED bulbs for extra savings. Turn lights off when not needed to save power. Small changes help lower your energy bills.

Credit: www.gelighting.com
Frequently Asked Questions
How Do I Safely Connect A Light Dimmer Switch?
Turn off power at the circuit breaker before starting. Use a voltage tester to confirm no electricity flows. Connect wires by matching colors: black to black, white to white, and ground to green or copper. Secure connections with wire nuts and mount the switch properly.
Can I Use A Dimmer Switch With Led Bulbs?
Yes, but ensure your dimmer switch is compatible with LED bulbs. Using incompatible dimmers may cause flickering or damage. Look for dimmers labeled “LED compatible” or “ELV dimmers” for best performance and energy efficiency.
What Tools Are Needed To Install A Dimmer Switch?
You’ll need a screwdriver, wire stripper, voltage tester, and wire nuts. These tools help safely remove the old switch, prepare wires, and secure the new dimmer switch. Always work with the power off to ensure safety.
Why Is My Dimmer Switch Causing Flickering Lights?
Flickering often happens if the dimmer isn’t compatible with the bulb type. Loose wiring or faulty bulbs can also cause flickering. Check connections and use bulbs recommended for dimmers to fix this issue.
Conclusion
Connecting a light dimmer switch is simple and safe with the right steps. Always turn off the power before starting the work. Follow the instructions carefully and use the right tools. Test the dimmer after installation to ensure it works properly.
This small upgrade can change your room’s lighting easily. Enjoy the comfort and control over your lights every day.