Are you tired of struggling with weak wall anchors that just won’t hold? Installing screwed sheet wall anchors might be the solution you need to secure heavy items safely and confidently.
In this guide, you’ll learn simple, step-by-step instructions that anyone can follow—no special skills required. By the end, you’ll know exactly how to make your walls stronger and your mounted items safer. Ready to get started? Let’s dive in and make your next project a success!
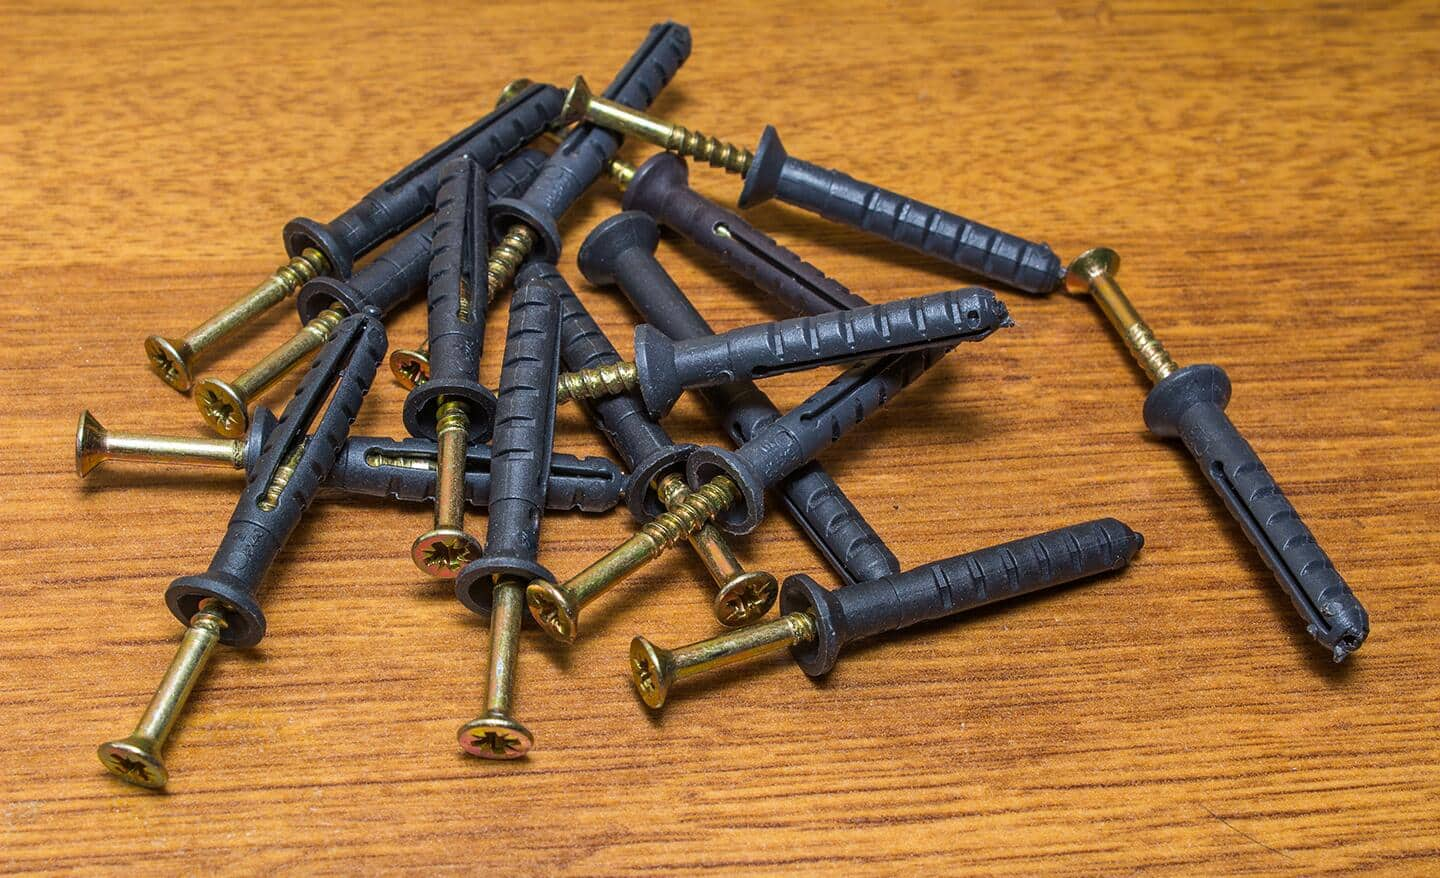
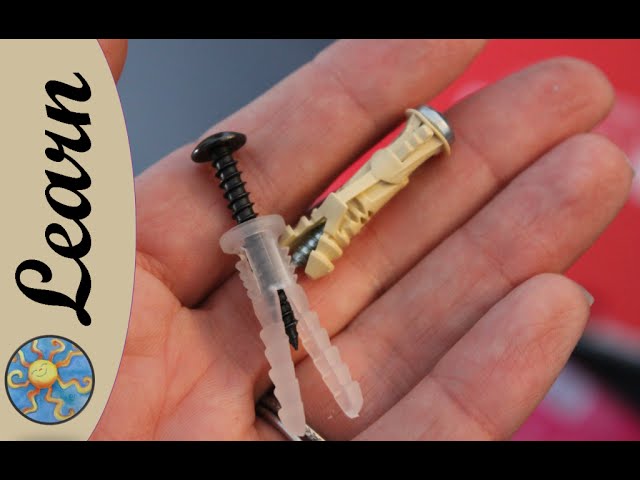
Choosing The Right Anchors
Choosing the right screwed sheet wall anchors is key to a strong hold. Anchors must fit the wall type and the weight of the object. Poor choices cause damage or failure. Understanding types, materials, and tools helps make the right pick.
Types Of Screwed Sheet Wall Anchors
Several types of screwed sheet wall anchors suit different needs. Toggle anchors spread weight across a large area. Molly bolts expand inside the wall for a tight fit. Threaded anchors screw directly into drywall for light loads. Match anchor type to wall and weight for best results.
Materials And Load Capacity
Anchors come in metal or plastic. Metal anchors hold more weight and last longer. Plastic anchors are good for light objects and less damage. Check load capacity on packaging. Use anchors rated for your object’s weight to avoid accidents.
Tools Required
Installing anchors needs basic tools. A drill or screwdriver helps create holes and drive screws. A tape measure ensures correct placement. A level keeps anchors straight. Using the right tools makes installation easier and secure.
Credit: www.homedepot.com
Preparing The Wall
Preparing the wall is a key step before installing screwed sheet wall anchors. This ensures the anchors hold firmly and the installation lasts long. Proper preparation reduces mistakes and makes the process smoother. Start by finding the right spots and clearing the surface.
Locating Studs And Marking Spots
Studs provide strong support for wall anchors. Use a stud finder to locate them behind the sheet wall. Move the finder slowly across the wall to detect the edges of each stud. Mark the center of each stud with a pencil. These marks show where to drill holes for the anchors. Avoid placing anchors too close to the edges of studs.
Cleaning And Clearing The Surface
Clear dust, dirt, and grease from the wall surface. Use a damp cloth to wipe the area where you will work. Dry the wall completely to prevent slipping or poor adhesion. Remove any loose paint or debris that could weaken the hold. A clean surface helps the anchor grip the wall better.
Drilling Pilot Holes
Drilling pilot holes is the first step to installing screwed sheet wall anchors correctly. These holes guide the anchor into the wall, making the process easier and cleaner. Proper pilot holes prevent wall damage and ensure the anchor holds firmly.
Selecting Drill Bit Size
Choose a drill bit slightly smaller than the anchor’s diameter. This size allows the anchor to grip tightly in the wall. Check the anchor package for recommended drill bit size. Using the right size reduces the risk of loose anchors or cracked walls.
Drilling Techniques For Different Walls
For drywall, drill gently to avoid breaking the surface. Use a slow drill speed for control. In plaster walls, drill slowly to prevent cracks. For concrete or brick walls, use a hammer drill for better penetration. Always clean dust from the hole before inserting the anchor.
Installing The Anchors
Installing screwed sheet wall anchors is a simple process that provides strong support for hanging items. Proper installation ensures the anchor holds firmly in the wall. Follow each step carefully for the best result.
Inserting The Anchor
Start by choosing the right size anchor for your wall and load. Mark the spot on the wall where you want to install. Use a drill bit slightly smaller than the anchor’s diameter. Drill a hole carefully to avoid damage. Clear any dust or debris from the hole. Gently push the anchor into the hole. The anchor should fit snugly without forcing.
Screwing It In Securely
Use a screwdriver or drill with a screwdriver bit for this step. Align the screw with the anchor’s center. Turn the screw slowly into the anchor. Keep the screw straight to avoid stripping the anchor. Stop tightening when the screw feels firm and the anchor pulls tight against the wall. Avoid overtightening to prevent damage. Your anchor is now ready to support hooks or fixtures.
Testing And Finishing
Testing and finishing are important steps after installing screwed sheet wall anchors. They ensure the anchors hold well and the wall looks neat. These steps help avoid future problems like loose anchors or uneven surfaces.
Checking Stability
Check the anchors by gently pulling or pushing on the attached object. Make sure it does not move or wiggle. If it feels loose, tighten the screw a little more. Avoid using too much force to prevent damage.
Test each anchor one by one for strong support. A stable anchor keeps your items safe on the wall. If an anchor fails, remove it and try a new one in a better spot.
Tips For A Clean Finish
Wipe away any dust or debris around the anchor holes. Use a damp cloth for easy cleaning. This step helps the wall look tidy and ready for painting or decoration.
Fill small gaps around the anchors with wall putty or caulk. Smooth the surface with a putty knife for a flat finish. Let the filler dry before painting or hanging items.
Use a matching paint color to cover any marks or filler spots. This hides the installation signs and blends the anchors with the wall. A clean finish makes your wall look well-maintained.
Credit: www.youtube.com
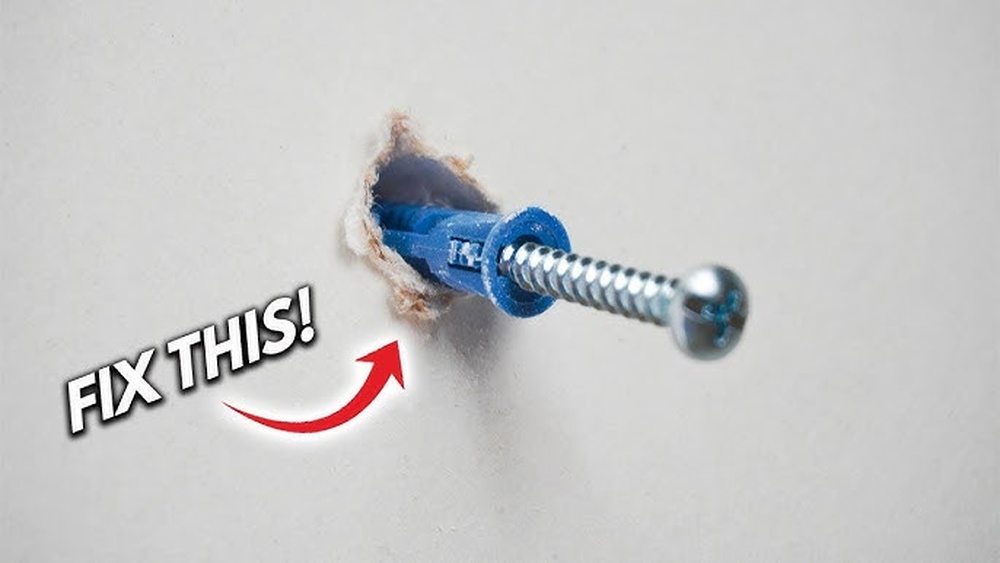
Common Mistakes To Avoid
Installing screwed sheet wall anchors can be simple with the right steps. Avoiding common mistakes saves time and prevents damage. These errors often cause anchors to fail or walls to crack. Being careful during installation ensures a strong hold and lasting results.
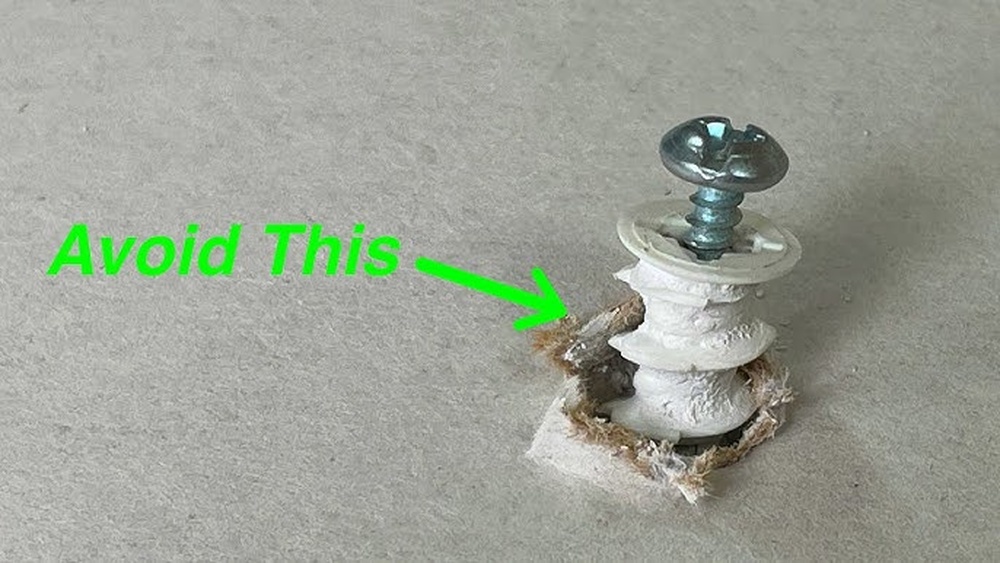
Over-tightening Screws
Turning screws too tightly is a frequent error. It can strip the anchor or damage the wall. Tighten screws just enough to hold the anchor firmly. Stop as soon as you feel resistance. Over-tightening reduces the anchor’s grip and may cause it to break.
Wrong Anchor Selection
Choosing the wrong anchor type weakens the hold. Different walls need different anchors. For drywall, use anchors designed for it, not heavy-duty ones. Check the weight and wall type before buying. Using the wrong anchor can cause falling objects and wall damage.
:max_bytes(150000):strip_icc()/how-to-use-and-discard-anchor-screws-1822671-Final-ec8091ccf65241b1b1f888549f25003a.jpg)
Credit: www.thespruce.com
Frequently Asked Questions
What Tools Do I Need To Install Screwed Sheet Wall Anchors?
You need a drill, screwdriver, measuring tape, pencil, and the anchors. These tools help ensure precise and secure installation of the anchors.
How Do I Prepare The Wall Before Installing Anchors?
Clean the wall surface and mark anchor positions with a pencil. Drill pilot holes to guide the screws and prevent wall damage.
Can Screwed Sheet Wall Anchors Hold Heavy Objects?
Yes, these anchors provide strong support for medium to heavy loads. Always check the anchor’s weight rating before use for safety.
How Deep Should I Drill Holes For Wall Anchors?
Drill holes slightly deeper than the anchor length. This allows the anchor to fit securely and hold firmly in the wall.
Conclusion
Installing screwed sheet wall anchors is simple with the right steps. Start by choosing the correct anchor size for your wall. Drill a hole carefully, then screw the anchor in until tight. These anchors hold items securely and prevent damage.
Take your time and follow the guide closely. Practice makes the process easier and more confident. Your walls will stay strong, and your items safe. Keep these tips in mind for future projects. A small effort leads to big results.