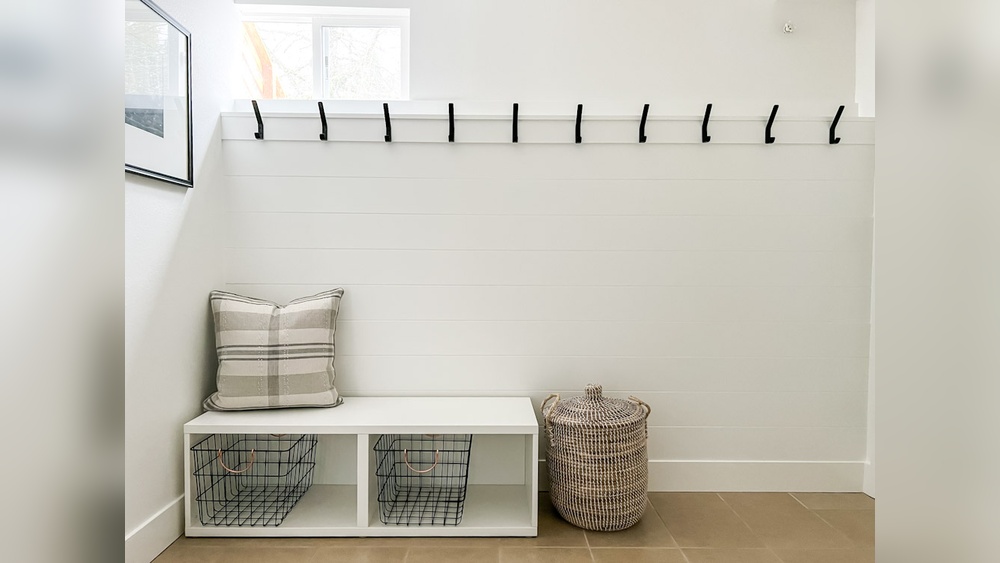
Are you tired of your hats cluttering up your closet or piling on your dresser? Hanging your hats on the wall is a smart and stylish way to keep them organized and easy to grab.
But you might worry about damaging your walls or struggling with complicated tools. That’s where Command hooks come in—they offer a simple, damage-free solution that anyone can use. You’ll discover step-by-step how to hang your hats perfectly using Command hooks, so your space looks neat and your favorite hats stay in great shape.
Keep reading to transform your wall into a hat display that’s both practical and eye-catching!

Credit: www.youtube.com
Choosing The Right Command Hooks
Choosing the right Command hooks is key to hanging hats safely. The hooks must hold the hat’s weight without falling. The size and style of your hats also affect which hook to pick. Selecting the right hook keeps your hats organized and your walls damage-free.
Types Of Command Hooks For Hats
Command hooks come in various styles. Small hooks fit light hats like caps or beanies. Medium hooks work well for baseball hats and similar sizes. Large hooks hold bigger hats like fedoras or sun hats. Some hooks have a curved design, perfect for hanging hats without damaging them. Choosing the right type depends on your hat collection and wall space.
Weight Limits To Consider
Each Command hook has a weight limit. Small hooks usually hold up to 1 pound. Medium hooks can support 3 to 5 pounds. Large hooks hold up to 7.5 pounds or more. Check the hat’s weight before picking a hook. Using a hook that supports enough weight avoids accidents. Always follow the packaging instructions for the best results.
Preparing The Wall Surface
Preparing the wall surface is a key step before hanging hats with Command hooks. A clean and smooth wall ensures the hooks stick well and hold the hats securely. Taking time to prepare the surface prevents hooks from falling off. It also protects your wall from damage.
Cleaning Tips For Better Adhesion
Start by wiping the wall with a dry cloth to remove dust. Use rubbing alcohol on a cotton pad to clean the area. Avoid using household cleaners or water as they leave residue. Let the wall dry completely before applying the hook. Clean walls help the adhesive grip tightly for longer hold.
Ideal Wall Materials
Command hooks stick best on smooth, hard surfaces. Painted drywall, tiles, glass, and metal walls work well. Avoid rough or porous surfaces like brick, wallpaper, or textured walls. These surfaces reduce the adhesive strength. Knowing your wall type helps choose the right spot for hanging hats.
Step-by-step Hanging Process
Hanging hats on the wall with Command Hooks is simple and neat. Follow this step-by-step process to keep your hats organized and easy to find. Each step helps you hang hats safely without damaging walls.
Positioning The Hooks
Choose a spot on the wall that is clean and dry. Space the hooks far enough so hats do not touch. Place hooks at eye level or where you can reach easily. Mark the spots lightly with a pencil if needed.
Applying The Hooks Correctly
Clean the wall area with rubbing alcohol. Let it dry completely before applying hooks. Peel off the adhesive backing carefully. Press the hook firmly against the wall for 30 seconds. Wait one hour before hanging hats for best hold.
Hanging Different Hat Styles
For baseball caps, hang by the back strap or brim. Wide-brim hats go well on larger hooks for support. Beanies and soft hats can hang on smaller hooks or pegs. Adjust the hook size depending on your hat style and weight.

Credit: justagirlandherblog.com
Arranging Hats Creatively
Arranging hats creatively on your wall adds style and keeps your space tidy. Using Command Hooks makes this easy and leaves no marks on the wall. You can turn your hat display into a fun, eye-catching feature in any room.
Patterns And Layout Ideas
Try arranging hats in simple shapes like circles or rows. A grid pattern looks clean and organized. Stagger hats at different heights for a casual vibe. Group hats by color to create a rainbow effect. Mix sizes and styles for a unique look. Let your wall become a canvas for your hat collection.
Maximizing Space Efficiently
Use small Command Hooks to hang hats close together. Place hooks near corners or above furniture to save wall space. Hang hats vertically to use wall height well. Overlap hats slightly for a layered design. Use narrow walls or behind doors for extra storage. This method keeps hats neat and easy to grab.
Removing Hooks Without Damage
Removing Command hooks without damaging your walls is simple. These hooks are designed to hold strong but come off clean. Knowing how to remove them correctly saves your paint and drywall. This section explains easy steps for safe removal and cleaning residue.
Safe Removal Techniques
Start by holding the hook firmly. Pull the tab straight down slowly. Do not pull the tab toward you or sideways. Stretch the tab along the wall surface. Keep pulling until the hook releases. Avoid yanking or quick pulls. This method prevents paint peeling and wall marks.
Cleaning Residue Off Walls
After removal, check for sticky spots. Use a soft cloth dampened with warm water. Rub gently in circular motions to remove residue. Mild soap can help remove stubborn marks. Avoid harsh chemicals that can damage paint. Dry the wall with a clean towel afterward. Your wall will look fresh and ready for new hooks.
Troubleshooting Common Issues
Hanging hats on the wall with Command hooks is easy but can have some small problems. These problems may cause the hooks to fall or hats to slip. Fixing these issues keeps your hats safe and your wall neat. Below are common problems and simple solutions to help.
Hooks Falling Off
Hooks often fall because the wall surface is dirty or wet. Clean the wall with rubbing alcohol before sticking the hook. Avoid using soap or water, as they leave residue. Press the hook firmly against the wall for 30 seconds. Let the adhesive set for an hour before hanging hats.
Heavy hats can pull hooks down. Use hooks made for heavier weights. Spread the weight by using two hooks for one hat. Avoid placing hooks on wallpaper or uneven surfaces. These surfaces weaken the adhesive and cause hooks to fall.
Hats Slipping Or Falling
Hats slip off if the hook is too smooth or thin. Choose hooks with a wide, curved shape. This shape holds hats better. Use rubber bands or small pieces of foam on the hook to add grip. Adjust the hat’s position to balance it well on the hook.
Large or floppy hats may fall easily. Support the hat’s shape with a small foam ball inside. This keeps the hat firm and less likely to slip. Hang hats by the crown, not the brim, for better hold. Check the hat often to make sure it stays in place.

Credit: www.tlcinteriors.com.au
Frequently Asked Questions
How Do Command Hooks Hold Hats On The Wall?
Command hooks use strong adhesive strips that stick firmly to walls. They hold hats securely without nails or drilling. This method prevents wall damage and supports various hat sizes and weights effectively.
Can Command Hooks Damage My Wall Paint?
No, Command hooks are designed to remove cleanly without damaging paint. They use special adhesive strips that peel off without leaving residue. This makes them ideal for renters or anyone wanting to avoid wall marks.
What Weight Limit Can Command Hooks Support For Hats?
Most Command hooks can hold up to 5 pounds safely. This weight range is perfect for hanging hats without risk. Always check the specific hook packaging for exact weight limits before use.
Are Command Hooks Reusable For Hanging Hats?
Yes, Command hooks are reusable if you replace the adhesive strips. You can remove and reposition the hooks multiple times. This flexibility allows easy rearranging of your hat display on walls.
Conclusion
Hanging hats on the wall with Command hooks is simple and neat. It keeps your hats safe and easy to reach. You can change the layout anytime without damage. This method saves space and adds style to your room. Try different hook sizes for various hat types.
Enjoy a tidy, organized space with minimal effort. Give your hats a special place on your wall today.