Are you looking to make your home smarter and more secure? Adding a Z-Wave light switch to your Alarm.com system can give you full control over your lighting, right from your phone.
Imagine turning your lights on or off even when you’re not home, saving energy and enhancing your security. In this guide, you’ll learn exactly how to connect your Z-Wave light switch to Alarm. com quickly and easily. By the end, you’ll have the power to automate your lights and enjoy greater convenience every day.
Ready to get started? Let’s dive in!
Z Wave Light Switch Basics
Z Wave light switches bring smart control to your home lighting. These switches use a special wireless system to connect with other smart devices. They help you control lights from your phone or voice assistant. Understanding the basics of Z Wave light switches can help you set up and use them with Alarm.com.
What Is Z Wave Technology
Z Wave is a wireless communication protocol for smart home devices. It creates a mesh network, allowing devices to talk to each other. The network uses low energy and works well in homes. Each device helps pass signals, extending the range. Z Wave is reliable and designed for home automation.
Benefits Of Z Wave Switches
Z Wave switches save energy by letting you control lights remotely. They offer easy installation without extra wiring. The switches work with many smart home products. You can create schedules or turn lights on and off automatically. This adds convenience and safety to your home environment.
Compatibility With Alarm.com
Alarm.com supports many Z Wave devices, including light switches. Connecting your switch to Alarm.com allows centralized control. You can manage lighting alongside security and other smart devices. The platform offers simple setup steps and reliable communication. This integration improves your home’s smart system efficiency.
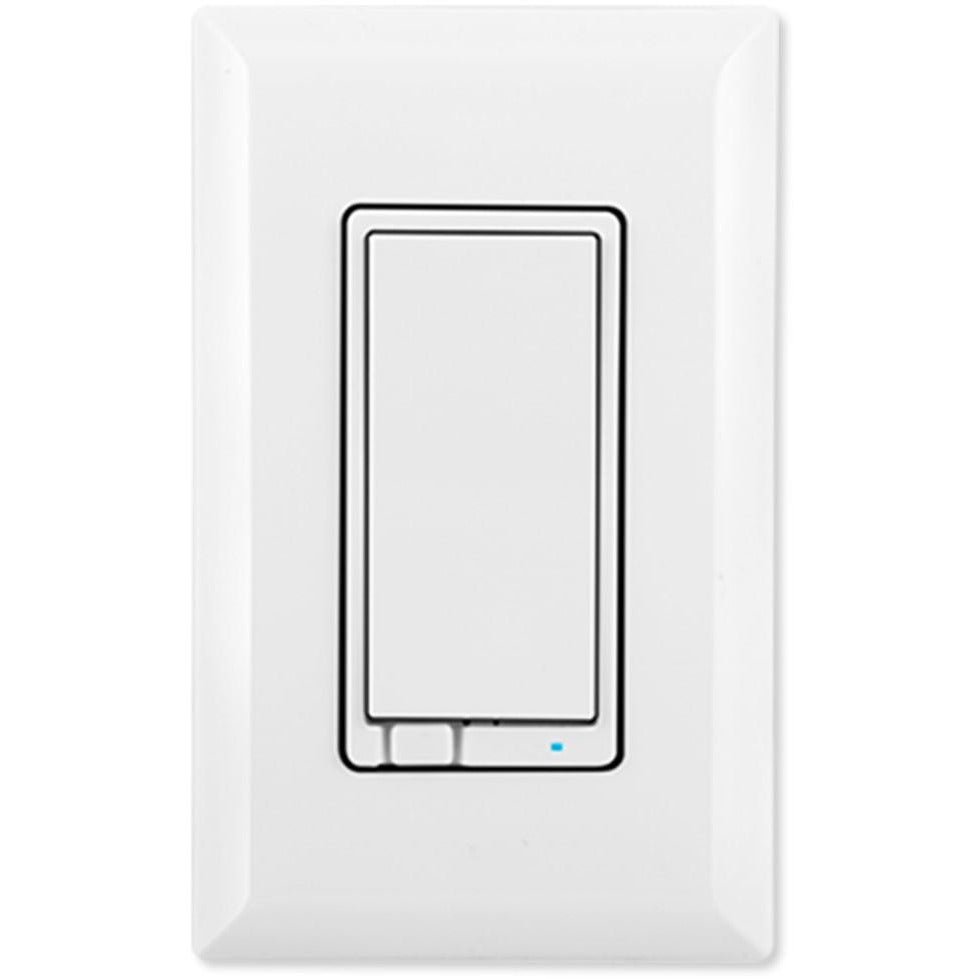
Credit: www.zwaveoutlet.com
Preparing For Installation
Preparing for installation is the first step to adding a Z Wave light switch to Alarm.com. Taking time to get ready helps the process go smoothly. It also reduces mistakes and keeps you safe.
Before starting, gather all needed tools and materials. Follow safety rules to avoid accidents. Check your current setup to know what needs changing or upgrading.
Tools And Materials Needed
Have these tools ready: a screwdriver, wire stripper, voltage tester, and electrical tape. You also need the Z Wave light switch and its instructions. A ladder might be useful for high switches. Keep your smartphone nearby for Alarm.com app setup.
Safety Precautions
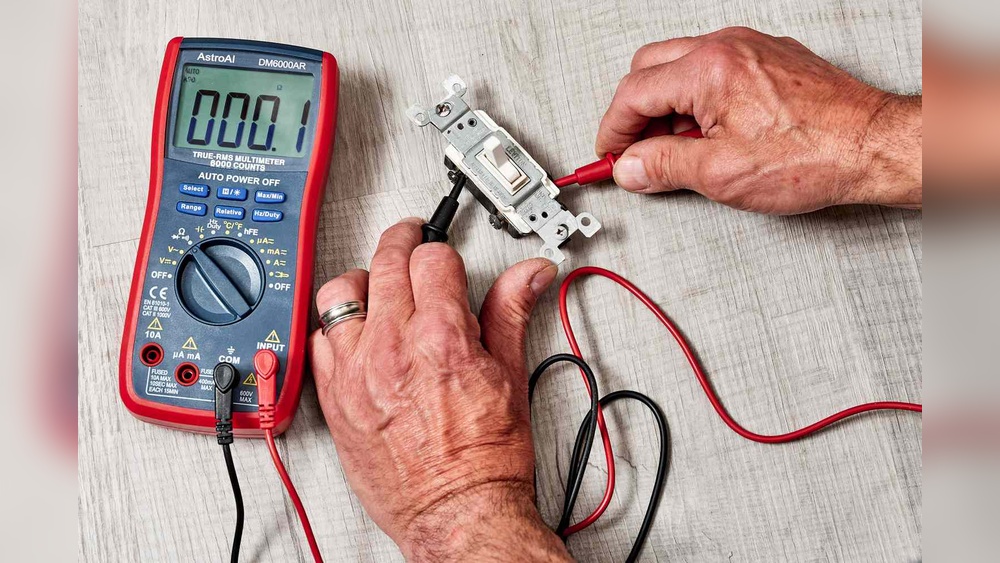
Turn off power at the breaker box before touching wires. Use a voltage tester to confirm no electricity flows. Wear insulated gloves for extra protection. Work in a dry area to avoid shocks. If unsure, ask a professional for help.
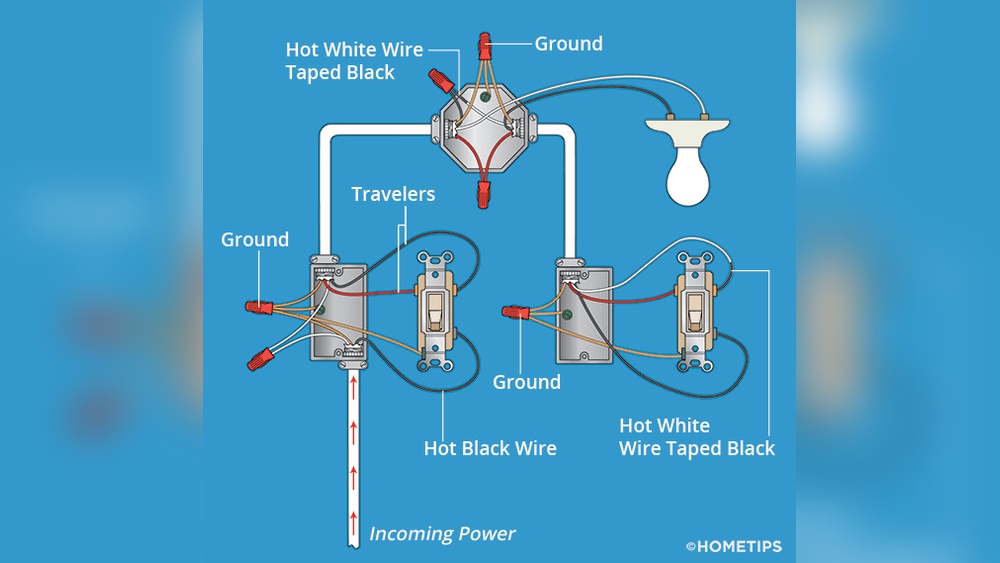
Checking Your Existing Setup
Look at your current light switch and wiring. Note if you have a neutral wire, as most Z Wave switches need one. Check the breaker box for any issues. Confirm your home Wi-Fi and Alarm.com system are working well. This step prevents surprises during installation.
Installing The Z Wave Light Switch
Installing a Z Wave light switch is a straightforward process that upgrades your home lighting. This guide helps you replace your old switch safely and correctly. Follow each step carefully to ensure a smooth installation and reliable performance.
Turning Off Power Safely
Start by switching off the power at the circuit breaker. This step prevents electric shock while working. Use a voltage tester to confirm the power is off. Never skip this safety check.
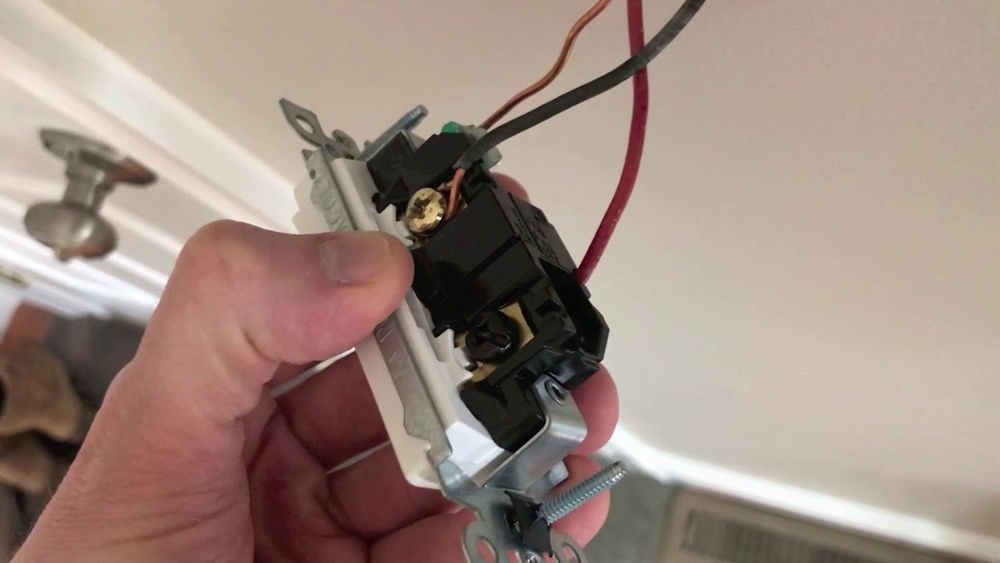
Removing The Old Switch
Remove the switch cover plate with a screwdriver. Unscrew the old switch from the wall box. Gently pull the switch out to expose the wires. Keep track of which wire connects where.
Wiring The New Z Wave Switch
Connect the wires from the wall to the new switch terminals. Match the wires by color: black to black, white to white, and ground to ground. Tighten the screws firmly but avoid over-tightening. Check the switch instructions for specific wiring details.
Securing The Switch In Place
Push the switch carefully back into the wall box. Align it properly with the mounting holes. Screw the switch securely to the wall box. Attach the cover plate to finish the installation.
Connecting To Alarm.com
Connecting your Z Wave light switch to Alarm.com is a key step. It lets you control lights remotely and enhances your smart home system. The process is simple and straightforward. Follow the steps below to integrate your device smoothly.
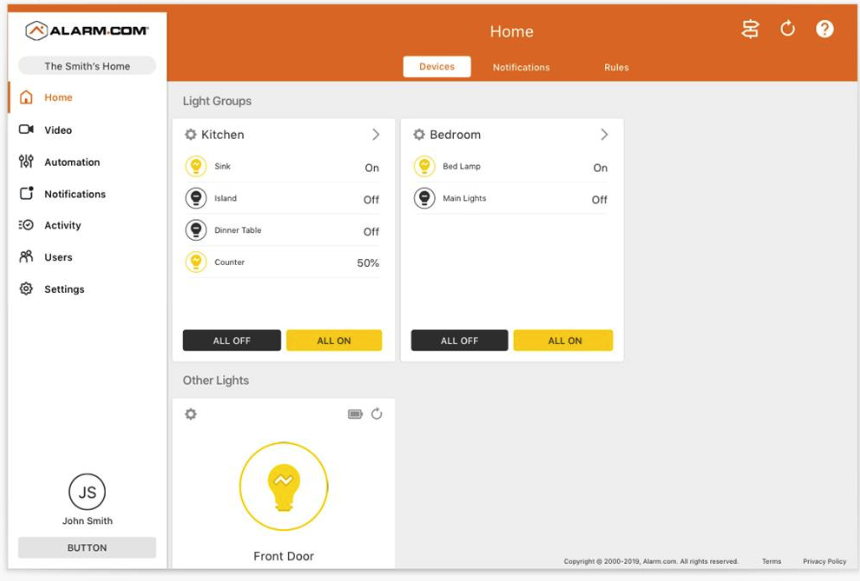
Accessing The Alarm.com App
First, open the Alarm.com app on your smartphone. Log in using your username and password. The app dashboard shows your current devices and settings. Make sure your phone is connected to the internet for a smooth experience.
Navigate to the device management section. This area lets you add and control smart devices like your Z Wave switch. Keep the app updated for the latest features and security fixes.
Adding The Device To Your Network
In the device management section, select “Add Device.” Choose “Z Wave Light Switch” from the list of compatible devices. Follow the on-screen instructions carefully. The app will guide you to put your switch into pairing mode.
Press the switch’s inclusion button or follow the manual’s pairing steps. The app will search and connect the switch to your network. This process may take a few moments. Wait for confirmation that the device is added successfully.
Testing The Switch Functionality
Once added, test the switch through the app. Turn the light on and off remotely to check response time. Ensure the switch reacts instantly and without errors. If there is a delay or no response, reset the device and try again.
Confirm the switch works with scheduled commands or scenes in the app. Proper testing guarantees reliable operation in daily use. Now your Z Wave light switch is ready to enhance your smart home setup.
Troubleshooting Tips
Troubleshooting your Z Wave light switch with Alarm.com can save time. Many users face small issues during setup. These tips help solve common problems fast. Keep your system working smoothly and avoid delays.
Follow these simple steps if your light switch does not respond or connect.
Common Installation Issues
One usual problem is poor connection between the switch and hub. Check the distance and obstacles like walls or metal objects. Make sure your Z Wave hub is powered on and working.
Another issue is wiring errors. Double-check the switch wires match the instructions. Wrong wiring stops the switch from working or pairing with Alarm.com.
Resetting The Z Wave Switch
Resetting the switch can fix many problems. Find the reset button or follow your switch manual for reset steps. Usually, press and hold the button for 10 seconds.
After reset, try adding the switch to Alarm.com again. This clears old settings and starts fresh communication.
When To Contact Support
Contact support if problems continue after basic fixes. They can guide you through complex issues. Have your switch model and system details ready.
Also reach out if the switch is damaged or does not respond at all. Professional help can save time and avoid damage.
Credit: www.youtube.com
Maximizing Your Smart Home Setup
Maximizing your smart home setup means making your devices work together smoothly. Adding a Z Wave light switch to Alarm.com lets you control lighting easily. It also helps you create a safer, smarter home. Using automation and integration boosts your home’s efficiency and convenience.
Creating Automation Rules
Set rules to control lights based on time or events. For example, lights can turn on at sunset. They can turn off when you leave home. Automation saves effort and keeps your home secure. You can customize rules to fit your daily routine.
Integrating With Other Devices
Connect your Z Wave light switch with sensors and alarms. Lights can flash if the alarm sounds. Door sensors can trigger hallway lights to turn on. This integration creates a smart network in your home. Devices working together improve comfort and safety.
Energy Saving Strategies
Use your smart switch to reduce electricity use. Set lights to turn off automatically in empty rooms. Dim lights during the day to save power. Monitor energy use through the Alarm.com app. Small changes cut bills and help the environment.
Credit: answers.alarm.com
Frequently Asked Questions
How Do I Connect Z Wave Light Switch To Alarm.com?
To connect a Z Wave light switch, access your Alarm. com app. Go to the devices section, select “Add Device,” and follow the prompts. Ensure your Z Wave switch is in pairing mode before starting the process for successful integration.
Can I Control Z Wave Switches Via Alarm.com Remotely?
Yes, Alarm. com allows remote control of Z Wave switches. Use the mobile app or web portal to turn lights on or off. This feature enhances convenience and energy savings, providing full control from anywhere with internet access.
What Z Wave Switches Are Compatible With Alarm.com?
Most standard Z Wave light switches are compatible with Alarm. com. Check the Alarm. com compatibility list for specific models. Ensure the switch supports the Z Wave Plus protocol for best performance and seamless integration.
Is Professional Installation Required For Z Wave Light Switches?
Professional installation is recommended but not mandatory. If you are comfortable with electrical wiring, you can install it yourself. Always turn off power before installation and follow the device manual for safety and correct setup.
Conclusion
Adding a Z Wave light switch to Alarm. com improves home control. The process is simple and quick when you follow the right steps. You can manage lights remotely for better convenience and safety. This upgrade fits well with smart home systems.
Keep your devices updated and check connections often. Enjoy easy control and save energy at the same time. Start using your smart light switch today for a brighter, smarter home.