Are you ready to warm up your space quickly and safely? Knowing how to hook up a wall heater can save you time, money, and frustration.
Whether you’re upgrading your current setup or installing a new unit, this guide will walk you through each step with clear, simple instructions. By the end, you’ll feel confident handling your wall heater like a pro—and enjoy cozy comfort whenever you need it.
Keep reading to discover the easy way to get your heater up and running without any hassle.
Tools And Materials Needed
Installing a wall heater requires specific tools and materials. Having the right items ready makes the job safer and faster. This section lists all the essentials to prepare before starting the hookup process.
Basic Hand Tools
You will need a screwdriver set with flathead and Phillips tips. A pair of wire strippers helps remove insulation from wires. A drill with various bits is useful for making holes in walls. Pliers and a wrench set help tighten connections and secure parts.
Electrical Supplies
Get electrical wire suitable for your heater’s power rating. Wire nuts or connectors secure the wire ends safely. An electrical tape roll protects exposed wires. A voltage tester confirms the power is off before working on circuits.
Mounting Materials
Wall anchors or screws hold the heater firmly in place. A mounting bracket might be included with the heater or bought separately. Use a level to ensure the heater is straight on the wall.
Safety Equipment
Wear insulated gloves to protect against electric shock. Safety glasses shield your eyes from dust and debris. A dust mask keeps you safe if drilling into old walls.
Choosing The Right Wall Heater
Choosing the right wall heater is important for comfort and safety. The correct heater provides enough warmth without wasting energy. It fits well in your space and matches your needs. Consider the type and size of the heater before buying. This helps avoid problems later.
Types Of Wall Heaters
Wall heaters come in different types. Electric wall heaters are common and easy to install. They use electricity to produce heat quickly. Gas wall heaters use natural gas or propane. They provide strong heat but need ventilation. Some heaters use fans to spread warmth. Others use convection, which warms the air naturally. Choose a type based on your home setup and fuel availability.
Sizing Your Heater
Size matters when selecting a wall heater. A heater too small will not warm the room well. One too large wastes energy and can cause overheating. Calculate the room size in square feet. Use this number to find the heater’s power in watts or BTUs. Follow manufacturer guidelines for correct sizing. Proper size ensures efficient and comfortable heating.
Preparing The Installation Site
Preparing the installation site is the first step to hook up a wall heater safely. This step ensures the heater works well and stays safe to use. Proper preparation avoids problems later and keeps your home comfortable.
Selecting The Location
Choose a spot with good air flow. Avoid placing the heater near curtains or furniture. The wall should be strong enough to hold the heater securely. Pick a location away from water sources to prevent electrical hazards. Make sure the heater will not block any doors or walkways.
Checking Electrical Requirements
Check the power supply matches the heater’s needs. Look at the voltage and amperage on the heater’s label. Confirm your home wiring can handle the heater’s load. Use a dedicated circuit if the heater needs high power. Turn off the main power before starting any electrical work.
Wiring The Wall Heater
Wiring a wall heater is a key step to ensure it works safely and efficiently. Proper wiring connects the heater to your home’s electrical system. This step requires focus and care. Follow clear instructions and take safety seriously.
Safety Precautions
Turn off the power at the circuit breaker before starting. Use a voltage tester to confirm power is off. Wear insulated gloves to protect against shocks. Avoid working in wet or damp areas. Keep tools dry and in good condition. Follow local electrical codes and regulations. If unsure, consult a professional electrician for help.
Connecting The Electrical Wires
Identify the heater’s wiring colors: usually black, white, and green or bare copper. Connect the black wire to the live (hot) wire in your home. Join the white wire to the neutral wire. Attach the green or bare copper wire to the ground. Use wire nuts to secure the connections tightly. Wrap connections with electrical tape for extra safety. Push the wires carefully into the junction box. Screw the heater’s cover plate back on after wiring.
Mounting The Heater On The Wall
Mounting the heater on the wall is a key step for safe and efficient heating. Proper placement ensures the heater works well and stays secure. It also helps avoid damage to the wall or the heater itself. Follow the steps carefully to mount your wall heater correctly.
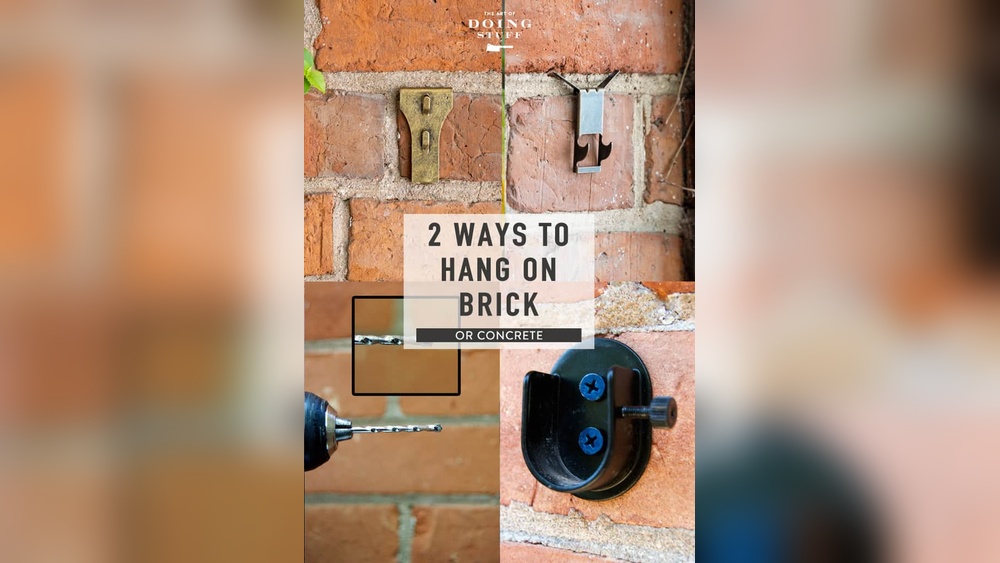
Marking And Drilling Holes
Start by holding the heater against the wall. Use a pencil to mark where the mounting holes will go. Double-check the marks to make sure they are level. Use a spirit level for accuracy. Choose the right drill bit size for your wall type. Drill holes carefully at the marked spots. Clean out dust from the holes before moving on.
Securing The Heater
Insert wall anchors into the drilled holes for extra support. Align the heater’s mounting holes with the drilled holes. Use screws to fasten the heater tightly to the wall. Avoid over-tightening to prevent damage. Check the heater is firmly attached and does not wobble. Tighten screws if needed for a solid fit.

Credit: www.youtube.com
Testing The Heater
Testing the wall heater is a key step after installation. It confirms the unit works well and safely. This step avoids problems later and ensures the heater heats the room properly.
Start by powering the heater on carefully. Then watch and listen for signs it runs correctly. Check the heat output and any unusual noises. This simple test saves time and hassle.
Powering On
First, switch on the power supply to the heater. Make sure the breaker or switch is in the ON position. Wait a few seconds for the heater to start. Some models have a light to show they are on. If no light appears, check connections or power source.
Checking For Proper Operation
Feel the heater’s surface for warmth after a few minutes. It should get warm but not too hot. Listen for any strange sounds like buzzing or clicking. These can mean electrical issues. Confirm the fan, if any, runs smoothly. Make sure the heater shuts off when you turn it off. This confirms the controls work well.
Troubleshooting Common Issues
Troubleshooting common issues with a wall heater helps keep it working well. Problems may arise after installation or during use. Knowing how to spot and fix these issues saves time and money. Here are some typical problems and easy ways to solve them.
Check Power Supply And Connections
First, ensure the heater is plugged in or wired correctly. Loose or damaged wires cause power loss. Turn off the power before inspecting any connections. Tighten screws and replace damaged wires. A stable power supply is essential for heater operation.
Inspect The Thermostat Settings
The thermostat controls the heater’s temperature. Wrong settings prevent proper heating. Set the thermostat to a higher temperature than room temperature. Clean the thermostat sensor if it looks dirty. A faulty thermostat may need replacement.
Clear Blocked Air Vents
Blocked vents reduce heat flow and efficiency. Dust, dirt, or furniture can block vents. Remove any objects blocking airflow. Use a vacuum cleaner to clear dust. Good airflow helps the heater warm the room evenly.
Listen For Strange Noises
Unusual sounds may signal mechanical issues. Rattling or buzzing suggests loose parts or electrical problems. Turn off the heater and inspect for loose screws or components. Tighten or replace parts as needed. Persistent noise might need professional help.
Reset The Heater’s Safety Switch
Many wall heaters have a safety switch to prevent overheating. If the heater stops suddenly, the switch may have tripped. Locate the reset button and press it. Wait a few minutes before restarting. This quick step restores heater function safely.

Credit: www.youtube.com

Credit: www.familyhandyman.com
Frequently Asked Questions
How Do You Safely Hook Up A Wall Heater?
Turn off the power before starting. Connect wires according to the heater’s instructions. Use proper tools and follow electrical codes to ensure safety.
What Tools Are Needed To Install A Wall Heater?
You need a screwdriver, wire stripper, voltage tester, drill, and mounting hardware. These tools help ensure proper installation and safety.
Can I Hook Up A Wall Heater Myself?
Yes, if you have electrical experience. Follow the manufacturer’s guide and local codes. Otherwise, hire a licensed electrician for safety.
What Wiring Is Required For Wall Heater Installation?
Typically, use 12/2 or 14/2 electrical wire. Check your heater’s specifications and local electrical codes for exact requirements.
Conclusion
Hooking up a wall heater can feel simple with the right steps. Always check safety rules before starting the work. Use the correct tools and follow instructions carefully. Test the heater after installation to ensure it works well. Taking your time helps avoid mistakes and keeps you safe.
Now, you can enjoy a warm and cozy room. This guide aims to help you do the job right. Stay safe and comfortable all winter long.