Are you tired of that old, cracked light switch plate ruining the look of your room? Changing it might seem tricky, but it’s actually quick and simple.
In just a few easy steps, you can give your space a fresh, clean look without calling an electrician. Keep reading, and you’ll learn exactly how to swap out your light switch plate safely and effortlessly—no special tools or skills needed!
Credit: www.reddit.com
Tools And Materials Needed
Changing a light switch plate is a simple task. It needs only a few tools and materials. Having the right items makes the job easier and faster. Prepare everything before you start. This saves time and avoids frustration.
Essential Tools
You need a screwdriver, usually a flathead or Phillips. Check your screws to know which type fits. A voltage tester is important for safety. It checks if the power is off. A small flashlight helps in dark areas. A cloth or gloves protect your hands from dirt and sharp edges.
Choosing The Right Switch Plate
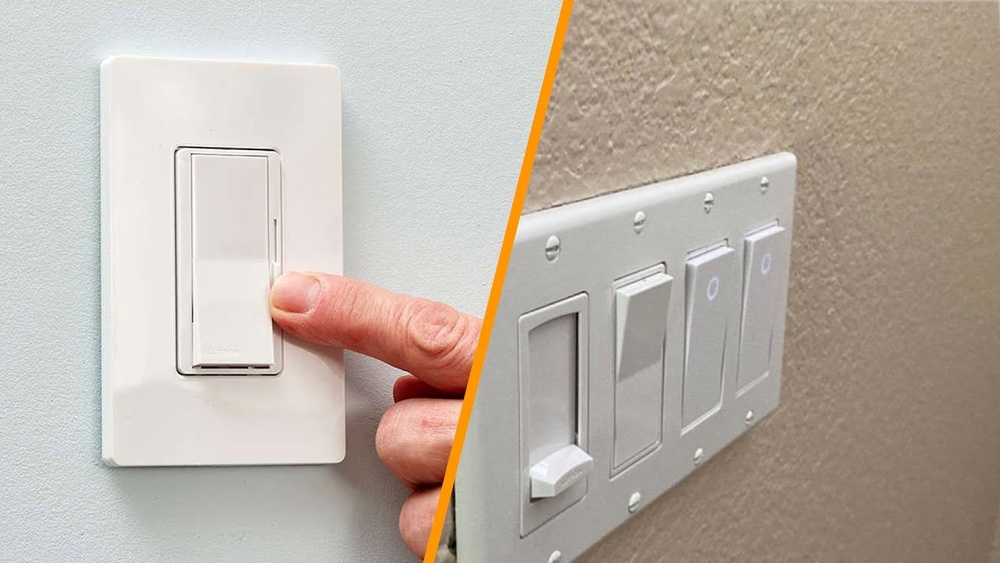
Switch plates come in many styles and materials. Plastic plates are common and easy to clean. Metal plates are strong and last longer. Match the plate size with your switch type. Single, double, or triple switch plates fit different switches. Pick a color that suits your wall and room style. A good fit looks neat and works well.
Safety Precautions
Safety is the top priority when changing a light switch plate. Electricity can be dangerous. Taking proper steps prevents shocks or accidents. Always prepare carefully before starting any work on electrical parts.
Turning Off Power
Start by turning off the power to the switch. Find the correct circuit breaker in your home’s electrical panel. Switch it off to cut power to the light switch. Never trust the switch position alone. This step stops electricity flow and keeps you safe.
Using A Voltage Tester
Use a voltage tester to confirm the power is off. Touch the tester to the wires near the switch. The tester shows if electricity is still running. If the tester lights up or beeps, the power is still on. Only continue when the tester shows no voltage.
Removing The Old Switch Plate
Removing the old switch plate is the first step in changing a light switch plate. This step requires care to avoid damage to the wall or the switch. The process is simple and quick but must be done correctly for safety.
Unscrewing The Plate
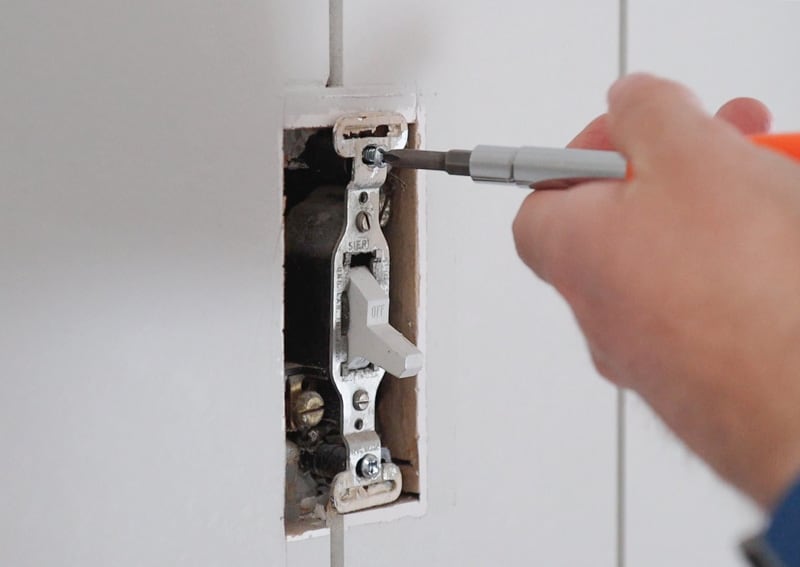
Start by locating the screws on the switch plate. Usually, there are two screws, one at the top and one at the bottom. Use a screwdriver to turn the screws counterclockwise. Keep the screws safe; you might need them later. Once the screws are out, gently pull the plate away from the wall.
Handling The Switch Carefully
The switch and wires behind the plate are fragile. Avoid pulling or yanking the switch plate hard. Hold the plate gently and check for any wires that might be attached. Do not touch the wires directly. Keep your hands dry and use caution to prevent any electric shock.
Credit: hydrangeatreehouse.com
Cleaning The Area
Cleaning the area around your light switch is an important step before installing the new switch plate. A clean surface helps the plate fit well and look neat. Dirt and dust can stop the plate from sitting flat on the wall. It can also affect how the screws hold the plate in place. Taking time to clean makes the final result better and longer lasting.
Removing Dirt And Dust
Start by turning off the power to the switch for safety. Use a dry cloth or a soft brush to remove loose dust. For stubborn dirt, dampen a cloth with mild soap and water. Gently wipe the wall and switch area. Avoid soaking the wall to prevent damage. Let the area dry completely before moving on.
Preparing For The New Plate
Check the wall for any chipped paint or rough spots. Smooth these areas with fine sandpaper if needed. Wipe the surface again to remove sanding dust. Make sure the switch and screws are clean and free of rust. This helps the new plate fit tightly and stay secure.
Installing The New Switch Plate
Installing the new switch plate is a simple task. It gives your room a fresh, clean look. This step involves placing the plate correctly and securing it firmly. A well-installed plate prevents damage and keeps the switch safe.
Aligning The Plate
Hold the new switch plate over the switch. Make sure the holes in the plate line up with the screw holes on the wall. The plate should sit flat against the wall without gaps. Check that the switch toggle fits neatly through the opening.
Securing With Screws
Insert the screws into the holes on the switch plate. Use a screwdriver to turn the screws clockwise. Tighten them until the plate is snug but do not overtighten. Over-tightening can crack the plate or strip the screws. The plate should feel secure and stable.
Final Checks
Final checks are important after changing a light switch plate. They ensure safety and proper function. Take time to carefully review your work. This step helps avoid problems later.
Ensuring Proper Fit
Check if the new switch plate fits well. It should sit flat against the wall. No gaps or loose edges should be visible. The screws must be tight but not over-tightened. Over-tightening can crack the plate. Make sure the switch moves freely without obstruction.
Restoring Power And Testing
Turn the power back on at the circuit breaker. Test the switch by turning the light on and off. Confirm the light responds correctly each time. If it does not work, turn off the power again. Double-check the wiring and plate installation. Only proceed when the switch functions safely and properly.
Tips For A Stylish Upgrade
Upgrading your light switch plates can change the look of any room. It is a small change that makes a big difference. Choosing the right style helps your space feel fresh and neat. Simple tips can guide you to pick the best switch plates.
Focus on style and color. Think about the room’s theme. This helps find plates that fit well. A stylish upgrade is easy and quick to do.
Selecting Decorative Plates
Choose plates with patterns or textures for a unique look. Materials like wood, metal, or glass add charm. Bright colors or soft pastels can suit different moods. Pick plates that stand out or blend in quietly. Consider the size and shape for a perfect fit.
Matching Home Decor
Match your switch plates to your room’s colors and style. For modern rooms, use simple, clean designs. Rustic rooms look great with wood or bronze plates. Bright rooms can use bold colors or shiny finishes. Always keep the room’s mood in mind when choosing.

Credit: www.youtube.com
Frequently Asked Questions
How Do I Remove A Light Switch Plate Safely?
Turn off the power at the circuit breaker first. Use a screwdriver to remove the screws. Gently pull the plate away from the wall to avoid damage.
What Tools Are Needed To Change A Switch Plate?
You typically need a flathead or Phillips screwdriver. Sometimes, a voltage tester is helpful for safety. Having a clean cloth helps to wipe the new plate.
Can I Change A Light Switch Plate Without Turning Off Power?
No, always turn off the power to avoid electric shock. Safety should be your priority when working with electrical components.
How Long Does It Take To Replace A Light Switch Plate?
Replacing a light switch plate usually takes about 5 to 10 minutes. It’s a quick and simple DIY task for most people.
Conclusion
Changing a light switch plate is simple and quick. Turn off the power first for safety. Use a screwdriver to remove the old plate carefully. Then, place the new plate and tighten the screws. No special tools or skills are needed.
This small update can freshen any room’s look. Try it yourself and enjoy the easy improvement. Keep these steps in mind for your next home project.