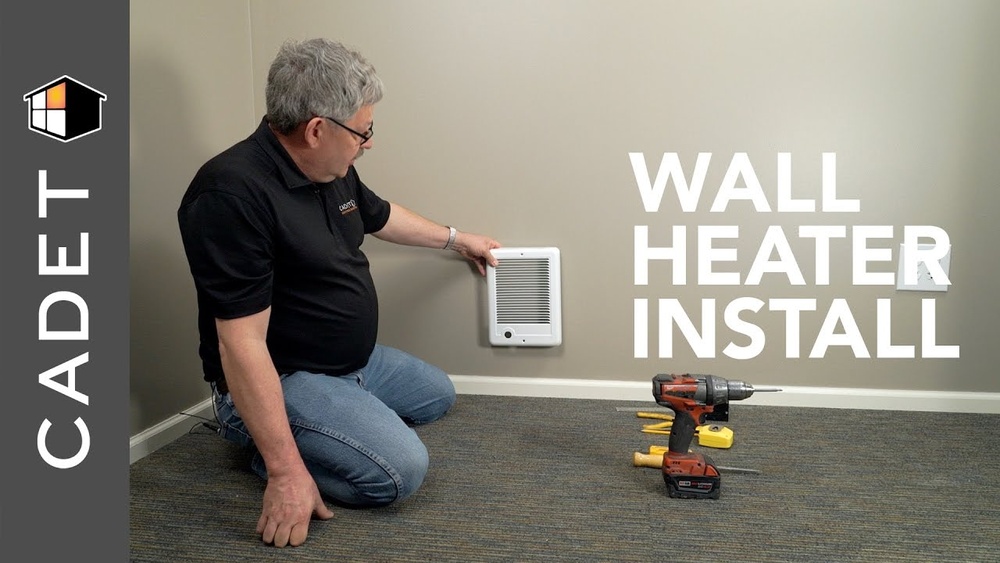
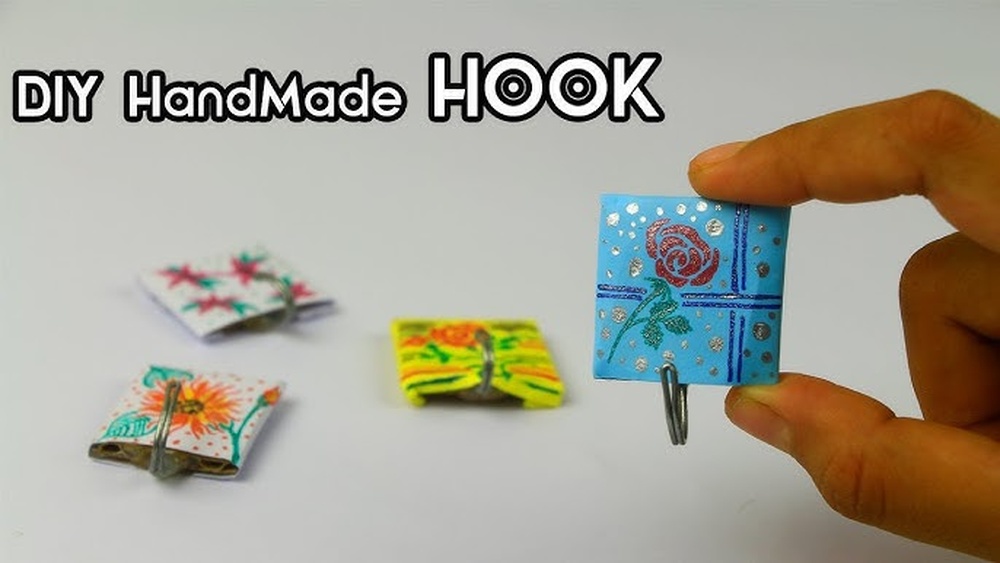
Are you ready to add a simple hook to your wall but unsure where to start? Screwing a hook into the wall might seem easy, but doing it wrong can damage your walls or leave your hook loose.
Imagine hanging your favorite picture, keys, or decorations with confidence, knowing they’ll stay put. In this guide, you’ll learn exactly how to screw a hook into your wall the right way—step by step. By the end, you’ll have the skills to tackle this small project quickly and securely.
Let’s get started!

Credit: www.youtube.com
Choose The Right Hook
Choosing the right screw hook is important for a secure hold. Different hooks serve different purposes and walls. Picking the wrong hook can cause damage or make the item fall. Consider what you plan to hang and the wall type before buying a hook. This helps ensure safety and durability.
Types Of Screw Hooks
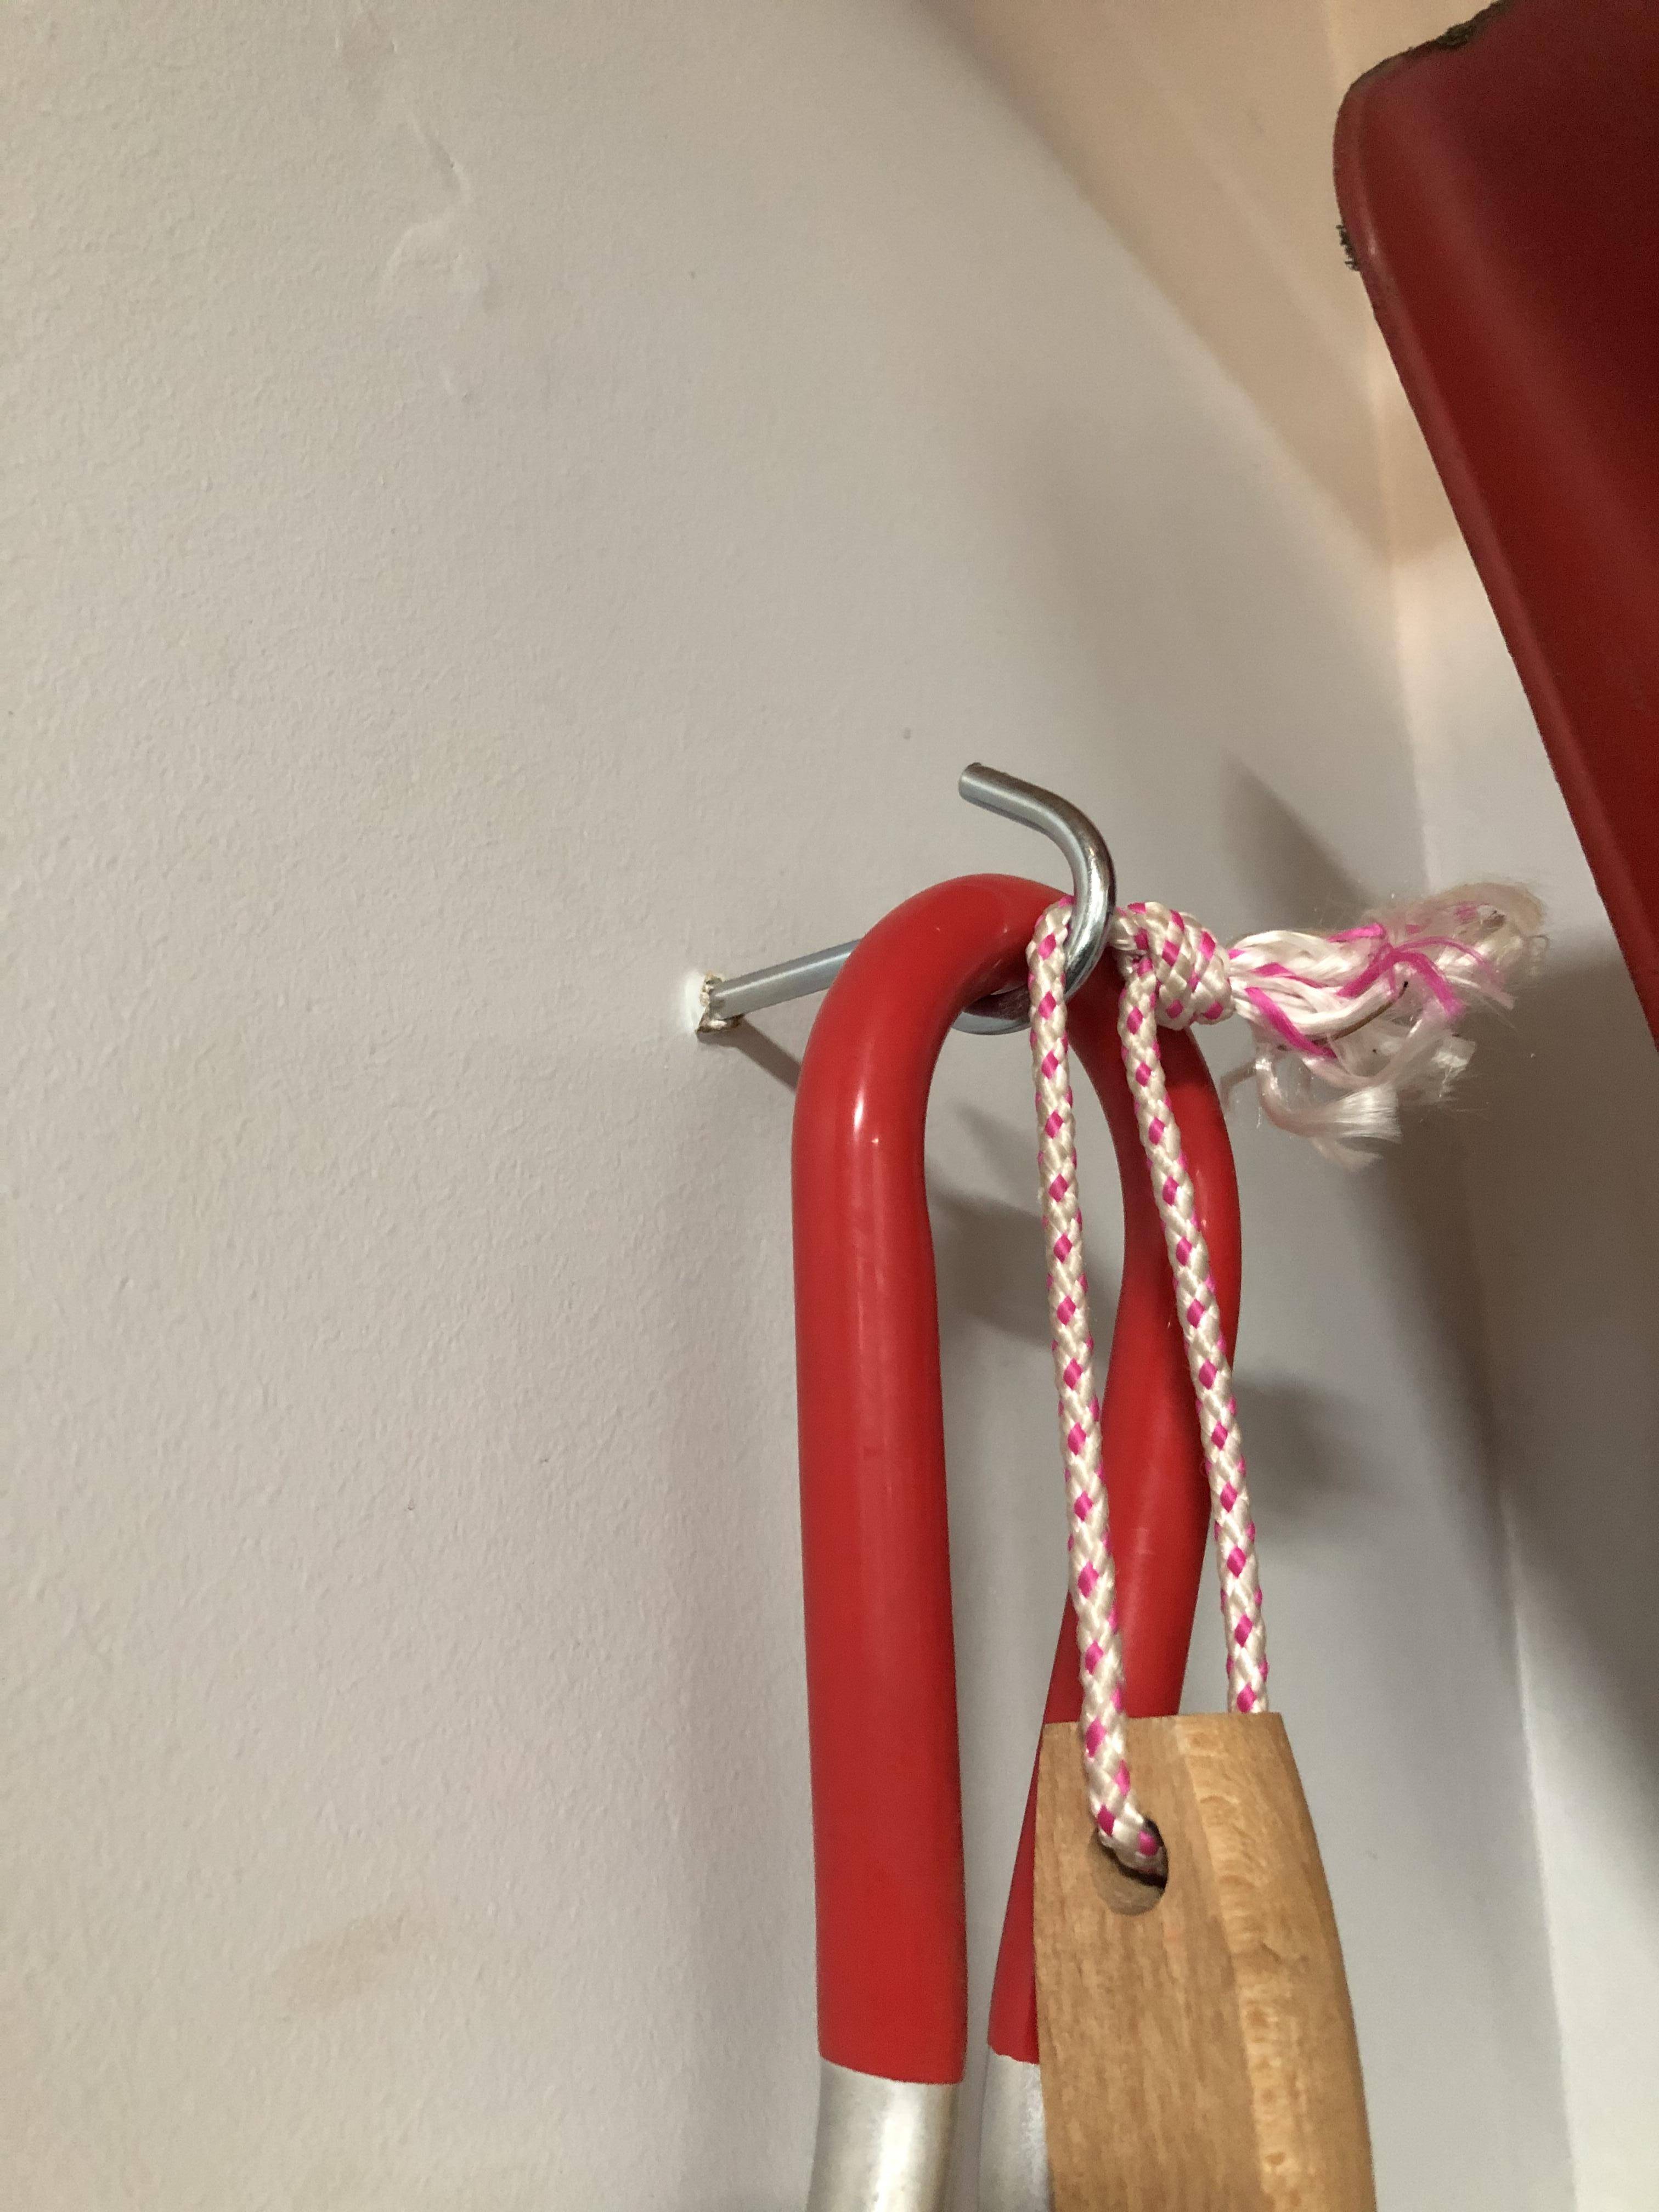
Screw hooks come in many shapes and sizes. Common types include cup hooks, J-hooks, and eye hooks. Cup hooks are good for hanging cups and light items. J-hooks hold cables or small tools. Eye hooks create a closed loop for ropes or chains. Choose a hook that fits your item and wall type.
Weight Capacity Considerations
Each screw hook has a weight limit. Check the package for the maximum weight it can hold. Use a hook with a higher capacity than your item’s weight. This prevents the hook from bending or pulling out. For heavy items, use wall anchors with screw hooks for extra support.

Credit: www.wikihow.com
Select The Ideal Wall Spot
Choosing the right spot on the wall is key before screwing in a hook. The spot must be strong enough to hold weight. It should also be safe to avoid damage or accidents. Take time to find the best place for your hook. This ensures your hook stays secure and your wall stays intact.
Check For Studs
Studs are wooden or metal beams behind the wall. They give extra support for heavy items. Use a stud finder tool to locate them easily. Mark the spot where the stud is found. Screwing the hook into a stud makes it hold better. Avoid drywall alone for heavy hooks; it may not support the weight.
Avoid Electrical Wiring
Electrical wires run behind many walls. Drilling into wires can cause shocks or fire hazards. Use a wire detector to check the wall first. Stay clear of marked areas with wiring. Choose a spot away from switches and outlets. Safety comes first when placing your hook.
Gather Necessary Tools
Before you start screwing a hook into the wall, gather the right tools. The right tools make the job easier and safer. Without proper tools, the hook may not hold well. Prepare everything in one place to avoid interruptions. This section explains the key tools you need.
Drill And Drill Bits
A drill helps create holes in the wall quickly. Choose a drill with enough power for your wall type. Use drill bits that match the size of your screw hook or anchors. For drywall, a small bit works. For concrete or brick, use a masonry bit. Having the right drill bits prevents damage and ensures a clean hole.
Screwdriver And Anchors
A screwdriver is essential to tighten the screw hook firmly. Manual or electric screwdrivers work well. Anchors provide extra support, especially in drywall or hollow walls. Select anchors based on the wall material and hook weight. Using anchors stops the hook from pulling out. Keep both screwdriver and anchors nearby for quick access.
Credit: diy.stackexchange.com
Prepare The Wall
Preparing the wall is the first step to screw a hook securely. It helps the hook hold strong and stay in place. Taking time to prepare the wall can save you from damage or a hook that falls off.
Mark The Spot
Find the exact spot where you want the hook. Use a pencil to mark it clearly. Check the height and position carefully. This mark guides your drilling and keeps the hook straight.
Drill A Pilot Hole
Use a drill bit smaller than the hook’s screw size. Drill a hole at the marked spot gently. The pilot hole helps the screw go in easily. It stops the wall from cracking or breaking.
Insert The Screw Hook
Inserting a screw hook into the wall is a key step for hanging items securely. This process needs care to avoid damaging the wall or having the hook come loose. The method you choose affects the ease and strength of the hook installation. Tools and technique matter a lot here.
Manual Vs. Power Tools
Manual tools require only your hands. You turn the hook slowly to screw it in. This method gives you control and reduces the risk of over-tightening. It works well for soft walls or light loads.
Power tools speed up the job. A drill with a screwdriver bit helps push the hook in quickly. Use low speed to keep control. Power tools suit harder walls or when many hooks are needed.
Ensuring A Tight Fit
Start by turning the hook gently into the wall. Keep the hook straight to avoid bending or breaking it. If resistance is high, stop and check for a pilot hole.
Use a small drill bit to make a pilot hole for hard walls. This hole helps the hook go in smoothly and stay tight. Tight hooks hold weight better and last longer.
After the hook is in, wiggle it slightly to test stability. A secure hook does not move or feel loose. Tight fit means safer hanging and less chance of damage.
Use Wall Anchors For Extra Support
Use wall anchors for extra support when screwing hooks into walls. They help hold the hook firmly. This is especially useful on drywall or hollow walls. Wall anchors prevent the screw from pulling out easily. They increase the weight the hook can carry safely.
Types Of Anchors
Plastic expansion anchors are common and easy to use. They expand inside the wall as the screw goes in. They work well for light to medium weights.
Threaded drywall anchors screw into the wall like a screw. They offer stronger support for heavier items. Metal anchors provide high strength and durability. Molly bolts expand inside the wall for a secure hold.
Installation Tips
Choose the right anchor for your wall type and weight. Drill a hole slightly smaller than the anchor. Insert the anchor flush with the wall surface. Screw the hook into the anchor slowly and firmly.
Do not overtighten; it can damage the anchor or wall. Test the hook by applying gentle pressure before use. Proper installation ensures your hook stays secure for a long time.
Test The Hook’s Stability
Testing the hook’s stability is important after screwing it into the wall. This step ensures the hook can hold the items safely. A stable hook prevents accidents and damage to your walls. Take time to check the strength before hanging anything heavy.
Apply Gradual Weight
Start by placing a light object on the hook. Use something lighter than the final item. Watch for any movement or bending. Slowly increase the weight step by step. This helps you see how much the hook can hold. Stop if the hook feels loose or wobbly.
Adjust If Necessary
If the hook moves or feels weak, adjust it. Tighten the hook by turning it deeper into the wall. You can also try a different spot with a stud or better support. Use wall anchors for extra strength if needed. Keep testing until the hook stays firm and secure.
Maintain And Remove Hooks Safely
Maintaining and removing screw hooks safely helps protect your walls and keeps your home looking good. Proper care extends the life of hooks and avoids damage. Safe removal prevents accidents and wall marks. Follow simple steps to check and take down hooks correctly.
Regular Inspections
Check hooks often for looseness or rust. Tighten any hooks that feel wobbly. Replace hooks that show wear or damage. Look for cracks or holes around the hook. Early checks stop bigger problems later. Keep your hooks strong and secure.
Safe Removal Techniques
Remove hooks slowly and gently. Turn the hook counterclockwise to unscrew it. Use a screwdriver for stuck hooks. Avoid pulling hooks straight out; it can damage walls. Patch holes with filler after removal. Sand and paint the spot for a clean look.
Frequently Asked Questions
How Do I Choose The Right Screw Hook For My Wall?
Select a screw hook based on wall type and weight load. Use heavy-duty hooks for drywall with anchors, and metal hooks for studs. Always check the hook’s weight rating to ensure safety and stability.
What Tools Are Needed To Screw A Hook Into A Wall?
You need a drill, screwdriver, wall anchors, and a pencil. A level helps align hooks evenly. Use a drill for pilot holes to avoid wall damage.
Can I Screw A Hook Into Drywall Without Studs?
Yes, use wall anchors designed for drywall. They provide extra support and prevent hooks from pulling out. Choose anchors rated for the hook’s load for best results.
How Deep Should I Screw A Hook Into The Wall?
Screw the hook until its base is flush with the wall. Ensure the hook is secure but avoid over-tightening to prevent damage. Depth depends on wall thickness and hook size.
Conclusion
Screwing a hook into the wall is simple with the right steps. Start by choosing the correct hook and wall type. Mark the spot clearly and drill a small pilot hole for easier screwing. Turn the hook carefully until it feels tight and secure.
This helps avoid damage and keeps the hook stable. Follow these tips to hang items safely and neatly. Practice makes the task easier each time. Now, you can hang pictures, tools, or decorations with confidence. Give it a try today!