Looking for a simple way to organize your space and add a personal touch to your walls? You’re in the right place.
Making a wall hook yourself is easier than you think, and it gives you the power to customize it exactly how you want. Imagine having a sturdy hook that fits perfectly with your style and needs—no more clutter, no more searching for a place to hang your keys, bags, or coats.
Keep reading, and you’ll discover step-by-step how to create your own wall hook quickly and affordably. By the end, you’ll have a useful and stylish addition to your home that you made with your own hands. Ready to get started? Let’s dive in!
Materials Needed
Gathering the right materials is the first step in making a wall hook. You need specific items to ensure your project is strong and looks good. Choosing proper materials saves time and effort during construction.
Types Of Hooks
Select hooks based on what you want to hang. Metal hooks offer strength for heavy items. Wooden hooks give a natural, warm look. Plastic hooks work well for light objects and are easy to paint. Consider the hook’s size and shape to fit your wall space.
Tools Required
Basic tools make the project easier and safer. A drill helps create holes for screws. Sandpaper smooths rough wood edges. A screwdriver fixes hooks firmly in place. A saw cuts the wood to the right size. A measuring tape ensures accurate measurements.
Choosing The Right Wood
Pick wood that is sturdy and easy to work with. Pine is soft and affordable for beginners. Oak is strong and lasts long but costs more. Avoid wood with cracks or knots, as it may break easily. Smooth wood helps paint or stain stick better.
Preparing The Wood
Preparing the wood is an important step in making a wall hook. It makes sure the wood looks good and lasts long. Taking time to prepare the wood helps the hook hold strong and look neat. Follow these simple steps for the best results.
Cutting To Size
Start by measuring the wood carefully. Use a saw to cut the wood to the right size. Keep the cuts straight and even. This makes the hook look clean and fit well on the wall. Take your time to get the perfect size.
Sanding For Smoothness
After cutting, use sandpaper to smooth the wood edges. Sand all sides until the surface feels soft. This removes rough spots and splinters. Smooth wood is safer to handle and looks nicer. Sanding helps paint or finish stick better too.
Painting And Finishing Options
Choose paint or finish that suits your style. You can use wood stain, clear varnish, or colored paint. Apply evenly with a brush or cloth. Let each coat dry well before adding another. Finishing protects the wood from damage and adds color or shine.
Designing Your Hook
Designing your wall hook sets the tone for your space. It shapes the look and feel of the room. A well-designed hook can be both useful and stylish. Start by deciding the style that fits your decor and needs. Think about how the hook will blend with other elements in the room.
Simple Vs. Decorative Styles
Simple hooks are clean and functional. They suit modern or minimal spaces well. These hooks focus on utility with little detail. Decorative hooks add charm and character. They often include patterns, shapes, or colors. Choose decorative hooks for a playful or vintage vibe. Balance is key. A simple room needs a decorative hook to add interest. A busy room calls for a simple hook to avoid clutter.
Adding Personal Touches
Personal touches make your hook unique. Use paint, stickers, or small carvings. Attach small objects like beads or buttons for flair. Consider using family initials or symbols. These touches reflect your style and story. Keep it subtle to avoid overwhelming the design. Personalizing your hook makes it more than just a tool.
Choosing Hook Placement
Placement affects both function and style. Place hooks where they are easy to reach. Near doors, closets, or workspaces works best. Avoid crowded walls to keep hooks visible. Space hooks evenly for a clean look. Think about what items you will hang. Heavier items need stronger hooks and sturdy walls. Proper placement ensures your hook is useful and attractive.

Credit: www.papernstitchblog.com
Assembling The Hook
Assembling the wall hook is a simple step that brings your project to life. This part connects the hook to the base, making it ready for use. Careful assembly ensures the hook holds items securely and lasts long.
Attaching Hooks To Wood
Start by placing the hooks on the wood where you want them. Mark the spots with a pencil for accuracy. Align the hooks evenly to keep the look neat. Small hooks often have holes for easy attachment.
Securing With Screws Or Glue
Choose screws for a strong and lasting hold. Use a screwdriver or drill to insert screws into the wood. Glue works well for lightweight hooks and quick fixes. Apply wood glue on the hook base and press it firmly onto the wood.
Ensuring Stability
Check that the hooks do not wobble or shift. Tighten screws if the hook feels loose. Let glue dry fully before hanging anything. Test the hook by gently pulling on it to confirm strength.
Mounting The Wall Hook
Mounting the wall hook is a key step to ensure it stays secure and functional. Proper placement and secure fixing prevent damage to your walls and keep your items safe. Follow these simple steps to mount your wall hook correctly.
Finding The Right Spot
Choose a spot on the wall that is easy to reach. Make sure the area is free from electrical wires and pipes. Use a pencil to mark the exact place for the hook. Check the wall surface to see if it is smooth and clean.
Using Anchors And Screws
Use wall anchors for drywall or plaster walls to add support. Drill small holes at the marked points to insert anchors. Push the anchors into the holes until they are flush with the wall. Screw the hook firmly into the anchors to hold it tight.
Checking Weight Capacity
Look at the hook’s packaging or label to find its weight limit. Avoid hanging items that weigh more than the hook can hold. Test the hook by gently pulling on it before use. This ensures the hook is safe and strong enough.

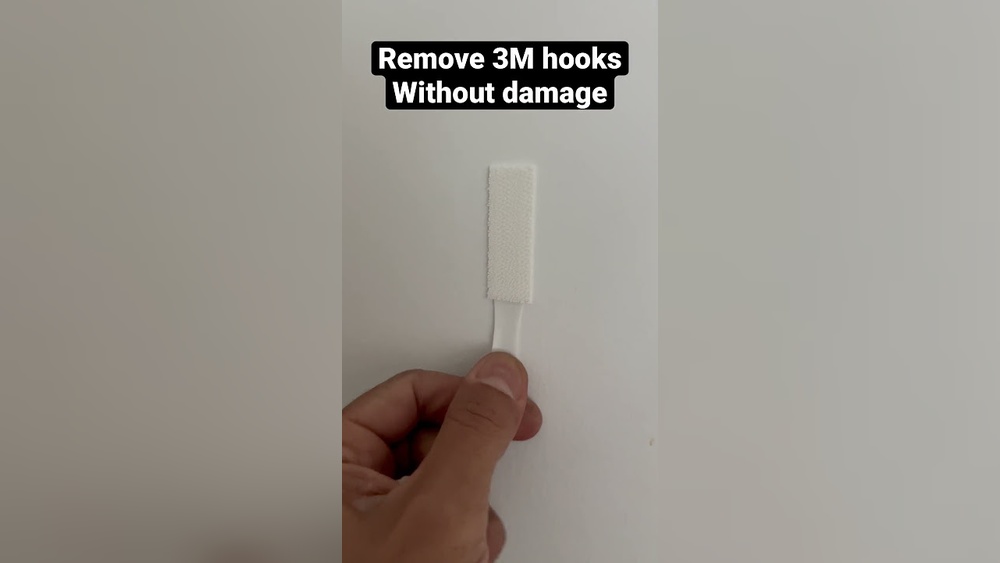
Credit: www.reddit.com
Maintaining Your Wall Hook
Maintaining your wall hook helps it last longer and look better. Simple care can keep it strong and clean. A little time spent on upkeep prevents damage and wear. Follow these easy steps to keep your wall hook in great shape.
Cleaning Tips
Dust your wall hook regularly with a soft cloth. Use a damp cloth for sticky spots. Avoid harsh chemicals that can damage the finish. Dry the hook well after cleaning to stop rust or corrosion. Clean hooks hold their charm and work well.
Touching Up Paint
Check your hook for chipped or faded paint. Use matching paint to cover small scratches. Apply paint with a small brush for neat work. Let the paint dry completely before using the hook. This keeps your wall hook looking fresh and new.
Replacing Hooks If Needed
Look for bent or broken hooks that no longer hold items. Remove the damaged hook carefully without hurting the wall. Choose a similar size and style for replacement. Secure the new hook tightly to keep it steady. Replace hooks to maintain function and safety.
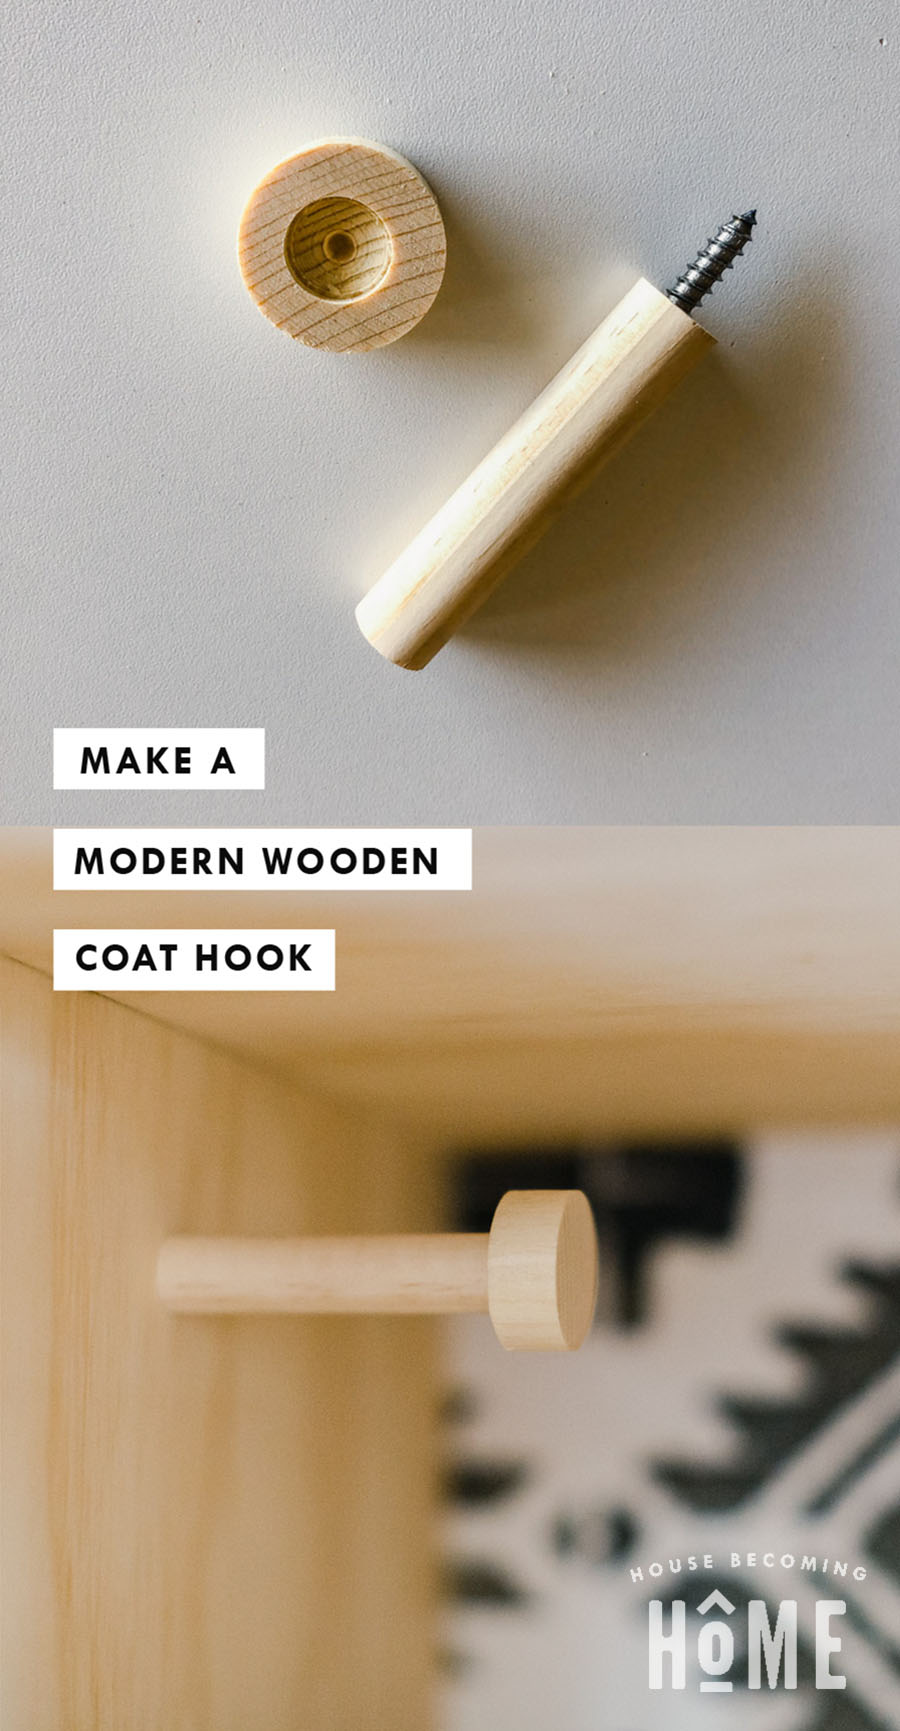
Credit: housebecominghome.com
Frequently Asked Questions
What Materials Do I Need To Make A Wall Hook?
You need wood, screws, a drill, sandpaper, paint, and hooks. Choose sturdy materials for durability and safety.
How Do I Attach A Wall Hook Securely?
Use a drill to make pilot holes. Insert screws tightly into wall studs for strong support.
Can I Customize Wall Hooks For Different Rooms?
Yes, paint and design hooks to match each room’s decor. Customize shapes and colors easily.
What Tools Are Essential For Making A Wall Hook?
A drill, screwdriver, measuring tape, pencil, and sandpaper are essential tools. These help ensure precision and safety.
Conclusion
Making a wall hook is simple and useful. You can create one with basic tools and materials. It helps keep your space tidy and organized. Try different designs to fit your style and needs. Small projects like this bring satisfaction and save money.
Give it a try and enjoy your new wall hook!