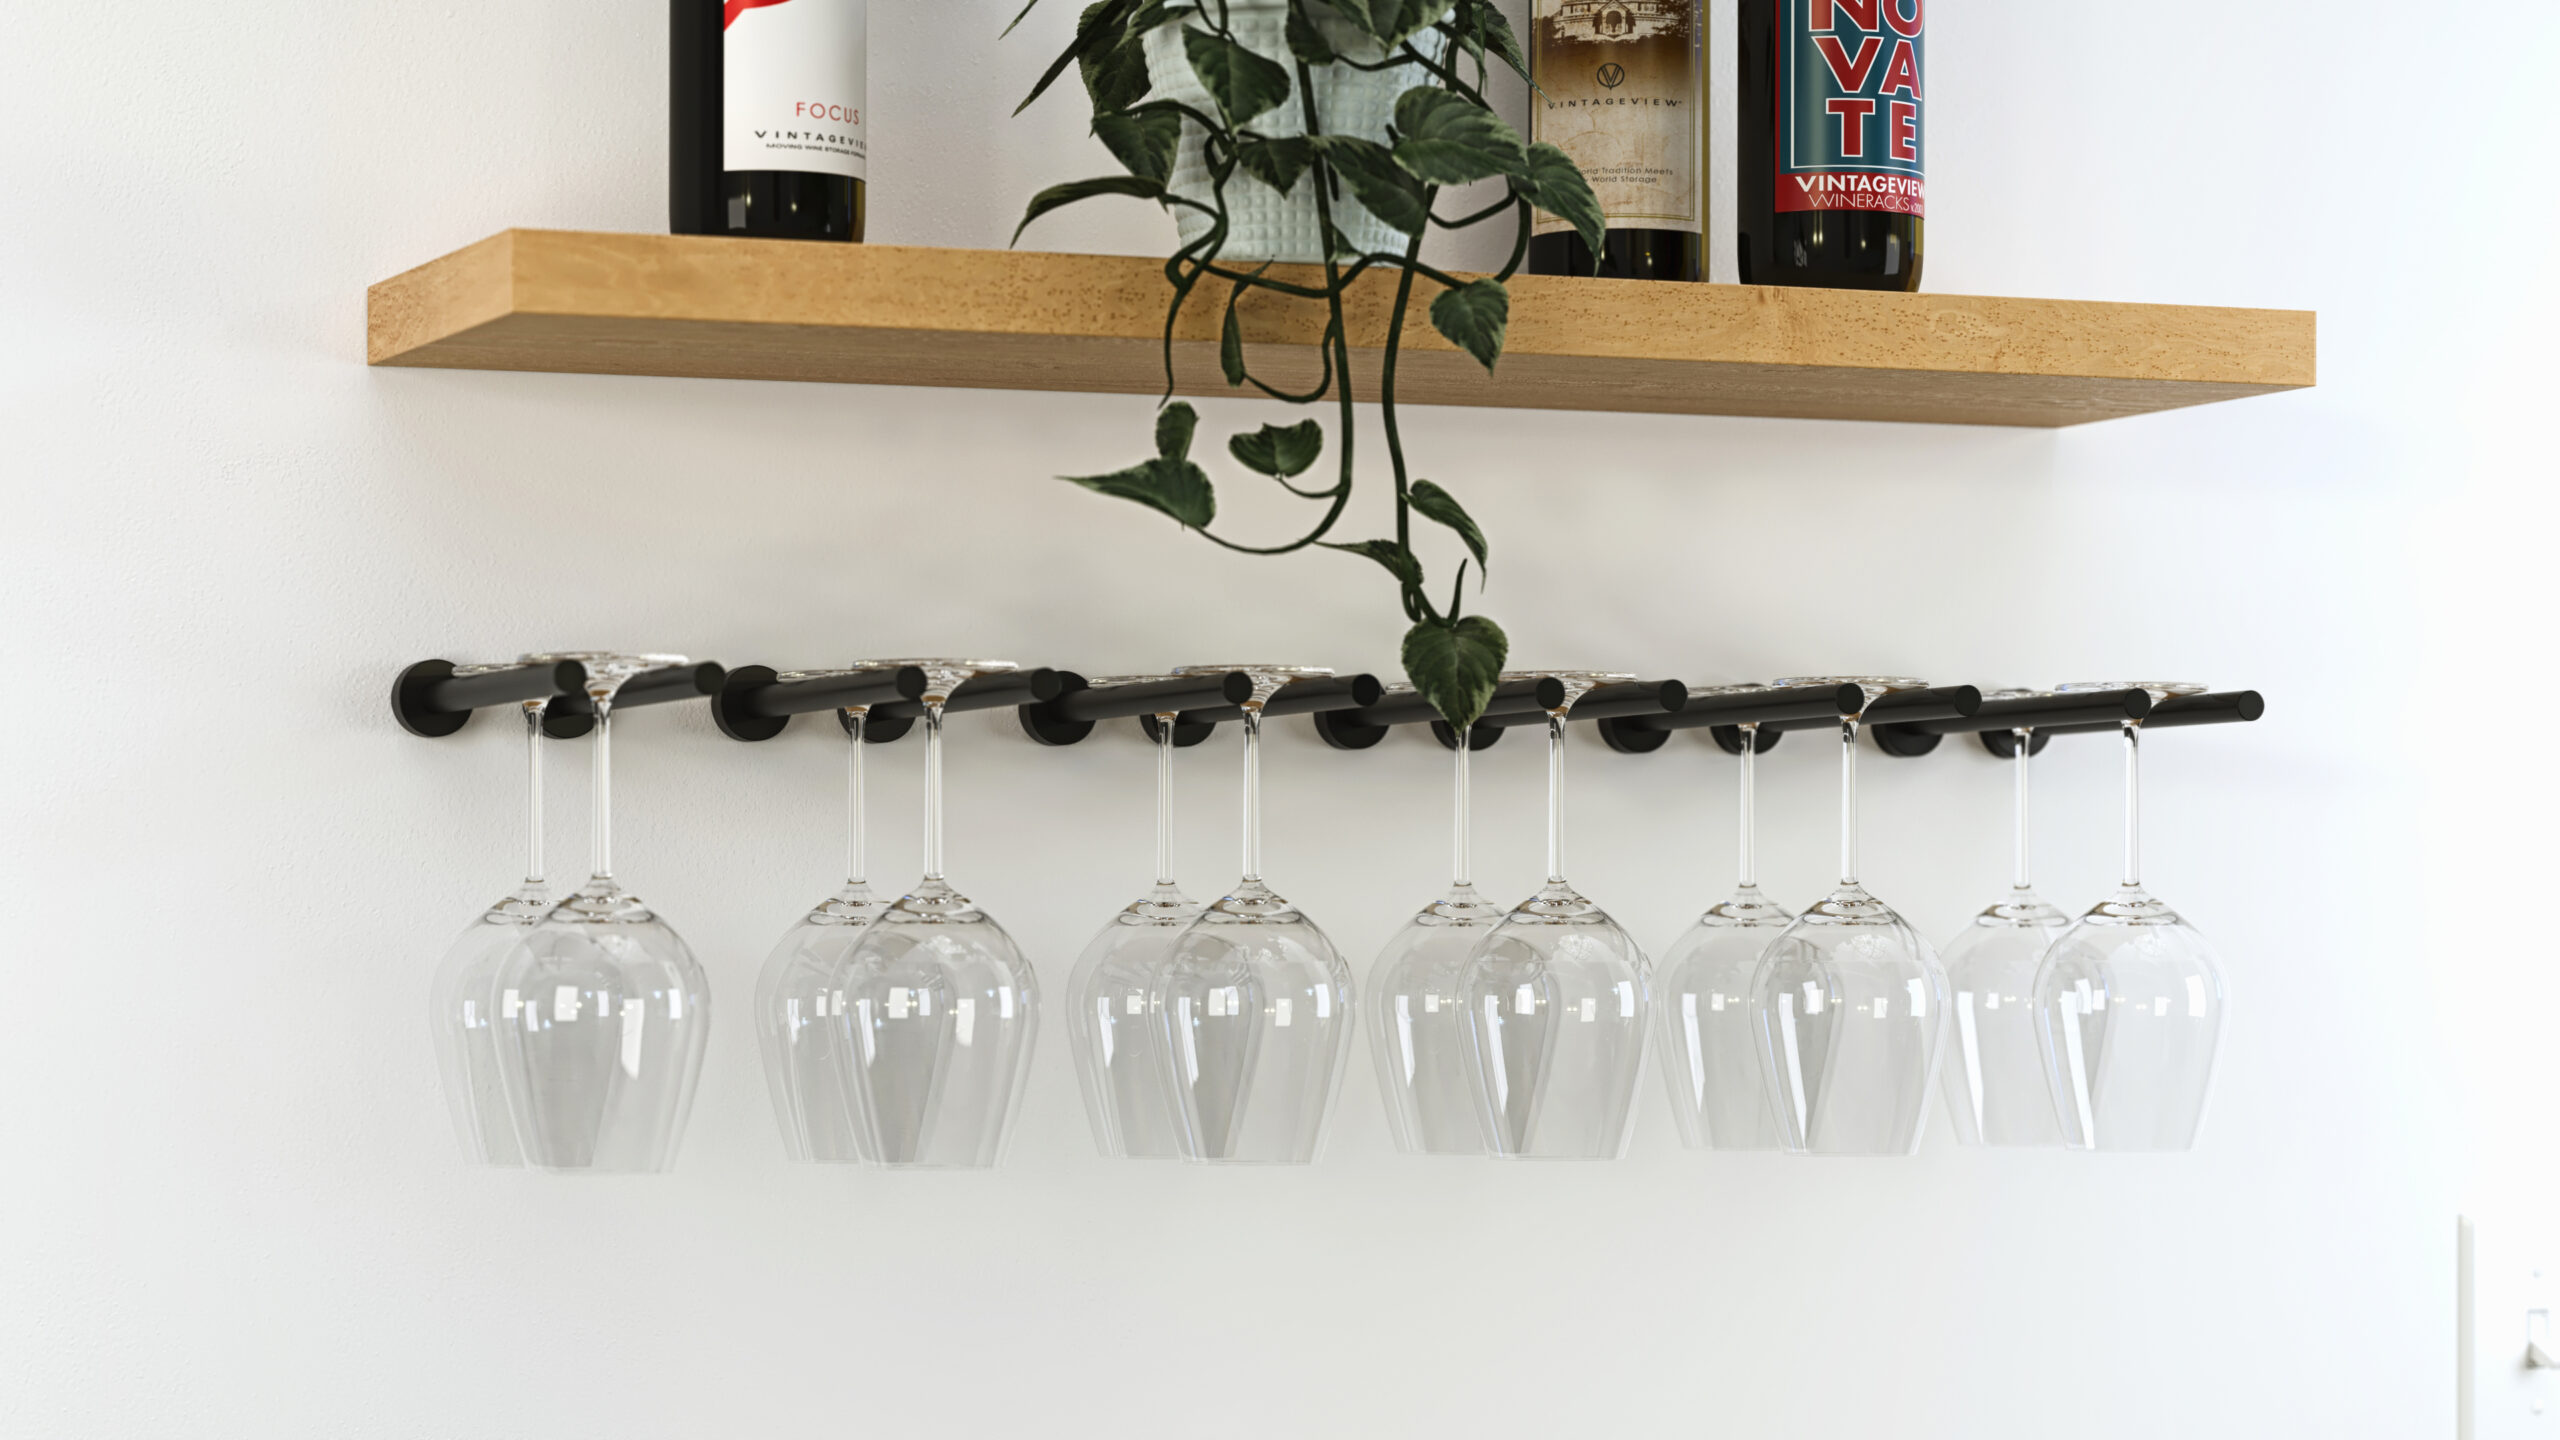
Are you tired of your wine rack tipping over or taking up too much floor space? Anchoring your wine rack to the wall is the simple fix you need.
It keeps your bottles safe, saves room, and adds a stylish touch to your home. But how do you do it right without damaging your walls or the rack? In this guide, you’ll discover easy, step-by-step tips to securely anchor your wine rack.
By the end, you’ll feel confident to tackle this project yourself and enjoy a neat, stable wine display. Keep reading to find out how!
Credit: comunisostenibili.eu
Choosing The Right Location
Choosing the right location for your wine rack is key to keeping it safe and stable. A good spot protects the rack and the wine bottles. It also makes the rack easy to use and looks nice in the room. Think about the space you have and how the rack fits there. This helps avoid problems later.
Consider Wall Material
Know what type of wall you have. Drywall, brick, or concrete each needs different tools and anchors. Drywall alone may not hold a heavy rack. Solid walls usually hold more weight. Use anchors made for your wall type. This keeps the rack steady.
Select Optimal Height
Place the rack where it is easy to reach. Too high makes it hard to put or take bottles. Too low can cause strain or accidents. Aim for a height that fits your daily use. This makes your wine rack practical and safe.
Check For Studs
Find studs behind the wall for strong support. Studs are wooden beams that hold weight well. Use a stud finder to locate them. Screw the rack into studs for best hold. Avoid only using drywall anchors for heavy racks.
Gathering Necessary Tools
Before starting to anchor a wine rack to the wall, gather all necessary tools and hardware. This step saves time and avoids interruptions during the process. Having everything ready helps you work safely and efficiently. Below is a list of required hardware and essential tools for this task.
Required Hardware
- Wall anchors suitable for your wall type (drywall, brick, or concrete)
- Mounting screws matching the wall anchors
- Brackets or mounting plates that came with your wine rack
- Washers to secure screws if needed
- Optional: Stud finder for locating wall studs
Essential Tools
- Electric drill with drill bits matching the wall anchors
- Screwdriver (manual or electric) for tightening screws
- Level to ensure the wine rack is straight
- Measuring tape for accurate placement
- Pencil for marking drill points
- Hammer to tap in wall anchors if necessary
Preparing The Wall
Preparing the wall is a key step before anchoring your wine rack. It ensures the rack stays secure and holds the weight of your bottles safely. Taking time to prepare prevents damage to your wall and keeps your wine collection stable.
Start by finding the right spot on the wall. Consider the height and space available. Make sure the wall surface is clean and dry. This helps the anchors hold better and avoids slipping.
Marking Drill Points
Mark the exact spots where you will drill holes. Use a pencil to make small marks. Measure carefully to match the rack’s mounting holes. Double-check the spacing between marks. Accurate marks mean the rack will fit perfectly on the wall.
Marking drill points also helps avoid mistakes. It saves time and keeps the wall neat. Be sure the points are level and aligned with the rack’s design.
Using A Level
A level is a simple tool that ensures your marks are straight. Place it against the wall near your pencil marks. Adjust the marks until the bubble is centered. This shows your marks are perfectly horizontal.
Using a level prevents your wine rack from tilting. A tilted rack can cause bottles to fall. It also looks untidy. A level ensures a clean, professional look for your installation.

Credit: www.amazon.com
Drilling And Anchoring
Drilling and anchoring are key steps to secure your wine rack safely to the wall. Proper drilling creates the right space for anchors. Anchors hold screws tightly in drywall or plaster. This stops the rack from falling or wobbling. Follow the steps carefully for a strong hold.
Drill Hole Size
Choose a drill bit that matches the wall anchor size. The hole should be just wide enough for the anchor to fit snugly. Too big and the anchor will be loose. Too small and it will be hard to insert. Use a tape measure or check the anchor packaging for size details.
Inserting Wall Anchors
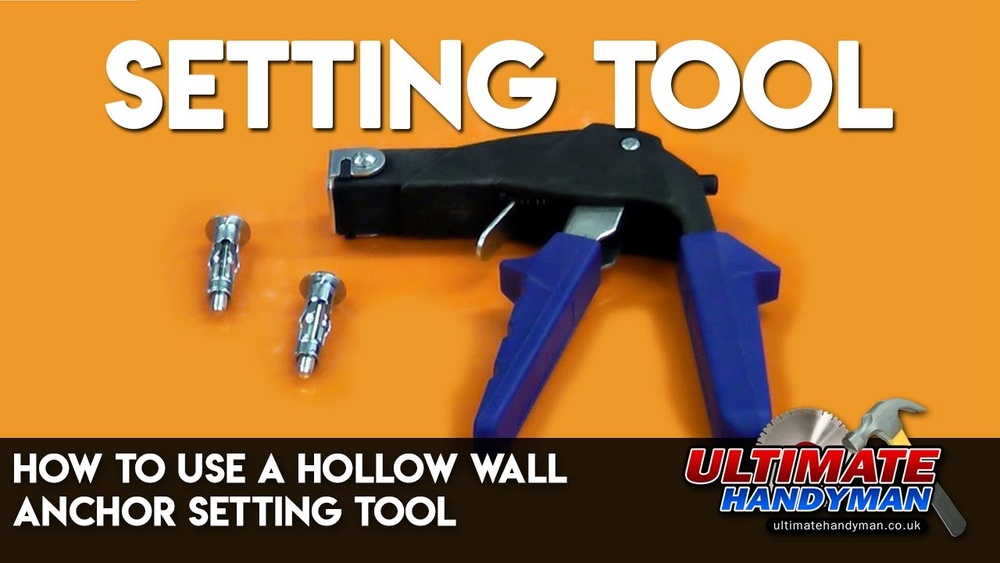
Push the wall anchor into the drilled hole. Tap gently with a hammer if it doesn’t fit easily. The anchor should sit flush with the wall surface. Do not force it too deep. Once inserted, the anchor expands when the screw goes in. This keeps the rack firmly attached to the wall.
Mounting The Wine Rack
Mounting the wine rack on the wall keeps it safe and stable. It also saves space and displays your collection nicely. Proper mounting stops the rack from falling or tipping over.
Follow clear steps to mount the rack securely. Use the right tools and materials for a strong hold. Take your time to align and fix the rack well.
Aligning The Rack
Place the wine rack against the wall at the chosen spot. Use a level tool to check if it is straight. Adjust the rack until it is perfectly horizontal. Mark the wall through the rack’s mounting holes.
Double-check the marks before drilling. Accurate alignment makes the rack look better and holds better.
Securing With Screws
Drill holes on the marked spots using a drill bit suitable for your wall type. Insert wall anchors if the wall is drywall or plaster. Position the rack back on the wall and line up the holes.
Use screws long enough to go deep into the wall or studs. Tighten the screws firmly but avoid over-tightening. Check the rack is stable and does not wobble.

Credit: ouraestheticabode.com
Final Checks And Safety
Securing your wine rack to the wall is only part of the process. Final checks and safety steps ensure your rack stays sturdy. These steps help avoid accidents and protect your bottles. Spend time on these checks before filling the rack.
Testing Stability
Gently push the wine rack from different angles. It should not wobble or move. Check all screws and anchors for tightness. If the rack shifts, tighten the screws again. Make sure the rack feels firm and solid. A stable rack prevents falls and damage.
Weight Capacity Tips
Know the weight limit of your wine rack. Do not overload it beyond this limit. Spread the bottles evenly across the shelves. Place heavier bottles on the lower shelves. Avoid stacking bottles too close together. This prevents stress on the rack and wall anchors.
Frequently Asked Questions
How Do You Secure A Wine Rack To Drywall?
Use wall anchors or toggle bolts for drywall. Locate studs with a stud finder for extra support. Attach the wine rack using screws into anchors or studs to ensure it holds firmly and safely.
What Tools Are Needed To Anchor A Wine Rack?
You need a drill, screws, wall anchors, a stud finder, a level, and a screwdriver. These tools help you locate studs, drill holes, and secure the wine rack evenly and firmly to the wall.
Can You Anchor A Wine Rack To Plaster Walls?
Yes, use toggle bolts or molly bolts for plaster walls. Avoid just screws, as plaster is brittle. These anchors spread the load and prevent damage while holding the wine rack securely in place.
How High Should A Wine Rack Be Anchored?
Anchor the wine rack at eye level or slightly below for easy access. Typically, 48 to 60 inches from the floor works well. This height balances convenience and visual appeal in most rooms.
Conclusion
Anchoring a wine rack to the wall keeps it safe and steady. Use the right tools and follow each step carefully. Check that the rack holds well before placing bottles. Secure installation prevents accidents and protects your wine collection. A strong rack adds style and function to your space.
Take your time and enjoy a neat, organized wine display. Simple steps lead to lasting results you can trust.