Are you struggling with your Kwikset single cylinder deadbolt and wondering how to remove it quickly and safely? Whether you’re upgrading your locks or fixing a jammed deadbolt, knowing the right steps can save you time and frustration.
In this guide, you’ll discover simple, clear instructions that anyone can follow—even if you’re not a DIY expert. Keep reading to learn how to take your Kwikset deadbolt off without damaging your door or lock, so you can move forward with confidence.
Tools Needed
Removing a Kwikset single cylinder deadbolt requires a few simple tools. Having the right tools makes the job easier and faster. Prepare everything before starting to avoid interruptions.
Phillips Head Screwdriver
This is the main tool you need. Most Kwikset deadbolts use Phillips screws. A screwdriver with a comfortable handle helps you twist screws easily. Choose the right size to avoid stripping screws.
Flat Head Screwdriver
A flat head screwdriver helps to pry off covers or plates gently. It is useful for loosening parts stuck in place. Keep it handy for small adjustments during removal.
Allen Wrench (hex Key)
Some Kwikset models use small hex screws. An Allen wrench fits these screws perfectly. Check your deadbolt to see if this tool is needed. It comes in various sizes, so have a set ready.
Pliers
Pliers can help pull out stubborn pieces. Use them carefully to avoid damage. Needle-nose pliers work best for tight spaces.
Flashlight
A flashlight brightens dark areas inside the door. It helps you see screws and parts clearly. Good lighting reduces mistakes and speeds up the process.
Prepare The Door
Preparing the door is the first step to remove a Kwikset single cylinder deadbolt. This step helps you work safely and easily. Proper preparation makes the removal smooth and fast.
Clear the area around the door. This gives you enough space to move and use tools. Check the door surface for any dirt or damage. Clean the door to avoid dust and dirt getting inside the lock.
Gather Necessary Tools
Collect tools before starting. You need a screwdriver, usually a Phillips head. A flathead screwdriver can help with prying parts gently. Keep a flashlight nearby to see small screws clearly.
Remove Door Decorations
Take off any decorations or covers on the door near the lock. These can block access to screws or parts of the deadbolt. Removing them helps you reach all necessary points without trouble.
Ensure Door Is Secure
Make sure the door is stable. A swinging door can be hard to work on. Close the door fully and lock it if possible. This keeps the door steady while you remove the deadbolt.
Remove Interior Thumb Turn
The interior thumb turn is the small knob used to lock or unlock the deadbolt from inside. Removing it is the first step to take off your Kwikset single cylinder deadbolt. This part is easy to access and does not need many tools.
Start by locating the thumb turn on the inside of your door. It is attached to the deadbolt mechanism. Removing it carefully helps avoid damage to the door or lock.
Locate The Set Screw
Look closely at the base of the thumb turn. You will find a small set screw holding it in place. Use a flashlight if the area is dark. This screw is usually on the side or bottom.
Unscrew The Set Screw
Use a small flathead or Phillips screwdriver to turn the set screw counterclockwise. Turn slowly to avoid stripping the screw head. Once loose, the thumb turn becomes free to remove.
Remove The Thumb Turn
After loosening the set screw, gently pull the thumb turn straight out. Do not force it. If it feels stuck, check the screw again. The thumb turn should come off easily.
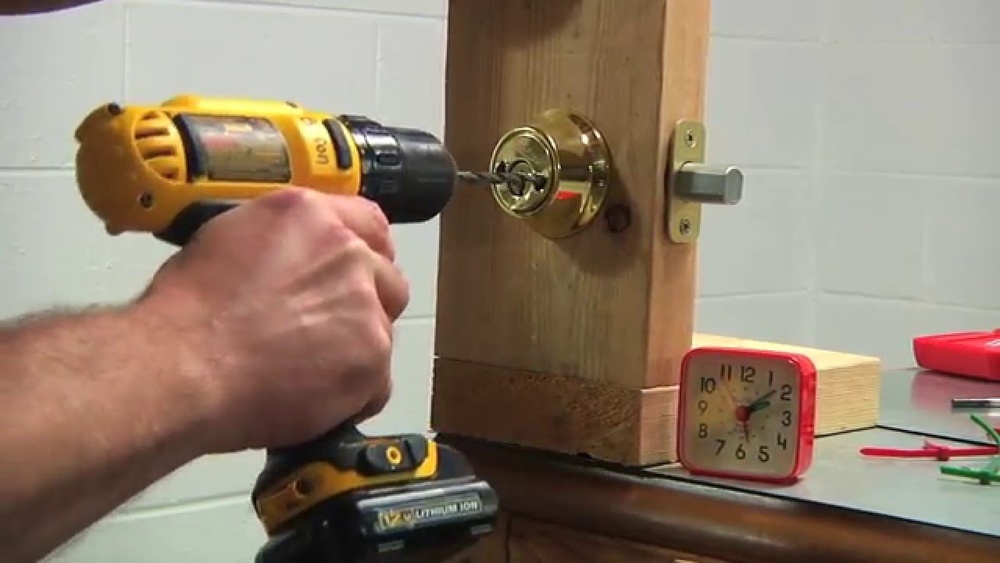
Credit: www.homedepot.com
Unscrew The Interior Plate
Start by locating the screws on the interior plate of the deadbolt. Use a screwdriver to carefully remove these screws. Gently pull off the interior plate to expose the lock mechanism beneath.
Understanding The Interior Plate Of A Kwikset Deadbolt
The interior plate covers the lock mechanism inside the door. It holds the deadbolt in place and keeps it secure. Removing this plate is the first step to take out the lock.
Before unscrewing, check for visible screws on the plate. These screws connect the plate to the door and the lock assembly.
Gathering Tools For Unscrewing
Use a Phillips-head screwdriver for most Kwikset deadbolts. A flat-head screwdriver may also help in some cases. Having the right tool makes the task easier and safer.
Steps To Unscrew The Interior Plate
Locate all screws on the interior plate. Usually, there are two or three screws to remove. Turn each screw counterclockwise to loosen it.
Keep the screws safe in a small container. Removing all screws will free the plate from the door. Gently pull the plate off once the screws are out.
Detach The Exterior Cylinder
Detaching the exterior cylinder is a key step in removing a Kwikset single cylinder deadbolt. This part holds the lock’s key mechanism and must be removed carefully to avoid damage. Follow these simple steps to take it off safely.
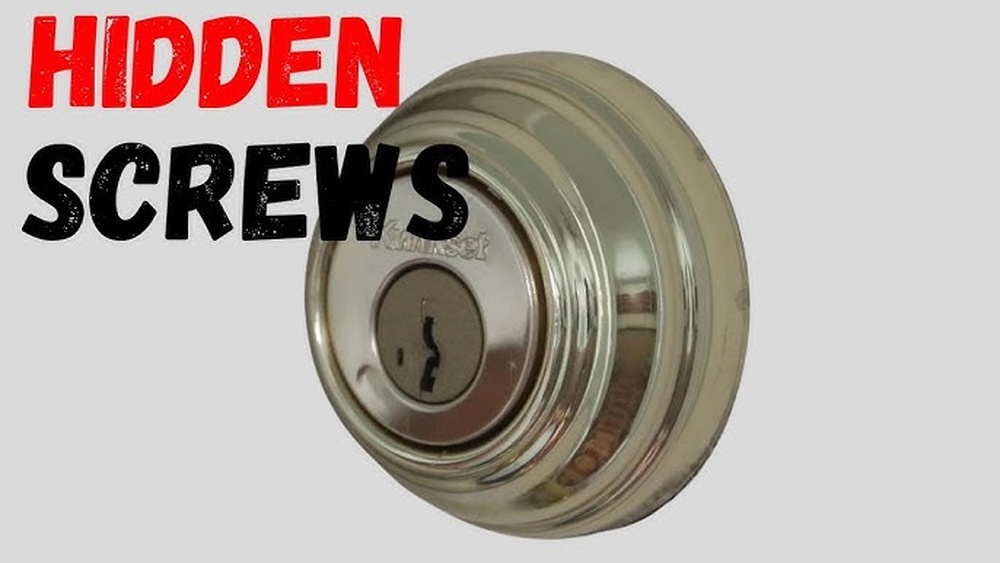
Locate The Retaining Screw
First, find the retaining screw on the edge of the door. This screw holds the exterior cylinder in place. It is usually near the middle of the door edge, opposite the keyhole. Use a screwdriver to remove this screw.
Turn The Key Slightly
Insert the key into the exterior cylinder. Turn it slightly to align the cylinder with the door. This makes it easier to pull out. Do not force the key or cylinder.
Pull Out The Exterior Cylinder
Hold the cylinder firmly and pull it straight out from the door. It should slide out smoothly once the screw is removed and the key is turned. If it feels stuck, check the retaining screw again.
Remove The Deadbolt Mechanism
Removing the deadbolt mechanism is a key step in taking out your Kwikset single cylinder deadbolt. This process lets you access the inner parts of the lock. It helps you fix or replace the deadbolt if needed.
Take your time and work carefully. The deadbolt mechanism has small parts that must stay safe. Follow the steps below to remove it without trouble.
Unscrew The Interior Mounting Plate
Locate the screws on the inside of the door. Use a screwdriver to remove them. Keep the screws in a safe spot. This plate holds the deadbolt in place.
Pull Out The Interior Assembly
Gently pull the interior part of the lock away from the door. It should come off easily once the screws are out. Avoid using force to prevent damage.
Remove The Deadbolt From The Door Edge
Find the screws on the edge of the door holding the deadbolt. Unscrew them carefully. Slide the deadbolt mechanism out of the door.
Inspect The Deadbolt Components
Check the removed parts for wear or damage. Clean any dirt or debris. This step ensures the new or repaired deadbolt works well.
Check For Damage
Checking for damage is an important step before removing a Kwikset single cylinder deadbolt. It helps you understand the lock’s condition and what tools you might need. Damage can affect how you take the lock apart and if any parts need replacement.
Look carefully at the lock and the door area. Small cracks or worn parts can make removal harder. Early detection saves time and effort during the process.
Inspect The Lock Faceplate
The faceplate is the metal part on the door edge. Check it for dents, bends, or scratches. Damage here may mean the lock has been forced or hit.
A bent faceplate can block the bolt from moving. This may cause problems when you try to remove the deadbolt.
Examine The Cylinder And Keyhole
Look closely at the cylinder and keyhole. Dirt or rust can jam the lock. Also, check for scratches or cracks around the keyhole.
Damage here may stop the key from turning smoothly. This can make removing the lock tricky or cause parts to break.
Check The Bolt And Strike Plate
Check the bolt that slides into the door frame. Make sure it moves freely without sticking. Also, look at the strike plate on the frame for any damage.
A damaged bolt or strike plate can cause the lock to stick. It may need fixing before removing the deadbolt.
Look For Loose Or Missing Screws
Loose screws can make the lock unstable. Missing screws may show previous repair attempts. Tighten any loose screws before trying to remove the lock.
Keep track of all screws during removal. This helps in reassembling or replacing the deadbolt later.

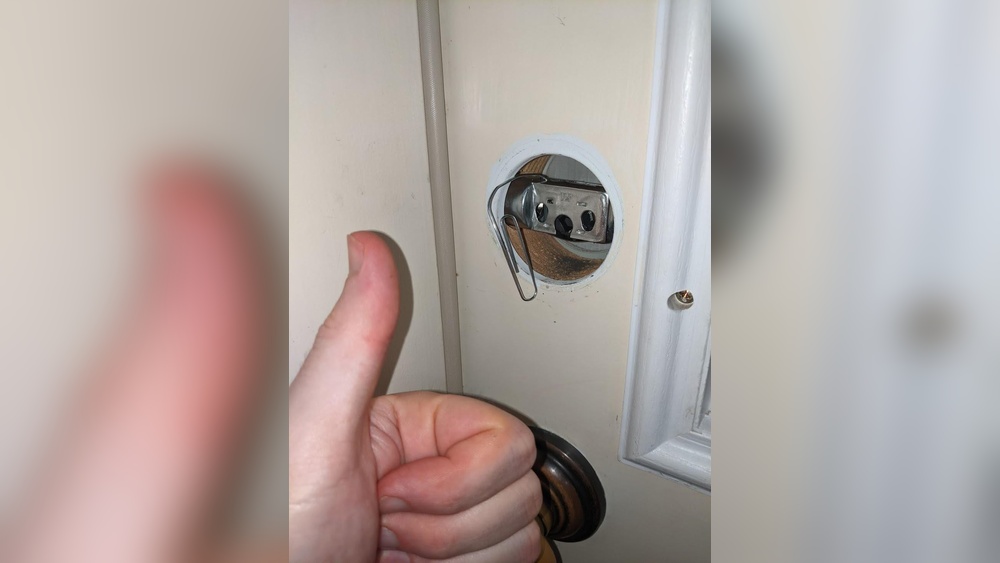
Credit: www.youtube.com
Tips For Reinstallation
Reinstalling a Kwikset single cylinder deadbolt needs care and attention. Proper reinstallation ensures your lock works well and keeps your home safe. Follow these simple tips for a smooth and correct process.
Check All Parts Before Starting
Make sure you have all screws, plates, and the lock cylinder. Missing parts can cause trouble during installation. Lay everything out on a clean surface. This helps keep things organized and easy to find.
Align The Deadbolt Correctly
Place the deadbolt in the door edge carefully. The bolt should move smoothly without sticking. Align it so the bolt fits perfectly into the door frame hole. Proper alignment prevents damage and improves lock function.
Secure Screws Firmly But Not Too Tight
Tighten screws evenly and just enough to hold parts in place. Over-tightening can strip screws or damage the lock. Loose screws make the lock wobble and feel unsafe. Use a screwdriver, not a drill, for better control.
Test The Lock Multiple Times
Turn the key and thumb turn several times. The deadbolt should move easily and lock fully. Test both sides of the door. Fix any sticking or rough movement before finishing installation.
Lubricate The Lock For Smooth Operation
Apply a small amount of graphite lubricant inside the keyhole. Avoid oil-based lubricants that attract dust. Lubrication keeps the lock working well and extends its life.

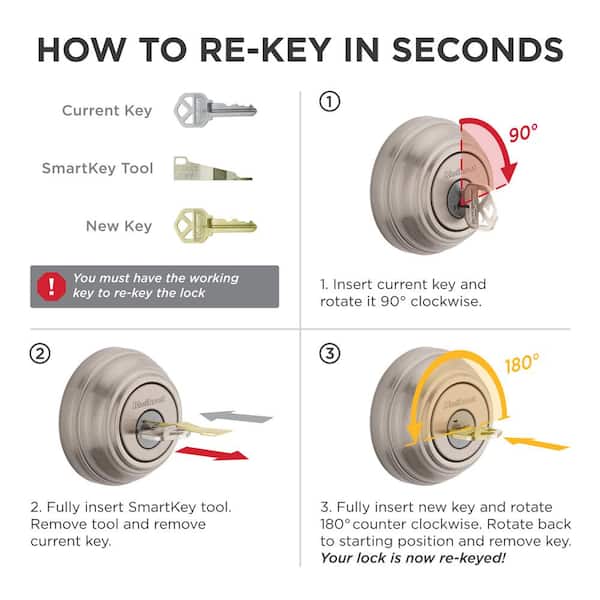
Credit: www.youtube.com
Frequently Asked Questions
How Do I Remove A Kwikset Single Cylinder Deadbolt?
First, unscrew the interior mounting screws using a screwdriver. Remove the interior knob and plate. Then, unscrew the exterior side and gently pull the lock apart.
What Tools Are Needed To Remove Kwikset Deadbolt?
You need a Phillips screwdriver and possibly a flathead screwdriver. A drill may be required for stuck screws. Having a flashlight helps to see inside the lock assembly.
Can I Remove Kwikset Deadbolt Without A Key?
Yes, you can remove the interior screws and take off the lock from inside. No key is required if you have access to the door’s interior side.
How Long Does It Take To Remove The Deadbolt?
Removing a Kwikset deadbolt usually takes 5 to 10 minutes. It depends on your experience and if screws are easy to remove.
Conclusion
Removing a Kwikset single cylinder deadbolt is a simple task. Follow the steps carefully and take your time. Use the right tools to avoid damage. Stay safe and work patiently. This guide helps you handle the job with ease. Now, you can replace or fix your deadbolt confidently.
Keep your home secure with proper lock maintenance. Practice these tips for future projects too.