Have you noticed your light switches turning yellow and dull over time? It’s a common problem that makes your walls look older and less fresh.
But don’t worry—cleaning yellowed light switches is easier than you think. In this guide, you’ll discover simple, effective methods to bring back their original white shine. Keep reading, and you’ll learn how to refresh your switches quickly, safely, and without spending a lot of money.
Your home deserves to look its best, starting with the little things like your light switches.
Causes Of Yellowed Switches
Yellowed light switches are common in many homes. They do not look clean or new. Understanding why switches turn yellow helps in cleaning them properly. Several factors cause this yellowing over time.
Effects Of Aging Plastic
Most light switches are made of plastic. Plastic changes color as it gets older. Heat from electricity and use causes this change. The plastic breaks down slowly, turning yellow or brown. This aging is natural and happens to all plastic products.
Impact Of Smoke And Dirt
Smoke from cigarettes or cooking sticks to switches. Dust and dirt also build up on the surface. These particles mix with moisture and oils from hands. This mix creates a yellowish layer on the switch. The longer the exposure, the darker the color.
Role Of Uv Exposure
Sunlight contains ultraviolet (UV) rays. UV rays damage plastic over time. They cause chemical reactions that change the plastic’s color. Switches near windows or in bright rooms yellow faster. UV light breaks down the plastic’s surface, making it brittle and discolored.

Credit: fixfirst.sg
Safety First
Cleaning yellowed light switches can brighten your room. Safety must come first. Electrical parts can be dangerous if handled carelessly. Follow simple safety steps to avoid accidents. Protect yourself and your home before starting.
Turning Off Power
Always turn off the power before cleaning light switches. Find the circuit breaker box in your home. Switch off the breaker that controls the light switch. Use a voltage tester to check if power is off. Never clean switches with power on. This step prevents electric shocks and injuries.
Using Protective Gear
Wear protective gear to keep safe during cleaning. Use rubber gloves to avoid electric shocks. Safety glasses protect your eyes from dust and cleaner splashes. Use a mask if you clean with strong chemicals. These simple tools reduce risk and make cleaning safer.
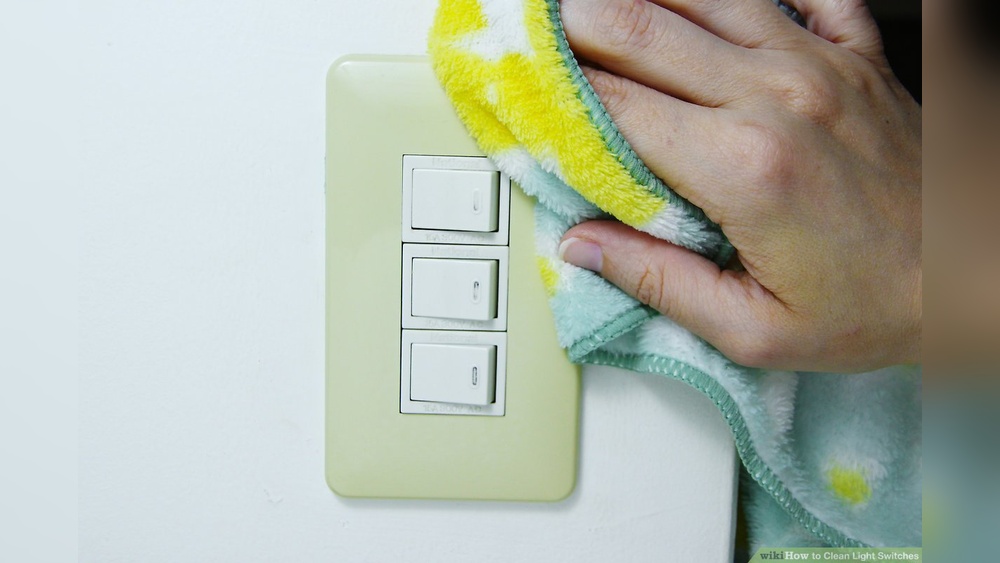
Basic Cleaning Methods
Yellowed light switches can make any room look old and dirty. Basic cleaning methods can help bring back their original white color. These methods use simple household items and do not require special tools or chemicals.
Start with gentle cleaning to avoid damage. These easy steps can refresh your switches quickly and safely.
Soap And Water
Mix a few drops of dish soap with warm water. Dip a soft cloth or sponge into the solution. Wring out excess water to keep the cloth damp, not wet. Gently wipe the light switch cover in circular motions. Use a dry cloth to remove any leftover moisture. Repeat if needed for stubborn stains.
Using Baking Soda Paste
Make a paste by mixing baking soda with a small amount of water. The paste should be thick but spreadable. Apply it to the yellowed areas using a soft cloth or old toothbrush. Rub gently to avoid scratching the surface. Leave the paste on for 10 minutes. Wipe it off with a damp cloth and dry thoroughly.
Vinegar Solutions
Combine equal parts of white vinegar and water in a spray bottle. Spray the solution on the light switch cover. Let it sit for a few minutes to break down grime. Use a soft cloth or sponge to wipe away dirt and yellowing. Dry the switch cover with a clean cloth to prevent streaks.
Advanced Whitening Techniques
Yellowed light switches can make a room look old and dirty. Basic cleaning might not remove deep stains or heavy discoloration. Advanced whitening techniques offer stronger solutions to restore brightness. These methods use safe chemicals or products to remove tough yellowing. Follow these steps carefully to avoid damage and improve your switches’ look.
Hydrogen Peroxide Soak
Hydrogen peroxide is a mild bleach that brightens plastic well. Remove the light switch cover from the wall first. Pour hydrogen peroxide into a small container. Soak the cover fully for several hours or overnight. Sunlight can speed up the whitening effect. Rinse the cover with water after soaking. Dry it completely before putting it back. Repeat if necessary for stubborn stains.
Bleach Treatments
Bleach can remove severe yellow stains but use it with care. Mix a small amount of bleach with water in a plastic bowl. Dip a cloth or sponge into the solution. Gently wipe the light switch cover’s surface. Avoid soaking the cover fully to protect the plastic. Rinse thoroughly with water to remove bleach residue. Wear gloves and work in a ventilated area for safety.
Using Commercial Cleaners
Many commercial cleaners target plastic yellowing effectively. Choose a cleaner made for plastics or household use. Follow the product instructions exactly for best results. Apply the cleaner to the light switch cover with a soft cloth. Rub gently to avoid scratching the surface. Rinse well and dry the cover before reinstallation. Test the cleaner on a small area first to check for damage.
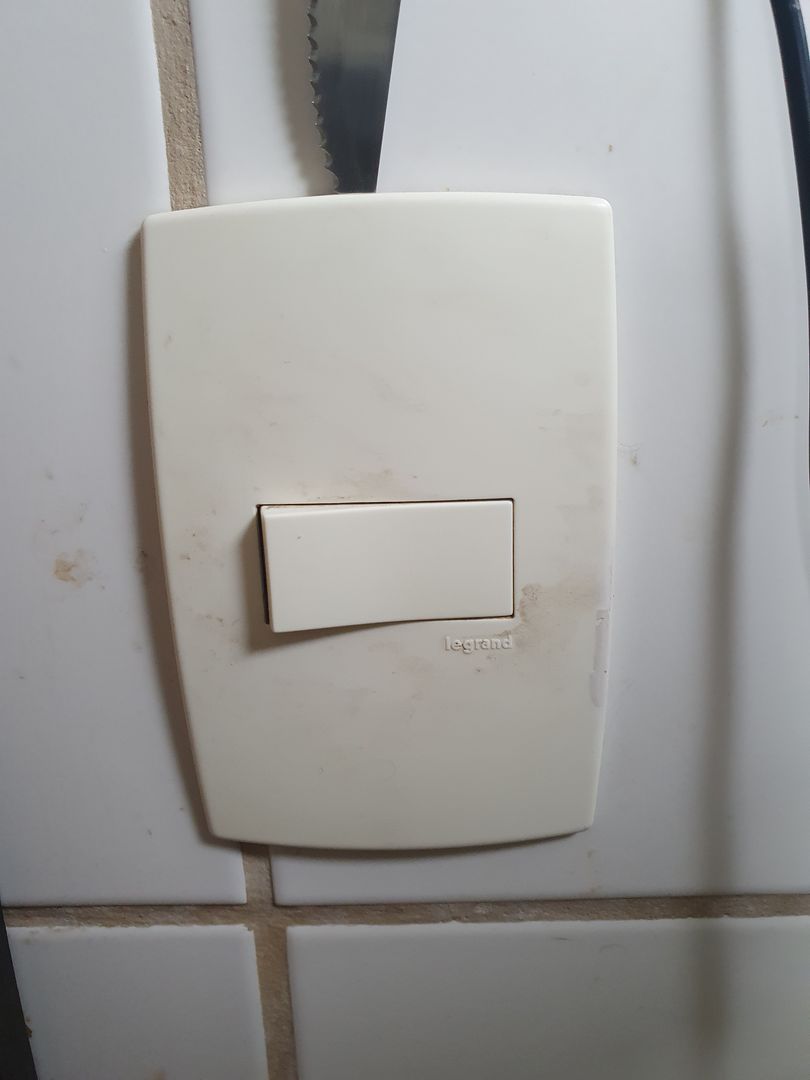
Restoring Switch Plates
Restoring switch plates can bring fresh life to your room. Yellowed plates look old and dirty, but cleaning or renewing them is simple. You can sand, polish, repaint, or replace switch plates to make them bright again. Each method has its own benefits and suits different needs.
Sanding And Polishing
Start by removing the switch plate from the wall. Use fine-grit sandpaper to gently remove yellow stains. Sand in small, circular motions to avoid scratches. After sanding, use a soft cloth to polish the surface. Polishing helps to smooth out the plate and restore some shine. This method works well for mild discoloration and light damage.
Repainting Tips
Choose a spray paint made for plastic surfaces. Clean the switch plate thoroughly before painting. Lightly sand the surface to help paint stick better. Apply thin, even coats of paint and let each coat dry. Avoid heavy layers to prevent drips and bubbles. Use neutral colors like white or beige for a clean look. Repainting can make an old plate look brand new.
Replacing Old Switch Plates
Sometimes, replacing is the easiest option. New switch plates are inexpensive and available in many styles. Choose a plate that matches your room’s decor. Unscrew the old plate and install the new one carefully. This option saves time and guarantees a fresh, clean appearance. It also removes any damage that sanding or painting cannot fix.
Credit: www.reddit.com
Preventing Future Yellowing
Yellowed light switches can make a room look old and dirty. Preventing this yellowing helps keep your home fresh and clean. Taking simple steps can stop the plastic from turning yellow again. Small changes in cleaning and care make a big difference over time.
Regular Cleaning Routine
Clean light switches often using a soft cloth and mild soap. Avoid harsh chemicals that can damage the plastic. Wipe away dust and dirt before they build up. Regular cleaning keeps the surface smooth and bright. It stops grime from settling into the plastic and causing stains.
Minimizing Exposure To Uv
Sunlight causes plastic to yellow quickly. Keep switches away from direct sunlight if possible. Use curtains or blinds to block strong rays. UV light breaks down plastic molecules, speeding yellowing. Protecting switches from sunlight keeps them looking new longer.
Avoiding Smoke And Pollutants
Smoke from cigarettes and cooking stains plastic surfaces. Avoid smoking indoors near light switches. Use exhaust fans to reduce cooking fumes. Pollutants stick to plastic and cause yellow stains. Keeping air clean helps prevent switch discoloration over time.
Credit: www.homify.co.uk
Frequently Asked Questions
Why Do Light Switches Turn Yellow Over Time?
Light switches yellow due to exposure to sunlight, heat, and smoke. Plastic materials oxidize and discolor naturally. This aging process causes the yellow tint on switches, especially in older homes.
What Household Items Can Clean Yellowed Light Switches?
Common items like baking soda, vinegar, and toothpaste effectively clean yellowed switches. They gently remove stains without harsh chemicals. Always use a soft cloth to avoid scratching the surface.
Can I Use Bleach To Whiten Light Switches?
Bleach can whiten switches but may damage plastic or cause discoloration. It’s best to test a small area first or use safer alternatives like baking soda or vinegar.
How Often Should I Clean Light Switches To Prevent Yellowing?
Cleaning switches every few months helps prevent yellow buildup. Regular wiping removes dirt and oils, reducing discoloration. This simple habit maintains a fresh, clean appearance.
Conclusion
Cleaning yellowed light switches can brighten any room quickly. Use gentle cleaners and soft cloths for best results. Avoid harsh chemicals to protect your switches. Regular cleaning keeps them looking fresh and new. Small efforts make a big difference in home care.
Try these simple tips to refresh your space today. Clean switches add to a neat, welcoming home. Easy steps, clear results—no need for replacements. Keep your home bright with clean light switches.