Looking to add a unique touch to your home while keeping things organized? You’re in the right place.
Making a decorative wall hook is easier than you think, and it’s a fun way to show off your style. Imagine a simple project that transforms a blank wall into a standout feature. Whether you want to hang your keys, bags, or hats, this guide will help you create a hook that’s both useful and beautiful.
Keep reading, and by the end, you’ll have the skills to craft your own eye-catching wall hook that fits your space perfectly.
Choosing The Right Materials
Creating a decorative wall hook requires some basic tools. Having the right tools makes the process easier and safer. It also helps you get a clean and polished look. Here is a list of tools you will need for this project.
Basic Hand Tools
Start with simple hand tools. A hammer is essential for driving nails or hooks. A screwdriver helps tighten screws. A measuring tape lets you measure space accurately. A pencil is useful for marking spots on the wall. A level ensures your hook hangs straight. Pliers can help with bending or holding small parts.
Power Tools For Efficiency
Power tools make work faster and smoother. A drill is key for making holes in walls. It saves time compared to manual drilling. Choose drill bits that match your wall type. An electric screwdriver can speed up screw driving. Sandpaper or a sanding machine helps smooth rough edges. Use these tools carefully to avoid damage.
Safety Equipment
Safety comes first. Wear safety goggles to protect your eyes from dust and debris. Use gloves to protect your hands from sharp edges. A dust mask prevents inhaling dust particles. Work in a well-lit area to avoid mistakes. Keep your workspace clean to reduce accidents. These steps keep you safe and confident.
Tools You’ll Need
Starting with simple wall hook designs helps build confidence. These projects use easy materials and basic tools. Beginners can create stylish hooks without much effort. Each design adds charm and function to any room.
Rustic Wooden Pegs
Rustic wooden pegs bring a natural look to walls. Use small wooden dowels or old broom handles. Cut them into short pieces and sand the edges smooth. Attach the pegs to a wooden board with screws. Stain or paint the board for a personal touch.
This design fits well in cabins or farmhouse-style rooms. It holds coats, bags, or hats with ease. Simple, sturdy, and cost-effective.
Painted Ceramic Hooks
Painted ceramic hooks add color and style to walls. Find plain ceramic knobs at craft stores. Use acrylic paint to create patterns or solid colors. Let the paint dry fully before attaching the knobs to the wall.
These hooks work well in bathrooms or kids’ rooms. They hold towels, jewelry, or keys. A fun project that brightens any space.
Upcycled Drawer Handles
Upcycled drawer handles make unique wall hooks. Remove handles from old furniture pieces. Clean and sand them to remove dirt or rust. Attach the handles to a wooden plank or directly to the wall.
This idea gives new life to unused items. It suits eclectic or vintage decor styles. Strong and stylish hooks for everyday use.
Simple Designs For Beginners
Creating a decorative wall hook is simple with clear assembly steps. Follow these tips to ensure your wall hook is sturdy and looks great. Take your time with each step for the best results.
Measuring And Marking
Start by measuring the wall space where you want the hook. Use a pencil to mark the spots for each hook. Make sure the marks are level and evenly spaced. A level tool helps keep everything straight. Double-check your measurements before moving on.
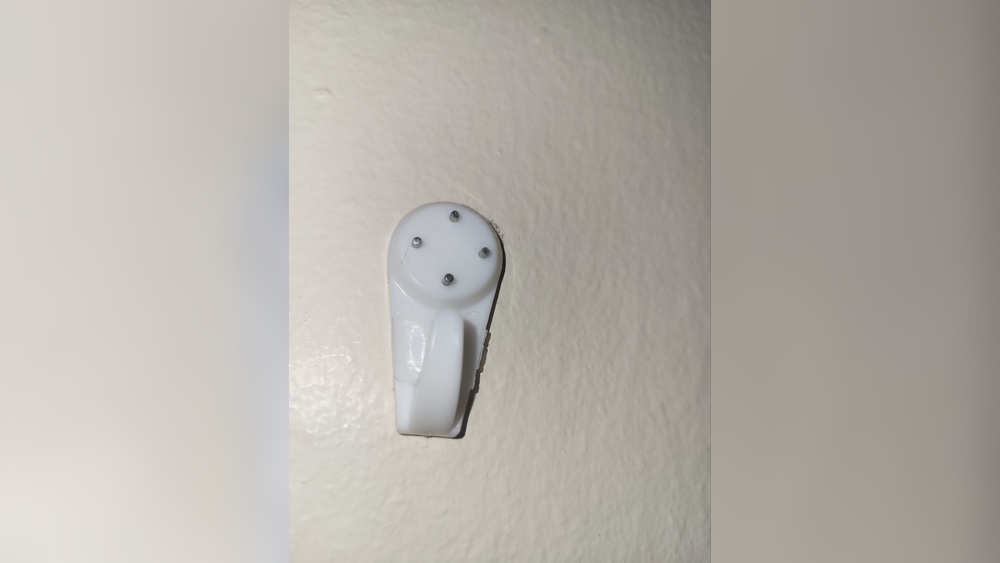
Attaching Hooks Securely
Choose the right screws or nails for your wall type. Use a drill or hammer to fix hooks at the marked spots. Tighten screws well to prevent the hooks from wobbling. For heavy items, use wall anchors for extra support. Test each hook by gently pulling it.
Finishing Touches
Wipe off any pencil marks or dust around the hooks. Paint or stain the hooks if needed to match your decor. Add decorative elements like ribbons or small signs if desired. Step back and check the overall look. Adjust hooks or decorations as needed.
Credit: www.we-are-scout.com
Creative Diy Ideas
Decorating your wall hook makes it stand out and match your room style. Small touches can turn a plain hook into a piece of art. This part is fun and lets you be creative. You can use colors, designs, and protective layers to make your hook unique. Each step adds beauty and helps the hook last longer.
Painting And Staining
Painting or staining changes the look of your hook quickly. Choose colors that fit your room’s theme. Use light coats to avoid drips and let each coat dry fully. Stains highlight the wood grain and give a natural feel. Both methods give your hook a fresh, clean look.
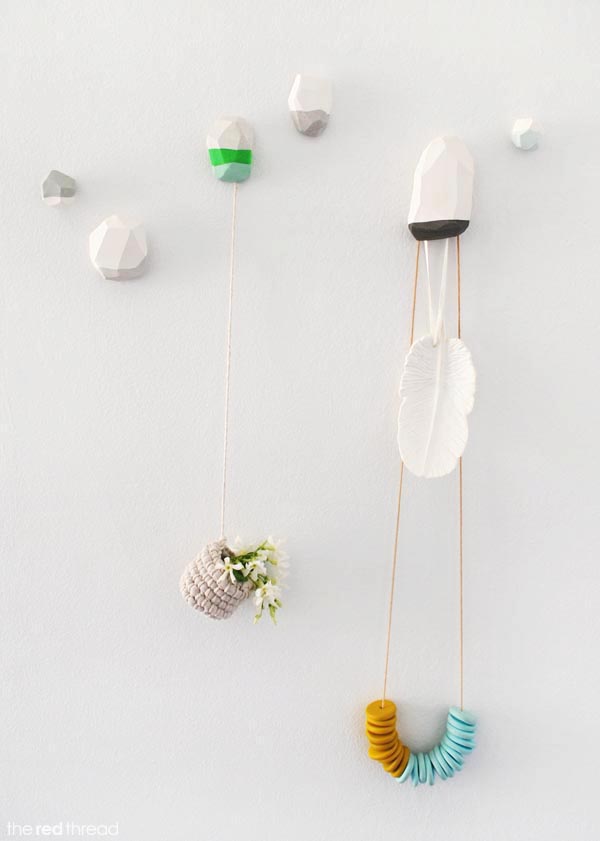
Adding Decorative Elements
Decorative elements add personality to your wall hook. Try attaching small beads, buttons, or fabric pieces. Stick on decals or use stencils for patterns. You can also glue on small shells or stones for a natural look. These details make your hook one of a kind.
Protective Coatings
Protective coatings keep your decoration safe from wear and tear. Use clear varnish or polyurethane for a strong finish. Apply thin layers and let each dry well. This coating keeps paint and decorations from chipping. It also makes cleaning easier and keeps the hook looking new.
Step-by-step Assembly Tips
Mounting and placement are key to making your decorative wall hook both useful and stylish. The right spot can enhance your room’s look and keep things organized. Careful mounting ensures your hook stays strong and safe for hanging items.
Choosing The Best Wall Spot
Pick a place where you need to hang items often. Near the door is great for keys or bags. In the bedroom, hooks can hold hats or scarves. Check the wall space for enough room around the hook. Avoid spots where the hook may block walkways or doors.
Mounting Techniques
Use screws and wall anchors for heavy items. For lighter hooks, strong adhesive strips can work well. Make sure the hook is level before fixing it. Drill pilot holes to avoid wall damage. Test the hook by gently pulling before full use.
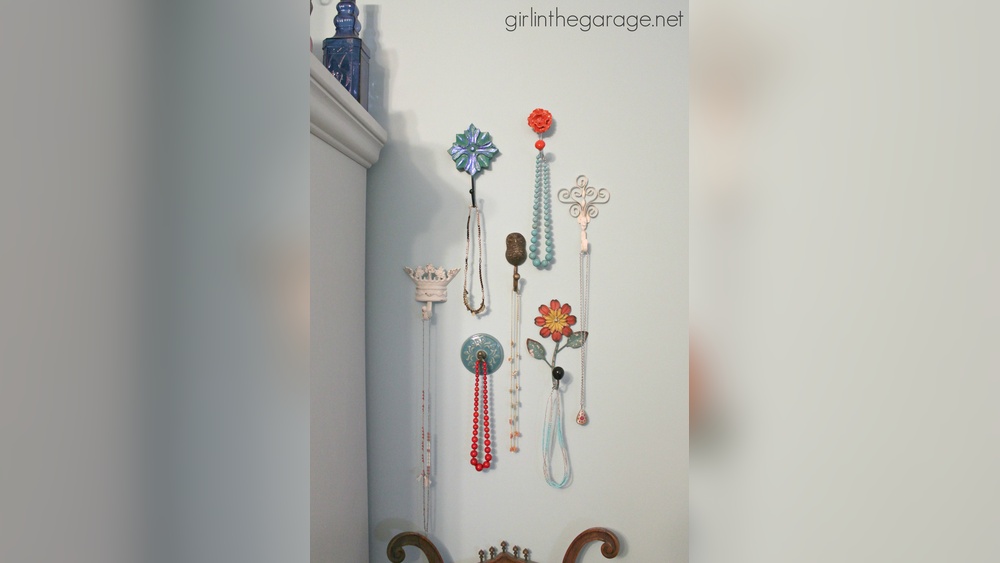
Creating A Hook Gallery
Arrange several hooks in a pattern or row. Mix sizes and shapes for a fun look. Use hooks in different colors to add interest. This gallery can hold coats, bags, and accessories all in one place. Space hooks evenly for balance and easy use.

Credit: akailochiclife.com
Credit: www.erinspain.com
Frequently Asked Questions
What Materials Do I Need For A Decorative Wall Hook?
You need wood or metal hooks, screws, anchors, a drill, sandpaper, paint or stain, and a mounting template. Choose materials that match your decor style for a personalized touch.
How Do I Choose The Right Wall Hook Design?
Select a design that complements your room’s theme and serves your storage needs. Consider size, shape, and color for functionality and style.
Can I Make A Decorative Wall Hook Without Power Tools?
Yes, you can use hand tools like a screwdriver, hammer, and manual drill. It may take more time but still yields great results.
How Do I Securely Mount A Decorative Wall Hook?
Use appropriate anchors for drywall or studs for heavier items. Drill pilot holes and tighten screws firmly to ensure stability and safety.
Conclusion
Creating a decorative wall hook adds charm to any room. It is simple and fun to make. You can choose colors and styles to match your space. This small project saves money and shows your style. Try making one today and enjoy your unique wall hook.
It brings both beauty and function to your home. Give your walls a fresh look with your own craft.