Looking for a simple way to add style and organization to your space? You’re in the right place.
Making a wall hook rack is easier than you think, and it gives you a practical spot to hang coats, bags, keys, and more. Imagine how much tidier your entryway or bedroom could look with just a few hooks in the right place.
Keep reading, and you’ll discover easy steps to create your own custom rack that fits your style and needs perfectly. Ready to transform your wall into a useful and eye-catching feature? Let’s get started!
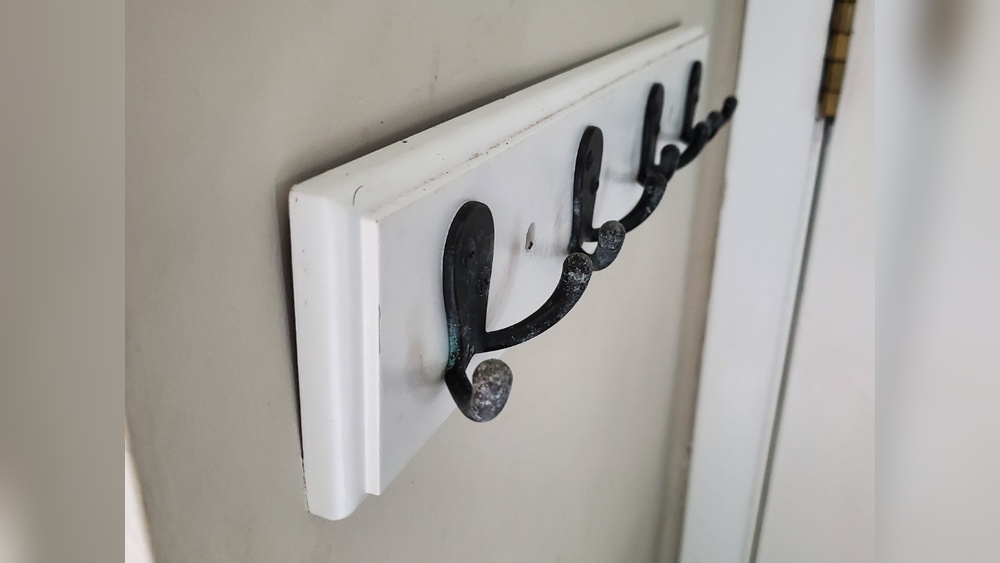
Credit: vckuanysh.kz
Materials And Tools Needed
Creating a wall hook rack requires the right materials and tools. Selecting good materials helps the rack last longer and look better. Using proper tools makes the process easier and safer. This section explains what you need to build a simple wall hook rack.
Choosing The Right Wood
Pick wood that is strong and smooth. Pine, oak, or cedar work well for wall racks. Avoid wood with many knots or cracks. A smooth surface helps paint or stain stick better. Choose a wood piece about one inch thick and wide enough for your hooks.
Selecting Hooks
Hooks come in many styles and sizes. Metal hooks are strong and hold heavy items. Wooden hooks look natural but hold less weight. Choose hooks that fit your needs and match the room’s style. Count how many hooks you want before buying.
Essential Tools List
Gather these tools before starting your project. A drill helps make holes for screws. A screwdriver is needed to attach hooks. Sandpaper smooths the wood surface. A tape measure ensures correct hook spacing. A pencil marks where to drill. A level keeps the rack straight on the wall.
Designing Your Rack
Designing your wall hook rack is the first step to a useful and stylish piece. It sets the foundation for how your rack will look and work. A well-designed rack fits your space and needs perfectly.
Think about the rack as both a tool and a decoration. Good design balances function with style. This makes your rack practical and pleasing to the eye.
Deciding Size And Shape
Start by measuring the wall space where the rack will hang. Choose a size that fits without crowding the area. Small spaces need compact racks. Large walls can hold longer or wider racks.
Shape matters. Rectangular racks offer more hooks. Round or irregular shapes add a creative touch. Pick a shape that matches your room’s style and space.
Planning Hook Placement
Plan where to place each hook carefully. Space hooks evenly to avoid clutter. Leave enough room for items to hang freely.
Think about what you will hang. Heavy items need strong hooks spaced apart. Small items can fit on closer hooks. Arrange hooks by size and use for easy access.
Adding Decorative Elements
Decorations make your rack unique. Paint the wood in colors that match your room. Use stencils or patterns for a personal touch.
Try adding trim or small carvings for detail. You can also glue small tiles or stickers for fun effects. Keep decorations simple to not overpower function.
Preparing The Wood
Preparing the wood is the first step in making a sturdy wall hook rack. This part sets the base for a neat and safe final product. Proper preparation helps the wood look good and last longer. It also makes the assembly process smoother. Follow these easy steps to get the wood ready for your rack.
Measuring And Marking
Start by measuring the wood piece carefully. Use a tape measure to get the exact length and width needed. Mark the wood with a pencil where you will cut. Double-check your measurements. Accurate marks prevent mistakes and wasted wood.
Cutting To Size
Use a saw to cut the wood along the marks. Keep your hands steady and cut slowly. Make sure the cut edges are straight and even. Wear safety goggles to protect your eyes from dust and splinters. A clean cut makes the rack fit better on the wall.
Sanding And Smoothing
Sand the wood surface using fine-grit sandpaper. Smooth all rough edges and corners. This step removes splinters that can cause injury. Wipe off the dust with a cloth after sanding. Smooth wood improves paint or stain finish and looks more polished.
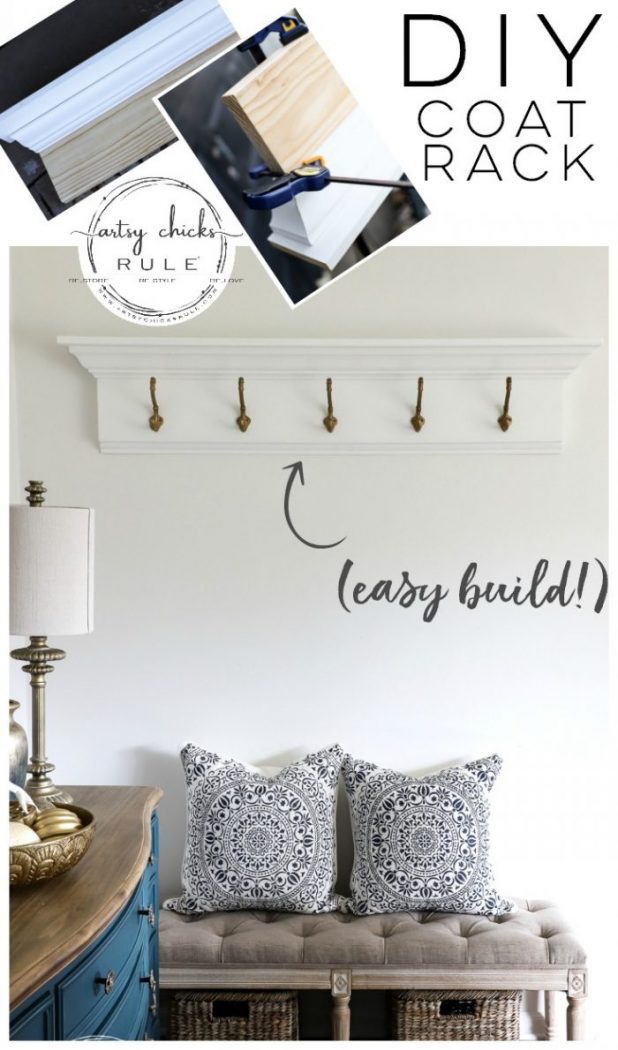
Credit: www.artsychicksrule.com
Attaching The Hooks
Attaching the hooks to your wall rack is a key step. It ensures your rack holds items safely and looks neat. Follow clear steps to place, drill, and fix the hooks. This keeps your project strong and tidy.
Marking Hook Positions
Start by deciding where each hook will go. Use a pencil to mark spots on the rack wood. Space hooks evenly for balance and style. Double-check measurements for accuracy before moving on.
Drilling Pilot Holes
Drill small pilot holes at each marked spot. These holes guide screws and prevent wood from splitting. Use a drill bit slightly smaller than the screws. Drill straight and to the right depth for best results.
Securing Hooks Firmly
Place each hook over the pilot holes. Insert screws and tighten them with a screwdriver. Ensure hooks are tight but avoid overtightening. Check each hook for stability before finishing.
Finishing Touches
Finishing touches make your wall hook rack look complete and last longer. This step gives your project a polished, professional feel. It also protects the wood from damage and wear. Follow these simple steps to finish your rack beautifully and securely.
Painting Or Staining
Choose paint or stain to match your room’s style. Paint adds color and hides wood grain. Stain shows the natural wood texture and tones. Apply thin, even coats with a brush. Let each coat dry fully before adding the next. This keeps the surface smooth and rich.
Sealing For Durability
Seal the rack to protect it from moisture and dirt. Use a clear sealant like polyurethane or varnish. Apply two to three thin layers for best protection. Allow each layer to dry well before the next. This step helps the rack stay strong and clean.
Adding Wall Mounts
Attach the wall mounts firmly to hold the rack steady. Use screws and anchors fit for your wall type. Mark holes carefully to keep the rack level. Drill pilot holes to avoid splitting the wood. Check the rack’s position before tightening all screws. Secure mounts keep your rack safe and ready to use.
Mounting The Rack
Mounting the wall hook rack is a key step in your project. It ensures the rack stays strong and holds your items safely. Proper mounting stops the rack from falling or causing damage. Follow these tips for the best results.
Choosing The Right Wall
Select a wall that can hold weight well. Drywall may need special care. Stud walls are ideal because they provide strong support. Avoid weak or crumbly walls. Check for pipes or wires before drilling.
Using Anchors And Screws
Use anchors for walls without studs. They keep screws tight and secure. Choose anchors that fit your wall type. Insert anchors firmly before adding screws. Use screws that match the size of your hooks and anchors.
Ensuring Stability And Safety
Make sure the rack is level and straight. Tighten all screws fully but do not over-tighten. Test the rack by gently pulling on it. Add extra support if it feels loose. Safety is important for everyday use.
Creative Variations
Creative variations make wall hook racks more useful and stylish. They let you match your home’s look and fit your needs. Experimenting with materials and designs adds charm and function. Here are some ideas to inspire your next project.
Using Reclaimed Wood
Reclaimed wood gives your rack a warm, rustic feel. It is eco-friendly and often has unique textures. You can find old pallets, barn wood, or leftover planks. Sand the wood smooth and apply a clear finish. This keeps the wood’s character while protecting it. Reclaimed wood fits well in farmhouse or vintage-style rooms.
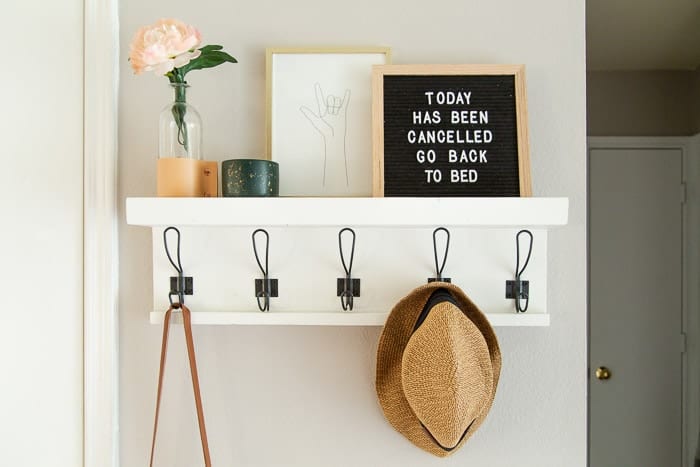
Incorporating Shelves
Adding shelves turns your rack into a storage hero. Small shelves above hooks hold keys, plants, or mail. Larger shelves can store hats or gloves. Use sturdy brackets or build the shelves into the rack frame. Shelves keep clutter off tables and counters. This design works great in entryways or kitchens.
Customizing With Personal Touches
Personal touches make your rack truly yours. Paint it in your favorite color or add stencils. Use decorative hooks shaped like animals or geometric shapes. Attach small chalkboards for notes or labels. Glue on small tiles or fabric for texture. These details make your wall hook rack stand out and reflect your style.
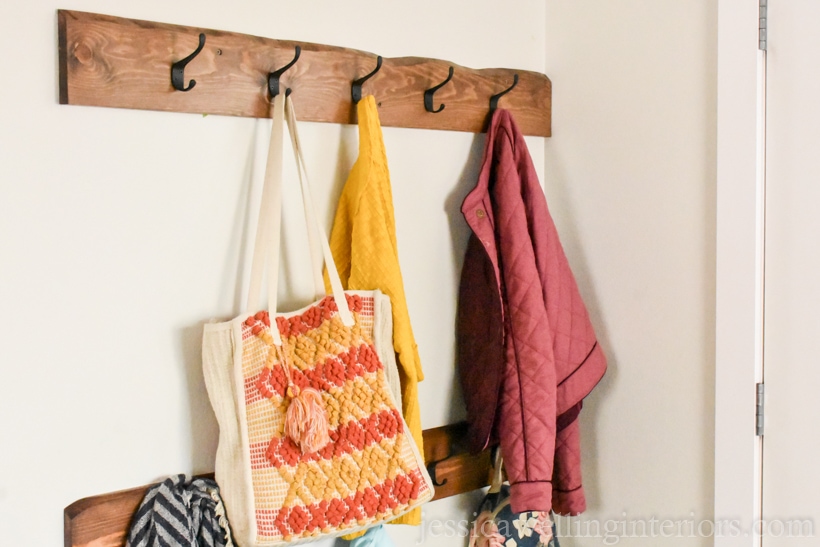
Credit: jessicawellinginteriors.com
Frequently Asked Questions
What Materials Do I Need For A Wall Hook Rack?
You need a wooden board, hooks, screws, wall anchors, a drill, and a screwdriver. Choose sturdy wood and durable hooks for better support.
How Do I Choose The Right Hooks For My Rack?
Select hooks based on the weight and items you plan to hang. Metal hooks work well for heavy items, while plastic suits lighter objects.
Can I Customize The Design Of My Wall Hook Rack?
Yes, you can paint, stain, or decorate the wood. Arrange hooks in different patterns to match your room’s style and needs.
How Do I Securely Mount A Wall Hook Rack?
Use wall anchors if mounting on drywall to prevent damage. Ensure screws are tight and the rack is level for safety and aesthetics.
Conclusion
Making a wall hook rack is simple and useful. You only need a few tools and materials. Follow the steps carefully to create a strong rack. This project saves space and keeps things tidy. You can customize it to fit your style and needs.
Try making one today and enjoy a neat, organized room. Small projects like this bring big satisfaction. Give it a go, and see how handy it can be.