Are you struggling to get a clean, professional look when hanging wallpaper around your light switches? You’re not alone.
Cutting wallpaper perfectly around switches can be tricky, but it’s one of those small details that makes a big difference in your room’s overall appearance. Imagine your walls looking smooth and flawless, with no awkward gaps or uneven edges. In this guide, you’ll discover simple, step-by-step tips that anyone can follow to achieve a sharp finish every time.
Keep reading, and you’ll turn this tricky task into an easy part of your decorating project.
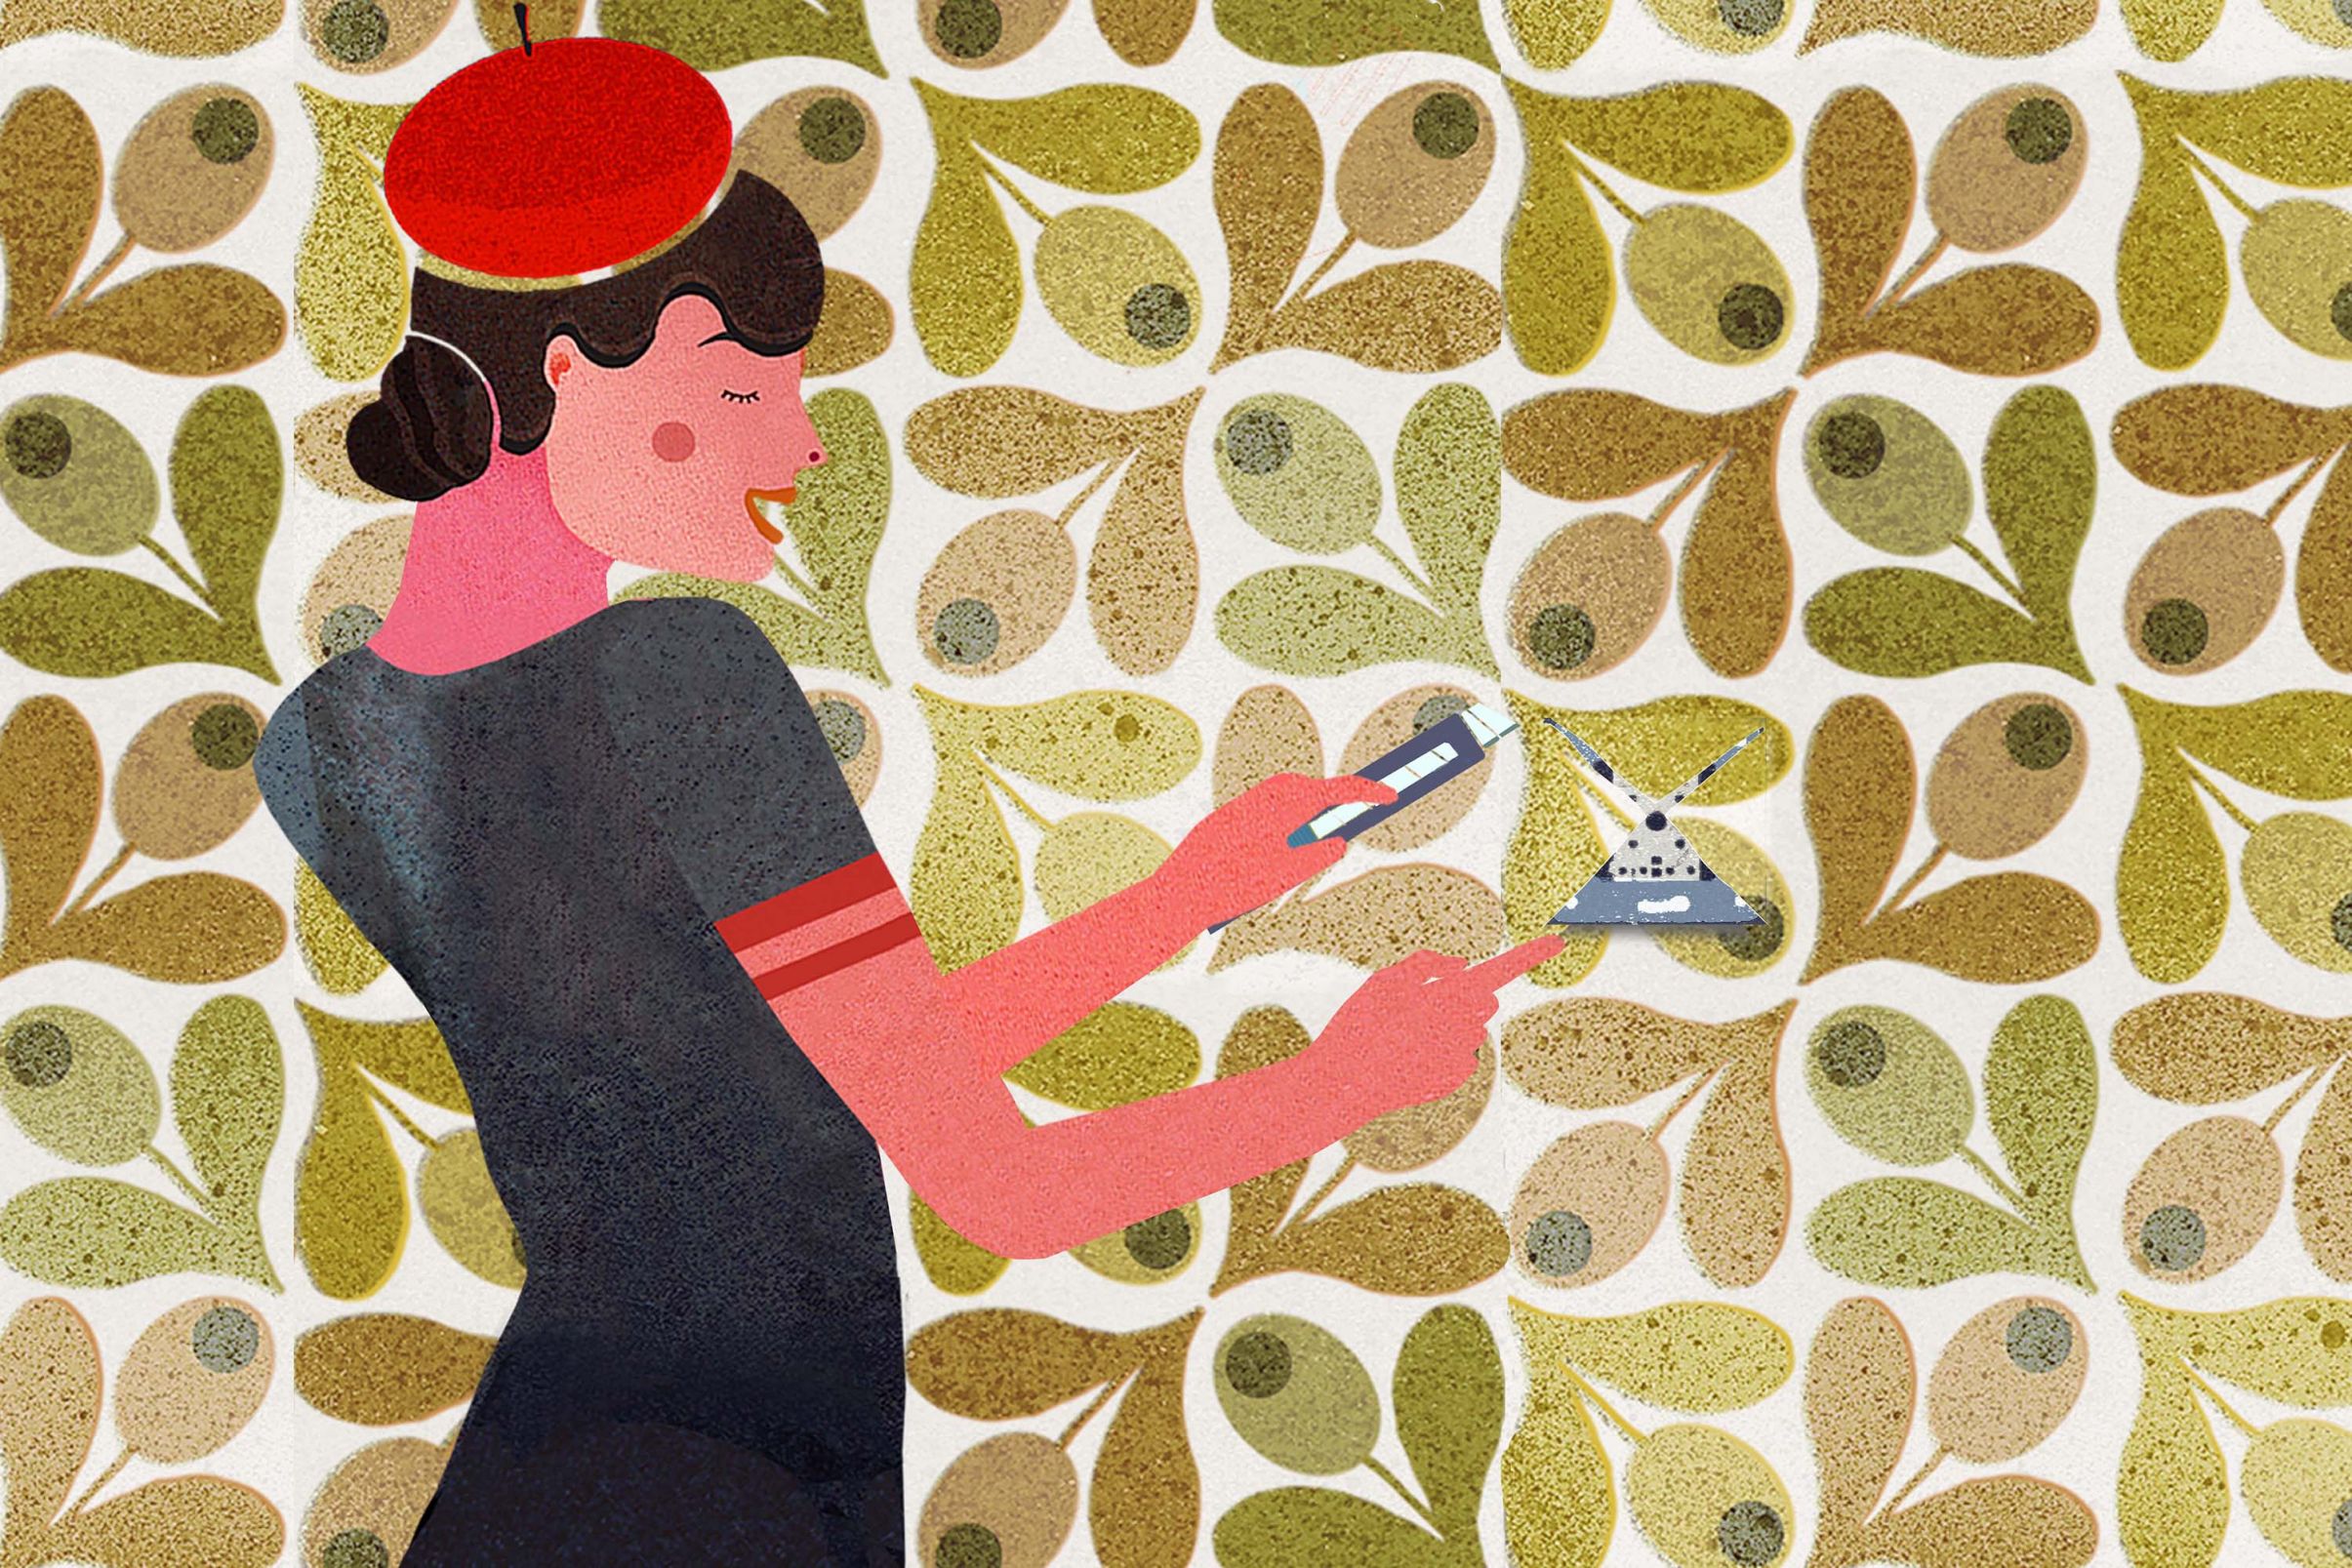
Credit: www.wallpaperfromthe70s.com
Tools Needed
Cutting wallpaper around light switches requires specific tools. Using the right tools makes the job easier and cleaner. Prepare all the tools before starting to avoid mistakes and save time.
Cutting Tools
A sharp utility knife or craft knife is essential. It helps cut precise shapes around switches. Replace blades often for clean cuts. A pair of small scissors can help with fine trimming. Avoid dull blades to prevent tearing the wallpaper.
Measuring Tools
A tape measure or ruler ensures accurate measurements. Mark cutting lines lightly with a pencil. A level can help keep cuts straight. Precise measuring avoids wasting wallpaper and keeps patterns aligned.
Safety Gear
Wear safety gloves to protect your hands from sharp blades. Use eye protection if cutting overhead or in tight spaces. Keep your workspace well-lit to avoid accidents. Safety gear reduces risk and keeps the process smooth.
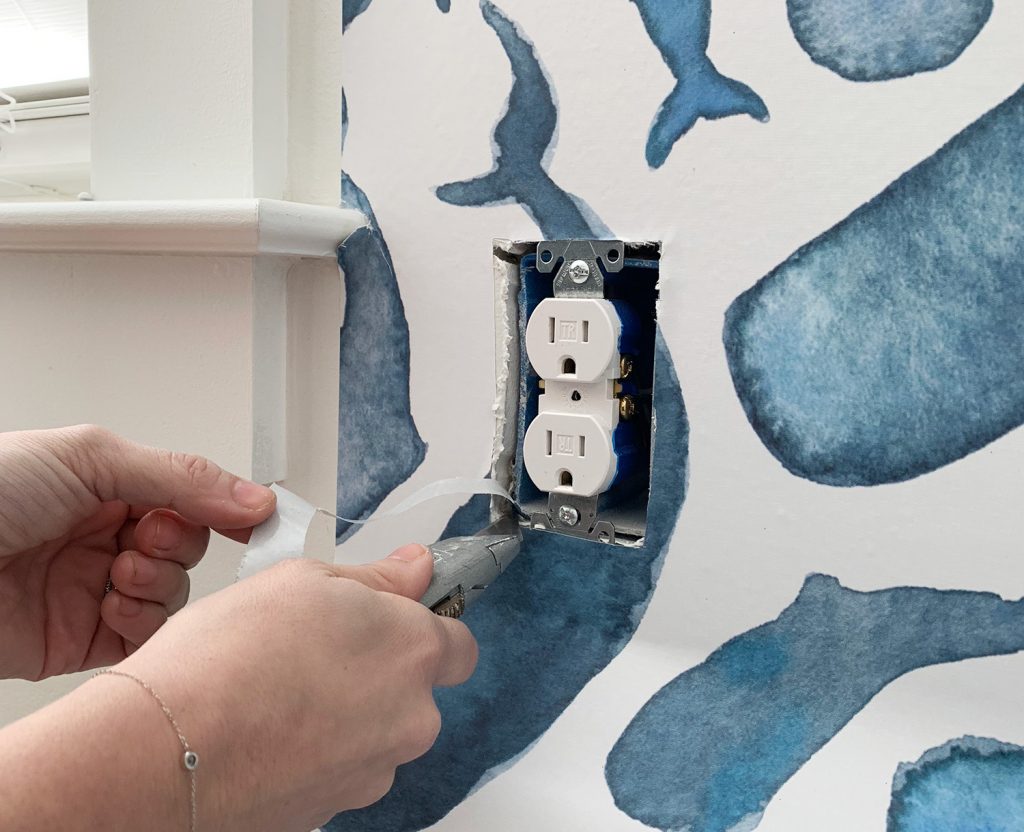
Credit: www.younghouselove.com
Preparing The Wallpaper
Start by turning off the power to the switch for safety. Measure and mark the wallpaper where the switch will go. Cut carefully around the marks for a clean fit.
Measuring Around Switches
Start by turning off the power to the switch. This keeps you safe while working. Use a tape measure to find the exact size of the switch plate. Measure the width and height carefully. Add a small extra space around the switch for easier fitting. Precision here makes cutting easier later.
Marking Cut Lines
Lay the wallpaper flat on a clean surface. Use a pencil to mark the switch size on the back side. Draw straight lines for the top, bottom, and sides of the switch. Use a ruler to keep lines neat and even. These lines guide your cuts and help avoid mistakes.
Cutting Techniques
Cutting wallpaper around light switches needs care and the right tools. The goal is a clean, neat fit without damage. Here are simple cutting techniques to help you achieve this. Each method works well in different situations.
Using A Utility Knife
A utility knife is sharp and precise. Start by turning off the power to the switch for safety. Cut the wallpaper carefully around the edges of the switch plate. Use a ruler or straight edge for straight lines. Cut slowly to avoid tearing the paper. Remove the switch plate before cutting for easier access. This method gives clean, sharp cuts that look professional.
Employing A Keyhole Saw
A keyhole saw is small and handy for tight spaces. First, remove the switch plate. Mark the area on the wallpaper where the switch sits. Use the saw to cut inside the marked area. Work gently to avoid rough edges. This tool is good for thicker wallpaper or textured surfaces. It helps make smooth, controlled cuts around the switch.
Scoring And Folding Method
This method works well with thin, delicate wallpaper. Score the wallpaper lightly around the switch with a utility knife. Do not cut all the way through. Fold the scored edges back to expose the switch area. Remove the switch plate and cut the folded wallpaper neatly. Unfold the paper and smooth it around the switch. This technique reduces tearing and keeps wallpaper intact.

Credit: www.youtube.com
Fitting Wallpaper Around Switches
Fitting wallpaper around light switches needs careful work. It gives a clean, neat look to your walls. Cutting and placing wallpaper precisely ensures no wrinkles or uneven edges. This section guides you through key steps for a smooth finish near switches.
Aligning Edges
Start by measuring the switch plate size. Mark the wallpaper lightly with a pencil. Cut a small cross in the wallpaper over the switch. Fold back the flaps gently. Align the wallpaper edges neatly around the switch box. Take time to keep edges straight and tight.
Smoothing Out Bubbles
Press the wallpaper flat against the wall. Use a plastic smoother or a soft cloth. Move from the center to the edges. Push out any air bubbles or wrinkles. Small bubbles can be smoothed out easily. Work slowly to avoid tearing the paper.
Reinstalling Switch Plates
Wait for the wallpaper to dry fully. Place the switch plate back on the wall. Screw the plate firmly but not too tight. Check that the wallpaper stays in place. The switch plate hides the cut edges neatly. This step completes a polished, professional look.
Common Mistakes To Avoid
Cutting wallpaper around light switches is tricky. Many beginners make avoidable mistakes. These errors can cause damage or a poor finish. Knowing what to avoid saves time and effort. Focus on these common pitfalls for better results.
Cutting Too Early
Cutting wallpaper before placing it on the wall causes problems. The paper may shift during application. This leads to uneven edges around switches. Wait until the wallpaper is on the wall. Then mark and cut carefully for a neat fit.
Ignoring Safety Precautions
Electricity around light switches is dangerous. Never cut wallpaper without turning off the power. Use a voltage tester to confirm the switch is off. Avoid metal tools near live wires. Safety first protects you from shocks and accidents.
Incorrect Measurements
Wrong measurements create gaps or overlaps. Measure the switch plate and mark the wallpaper precisely. Use a sharp blade and steady hands for clean cuts. Double-check measurements before cutting to avoid mistakes.
Tips For A Professional Finish
Cutting wallpaper around light switches can be tricky. A neat job makes the room look tidy and well done. Use these tips for a professional finish. They help avoid damage and keep your wallpaper looking great.
Using Templates
Create a template from cardboard or thick paper. Trace the shape of the switch and its edges. Cut out the shape carefully. Place the template on the wallpaper and mark around it. This method gives a perfect fit every time. It saves time and reduces mistakes.
Working With Different Wallpaper Types
Thin wallpaper tears easily. Use a sharp blade for clean cuts. Thick wallpaper needs more pressure but cuts well. Vinyl or textured wallpaper may need special tools. Test a small piece first. Know your wallpaper type to cut without damage.
Maintaining Clean Edges
Use a sharp utility knife for smooth edges. Cut slowly and with steady hands. Change blades often to avoid jagged cuts. After cutting, press edges down with a smoothing tool. Keep the edges tight to the switch plate for a neat look.
Frequently Asked Questions
How Do You Measure For Wallpaper Around Switches?
Measure the switch plate size and mark the wallpaper accordingly. Leave a small gap for easy fitting and adjustment.
What Tools Are Needed To Cut Wallpaper Near Switches?
Use a sharp utility knife, ruler, pencil, and wallpaper smoother for precise cuts and neat edges.
How To Avoid Wallpaper Tearing Near Light Switches?
Cut slowly and carefully with a fresh blade. Support the paper firmly to prevent ripping.
Can You Wallpaper Over Light Switches Safely?
No, remove switch covers before wallpapering. Reinstall covers after the wallpaper dries for safety.
Conclusion
Cutting wallpaper around light switches takes patience and care. Use a sharp blade for clean, precise cuts. Measure twice, cut once to avoid mistakes. Take your time to align edges neatly. A good finish makes the room look polished. Practice these steps for better results next time.
Small details make a big difference in your space. Keep these tips handy for your wallpaper projects.