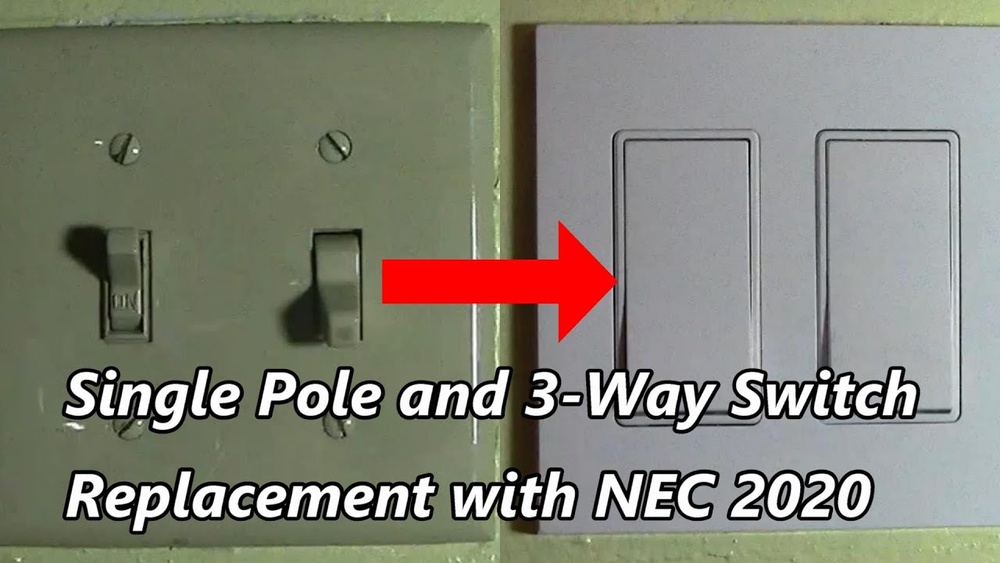
Are you tired of that old light switch cluttering your wall? Maybe you want a cleaner look or need to upgrade your wiring for safety.
Removing a light switch might sound tricky, but with the right steps, you can do it yourself safely and easily. In this guide, you’ll learn exactly how to eliminate a light switch without stress or confusion. Keep reading, and by the end, you’ll feel confident handling this simple home improvement task on your own.
Tools Needed
Removing a light switch requires specific tools to do the job safely and well. Having the right tools makes the work easier and faster. It also helps prevent damage to wires and walls.
Below are the main tools you need. These tools help you take out the switch and handle electrical parts carefully.
Essential Equipment
Start with a flat-head screwdriver and a Phillips screwdriver. These help remove screws on the switch plate and switch itself. A voltage tester is key. It checks if wires still have power before you touch them. Wire strippers come in handy to cut and clean wire ends if needed. Needle-nose pliers help grab and bend wires safely. Electrical tape is useful for covering wire ends after removal.
Safety Gear
Protect yourself with safety glasses. They guard your eyes from sparks or dust. Use insulated gloves to stop electric shocks. Wear clothes that cover your arms and legs. Avoid loose clothing that can catch on wires. Always work in a well-lit area so you see clearly what you are doing.
Turn Off Power
Turning off the power is the first and most important step to eliminate a light switch safely. Electricity can be very dangerous. Taking this step helps prevent shocks and accidents. Always make sure the power is completely off before touching any wires.
Locate The Circuit Breaker
Find your home’s circuit breaker box. It is often in a basement, garage, or utility room. Open the box carefully. Look for the switch that controls the light switch you want to remove. The switch might be labeled. If not, check the main breaker to shut off all power.
Verify Power Is Off
Use a voltage tester or a non-contact tester to check the light switch. Touch the tester to the wires or switch terminals. The tester should not light up or beep. This means no electricity is flowing. Double-check to avoid risks. Never work on live wires.
Remove Switch Cover
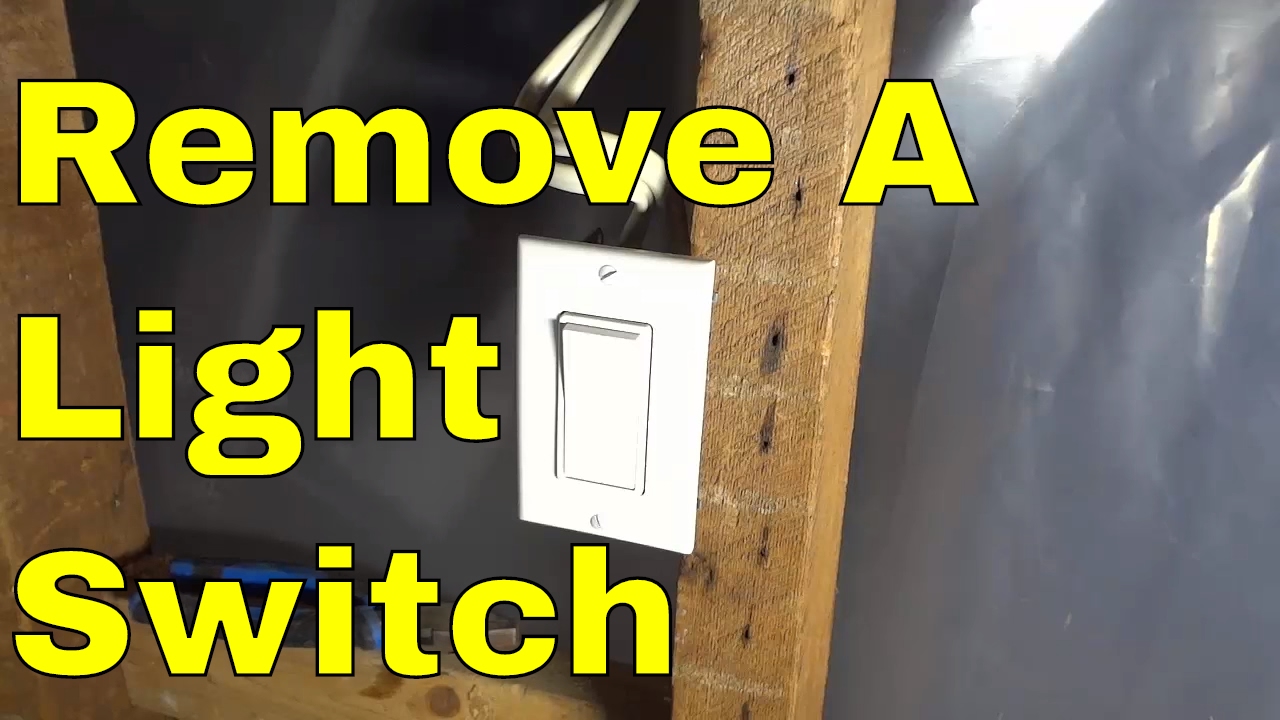
Start by turning off the power to the switch for safety. Gently pry off the switch cover using a flat tool to reveal the screws underneath. Remove the screws carefully to take off the switch cover and access the wiring.
Unscrew The Cover Plate
Start by turning off the power at the breaker to ensure safety. Use a flathead or Phillips screwdriver to remove the screws holding the switch cover plate. Keep the screws in a safe place to avoid losing them. Gently pull the cover plate away from the wall. Take care not to damage the paint or drywall around the switch.
Inspect The Wiring
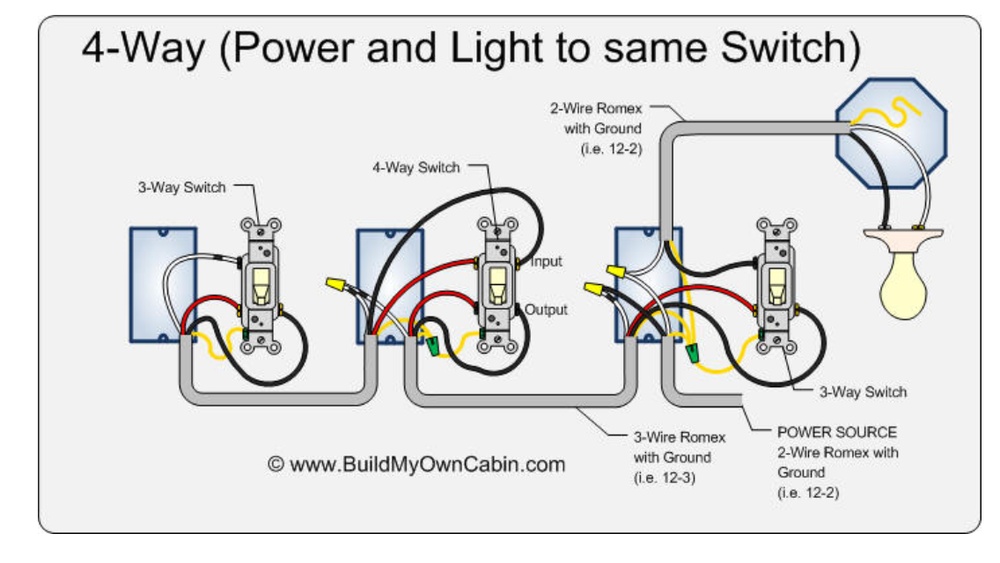
Look closely at the wires behind the cover plate. Check for any signs of damage or wear. Identify each wire’s connection to the switch. Note the wire colors and how they are attached. This step helps you understand the wiring before removal. Never touch wires with the power on. Use a voltage tester to confirm the power is off.

Credit: diy.stackexchange.com
Disconnect Wires
Disconnecting wires is a key step to remove a light switch safely. It stops electricity flow and prepares the switch for removal. Take your time and follow clear steps to avoid mistakes.
Identify Wire Types
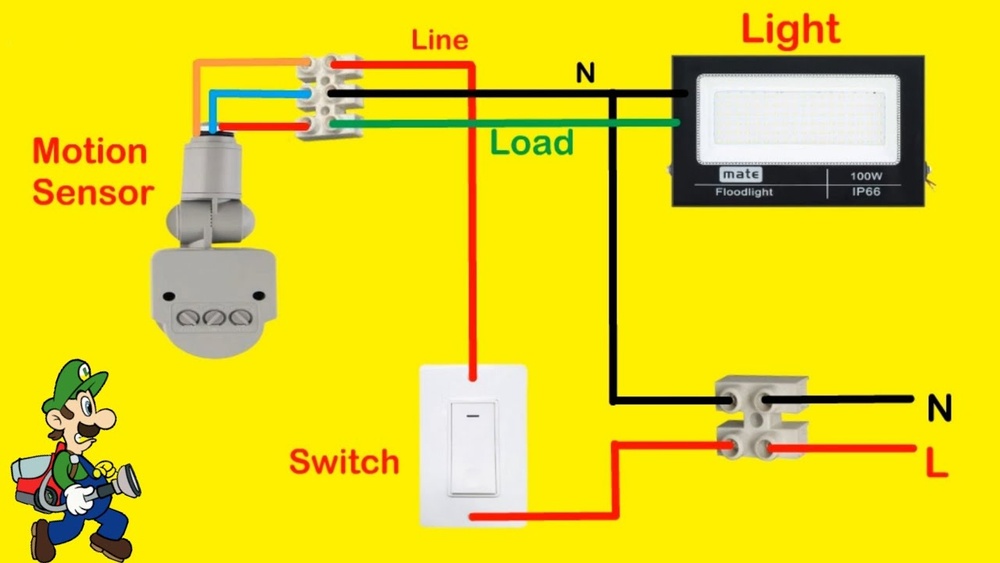
Start by looking at the wires connected to the switch. Usually, you will see a black wire, a white wire, and a green or bare copper wire. The black wire carries power. The white wire is neutral. The green or bare wire is the ground. Knowing these helps avoid confusion and keeps you safe.
Loosen Wire Connections
Use a screwdriver to loosen the screws holding the wires. Turn the screws counterclockwise until the wires are free. If the wires are pushed into holes, press the release slot and pull them out gently. Keep wires apart to stop them from touching. This prevents short circuits and sparks.
Cap And Secure Wires
Installing a blank plate is the best way to cover a removed light switch safely. It keeps the wall clean and prevents dust or dirt from entering the empty box. A blank plate also gives a finished look to the area.
Choose The Right Cover
Select a blank plate that fits the size of your switch box. Most wall boxes use a standard single-gang size. Plastic or metal plates work well. Choose one that matches your room’s style and color.
Attach To Wall
Turn off the power before starting. Align the blank plate with the switch box holes. Use screws to fasten the plate tightly to the wall. Avoid overtightening to prevent cracking the plate. Check that the plate sits flat and covers the entire opening.
Install Blank Plate
After removing a light switch, restoring power and testing the setup is crucial. This step ensures your wiring works correctly and safely. Follow these simple instructions to complete the process.
Turn Circuit Back On
Go to your electrical panel. Find the breaker you turned off earlier. Switch it back on to restore power. This action reactivates electricity to the circuit. Be careful and move slowly. Make sure the switch stays firmly in the ON position.
Check For Safety
Use a voltage tester on the wires or outlet. Confirm that power flows properly without sparks or unusual smells. Look for any loose wires or signs of damage. If everything looks normal, proceed to test your lights or devices. If anything seems wrong, turn off the breaker again and recheck your work.
Restore Power And Test
Removing a light switch might seem easy. Safety matters most. Small errors can cause shocks or fires. Follow safety tips to protect yourself and your home.
Avoid Common Mistakes
Turn off the power at the breaker box. Test the switch with a voltage tester. Never trust the wall switch alone. Use insulated tools to avoid shocks. Do not touch wires with wet hands. Keep the work area dry and clean. Label wires before disconnecting them. Avoid forcing wires into tight spaces. Double-check connections before restoring power.
When To Call A Professional
Call an electrician if you see damaged wires. If wiring looks old or unsafe, stop work. Complex wiring or multiple switches need experts. If unsure about any step, do not guess. Professionals have tools and knowledge for safety. Better safe than sorry with electrical work.
Credit: www.youtube.com

Credit: www.youtube.com
Frequently Asked Questions
How Do I Safely Eliminate A Light Switch?
First, turn off power at the circuit breaker. Use a voltage tester to ensure no electricity flows. Remove the switch cover and disconnect wires. Cap the wires with wire nuts and secure them inside the box. Finally, install a blank cover plate for safety.
Can I Remove A Light Switch Without An Electrician?
Yes, if you have basic electrical knowledge and follow safety steps. Always turn off power and test wires before working. If unsure, consult a professional to avoid hazards or code violations.
What Tools Are Needed To Eliminate A Light Switch?
You will need a screwdriver, voltage tester, wire nuts, and a blank wall plate. Optional tools include needle-nose pliers and electrical tape for extra security.
Will Removing A Light Switch Affect My Home’s Wiring?
Removing a light switch will only disable that circuit’s control. The wiring remains intact but capped safely. This prevents electrical hazards and maintains home wiring integrity.
Conclusion
Eliminating a light switch can be simple and safe. Always turn off the power first. Use the right tools and follow steps carefully. Double-check your work before restoring power. Removing a switch can improve your room’s look. It can also help when updating your wiring.
Take your time and stay cautious throughout. You can handle this task with basic knowledge. Stay safe and enjoy your cleaner wall space.