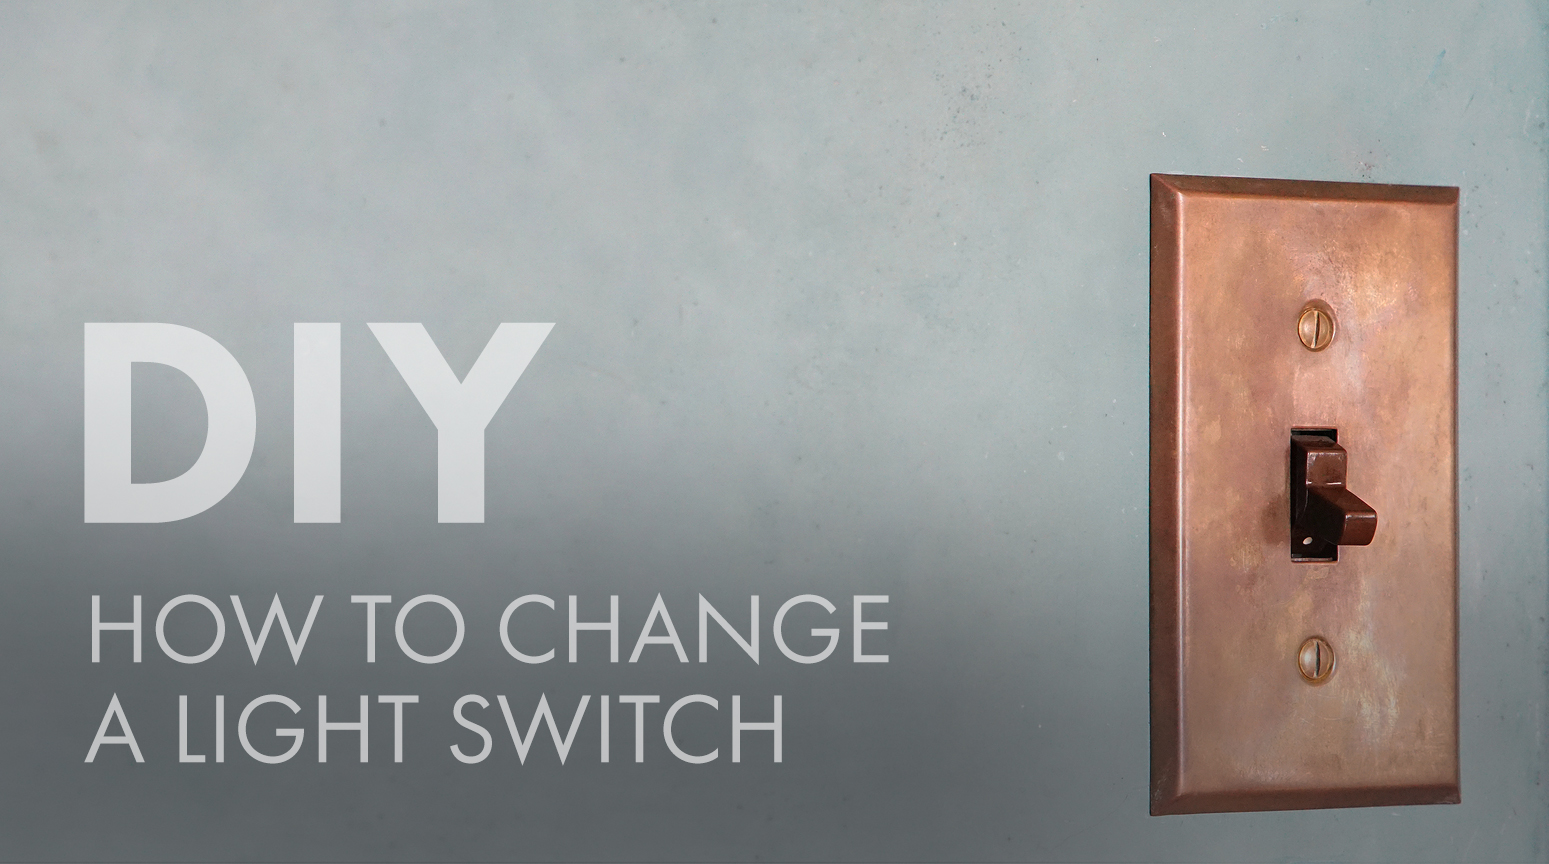
Are you tired of your plain, old light switch blending into the wall? Changing the color of your light switch is a simple way to refresh your room without a full makeover.
Imagine how a small change like this can brighten your space and reflect your style instantly. In this guide, you’ll discover easy steps to update your light switch safely and quickly. Keep reading—you’re just minutes away from giving your room a fresh new look!
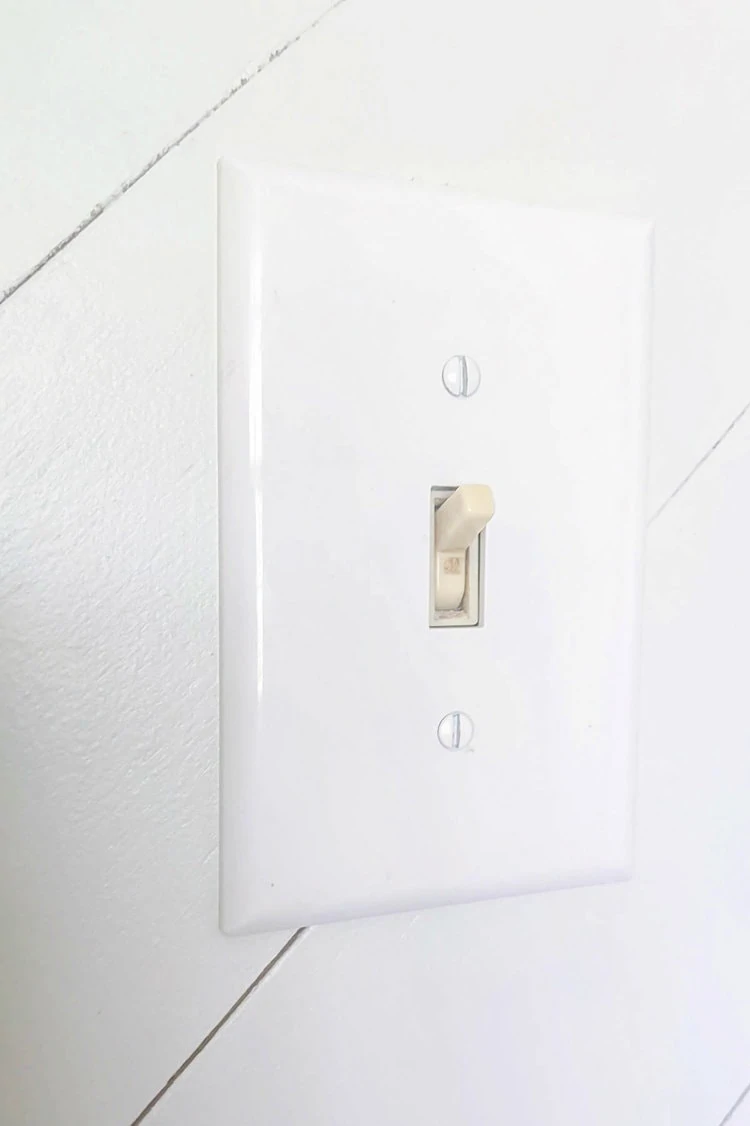
Credit: www.youtube.com
Tools And Materials Needed
Changing the color of a light switch is a simple way to refresh a room. Having the right tools and materials makes the process smooth. Prepare everything before starting to avoid delays.
This section covers essential tools, the best paint choices, and safety gear. Each part helps you get a clean and safe finish.
Essential Tools
You need a few basic tools to change a light switch color. A screwdriver helps remove the switch cover. Fine-grit sandpaper smooths the surface for painting. A small paintbrush or foam brush works well for even coats. Use a clean cloth to wipe dust and dirt away.
Choosing The Right Paint
Pick paint designed for plastic or metal surfaces. Acrylic or enamel paints work well. Choose a color that matches your room style. Satin or semi-gloss finishes are easier to clean. Avoid thick paint that can drip or peel.
Safety Gear
Safety is important during this project. Wear gloves to protect your hands from paint and dirt. Use a mask to avoid breathing paint fumes. Safety glasses keep paint splashes out of your eyes. Turn off the power to the switch before starting work.
Credit: www.lovelyetc.com
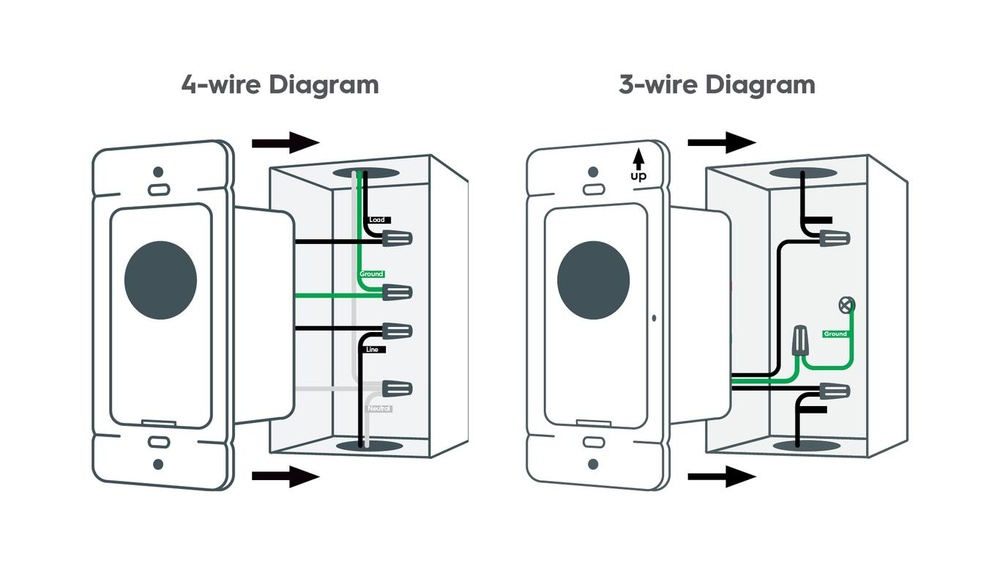
Preparing The Light Switch
Preparing the light switch is the first step to change its color safely and effectively. This process makes sure you work without risks and get a smooth finish. Taking time to prepare helps the paint or covering stick well. It also keeps the switch working correctly after the change.
Turning Off The Power
Always start by turning off the power to the light switch. This step protects you from electric shocks. Find the circuit breaker and switch off the power to the room or area. Use a tester to check that the switch has no electricity. Never skip this safety step.
Removing The Switch Cover
Use a screwdriver to remove the switch cover carefully. Take out the screws holding the cover plate in place. Pull the cover away gently from the wall. Keep the screws safe for later use. Removing the cover makes it easier to paint or replace it.
Cleaning The Surface
Clean the switch cover and surrounding area before painting. Use a soft cloth with mild soap and water. Remove dust, dirt, and oils that block paint from sticking. Let the surface dry fully. Clean surfaces help the new color last longer and look better.
Painting Techniques
Painting a light switch is a simple way to update a room’s look. Using the right techniques ensures a smooth, lasting finish. Follow these steps for the best results.
Priming The Surface
Start by cleaning the switch plate with soap and water. Let it dry completely. Use a light sandpaper to roughen the surface slightly. This helps the primer stick better. Apply a thin layer of primer. Choose a primer made for plastic or metal, depending on your switch plate. Let the primer dry fully before painting.
Applying The Paint
Use thin, even coats of paint. Avoid thick layers to prevent drips and uneven texture. Allow each coat to dry before adding the next. Two to three coats are usually enough for full coverage. Use light pressure and smooth strokes for a clean finish. Let the paint cure for a day before reinstalling the switch plate.
Using Spray Paint Vs. Brush
Spray paint offers a smooth, uniform finish. It is faster but requires careful masking to protect surrounding areas. Use spray paint in a well-ventilated space. Hold the can about 8 to 12 inches from the surface. Spray in steady, sweeping motions.
Brush painting gives more control. It is ideal for small touch-ups or detailed work. Choose a small, soft-bristle brush for the best results. Brush paint in thin, even layers to avoid brush marks.
Drying And Finishing Touches
After painting your light switch, drying and finishing touches are important. These steps make sure the color lasts and looks neat. Skipping this part can cause smudges or peeling paint. Take your time to get the best result.
Proper Drying Time
Let the paint dry fully before touching the switch. This usually takes at least one hour. For best results, wait up to 24 hours. Keep the area well-ventilated. Avoid rushing to prevent fingerprints or scratches.
Adding A Protective Coat
Apply a clear protective coat to keep the paint safe. Use a clear acrylic spray or brush-on sealer. This layer helps stop chipping and fading. Allow the protective coat to dry completely before use.
Reassembling The Switch
Put the switch cover back carefully after drying. Handle it gently to avoid damaging the new paint. Tighten the screws without overdoing it. Test the switch to ensure it works properly.
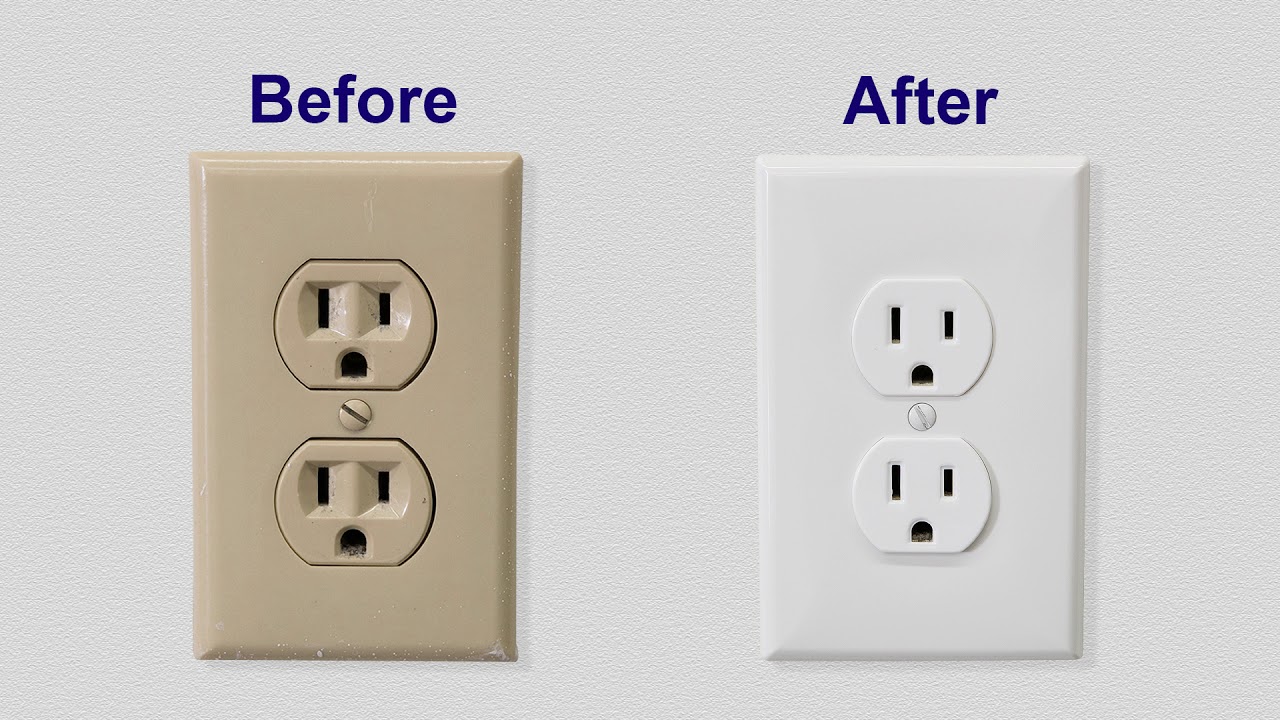
Creative Color Ideas
Changing the color of your light switch is a simple way to refresh any room. Creative color ideas help make your space unique and inviting. You can match your decor, choose bold colors, or even add patterns. These choices let your personality shine through small details.
Matching Your Decor
Choose colors that blend with your room’s style. Soft neutrals like beige or gray fit many spaces. Warm tones like cream or light brown add coziness. Matching switch color with wall paint creates a smooth look. This choice keeps the focus on other decor pieces.
Bold And Bright Options
Bright colors make a statement in any room. Red, blue, or yellow switches can add a pop of fun. Use bold colors in kids’ rooms or creative spaces. These colors bring energy and excitement to plain walls. Bright switches make your home feel lively and fresh.
Using Patterns And Stencils
Patterns add interest beyond just solid colors. Try polka dots, stripes, or floral designs on your switch. Use stencils to create neat and easy shapes. Patterns can match other decor like curtains or rugs. This idea turns a simple switch into a small art piece.
Troubleshooting Common Issues
Changing the color of a light switch can refresh a room’s look. Sometimes, problems may happen during painting. Knowing common issues helps fix them fast. This section covers key troubles and easy solutions.
Paint Peeling
Paint peeling happens when paint does not stick well. Dirt or oil on the switch can cause this. Clean the switch thoroughly before painting. Use a primer for better paint grip. Let each paint layer dry fully before adding more. Avoid touching the switch until the paint hardens.
Uneven Coverage
Uneven coverage makes the paint look patchy or streaky. Thin paint or a dry brush may cause this. Use smooth, even strokes with a good brush. Apply thin layers of paint rather than thick ones. Allow the first layer to dry before painting again. This creates a smooth, even finish.
Safety Precautions
Safety is important while changing a light switch color. Turn off power at the circuit breaker before starting. Use a screwdriver to remove the switch cover carefully. Avoid painting electrical parts inside the switch. Wear gloves and work in a well-ventilated area. Check that the paint is fully dry before turning power on.
Maintaining Your Painted Switch
Maintaining your painted light switch keeps it looking fresh and new. A well-kept switch adds charm to any room. Regular care prevents paint from chipping or fading. Simple steps help protect your work and extend its life.
Cleaning Tips
Use a soft, dry cloth to wipe the switch gently. Avoid harsh chemicals or abrasive materials. Mild soap with water works for tougher dirt. Dab lightly; do not scrub to protect the paint. Dry the switch fully after cleaning to stop moisture damage.
Touch-up Guide
Keep some matching paint for quick fixes. Use a small brush to apply paint on chips or scratches. Let the paint dry completely before use. Apply thin layers for a smooth, even finish. Check the switch regularly to catch small problems early.
Credit: www.destinationlighting.com
Frequently Asked Questions
How Do I Safely Change A Light Switch Color?
Turn off the power at the circuit breaker first. Remove the switch cover plate and replace it with a new colored plate or paint the original with suitable paint. Ensure the paint is dry before reassembling.
Can I Paint A Plastic Light Switch Cover?
Yes, use spray paint or acrylic paint designed for plastic. Clean the cover thoroughly and apply thin, even coats. Let each layer dry fully for best results.
What Tools Do I Need To Change Switch Color?
You need a screwdriver to remove the cover plate, painter’s tape, paint (spray or brush-on), and sandpaper if painting. Always turn off electricity before starting.
Will Changing Switch Color Affect Electrical Safety?
No, changing only the cover color does not affect electrical safety. Avoid painting inside the switch or touching wiring. Always handle electrical components with care.
Conclusion
Changing the color of a light switch can brighten any room. It takes just a few simple steps to do it safely. Choose a color that matches your style and home decor. Always turn off the power before starting the work.
With some care, you can update your switches quickly. This small change can make a big difference in your space. Try it yourself and enjoy a fresh new look today.