Are you ready to give your kitchen a quick and easy makeover? Changing or attaching new cabinet hardware can completely transform the look of your space without breaking the bank.
But if you’ve never done it before, the idea of drilling holes and handling tools might feel a little overwhelming. Don’t worry—you’re in the right place. In this guide, you’ll discover simple, step-by-step instructions that make attaching kitchen cabinet hardware a breeze.
By the end, you’ll have the confidence to update your cabinets like a pro, adding style and function to your kitchen in no time. Keep reading to unlock the secrets to a smooth, hassle-free hardware installation!
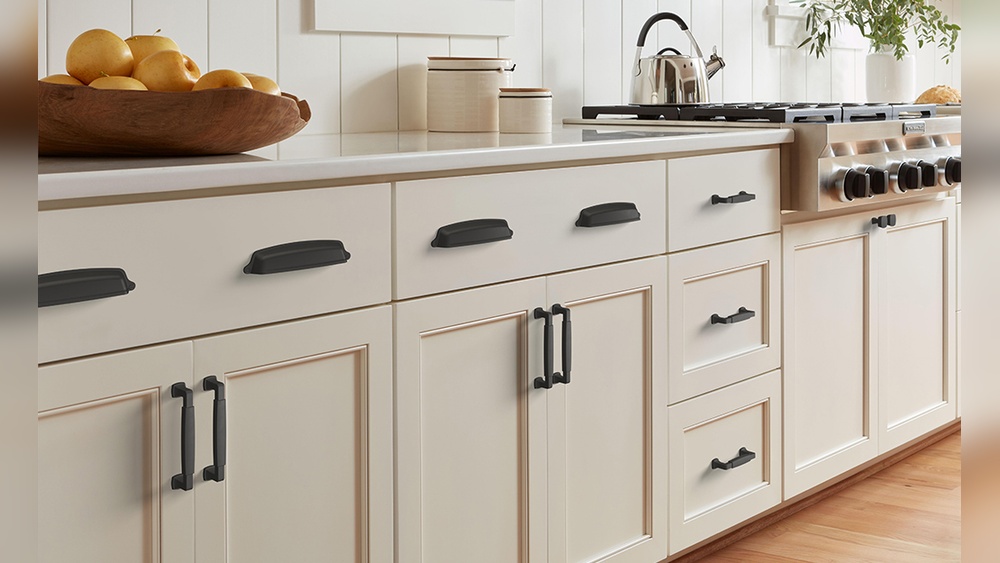
Choosing The Right Hardware
Choosing the right hardware for your kitchen cabinets is important. It changes how your kitchen looks and works. Hardware includes knobs, pulls, and handles. These small details can make a big difference in style and function.
Think about the style of your kitchen first. Modern kitchens might need sleek, simple hardware. Traditional kitchens often suit more detailed, classic designs. Pick hardware that fits your kitchen’s style and your personal taste.
Types Of Cabinet Hardware
Knobs are small and round. They are easy to use and good for small drawers. Pulls are longer and fit across the drawer or door. They offer a better grip for larger cabinets. Handles come in many shapes and sizes. They provide style and comfort. Choose the type that feels best for you.
Materials And Finishes
Hardware comes in many materials. Metal is strong and lasts long. Brass adds a warm, classic look. Stainless steel looks modern and resists rust. Finishes change how hardware looks. Matte finishes hide fingerprints. Shiny finishes reflect light and stand out. Pick a finish that matches your kitchen’s colors.
Measuring For Fit
Measure your cabinet doors and drawers carefully. Check the distance between existing holes. New hardware must fit these holes or you may need to drill new ones. Measure twice to avoid mistakes. Proper fit ensures hardware works well and looks neat. Take your time for accurate measurements.

Credit: smart.dhgate.com
Gathering Tools And Materials
Before attaching kitchen cabinet hardware, gather the right tools and materials. This step makes the job easier and faster. Having everything ready prevents interruptions and mistakes. Focus on essential tools first, then consider helpful extras that can improve your work.
Essential Tools Needed
A screwdriver is the most important tool for attaching hardware. Choose one that fits your screws well. A drill with drill bits helps make precise holes quickly. A tape measure ensures correct placement of handles and knobs. A pencil marks where holes need to go. A level keeps hardware straight and neat. Finally, have the screws that match your cabinet hardware ready.
Optional Helpful Accessories
A clamp can hold the hardware in place while you work. A center punch makes small dents to guide the drill bit. A magnetic screwdriver holds screws steady, reducing drops. Painter’s tape helps mark spots without damaging surfaces. Use a small flashlight for better visibility in dark areas. These extras are not required but make the job smoother.
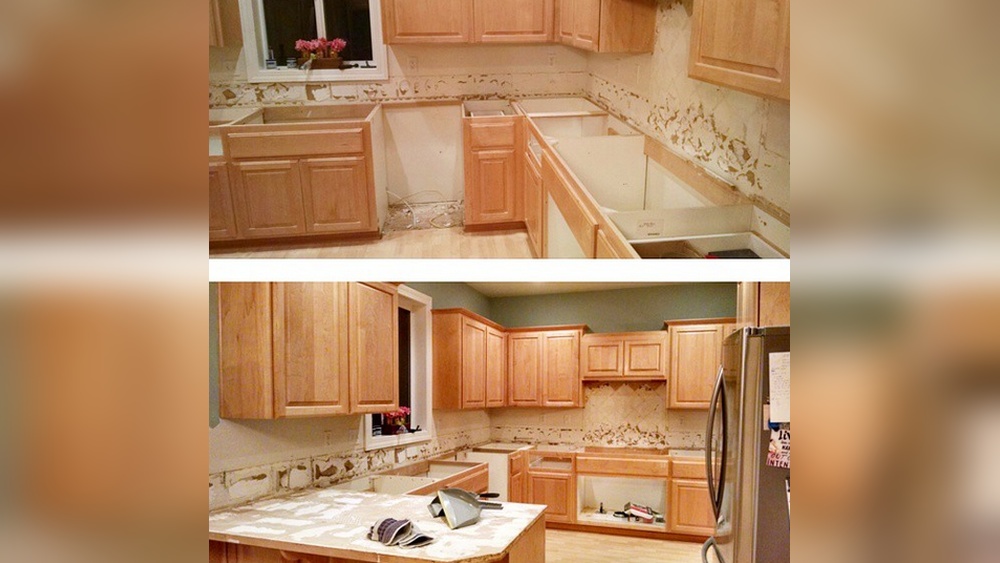
Preparing The Cabinets
Preparing the cabinets is the first step before attaching new hardware. Proper preparation ensures the hardware fits well and lasts long. It also helps avoid mistakes that can damage your cabinets.
Cleaning And Clearing The Surface
Start by removing any old hardware from the cabinets. Use a screwdriver carefully to avoid scratches. Clean the surface with a mild soap and water solution. Wipe off dirt, grease, and dust completely. Let the surface dry fully before moving to the next step. A clean surface helps the new hardware stick better and look neat.
Marking Hardware Placement
Measure the spots where you want to place the new hardware. Use a ruler or tape measure for accuracy. Mark the points lightly with a pencil. Check that marks are even on all cabinet doors or drawers. Double-check measurements before drilling any holes. Correct placement makes your cabinets look balanced and professional.
Credit: truepositiontools.com
Installing Cabinet Knobs
Installing cabinet knobs is a simple way to update your kitchen’s look. It gives cabinets a fresh, new style. The process needs some careful steps. This ensures knobs stay secure and work well. Follow these easy instructions to attach knobs perfectly.
Drilling Pilot Holes
Mark the spot where the knob will go. Use a pencil to make a small mark. Choose a drill bit smaller than the screw. Drill a straight, shallow hole on the mark. This pilot hole guides the screw in easily. It stops wood from splitting or cracking. Keep the drill steady and slow.
Attaching And Securing Knobs
Place the knob on the cabinet front. Push the screw from inside the cabinet. Turn the screw to tighten the knob. Use a screwdriver for firm grip. Do not overtighten to avoid damage. Check if the knob feels solid. Repeat for all cabinet doors and drawers.
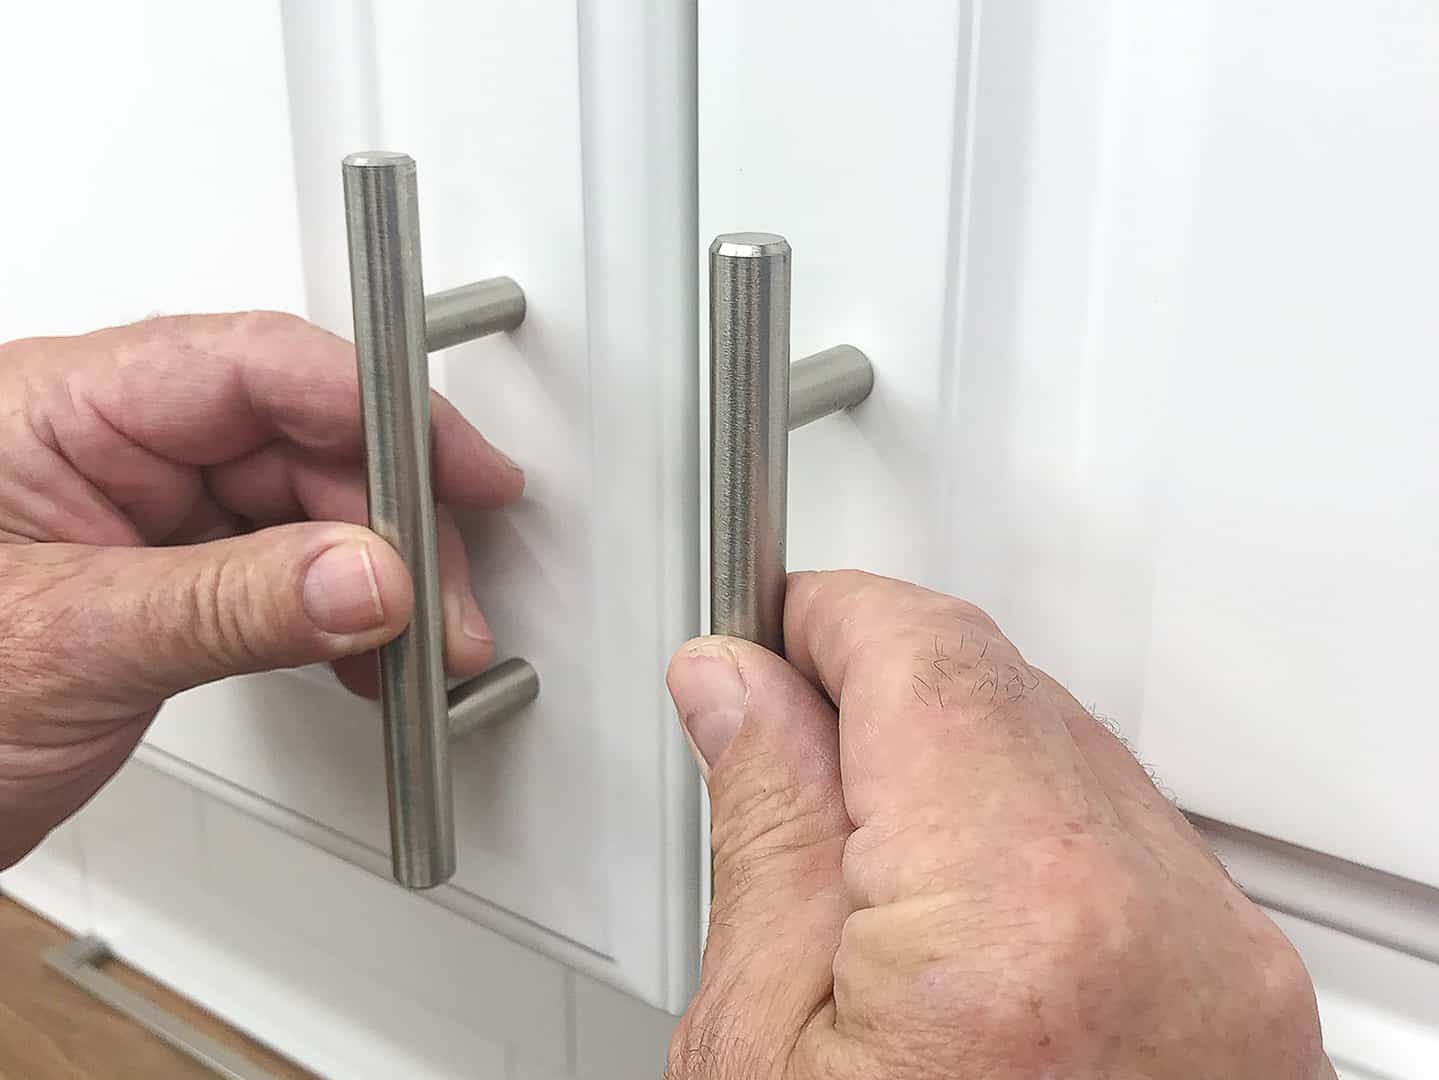
Installing Cabinet Pulls
Installing cabinet pulls is a simple way to update your kitchen look. It improves both style and function. Proper placement and secure fixing make doors easy to open.
This guide breaks down the steps for a neat, strong installation. Follow each step carefully for the best results.
Measuring And Marking Holes
Measure the cabinet door width and height. Find the center or desired pull position. Mark the spots lightly with a pencil.
Use a ruler or tape measure for accuracy. Double-check your marks before drilling any holes. Correct placement saves time and effort.
Using A Template For Accuracy
Templates help keep hole spacing even. Use a paper or plastic template sized to your pulls.
Align it with your marks. Tape it in place to prevent movement. This step ensures all pulls match perfectly.
Securing Pulls In Place
Drill holes at the marked spots carefully. Insert screws through the inside of the door.
Attach the pull on the outside. Tighten screws with a screwdriver until snug. Avoid over-tightening to protect the hardware and door.
Check that each pull feels solid. Adjust if needed. Now your cabinets look fresh and work smoothly.
Adjusting And Finishing Touches
After attaching your kitchen cabinet hardware, small adjustments make a big difference. This step ensures everything looks neat and works well. Proper alignment and tightness keep handles and knobs secure. Finishing touches give your cabinets a clean, polished look.
Checking Alignment And Tightness
Check each handle or knob for straightness. Use a level or ruler for accuracy. Tighten screws with a screwdriver. Avoid over-tightening to prevent damage. Loose hardware can fall off and cause problems. Make sure every piece sits flush against the cabinet surface. Adjust as needed to maintain a consistent look across all cabinets.
Cleaning Up After Installation
Remove any dust or debris from drilling. Wipe down the hardware with a soft cloth. Clean fingerprints and smudges for a fresh finish. Dispose of leftover screws or packaging safely. Proper cleanup keeps your kitchen tidy and ready to use. A clean workspace shows attention to detail and care.
Troubleshooting Common Issues
Attaching kitchen cabinet hardware can sometimes bring small problems. These issues can slow down your work or make the hardware look uneven. Knowing how to fix common problems helps you finish your project with confidence. Troubleshooting saves time and keeps your cabinets looking great.
Misaligned Hardware
Misaligned hardware makes cabinets look messy. This happens when holes are drilled in the wrong spot. Use a measuring tape and pencil to mark holes carefully. Check alignment before drilling. If hardware is off, remove screws and fill old holes with wood filler. Let it dry, then drill new holes in the right place. Use a level to keep handles straight.
Stripped Screws And Fixes
Stripped screws lose their grip and spin in place. This stops hardware from holding tightly. Try using a rubber band for extra grip on the screw head. If this fails, remove the screw and use a larger screw in the same hole. Another way is to fill the hole with toothpicks and wood glue, then reinsert the screw once dry. This gives the screw a better hold.
Dealing With Uneven Cabinet Surfaces
Uneven surfaces make hardware sit crooked. Check the cabinet face before attaching hardware. Sand rough or bumpy areas smooth. Use thin washers behind hardware if needed to level it. This helps handles and knobs sit flat and straight. Take your time to adjust, so hardware fits well and looks neat.
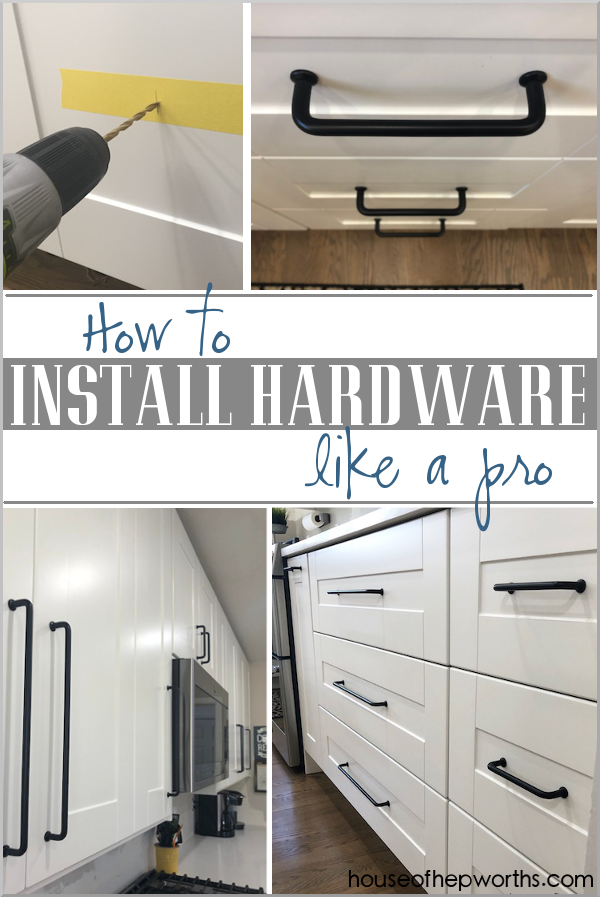
Credit: www.houseofhepworths.com
Frequently Asked Questions
What Tools Are Needed To Attach Kitchen Cabinet Hardware?
You need a drill, screwdriver, measuring tape, pencil, and hardware screws. These tools help ensure precise and secure installation of cabinet hardware.
How Do You Measure For Cabinet Hardware Placement?
Measure the cabinet door width and height. Mark the hardware spot evenly, typically 2-3 inches from the edge, for balanced placement.
Can I Attach Hardware Without Drilling Holes?
Yes, use adhesive-backed hardware if you want a no-drill option. However, it may not be as secure as screws.
What Type Of Screws Work Best For Cabinet Hardware?
Use screws that match the hardware size and cabinet material. Typically, 8 or 10 wood screws provide strong, lasting support.
Conclusion
Attaching kitchen cabinet hardware can be simple and quick. Measure carefully and mark where each piece goes. Use the right tools to avoid damage. Take your time and work with patience. Small details make a big difference in your kitchen’s look.
Enjoy the fresh, updated feel after installing your hardware. Try different styles to match your kitchen’s design. This small project can improve both function and style. You will feel proud of your handiwork. Keep practicing to get even better results next time.