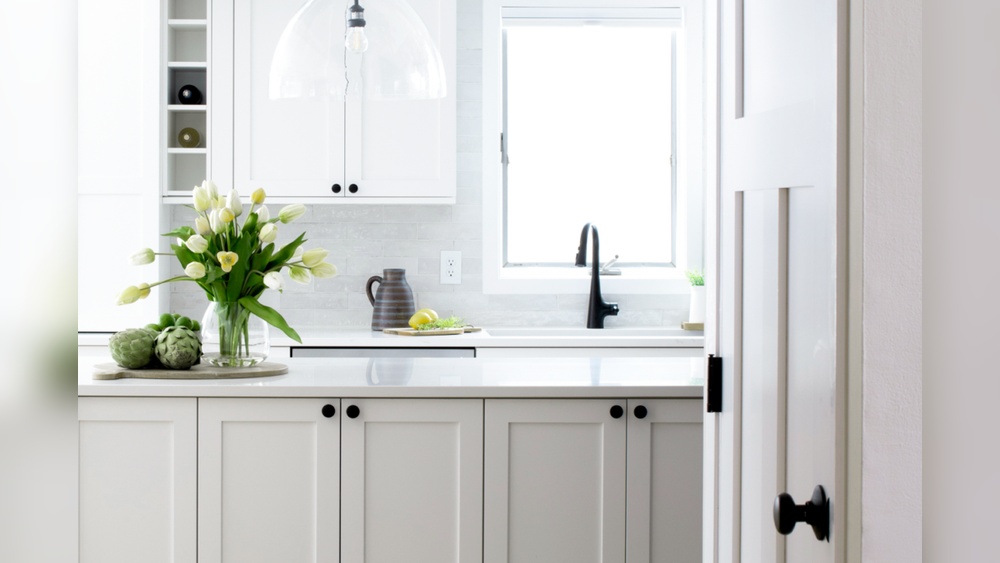
Are you ready to give your cabinets a fresh new look? Knowing how to measure and install cabinet hardware correctly can make all the difference.
It might seem tricky at first, but with the right steps, you’ll save time, avoid mistakes, and get perfect results every time. In this guide, you’ll discover simple tips that anyone can follow—even if you’ve never done it before. Stick with me, and by the end, you’ll feel confident transforming your cabinets like a pro.
Let’s get started!
Credit: theturquoisehome.com
Choosing The Right Hardware
Choosing the right cabinet hardware changes the look and feel of your kitchen or bathroom. Hardware adds style and makes cabinets easy to use. Picking the right type, style, and finish helps your space feel complete and balanced.
Good hardware fits the design of your cabinets and room. It should be easy to handle and long-lasting. The right choice improves both function and appearance.
Types Of Cabinet Hardware
Cabinet hardware includes knobs, pulls, and handles. Knobs are small and round or square. Pulls are longer and easy to grip. Handles can be simple or decorative bars. Each type suits different cabinet shapes and uses.
Choose hardware that feels comfortable and matches your needs. Some fit small drawers. Others work well on large doors.
Matching Hardware To Cabinet Style
Hardware style should match the cabinet design. Modern cabinets look best with sleek, simple hardware. Traditional cabinets pair well with classic, detailed pieces. Rustic cabinets need hardware with a rough or aged look.
Think about the overall room style. Keep hardware consistent with furniture and fixtures. This creates a smooth, unified look.
Selecting Finish And Material
Hardware finishes include chrome, brass, nickel, bronze, and black. Choose a finish that matches other metal elements in the room. Materials affect durability and feel. Metal is strong and lasts long. Plastic is cheaper but less durable.
Consider how the finish shows dirt and fingerprints. Matte finishes hide marks better than shiny ones. Pick a finish that fits your cleaning habits and style.
Tools And Materials Needed
Preparing to measure and install cabinet hardware requires the right tools and materials. Using proper equipment helps ensure a smooth and accurate installation. This section explains the essential tools and hardware needed for the project.
Measuring Tools
Accurate measurement is key to a perfect fit. Use a tape measure to get exact lengths. A ruler or a straight edge helps mark even lines. A pencil is necessary for marking drill points. A combination square can help align hardware precisely.
Installation Tools
A power drill makes screwing hardware quick and easy. Choose drill bits that match the screw size. A screwdriver, either manual or electric, helps secure screws tightly. A level ensures the hardware is straight. Use a clamp to hold pieces steady during installation.
Hardware Components
Cabinet hardware includes knobs, handles, and pulls. Choose screws that fit the hardware and cabinet thickness. Anchors may be needed for hollow doors. Check if washers are required to prevent damage. Make sure to have all parts before starting the work.
Measuring For Hardware Placement
Measuring for hardware placement is a key step in installing cabinet handles and knobs. Accurate measurements ensure the hardware fits well and looks balanced. Poor measurements can lead to uneven placement and damage to the cabinet surface.
Taking time to measure carefully makes the installation process smooth and professional. Follow clear steps to find the best spots for handles and knobs.
Determining Handle And Knob Positions
Decide where the handle or knob will go on the cabinet door or drawer. Handles usually go near the edge, while knobs often sit in the center of the door panel. For drawers, place handles or knobs near the top edge, centered from left to right.
Consider the cabinet style. Some designs call for handles placed horizontally, others vertically. Keep in mind how people will open the cabinets. Position hardware where it feels natural to grab.
Standard Measurement Guidelines
Use common measurements for hardware placement. For knobs on doors, measure about 2 to 3 inches from the bottom corner. Handles on drawers usually align 3 inches from each side. These guidelines help keep a uniform look across all cabinets.
Measure twice before drilling. Use a ruler or tape measure for precise numbers. Consistency is key to a neat appearance.
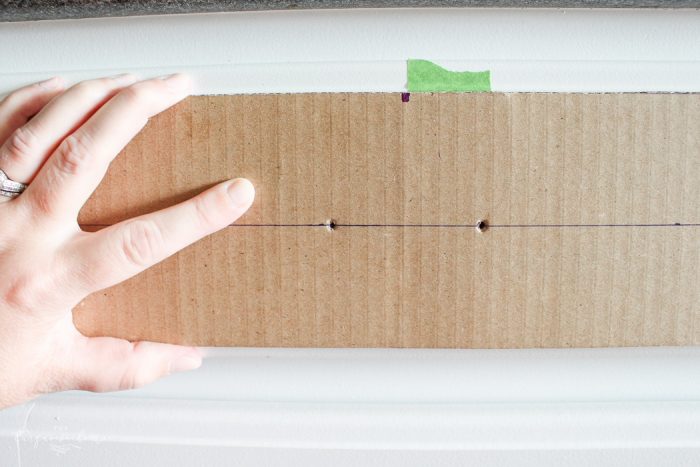
Marking Drill Points Accurately
Mark exact spots for drilling holes with a pencil. Use a template or jig if possible. These tools keep holes straight and evenly spaced. Double-check marks with your measuring tool before drilling.
Hold the hardware in place to confirm marks. Small adjustments now can save big problems later. Use a level for perfect alignment on long handles.
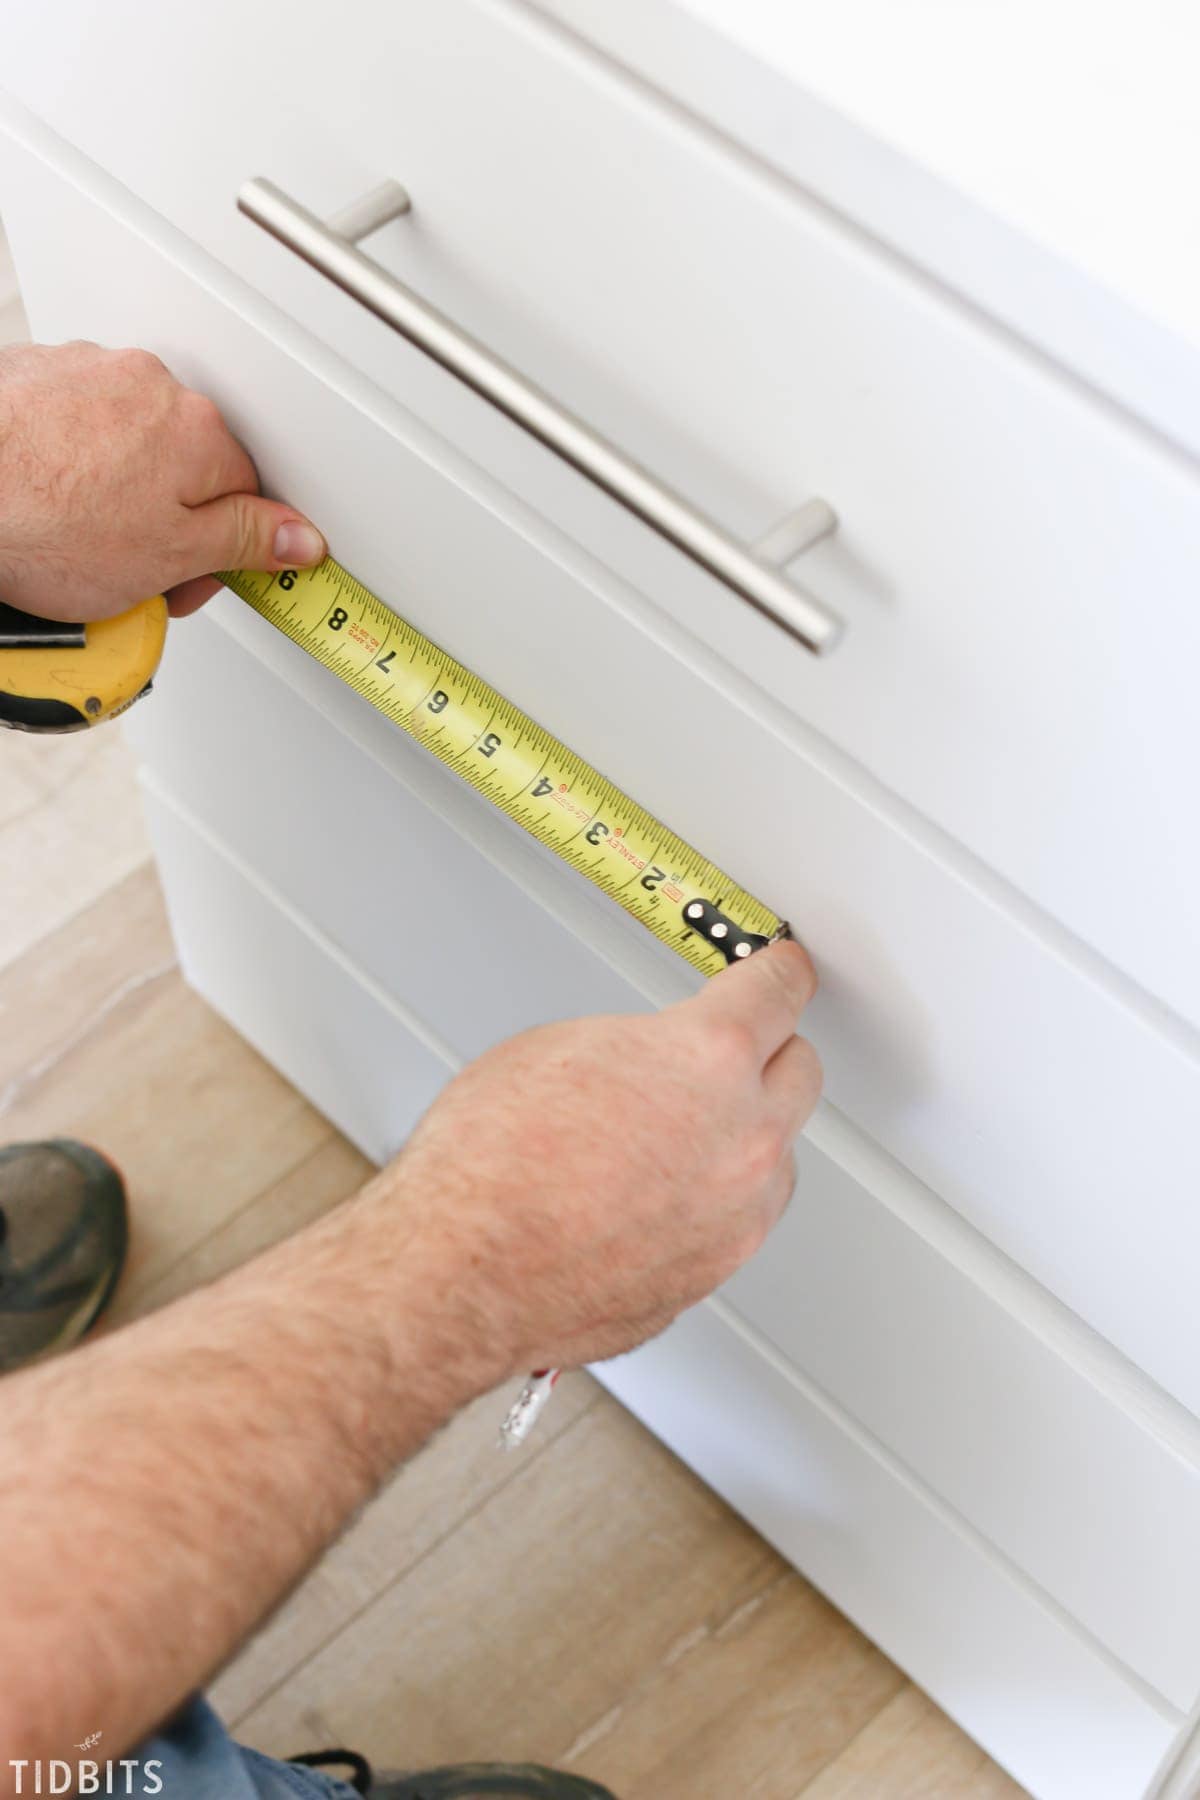
Credit: www.tidbits-cami.com
Preparing Cabinets For Installation
Preparing cabinets for hardware installation is a key step. It helps ensure a smooth and clean process. Taking time to prepare the surface makes your new hardware look its best. It also helps the hardware last longer. Follow these steps before you start attaching new handles or knobs.
Cleaning And Inspecting Surfaces
Start by cleaning the cabinet doors and drawers. Use a mild cleaner and a soft cloth. Remove all dirt, grease, and dust. This clears the way for a secure fit. After cleaning, check the surfaces carefully. Look for cracks, dents, or other damage. These problems can affect the hardware’s hold. Fix any issues before moving on.
Removing Old Hardware
Next, remove the old knobs or pulls. Use a screwdriver that fits the screws well. Turn slowly to avoid damaging the wood. Keep the screws if they are in good condition. Removing old hardware clears the path for new pieces. It also reveals the old holes that need attention.
Filling And Sanding Holes
Old holes can cause new hardware to fit poorly. Fill these holes with wood filler or putty. Use a small putty knife to press filler inside. Let it dry fully, usually a few hours. After drying, sand the area smooth. This creates a flat surface for drilling new holes. Smooth surfaces help hardware sit flush and strong.
Installing Cabinet Hardware
Installing cabinet hardware is a simple task that can change the look of your cabinets. Proper installation ensures the hardware works well and looks neat. Follow clear steps to place handles and knobs correctly.
Aligning Hardware Correctly
Start by marking the spot for each handle or knob. Use a ruler or template to keep marks even. Check the height and distance from edges. Consistent alignment gives a professional look.
Drilling Pilot Holes
Drill small pilot holes on the marks. Use a drill bit slightly smaller than the screw size. Pilot holes prevent wood from splitting. Drill straight to keep holes clean and precise.
Securing Hardware Firmly
Place the hardware on the holes. Insert screws from the inside of the cabinet. Tighten screws with a screwdriver until firm. Avoid over-tightening to protect the hardware and wood.
Checking And Adjusting Fit
Checking and adjusting the fit of cabinet hardware is essential for a neat look and smooth use. Proper fit ensures handles and knobs sit evenly and function well. This step prevents issues like loose handles or uneven spacing. Take your time here to get the best results.
Testing Handle Functionality
Grab each handle or knob and pull gently. It should feel firm and not wiggle. Open and close the cabinet door or drawer to check smooth movement. Handles that are too tight or loose need adjustment. This test helps avoid problems during daily use.
Fixing Misalignments
Look closely at the placement of each piece of hardware. Handles should line up straight on each drawer or door. Use a level or ruler for accuracy. If a handle is off, loosen its screws slightly. Move it into position, then tighten the screws again. Small shifts can make a big difference.
Ensuring Consistent Spacing
Measure the distance between handles and edges carefully. Consistent spacing gives a professional finish. Use a tape measure or a template for even gaps. Mark spots lightly with a pencil before drilling holes. Double-check measurements to avoid mistakes.
Tips For A Professional Finish
Achieving a professional finish when installing cabinet hardware requires attention to detail. Small steps make a big difference in the final look. Careful measuring and consistent placement help create clean, polished cabinets.
Following the right techniques also prevents damage to the cabinets. This section shares key tips to help you install hardware like a pro. Focus on accuracy and care for the best results.
Using Templates For Consistency
Templates ensure all hardware goes in the same spot. Mark holes quickly and accurately. This prevents uneven handles or knobs that spoil the look.
Choose a sturdy template made for your hardware size. Place it on each door or drawer before drilling. Double-check the alignment before making holes.
Templates save time and reduce mistakes. They help keep your project neat and uniform.
Working With Different Cabinet Materials
Wood, MDF, and metal cabinets need different care. Use the right drill bit for each material. This avoids cracks or splits.
Soft wood may need pilot holes to stop damage. Harder surfaces require stronger drill bits. Take your time to avoid slips or scratches.
Use gentle pressure when tightening screws. Over-tightening can strip holes or warp the cabinet surface.
Maintaining Hardware Over Time
Clean hardware regularly to keep it shiny. Use mild soap and a soft cloth. Avoid harsh chemicals that can dull the finish.
Check screws once in a while. Tighten any loose ones to prevent wobbly handles. Replace damaged parts to maintain function and look.
Proper care extends the life of your hardware. It keeps cabinets looking fresh and new.

Credit: www.youtube.com
Frequently Asked Questions
How Do I Measure Cabinet Hardware Accurately?
Measure the distance between screw holes, known as the center-to-center measurement. Use a ruler or tape measure for precision. Double-check measurements before drilling to avoid errors. This ensures the hardware fits perfectly on your cabinets.
What Tools Are Needed To Install Cabinet Hardware?
You’ll need a drill, screwdriver, measuring tape, pencil, and a level. These tools help you mark, drill, and secure hardware precisely. Using the right tools makes installation easier and prevents damage to cabinets.
How Do I Choose The Right Size Cabinet Hardware?
Consider your cabinet door or drawer size. Larger cabinets need bigger hardware for balance. Also, match hardware style with your kitchen design. Proper sizing improves both function and aesthetics.
Can I Install Cabinet Hardware Without Drilling New Holes?
Yes, if existing holes match new hardware size. Otherwise, you must drill new holes carefully. Use fillers for old holes to maintain cabinet appearance. Accurate measurement helps avoid unnecessary drilling.
Conclusion
Measuring and installing cabinet hardware is simple with the right steps. Take your time to measure carefully and mark your spots. Use the right tools to keep everything straight and secure. Small mistakes can cause big problems later. Following these tips helps your cabinets look neat and function well.
Enjoy the fresh look and easy use of your updated cabinets. This project can boost your home’s style without much effort. Keep practicing, and your skills will improve fast.