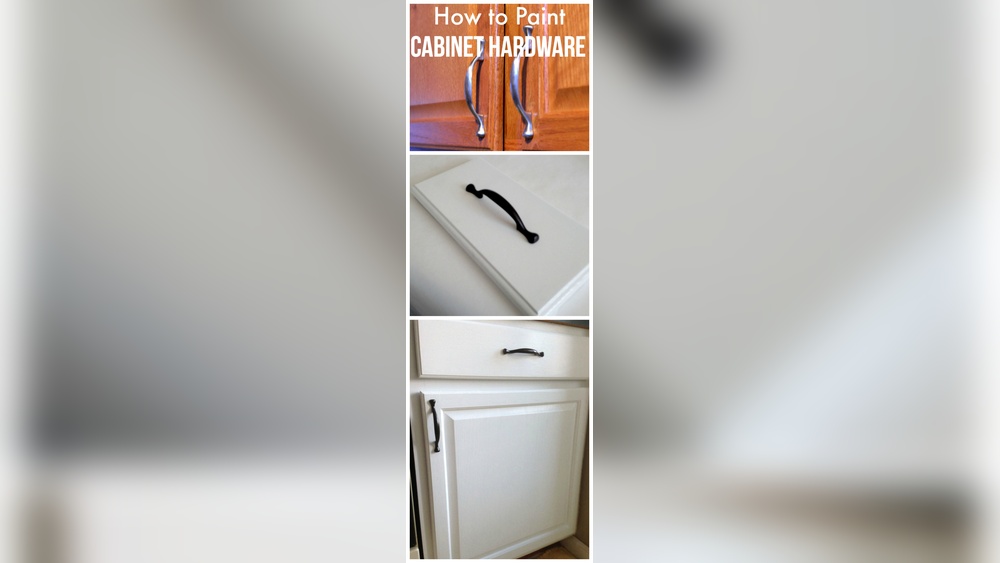
Are your kitchen cabinet handles looking dull or outdated? Repainting your cabinet hardware is a simple, cost-effective way to refresh your kitchen’s look without a full remodel.
Imagine transforming your space with just a few easy steps—and saving money while doing it. In this guide, you’ll learn exactly how to repaint your kitchen cabinet hardware like a pro, even if you’ve never done it before. Keep reading, and you’ll discover tips and tricks that make the process quick, mess-free, and surprisingly satisfying.
Your kitchen makeover starts right here!

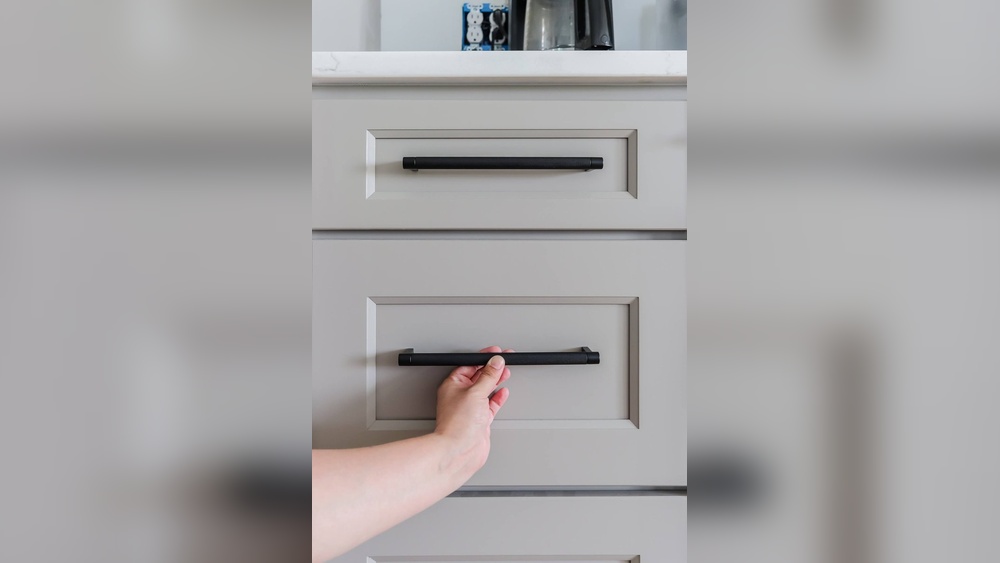
Credit: porchdaydreamer.com
Gather Necessary Tools
Before you start repainting your kitchen cabinet hardware, gather all necessary tools. This step saves time and avoids interruptions. Having the right tools helps you achieve a smooth and lasting finish. It also makes the process easier and more enjoyable. Below are key tools to prepare before you begin.
Select The Right Paint
Choose paint designed for metal surfaces. Spray paints or enamel paints work well. They offer good coverage and durability. Pick a color that matches or complements your kitchen style. Avoid paints that chip or peel quickly. Check the label for suitability on hardware.
Choose Appropriate Brushes And Sprayers
Use small brushes for detailed work. Soft bristle brushes prevent scratches on hardware. A paint sprayer can provide an even coat quickly. Sprayers are useful for many pieces or intricate shapes. Clean brushes and sprayers before use for best results.
Prepare Cleaning Supplies
Clean hardware before painting to remove dirt and grease. Use mild soap and warm water for cleaning. A soft cloth or sponge works best. For stubborn grime, use rubbing alcohol or a degreaser. Dry all pieces completely before painting.
Remove Cabinet Hardware
Removing cabinet hardware is the first step in repainting kitchen cabinet hardware. Taking off handles and knobs carefully protects them from damage. It also makes the repainting process smoother and cleaner.
Organizing the hardware after removal helps keep track of all pieces. It saves time when putting everything back together. Preparation leads to better results.
Unscrew Handles And Knobs
Start by opening cabinet doors to reach the screws. Use a screwdriver that fits the screw heads well. Turn screws counterclockwise to loosen and remove them. Keep a steady hand to avoid slipping and scratching the wood.
Remove all screws from handles and knobs gently. Place each handle or knob aside carefully. Check for any stuck screws and apply light pressure if needed. Avoid forcing screws out to prevent damage.
Organize Hardware For Reassembly
Sort handles, knobs, and screws by cabinet or drawer. Use small containers or bags to group each set. Label containers with a marker or tape for easy identification.
Keep hardware in a safe place, away from dust and moisture. This prevents rust and dirt buildup. Organization saves time and reduces stress during reassembly.
Clean And Prep Hardware
Preparing your kitchen cabinet hardware properly is key to a smooth repainting job. Clean and prep the hardware well to help the paint stick and last longer. This step removes old dirt and grease, making the surface ready for sanding and priming.
Remove Dirt And Grease
Start by soaking the hardware in warm, soapy water. Use a soft brush or cloth to scrub off all grease and grime. Rinse well and dry completely. Clean hardware helps paint stick evenly and prevents peeling.
Sand For Better Paint Adhesion
Lightly sand the hardware with fine-grit sandpaper. This creates a rough surface for the paint to grip. Sand all sides evenly and wipe away dust with a damp cloth. Smooth surfaces can cause paint to chip or peel quickly.
Apply Primer If Needed
Apply a metal primer if the hardware is bare metal or if you see old paint chipping. Primer seals the surface and improves paint durability. Let the primer dry fully before painting for the best finish.
Apply Paint
Applying paint to your kitchen cabinet hardware requires patience and care. This step changes the look of your cabinets and makes the hardware last longer. Follow simple rules to get a smooth, clean finish without drips or uneven spots.
Use Thin, Even Coats
Start with thin layers of paint. Thick paint can cause drips and clumps. Use a small brush or spray for better control. Spread the paint evenly over the surface. Thin coats dry faster and look smoother.
Allow Proper Drying Time
Wait for each coat to dry fully before adding the next. Drying times vary by paint type, but usually need 30 minutes to an hour. Rushing this step can ruin your work. Dry paint sticks better and resists scratches.
Add Additional Coats For Coverage
Apply more coats until the hardware is fully covered. Two to three coats usually work well. Check for any missed spots or thin areas. Each new coat improves color and durability.
Seal And Protect Finish
Sealing and protecting the finish is a key step in repainting kitchen cabinet hardware. It keeps the paint safe from scratches and wear. A good sealant helps your hardware look fresh longer. It also makes cleaning easier and prevents rust or damage.
Choose A Durable Topcoat
Pick a topcoat designed for metal surfaces. Look for one that resists chipping and fading. Polyurethane and clear spray enamel work well. A durable topcoat adds strength and shine to the paint. It also protects against moisture and daily use.
Apply Sealant Evenly
Use smooth, light strokes to apply the sealant. Avoid thick layers that can drip or bubble. Cover all painted areas completely. Hold the spray can or brush at the right distance. Even application ensures full protection and a neat finish.
Let Hardware Cure Fully
Allow the hardware to dry in a dust-free place. Follow the sealant’s instructions for curing time. Full curing makes the finish hard and long-lasting. Avoid handling or installing the hardware too soon. Patience here keeps the paint from peeling or scratching.
Credit: www.kilz.com
Reinstall Hardware
Reinstalling your kitchen cabinet hardware is the final step. This part brings your cabinets back to life. It takes care and patience to do it right. Proper reinstalling ensures your hardware looks great and works well.
Align And Attach Handles
Start by aligning the handles with the screw holes. Hold the handle firmly in place. Insert the screws through the holes from inside the cabinet. Use a screwdriver to tighten each screw slowly. Avoid overtightening to prevent damage. Check that the handle sits straight and even.
Check For Secure Fit
After attaching the handles, test their fit. Pull each handle gently to check stability. If it feels loose, tighten the screws a bit more. Make sure screws are snug but not too tight. A secure fit prevents handles from wobbling or falling off. Take time to ensure every handle is firmly fixed.
Tips For Long-lasting Results
Getting long-lasting results from repainting kitchen cabinet hardware takes care and smart steps. Small habits can keep the paint fresh and smooth for years. Focus on gentle cleaning and steady upkeep to protect your work.
Follow these tips to help your kitchen cabinets look great over time. Avoid actions that cause paint to peel or fade. Keep the hardware neat without damage.
Avoid Harsh Cleaners
Harsh cleaners strip paint and dull the finish. Stay away from bleach, ammonia, or strong chemicals. Use mild soap and water instead. Clean with a soft cloth or sponge. This stops scratches and keeps paint bright.
Wipe spills quickly. Letting moisture sit can harm the paint. Keep cleaning gentle and simple for best results.
Regular Maintenance Advice
Check hardware often for chips or scratches. Fix small problems fast to stop them from growing. Use touch-up paint made for metal surfaces. Avoid heavy scrubbing or abrasive tools.
Keep cabinet doors and drawers working well. Loose hardware can cause more wear. Tighten screws and hinges as needed. A little care each month goes a long way.

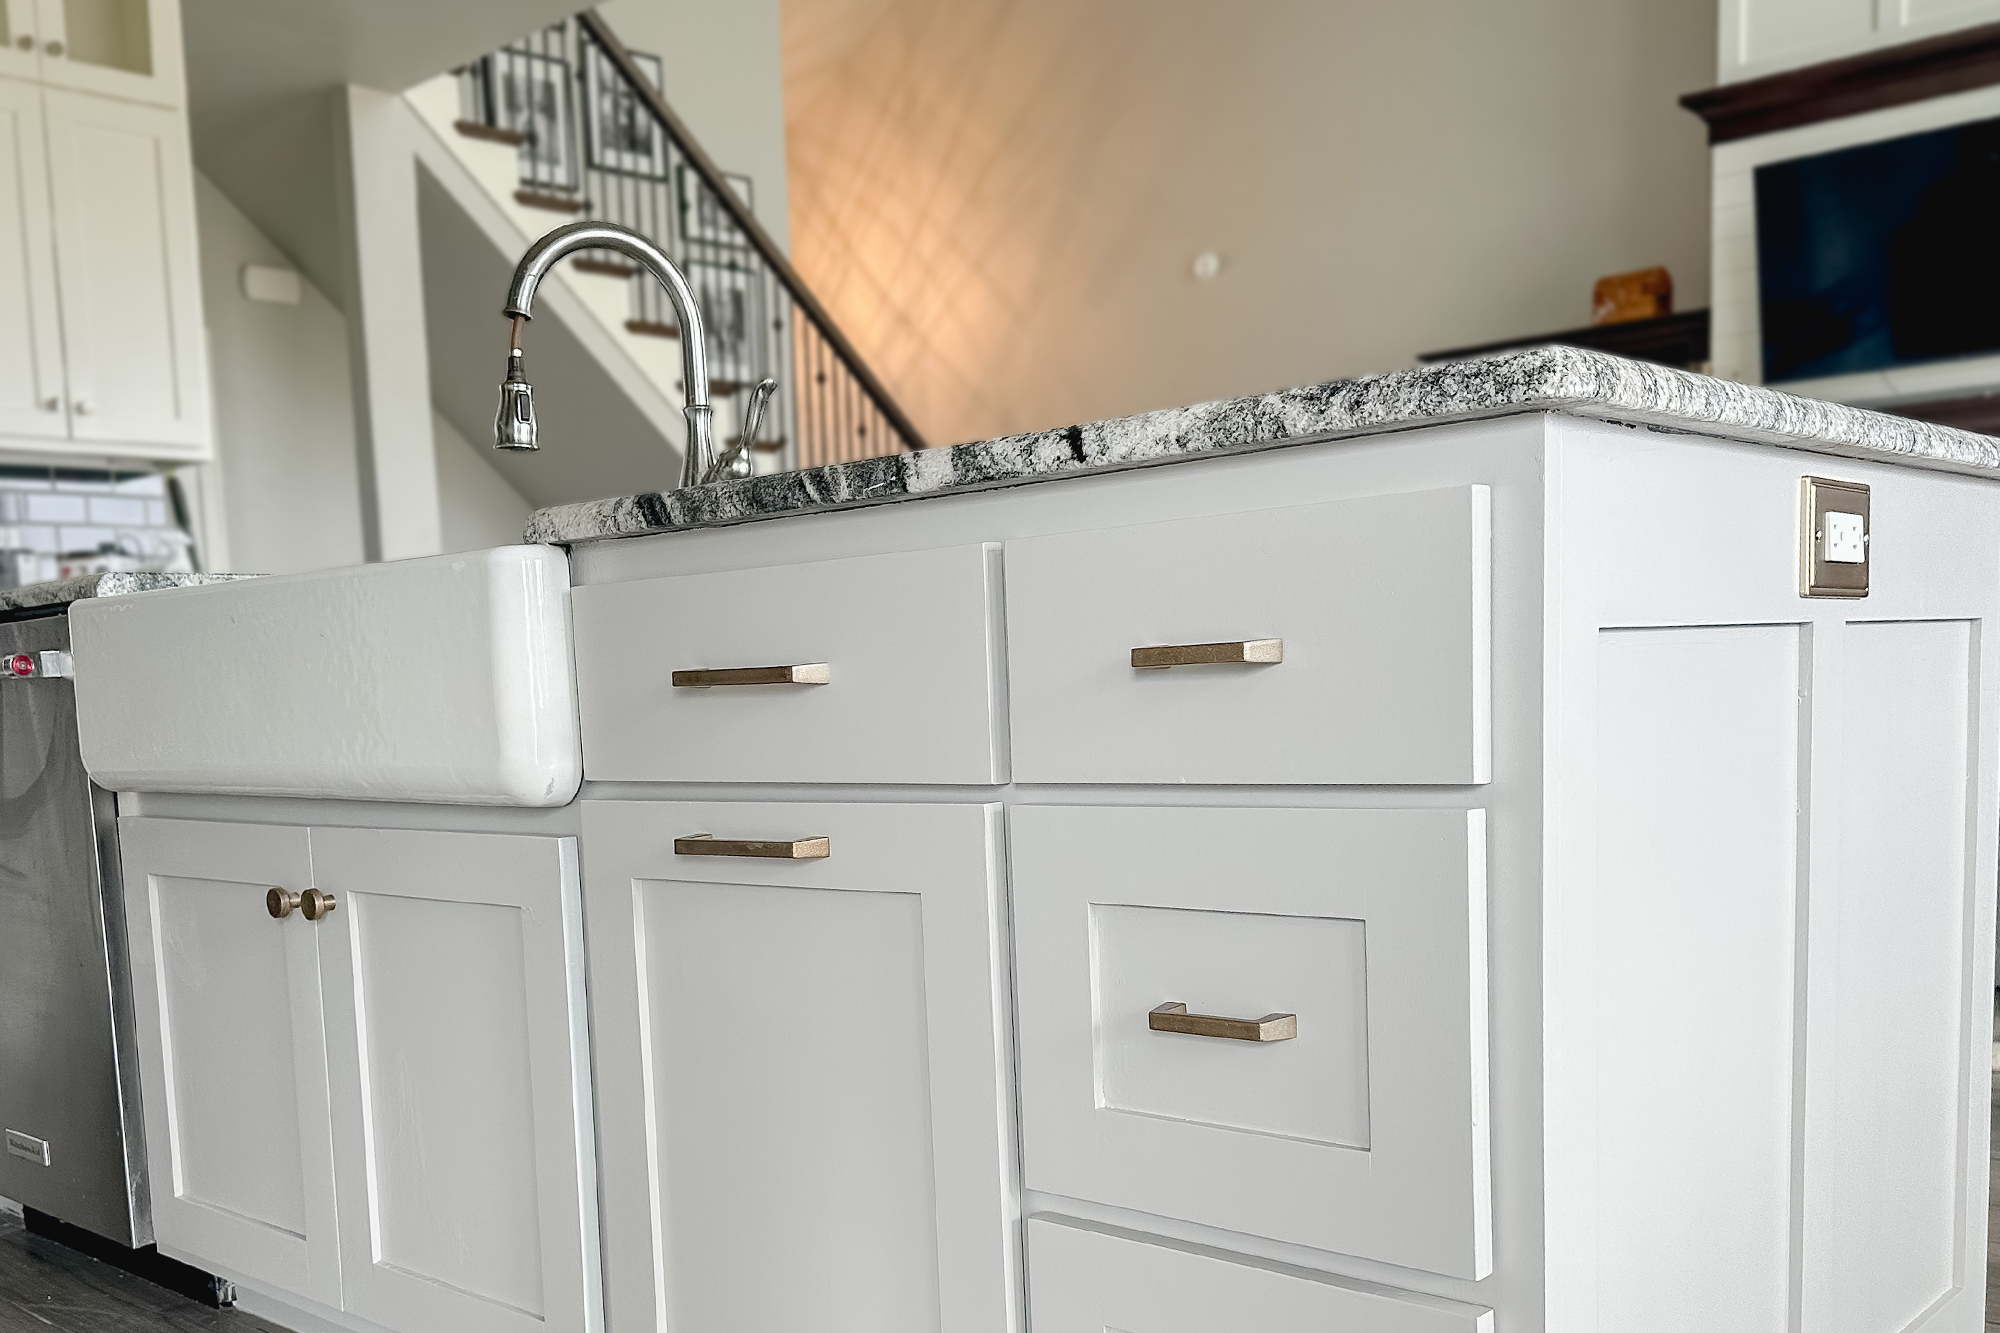
Credit: www.youtube.com
Frequently Asked Questions
How Do I Prepare Cabinet Hardware For Repainting?
Clean hardware thoroughly with soap and water. Remove old paint with a stripper or sandpaper. Dry completely before priming. Proper prep ensures smooth, long-lasting paint adhesion.
What Type Of Paint Works Best For Cabinet Hardware?
Use spray paint designed for metal surfaces. Choose enamel or oil-based paint for durability. These paints resist chipping and handle frequent use well.
Can I Repaint Cabinet Hardware Without Removing It?
It’s best to remove hardware before painting. Removing prevents paint buildup on cabinets and allows even coverage. Painting in place can lead to messy results.
How Long Should I Let Paint Dry On Hardware?
Allow at least 24 hours for paint to dry fully. Drying time depends on paint type and humidity. Avoid handling hardware until it’s completely dry.
Conclusion
Repainting kitchen cabinet hardware can refresh your space quickly. Choose the right paint and tools for the best results. Clean and prep the hardware carefully before painting. Take your time to apply even coats and let them dry well. Reinstall the hardware once fully dry and enjoy the new look.
Small changes like this can make a big difference. Try it yourself and see how easy it is to update your kitchen.