Are you looking to bring new life to your vintage cabinets without losing their charm? Cleaning vintage cabinet hardware can be tricky—you want to remove dirt and tarnish but keep the original look intact.
If you’ve ever struggled with dull or grimy handles, you’re not alone. You’ll discover simple, effective methods to clean your hardware safely and restore its beauty. Keep reading to learn how you can make your vintage pieces shine again—effortlessly and without damage.

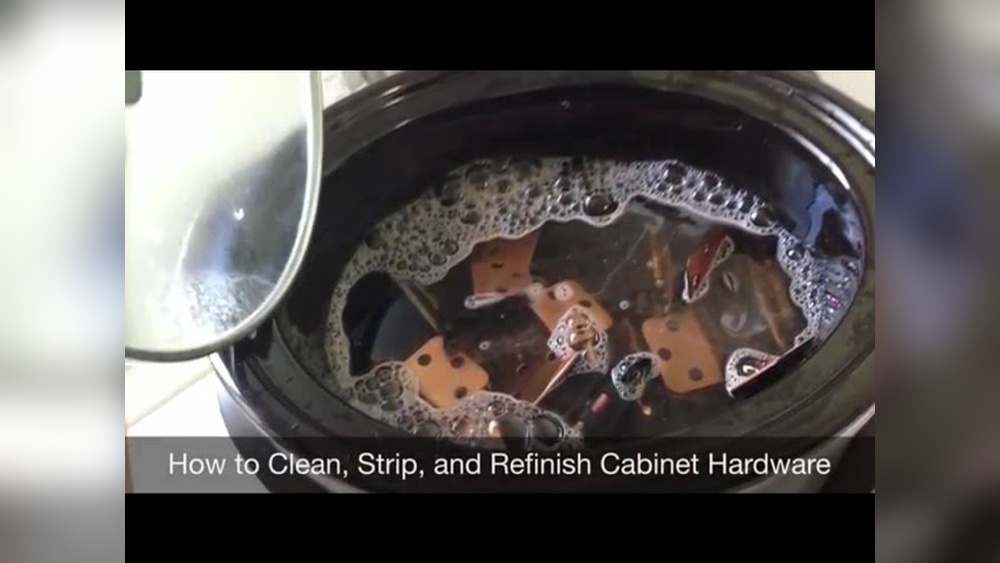
Credit: www.youtube.com
Gathering Supplies
Before cleaning vintage cabinet hardware, gather all needed supplies. Having everything ready saves time and avoids frustration. It also helps protect delicate pieces from damage. Prepare a clean workspace with good light. Organize materials for easy reach. Below are key items and tools to prepare.
Essential Cleaning Materials
Start with mild soap to avoid harming finishes. Dish soap works well for gentle cleaning. Use warm water to help loosen dirt. Have white vinegar or lemon juice for tougher grime. These natural cleaners brighten metal without harsh chemicals. Prepare soft cloths or microfiber towels for wiping. Paper towels can scratch delicate surfaces. Use small containers or bowls to soak hardware if needed.
Choosing The Right Tools
Pick soft-bristled brushes for detailed cleaning. Old toothbrushes fit well into crevices. Avoid stiff brushes that can scratch metal. Cotton swabs help clean tight spots gently. Use wooden or plastic toothpicks to remove dirt in grooves. Have rubber gloves to protect your hands from cleaning liquids. Choose tools that fit the size and shape of your hardware. Proper tools make cleaning easier and safer for vintage pieces.
Removing Hardware Safely
Removing vintage cabinet hardware requires care and attention. Old screws and delicate finishes can break or scratch easily. Taking your time helps protect both the hardware and the cabinet. Follow safe steps to avoid damage and keep everything organized.
Unscrewing And Labeling
Use the right screwdriver to avoid stripping screws. Turn screws slowly and steadily. Keep all screws in a small container to avoid losing them. Label each screw and piece with a sticky note or tape. Match labels to the cabinet door or drawer. This step helps during reassembly and prevents confusion.
Protecting Cabinet Surfaces
Place soft cloths or painter’s tape around hardware edges. This stops scratches when tools slip. Avoid using metal tools directly on the wood. Gently lift hardware after screws are removed. Keep cabinet surfaces clean and dry during the process. This protects the finish and wood from damage.
Cleaning Techniques
Cleaning vintage cabinet hardware requires gentle and effective methods. The goal is to remove dirt without damaging the metal or finish. Different metals need different approaches. Using the right technique preserves the look and value of your hardware.
Soaking In Mild Solutions
Start by soaking the hardware in mild cleaning solutions. Warm water mixed with a little dish soap works well. Let the pieces soak for 15 to 30 minutes. This softens dirt and grime, making it easier to clean. Avoid strong chemicals that can harm the metal.
Scrubbing With Soft Brushes
Use a soft brush to gently scrub the hardware. A toothbrush is perfect for reaching small crevices. Scrub lightly to avoid scratching the surface. Focus on removing dirt from detailed areas. Rinse with clean water after scrubbing to remove soap residue.
Tackling Tough Stains
For stubborn stains, try a paste of baking soda and water. Apply it gently with a soft cloth or brush. Let it sit for a few minutes before scrubbing again. Another option is white vinegar diluted with water for metal safe to treat corrosion. Always test on a small spot first.
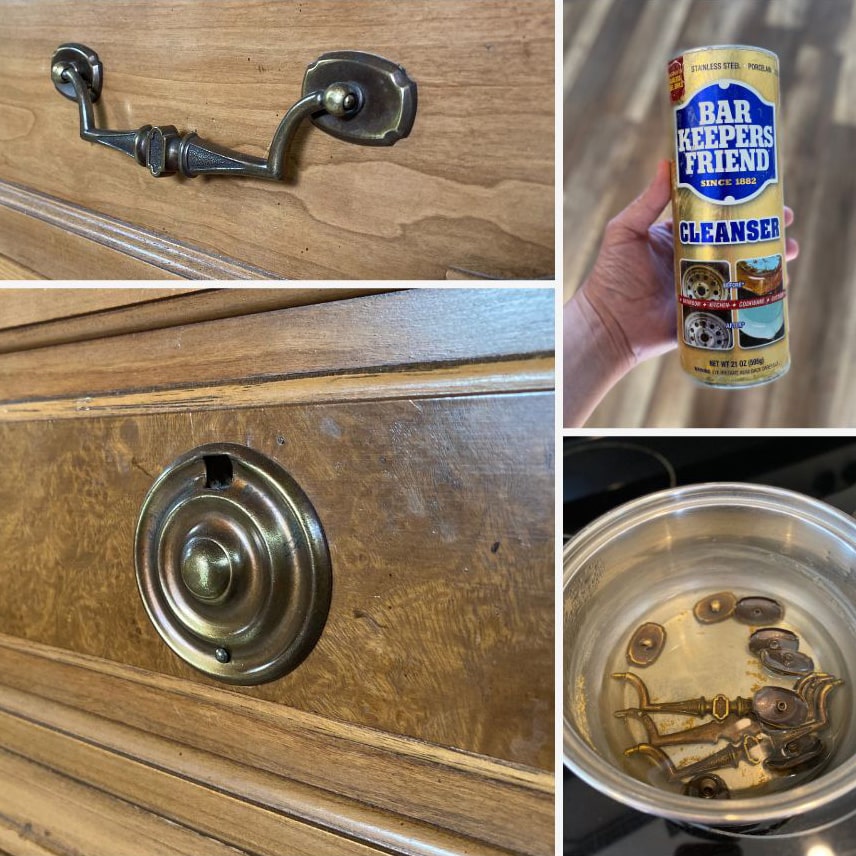
Credit: arayofsunlight.com
Polishing For Shine
Polishing vintage cabinet hardware brings back its natural shine. It removes dullness and small scratches. The right polish makes the metal look bright and fresh. Polishing also protects the hardware from future damage. It is a key step to keep vintage pieces beautiful and lasting longer.
Selecting Polishing Agents
Choose a polish that matches the metal type. Brass, bronze, and chrome need different products. Use gentle polishes for delicate finishes. Avoid harsh chemicals that can damage the surface. Natural options like lemon juice or baking soda work well. Test the polish on a small area first.
Buffing To Restore Luster
After applying polish, buff the hardware with a soft cloth. Use circular motions to bring out the shine. Buffing removes polish residue and smooths the surface. Repeat until you see a clear, bright glow. For best results, use a clean microfiber cloth. This step finishes the look and adds sparkle.
Drying And Reinstalling
After cleaning vintage cabinet hardware, drying and reinstalling are essential steps. Proper drying prevents rust and damage. Reinstalling hardware correctly keeps cabinets functional and looking good.
Ensuring Complete Dryness
Use a soft cloth to wipe off excess water from the hardware. Let the pieces air dry on a clean towel for several hours. Avoid direct sunlight to protect the finish. Make sure no moisture stays in small crevices. Moisture can cause rust and weaken the metal.
Properly Reattaching Hardware
Check screws and holes before reinstalling hardware. Replace any worn or damaged screws for a secure fit. Align the hardware carefully with the holes on the cabinet. Tighten screws evenly, but do not overtighten. Overtightening can strip the wood or damage the hardware. Test the hardware by opening and closing the cabinet doors gently.
Maintaining Vintage Hardware
Maintaining vintage hardware keeps your cabinets looking beautiful and working well. Old hardware can last many years with the right care. It takes gentle cleaning and small steps to protect the finish and details. This helps avoid rust, tarnish, and damage. A little care goes a long way to keep the charm of your vintage pieces.
Regular Cleaning Tips
Dust vintage hardware often with a soft cloth or brush. Use a mild soap mixed with warm water for cleaning. Avoid harsh chemicals that can wear down the finish. Gently wipe the hardware, then dry it well with a clean cloth. Clean hardware helps prevent buildup and keeps details clear. Regular attention stops dirt from causing long-term harm.
Preventing Tarnish And Damage
Keep hardware dry to prevent rust and tarnish. Wipe off water or spills quickly. Use a thin layer of wax or oil to protect metal surfaces. Avoid abrasive pads or strong cleaners that scratch or dull the finish. Check hardware often for signs of wear or corrosion. Early care stops small problems from growing into bigger damage.
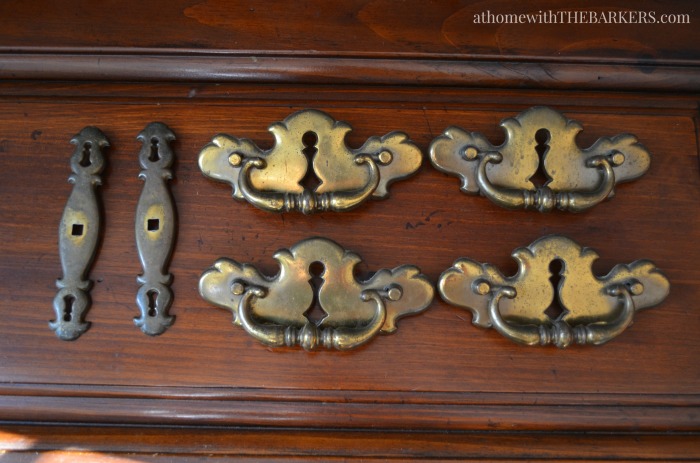
Credit: athomewiththebarkers.com
Frequently Asked Questions
How Do I Safely Remove Vintage Cabinet Hardware?
To safely remove vintage hardware, use a screwdriver matching the screw type. Turn screws counterclockwise gently. Avoid forcing to prevent damage. Keep hardware parts organized for reinstallation or cleaning.
What Household Items Clean Vintage Cabinet Hardware Effectively?
Mild soap, warm water, and a soft cloth clean most vintage hardware. For brass, use lemon juice mixed with baking soda. Avoid harsh chemicals that may damage the finish or patina.
How Can I Restore Shine To Tarnished Cabinet Hardware?
Apply a paste of baking soda and water to tarnished areas. Rub gently with a soft cloth, then rinse and dry. For stubborn tarnish, use commercial metal polish designed for vintage hardware.
Should I Remove Hardware Before Cleaning Cabinets?
Yes, removing hardware allows thorough cleaning without damaging cabinets. It prevents moisture from seeping into wood and ensures all hardware surfaces are cleaned properly.
Conclusion
Cleaning vintage cabinet hardware brings old charm back to life. Use gentle cleaners and soft cloths to avoid damage. Take your time to remove dirt and tarnish carefully. Regular cleaning keeps the hardware looking fresh and bright. Enjoy the beauty of your cabinets with hardware that shines.
Small efforts make a big difference in preserving vintage pieces. Keep these tips handy for easy, safe cleaning every time. Your cabinets will look neat and classic again, adding warmth to your space.